


- @Skywin88
简介
该用户还未填写简介
擅长的技术栈
可提供的服务
暂无可提供的服务
ubuntu-desktop22.04最低配置1核2G内存20G硬盘,如果需要安装很多插件和执行复杂任务的推荐4G内存及以上。我需要接入飞书机器人,机器人的应用 ID(APPID)是xxx, APP SECRET是xxx。openclaw是比较消耗token的,接入deepseek大模型算是最便宜的。技能这里选no,hooks也是选择skip for now等会再配置。下一步选open in we
ubuntu-desktop22.04最低配置1核2G内存20G硬盘,如果需要安装很多插件和执行复杂任务的推荐4G内存及以上。我需要接入飞书机器人,机器人的应用 ID(APPID)是xxx, APP SECRET是xxx。openclaw是比较消耗token的,接入deepseek大模型算是最便宜的。技能这里选no,hooks也是选择skip for now等会再配置。下一步选open in we
kafka-deploy.sh#!/bin/bash#本机IPLocalIP=`cat /etc/network/interfaces|grep address|awk '{print $2}'`#zookeeper容器名ZookeeperName=beta-coho-zookeeper#kafka容器名KafkaName=beta-coho-kafkaecho "启动容器"d...
在/etc/caddy/Caddyfile 最前面写上使用端口。如果安装多个web服务器,需修改caddy监听的配置。重启caddy后监听端口改变。

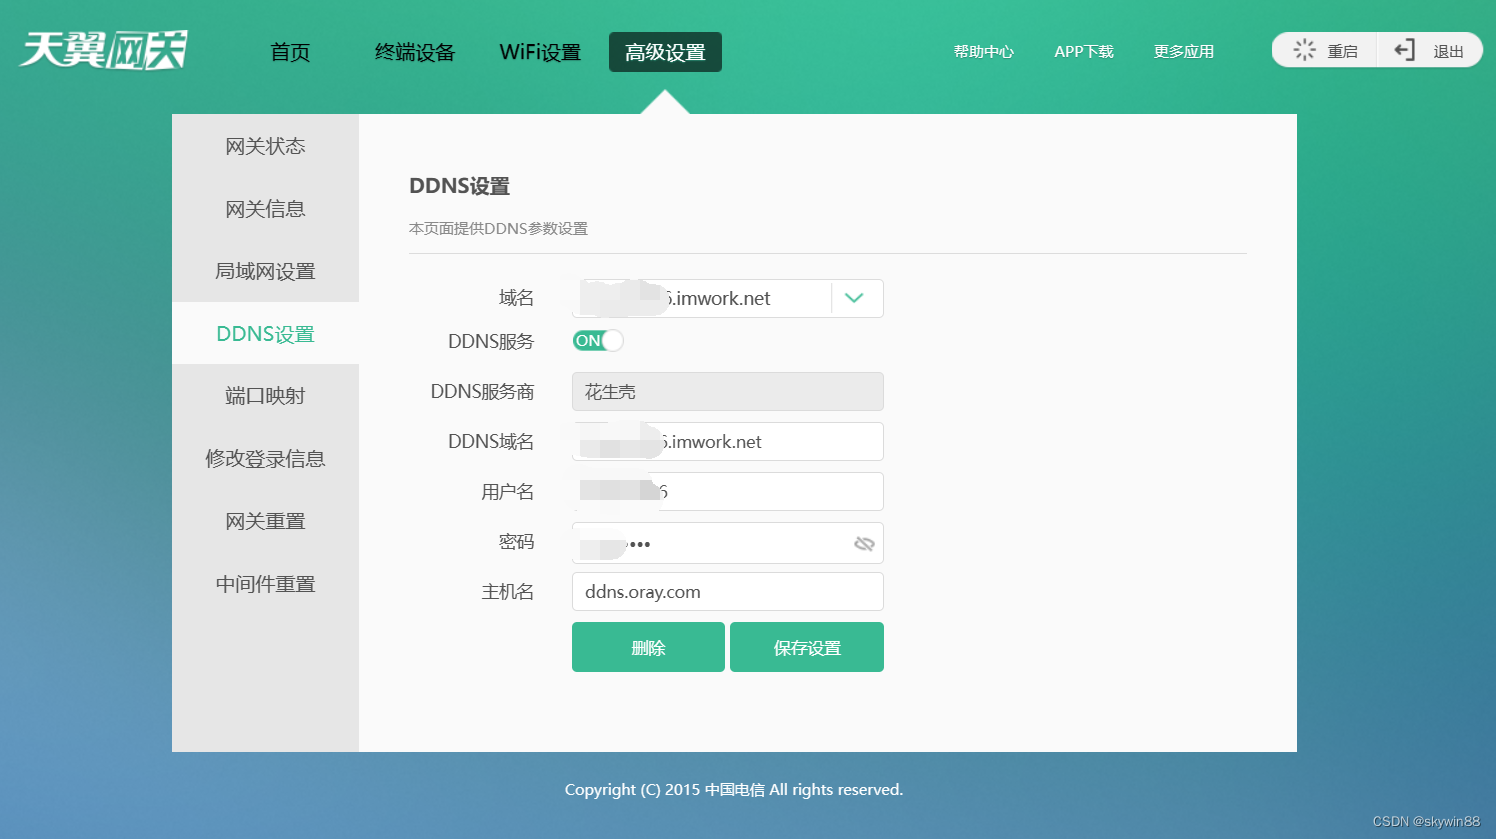
动态域名:18081>电信光猫:18081>Openwrt软路由:18081>主机192.168.3.172:8081。测试端口是否连通 https://www.yougetsignal.com/tools/open-ports/Openwrt软路由配置socat(将TCP:18081转发至192.168.3.172TCP:8081)查看当前获取的IP地址 https://www.ip138.co
1、linux下安装docker-ce方法自行百度2、下载docker-compose稳定的版本curl -L “https://github.com/docker/compose/releases/download/1.24.1/docker-compose-(uname−s)−(uname -s)-(uname−s)−(uname -m)” -o /usr/local/bin/docker-c
virtualbox6,设置中将指点设备切换为USB触控板,运行虚拟机后右下角鼠标处右键勾选鼠标集成,即可正常控制虚拟机中鼠标
#!/usr/bin/python# -*- coding: utf-8 -*-# --------------------------------------------------# @Time : 2020/12/20 18:40# @Author : skywin886# @File : ls_and_cat.py# @Version : 1.0# --------------------
使用wildcard方法查询elasticsearch数据库,匹配查询时间段、index、内容等,脚本如下#!/usr/bin/python# -*- coding: utf-8 -*-# --------------------------------------------------# @Time : 2020/10/10 11:40# @Author : skywin88# @File :
由于mysql采用容器部署,现需要每天定时备份数据库数据在宿主机上执行脚本#!/bin/bash# 设置mysql的登录用户名和密码(根据实际情况填写)docker_name="mysql8"mysql_user="root"mysql_password="Mysql_root_8"mysql_host="localhost"mysql_port="3306"mysql_database="ms_