API方式调用ComfyUI原生接口
ComfyUI作为节点式AI创作工具,虽然功能强大但操作复杂。本文介绍了如何通过API调用简化流程:先导出工作流模板,再通过RESTful接口提交任务、获取队列状态和执行结果。开发者可利用这些接口封装用户友好的操作界面,降低普通用户的使用门槛。文章详细拆解了POST/prompt提交任务、GET/queue查询队列、GET/history获取结果等核心API调用方法,为程序员提供了实用的集成方案。
·
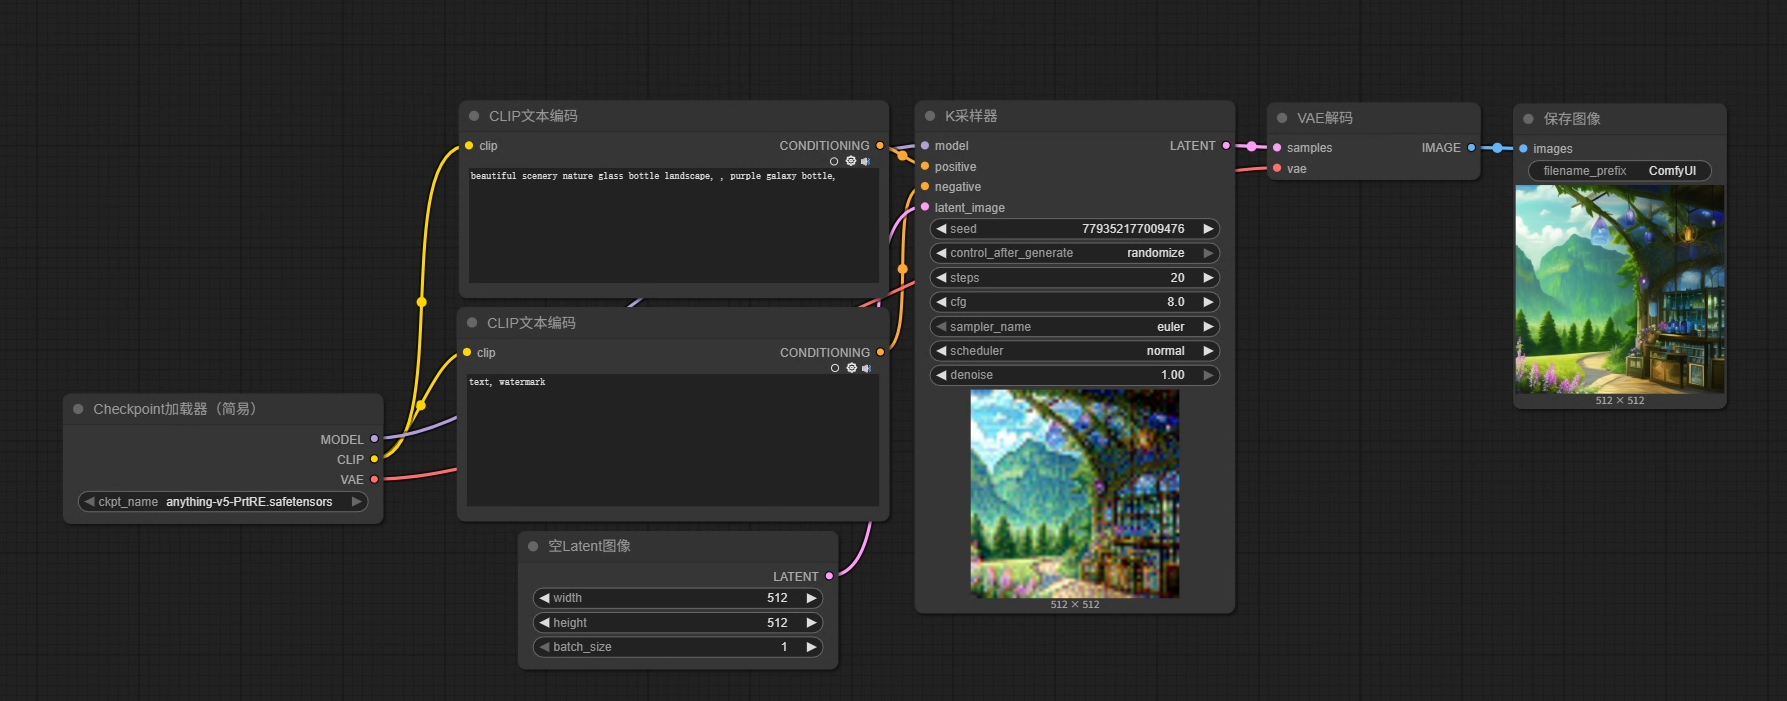
作为当前最流行的基于节点的生成式 AI 界面和推理引擎,ComfyUI让用户可以通过节点组合各种 AI 模型和操作,实现高度可定制和可控的内容生成。但是它的工作界面如下:
一个简单的文生图工作流:
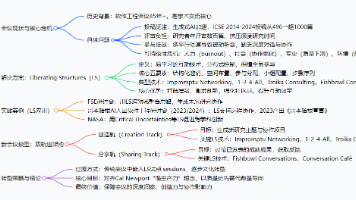
一个相对复杂的数字人工作流:
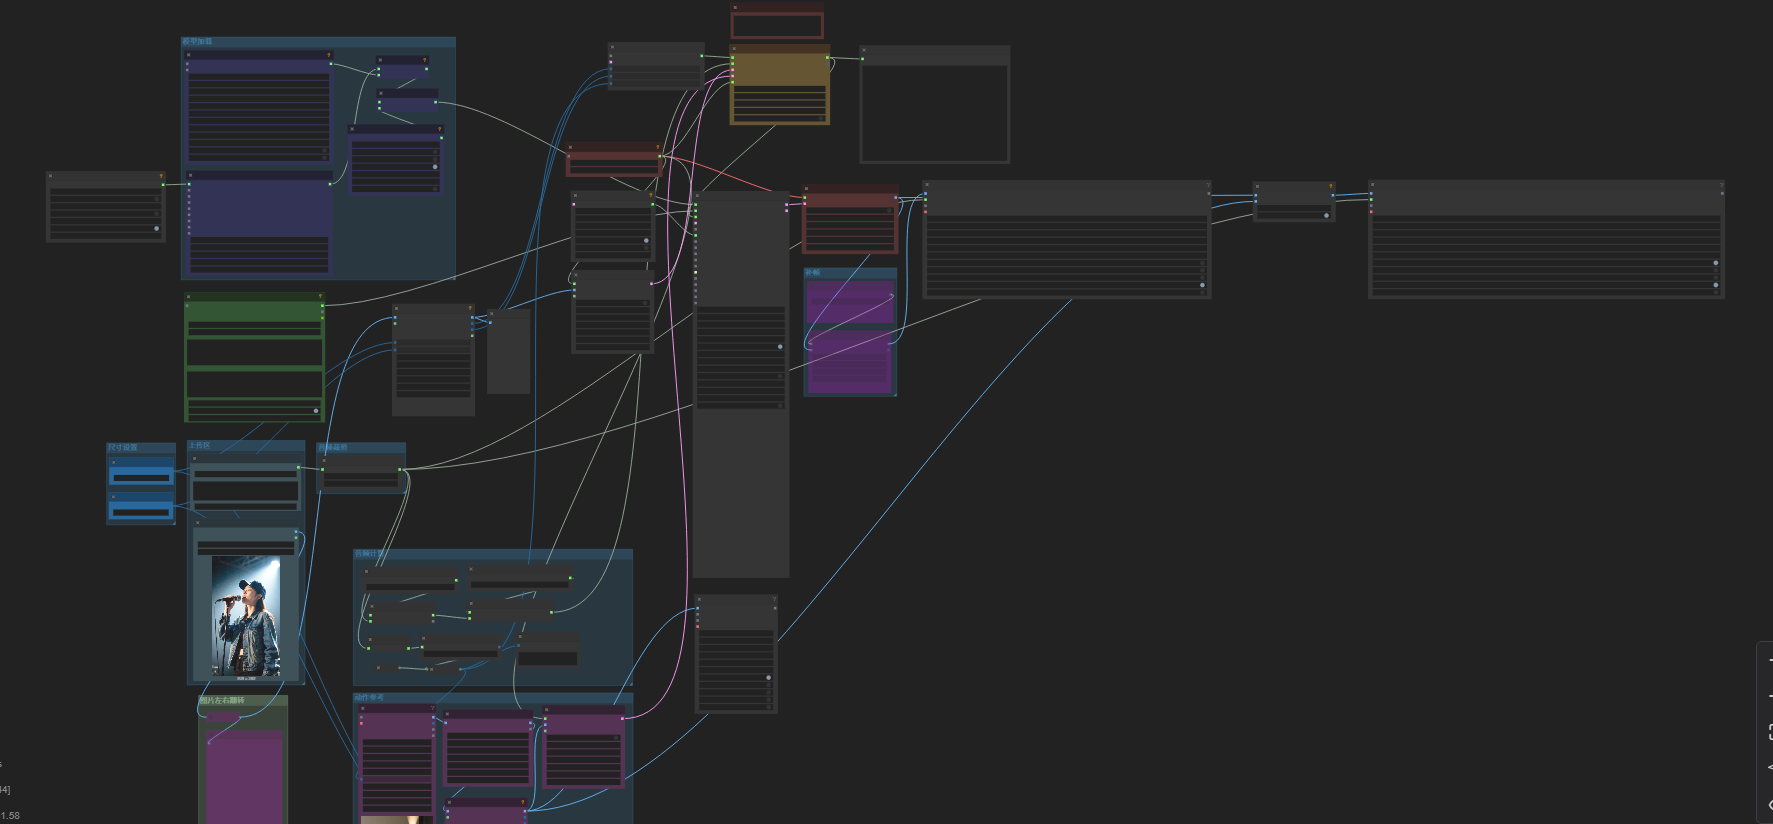
不难看出ComfyUI的用户还是偏向于有专业领域知识的人群,对于普通用户来说上手难度还是灾难性的。
好在ComfyUI提供了原生的restful接口,作为程序员,可以复用工作流,封装接口来构建利于普通用户的操作界面,以下将详细拆解如何通过api的方式来调用ComfyUI工作流并获取工作流产物。
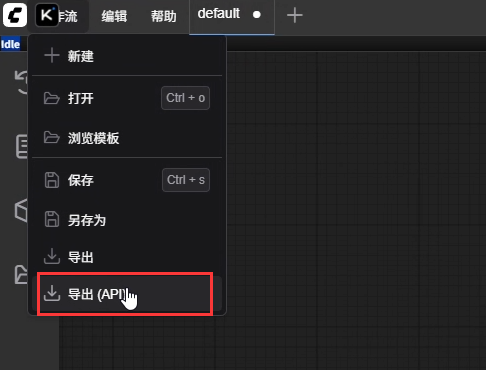
1.通过ComfyUIweb界面导出可复用的工作流模板(prompt内部结构体)
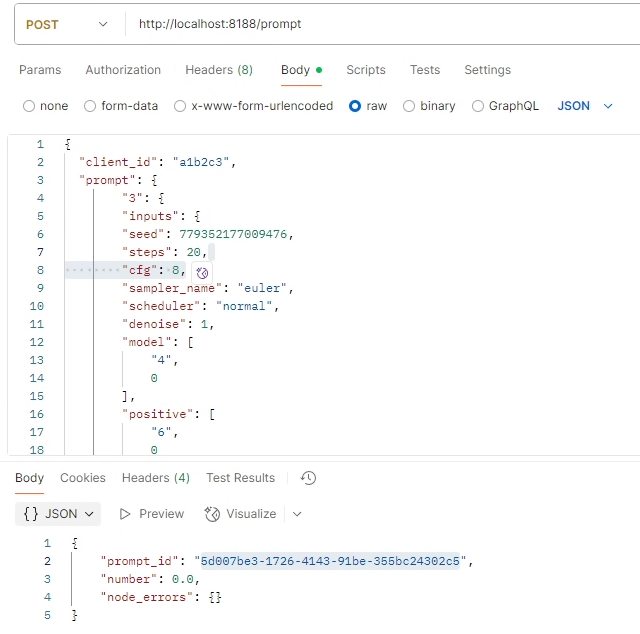
2.通过POST /prompt提交任务
POST /prompt HTTP/1.1
Content-Type: application/json
Authorization: Bearer <key>   # 若启用
Body
{
"client_id": "a1b2c3",
"prompt": {
"3": {
"inputs": {
"seed": 779352177009476,
"steps": 20,
"cfg": 8,
"sampler_name": "euler",
"scheduler": "normal",
"denoise": 1,
"model": [
"4",
0
],
"positive": [
"6",
0
],
"negative": [
"7",
0
],
"latent_image": [
"5",
0
]
},
"class_type": "KSampler",
"_meta": {
"title": "K采样器"
}
},
"4": {
"inputs": {
"ckpt_name": "anything-v5-PrtRE.safetensors"
},
"class_type": "CheckpointLoaderSimple",
"_meta": {
"title": "Checkpoint加载器(简易)"
}
},
"5": {
"inputs": {
"width": 512,
"height": 512,
"batch_size": 1
},
"class_type": "EmptyLatentImage",
"_meta": {
"title": "空Latent图像"
}
},
"6": {
"inputs": {
"text": "beautiful scenery nature glass bottle landscape, , purple galaxy bottle,",
"speak_and_recognation": {
"__value__": [
false,
true
]
},
"clip": [
"4",
1
]
},
"class_type": "CLIPTextEncode",
"_meta": {
"title": "CLIP文本编码"
}
},
"7": {
"inputs": {
"text": "text, watermark",
"speak_and_recognation": {
"__value__": [
false,
true
]
},
"clip": [
"4",
1
]
},
"class_type": "CLIPTextEncode",
"_meta": {
"title": "CLIP文本编码"
}
},
"8": {
"inputs": {
"samples": [
"3",
0
],
"vae": [
"4",
2
]
},
"class_type": "VAEDecode",
"_meta": {
"title": "VAE解码"
}
},
"9": {
"inputs": {
"filename_prefix": "ComfyUI",
"images": [
"8",
0
]
},
"class_type": "SaveImage",
"_meta": {
"title": "保存图像"
}
}
},
"number": 0
}
3.通过GET /queue获取任务队列
curl http://localhost:8188/queue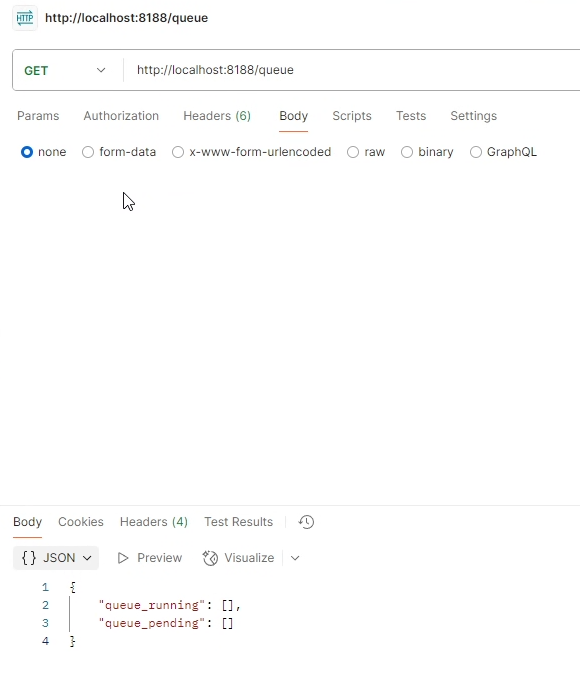
4.通过GET /history/{prompt_id} 获取任务执行结果
curl http://localhost:8188/history/uuid-here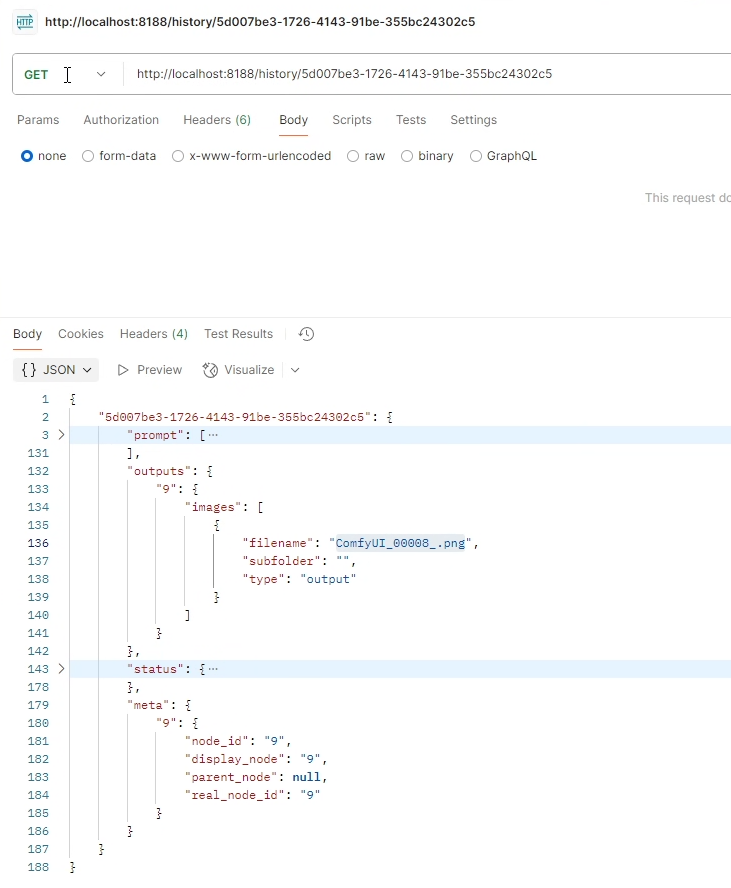
5.通过GET /view获取任务的所有产物
curl "http://localhost:8188/view?filename=ComfyUI_00001_.png&type=output"
ComfyUI完整路由参考https://docs.comfy.org/zh-CN/development/comfyui-server/comms_routes

一座年轻的奋斗人之城,一个温馨的开发者之家。在这里,代码改变人生,开发创造未来!
更多推荐
 0
0 0
0- 0


 已为社区贡献2条内容

所有评论(0)