腾讯云 对象存储COS 作为 kubernetes PV存储卷
本人原文链接为跳转教程尽量简洁在此之前 设定为 已经安装好了 k8s 集群。
·
前言
本人原文链接为 跳转
教程尽量简洁
在此之前 设定为 已经安装好了 k8s 集群
准备
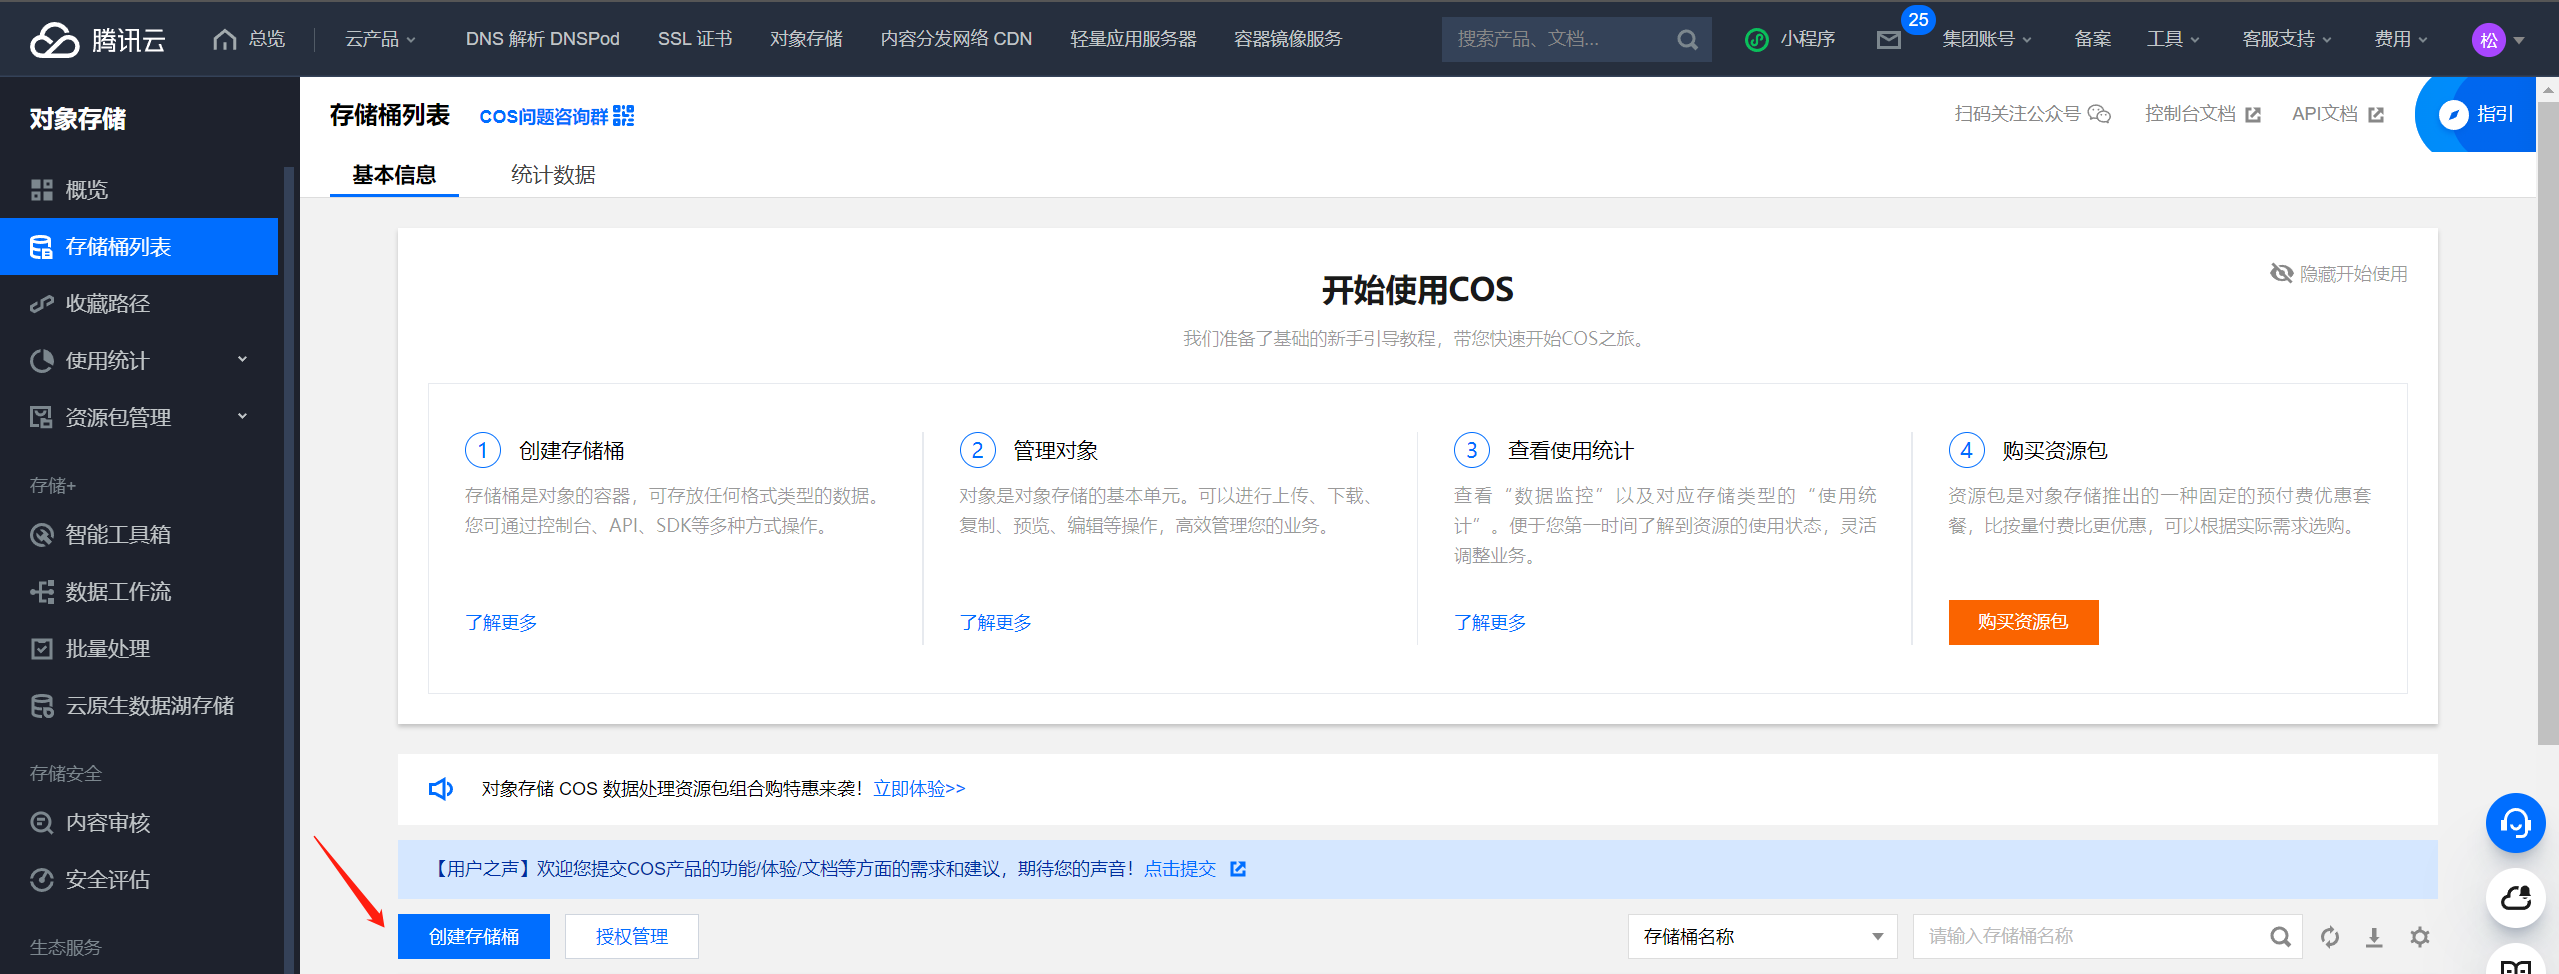
创建存储桶
首先我们需要创建一个COS存储桶 如果有则可跳过

设置桶为私有或者公开都行 因为后面的话我们会使用 访问密钥访问 有账号管理权限

自选一下需要的功能 这边我直接跳过


点击确认后我们就成功创建了一个存储桶
记录一下请求域名 格式为 存储桶名称-用户ID-腾讯云地域域名 后续要用
创建访问密钥
创建一个新的密钥

保存两个值以便接下来用

这样我们就准备好需要提前准备好的信息
安装CSI-COS
拉取代码
拉取代码
git clone https://github.com/TencentCloud/kubernetes-csi-tencentcloud
cd kubernetes-csi-tencentcloud
官方有自己的部署手册 跳转过去
安装环境
- 如果你的k8s版本 >= 1.20
kubectl apply -f deploy/cosfs/kubernetes/csidriver-new.yaml
kubectl apply -f deploy/cosfs/kubernetes/csi-launcher-new.yaml
kubectl apply -f deploy/cosfs/kubernetes/csi-node-rbac.yaml
kubectl apply -f deploy/cosfs/kubernetes/csi-node-new.yaml
- 如果你的k8s版本 = 1.18
kubectl apply -f deploy/cosfs/kubernetes/csidriver-old.yaml
kubectl apply -f deploy/cosfs/kubernetes/csi-launcher-new.yaml
kubectl apply -f deploy/cosfs/kubernetes/csi-node-rbac.yaml
kubectl apply -f deploy/cosfs/kubernetes/csi-node-new.yaml
- 如果你的k8s版本 >= 1.14 && < 1.18
kubectl apply -f deploy/cosfs/kubernetes/csidriver-old.yaml
kubectl apply -f deploy/cosfs/kubernetes/csi-launcher-old.yaml
kubectl apply -f deploy/cosfs/kubernetes/csi-node-rbac.yaml
kubectl apply -f deploy/cosfs/kubernetes/csi-node-old.yaml
创建Secret
kubectl create secret generic csi-cos-secret -n kube-system --from-literal=SecretId=上面创建的访问密钥ID --from-literal=SecretKey=上面创建的访问密钥Key
也可以使用Yaml文件部署 二选一
# 注:需要提前修改文件内ID和Key内容
kubectl apply -f deploy/cosfs/examples/secret.yaml
创建PV,PVC
创建PV
# 编辑 deploy/cosfs/examples/cosfs/pv.yaml 文件
vi deploy/cosfs/examples/cosfs/pv.yaml
文件样例
apiVersion: v1
kind: PersistentVolume
metadata:
  name: csi-cosfs-pv
spec:
  accessModes:
  - ReadWriteMany
  capacity:
    storage: 10Gi
  csi:
    driver: com.tencent.cloud.csi.cosfs
    # Specify a unique volumeHandle like pv name or bucket name
    volumeHandle: csi-cosfs-pv
    volumeAttributes:
      # Replaced by the url of your region.
      url: "http://cos.ap-guangzhou.myqcloud.com"
      # Replaced by the bucket name you want to use.
      bucket: "xxx"
      # cos bucket mount path
      path: "/"
      # cosfs log level, will use node syslog, support [dbg|info|warn|err|crit]
      dbglevel: "err"
      # You can specify any other options used by the cosfs command in here.
      additional_args: "-oensure_diskfree=20480"
    nodePublishSecretRef:
      # Replaced by the name and namespace of your secret.
      name: csi-cos-secret
      namespace: kube-system
需要修改的值
| 参数名称 | 值 | 解释 |
|---|---|---|
| url | http://cos.ap-guangzhou.myqcloud.com | 请注意创建存储桶最后一句话内解释的域名格式不要使用完整域名 |
| bucket | sss-12314453 | 存储桶的完整名称 后面的数字是你的用户ID 和上面说的一样 有解释 |
| path | / | 对应 cos 内的存储目录 默认 / 就行如果你想修改也行 但是提前创建目录 |
剩下值可以缺省 如果你想知道详细内容可以 点击这里
创建PV
kubectl apply -f deploy/cosfs/examples/cosfs/pv.yaml
创建PVC
vi deploy/cosfs/examples/cosfs/pvc.yaml
样例文件
apiVersion: v1
kind: PersistentVolumeClaim
metadata:
  name: csi-cosfs-pvc
spec:
  accessModes:
    - ReadWriteMany
  resources:
    requests:
      storage: 10Gi
  volumeName: csi-cosfs-pv
  storageClassName: ""
你可以修改storage 字段来定义pvc大小 按照你需要的设置 大小又不收费
kubectl apply -f deploy/cosfs/examples/cosfs/pvc.yaml
使用PVC
到这里你应该已经可以用了 我们创建一个pod来测试一下
cat > pod.yaml << EOF
apiVersion: apps/v1
kind: Deployment
metadata:
  labels:
    k8s-app: csi-cosfs-pod
  name: csi-cosfs-pod
spec:
  replicas: 1
  selector:
    matchLabels:
      k8s-app: csi-cosfs-pod
  template:
    metadata:
      labels:
        k8s-app: csi-cosfs-pod
    spec:
      containers:
        - image: nginx
          name: csi-cosfs-pod
          volumeMounts:
            - mountPath: /csi-cosfs
              name: csi-cosfs
      volumes:
        - name: csi-cosfs
          persistentVolumeClaim:
            claimName: csi-cosfs-pvc
EOF
    # 就像创建一个本地卷一样挂载这个就行了
        - name: csi-cosfs
          persistentVolumeClaim:
            claimName: csi-cosfs-pvc
运行pod
kubectl apply -f pod.yaml
更多推荐
 已为社区贡献3条内容


所有评论(0)