
Flutter Hero Animation 详解
·
Flutter Hero Animation 详解
一、Hero Animation 概述
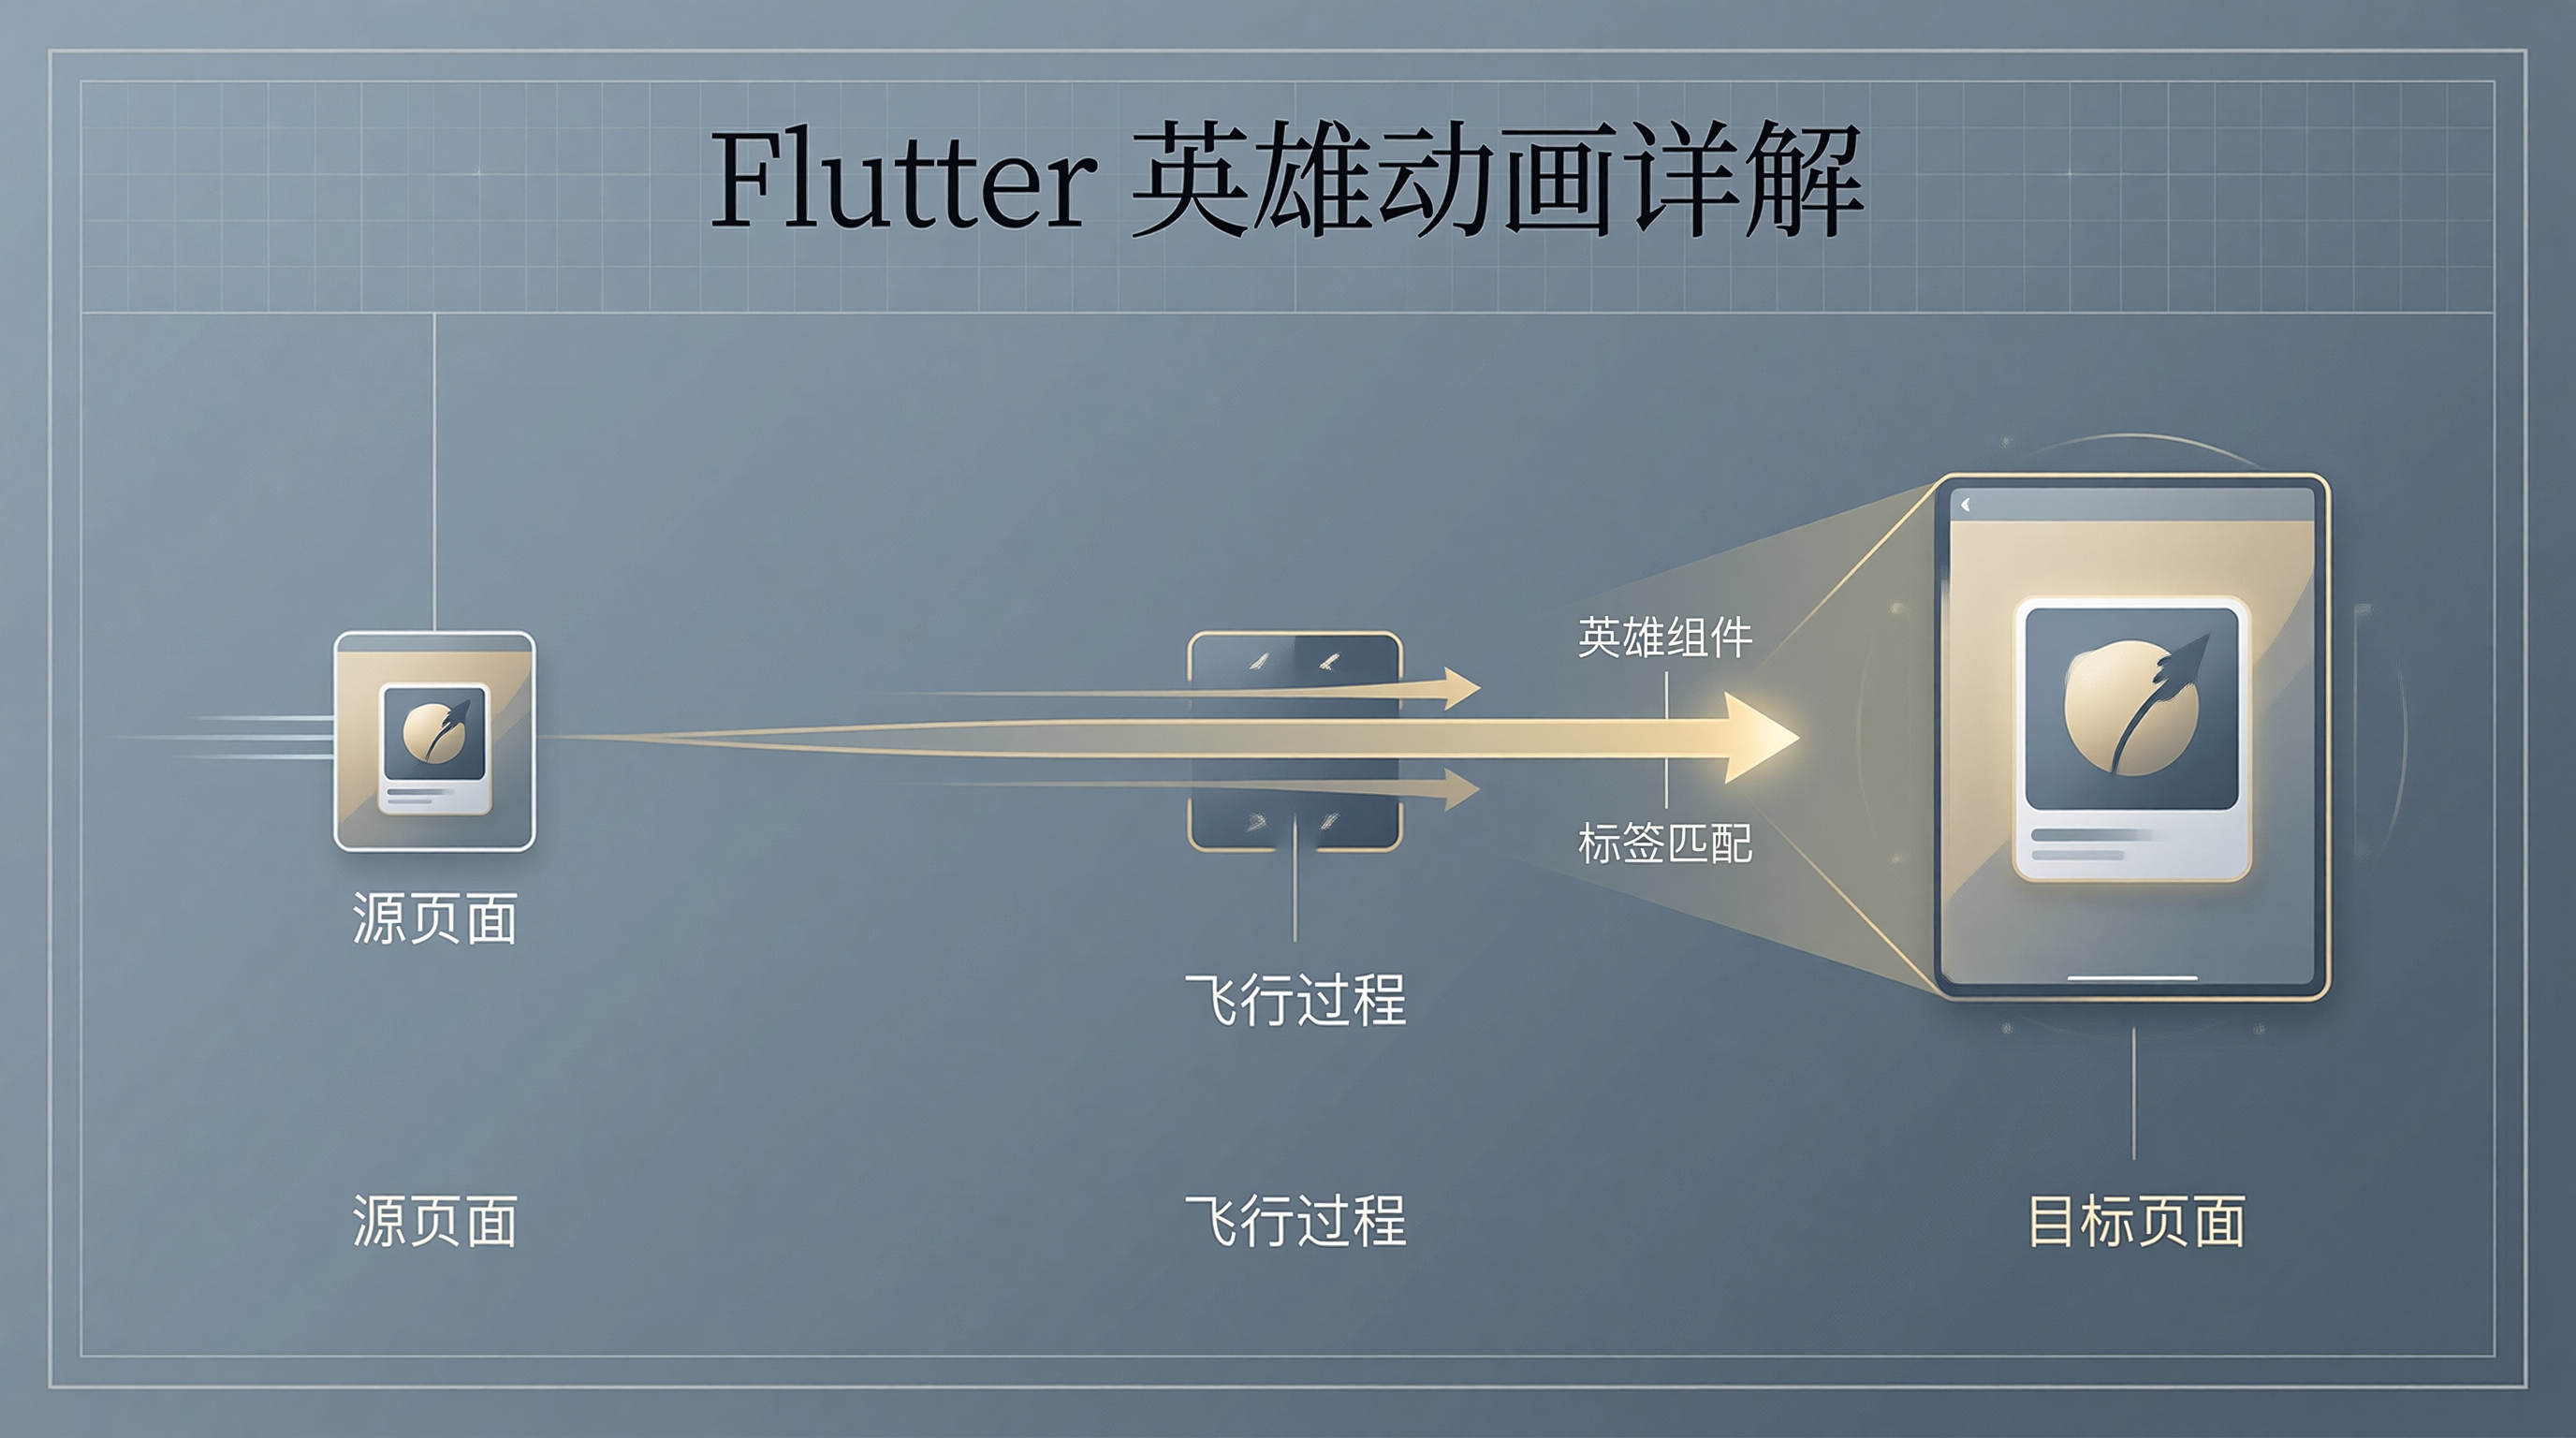
Hero Animation(英雄动画)是 Flutter 中用于页面间共享元素过渡的动画效果。它可以让同一个元素在两个页面之间平滑过渡。
1.1 基本概念
- Hero Widget - 标记为英雄的组件
- Hero Tag - 唯一标识符,用于匹配两个页面的英雄组件
- Flight - 英雄组件从源页面飞到目标页面的过程
二、基本用法
2.1 源页面
class SourcePage extends StatelessWidget {
  const SourcePage({super.key});

  @override
  Widget build(BuildContext context) {
    return Scaffold(
      appBar: AppBar(title: const Text('源页面')),
      body: Center(
        child: GestureDetector(
          onTap: () {
            Navigator.push(
              context,
              MaterialPageRoute(builder: (_) => const TargetPage()),
            );
          },
          child: const Hero(
            tag: 'imageHero',
            child: Image(
              image: AssetImage('assets/image.jpg'),
              width: 100,
              height: 100,
            ),
          ),
        ),
      ),
    );
  }
}
2.2 目标页面
class TargetPage extends StatelessWidget {
  const TargetPage({super.key});

  @override
  Widget build(BuildContext context) {
    return Scaffold(
      appBar: AppBar(title: const Text('目标页面')),
      body: const Center(
        child: Hero(
          tag: 'imageHero',
          child: Image(
            image: AssetImage('assets/image.jpg'),
            width: 300,
            height: 300,
          ),
        ),
      ),
    );
  }
}
三、自定义 Hero 动画
3.1 使用 HeroController
class CustomHeroController extends HeroController {
  @override
  Animation<double> createHeroFlightAnimation(
    HeroFlightDirection direction,
    Animation<double> overallAnimation,
    Hero hero,
    BuildContext context,
  ) {
    return CurvedAnimation(
      parent: overallAnimation,
      curve: direction == HeroFlightDirection.push
          ? Curves.easeOut
          : Curves.easeIn,
    );
  }
}
3.2 使用 flightShuttleBuilder
Hero(
  tag: 'customHero',
  flightShuttleBuilder: (
    BuildContext flightContext,
    Animation<double> animation,
    HeroFlightDirection flightDirection,
    BuildContext fromHeroContext,
    BuildContext toHeroContext,
  ) {
    return ScaleTransition(
      scale: animation,
      child: const Image(image: AssetImage('assets/image.jpg')),
    );
  },
  child: const Image(image: AssetImage('assets/image.jpg')),
)
3.3 使用 placeholderBuilder
Hero(
  tag: 'placeholderHero',
  placeholderBuilder: (context, heroSize, child) {
    return Container(
      width: heroSize.width,
      height: heroSize.height,
      color: Colors.grey[200],
      child: const CircularProgressIndicator(),
    );
  },
  child: const Image(image: AssetImage('assets/image.jpg')),
)
四、实战案例
4.1 图片画廊
class GalleryPage extends StatelessWidget {
  const GalleryPage({super.key});

  @override
  Widget build(BuildContext context) {
    return GridView.builder(
      gridDelegate: const SliverGridDelegateWithFixedCrossAxisCount(
        crossAxisCount: 3,
        crossAxisSpacing: 8,
        mainAxisSpacing: 8,
      ),
      itemCount: 9,
      itemBuilder: (context, index) {
        return GestureDetector(
          onTap: () {
            Navigator.push(
              context,
              PageRouteBuilder(
                pageBuilder: (_, __, ___) => DetailPage(index: index),
                transitionsBuilder: (_, animation, __, child) {
                  return FadeTransition(
                    opacity: animation,
                    child: child,
                  );
                },
              ),
            );
          },
          child: Hero(
            tag: 'gallery-$index',
            child: Image.network(
              'https://picsum.photos/200/200?random=$index',
              fit: BoxFit.cover,
            ),
          ),
        );
      },
    );
  }
}
4.2 卡片详情过渡
class CardDetailPage extends StatelessWidget {
  final int index;

  const CardDetailPage({super.key, required this.index});

  @override
  Widget build(BuildContext context) {
    return Scaffold(
      body: CustomScrollView(
        slivers: [
          SliverAppBar(
            expandedHeight: 300,
            flexibleSpace: FlexibleSpaceBar(
              background: Hero(
                tag: 'card-image-$index',
                child: Image.network(
                  'https://picsum.photos/600/400?random=$index',
                  fit: BoxFit.cover,
                ),
              ),
            ),
          ),
          const SliverToBoxAdapter(
            child: Padding(
              padding: EdgeInsets.all(16),
              child: Text('卡片详情内容...'),
            ),
          ),
        ],
      ),
    );
  }
}
4.3 多个 Hero 动画
// 源页面
Row(
  children: [
    Hero(
      tag: 'avatar',
      child: const CircleAvatar(radius: 40),
    ),
    const SizedBox(width: 16),
    Hero(
      tag: 'name',
      child: const Text('用户名'),
    ),
  ],
)

// 目标页面
Column(
  children: [
    Hero(
      tag: 'avatar',
      child: const CircleAvatar(radius: 80),
    ),
    const SizedBox(height: 16),
    Hero(
      tag: 'name',
      child: const Text('用户名', style: TextStyle(fontSize: 24)),
    ),
  ],
)
五、性能优化
5.1 使用 RepaintBoundary
Hero(
  tag: 'complexHero',
  child: RepaintBoundary(
    child: const ComplexWidget(),
  ),
)
5.2 避免复杂 Widget
// 不好:复杂 Widget 作为 Hero 子组件
Hero(
  tag: 'badHero',
  child: Container(
    child: Column(
      children: [/* 很多子组件 */],
    ),
  ),
)

// 好:简化子组件
Hero(
  tag: 'goodHero',
  child: const Image(image: AssetImage('assets/image.jpg')),
)
六、总结
Hero Animation 是页面过渡的强大工具:
- 基本用法 - 使用 Hero Widget 和相同的 tag
- 自定义动画 - flightShuttleBuilder、placeholderBuilder
- 多 Hero - 同时过渡多个元素
- 性能优化 - 使用 RepaintBoundary、简化子组件
合理使用 Hero 动画可以提升用户体验。
更多推荐
 13
13 0
0- 0


 已为社区贡献72条内容

所有评论(0)