
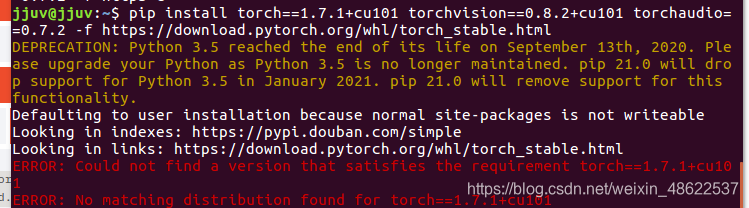
pytorch安装
·
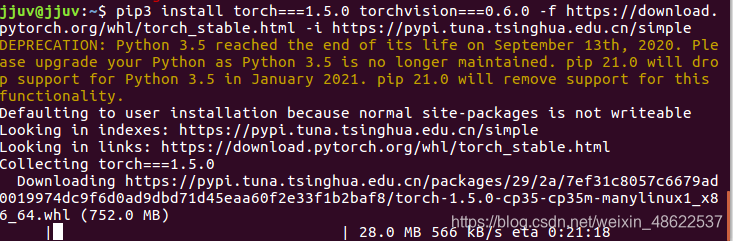
pip3 install torch===1.5.0 torchvision===0.6.0 -f https://download.pytorch.org/whl/torch_stable.html -i https://pypi.tuna.tsinghua.edu.cn/simple
import torch 报错
报错ImportError: numpy.core.multiarray failed to import
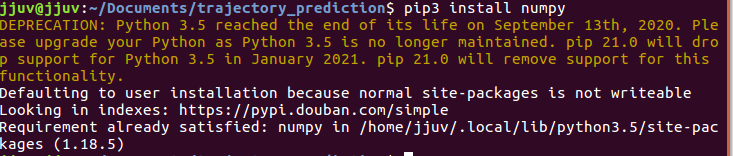
pip uninstall numpy
pip install numpy
即可
测试cuda
import torch
print(torch.cuda.is_available())
NumPy 安装
sudo apt-get install python-numpy python-scipy python-matplotlib ipython ipython-notebook python-pandas python-sympy python-nose
NumPy更新
pip install --upgrade numpy
python查看pytorch版本
import torch
print(torch.__version__)
换清华源下载pytorch
conda config --add channels https://mirrors.tuna.tsinghua.edu.cn/anaconda/pkgs/free/
conda config --add channels https://mirrors.tuna.tsinghua.edu.cn/anaconda/pkgs/main/
conda config --set show_channel_urls yes
conda config --add channels https://mirrors.tuna.tsinghua.edu.cn/anaconda/cloud/pytorch/
pytorch官网——下载previous version
记住将最后的-c pytorch去掉!这样才是从清华源下载,否则是从官网下载,很慢很慢。
虚拟环境安装指定版本的pytorch
- 安装
bash + 制定版本的Anconda.sh
- 查看系统已有的conda环境
conda info --envs
- 创建虚拟环境,qq指的是你的虚拟环境名称(随意)
conda create -n qq python=3.6.1
- 进入虚拟环境qq
source activate qq
- 安装指定版本pytorch,我这里安装的是1.6版本
conda install pytorch==1.6.0 torchvision==0.7.0 cudatoolkit=10.1
注意,此时仅仅是在终端的torch版本改变成1.6而已!!!
- 还需要jupyter notebook中添加虚拟环境
conda install nb_conda
恭喜!这样你就可以在jupyter notebook中使用1.6版本的torch了

免费领 200 小时云算力,进群参与显卡、AI PC 幸运抽奖
更多推荐

 0
0 0
0- 0


 已为社区贡献1条内容

所有评论(0)