
ELK的搭建—Elasticsearch-8.11.3的安装及集群的搭建
应用场景:信息检索,旅游网站,滴滴车离我多远。
·
应用场景:信息检索,旅游网站,滴滴车离我多远
一、Elasticsearch服务的安装部署
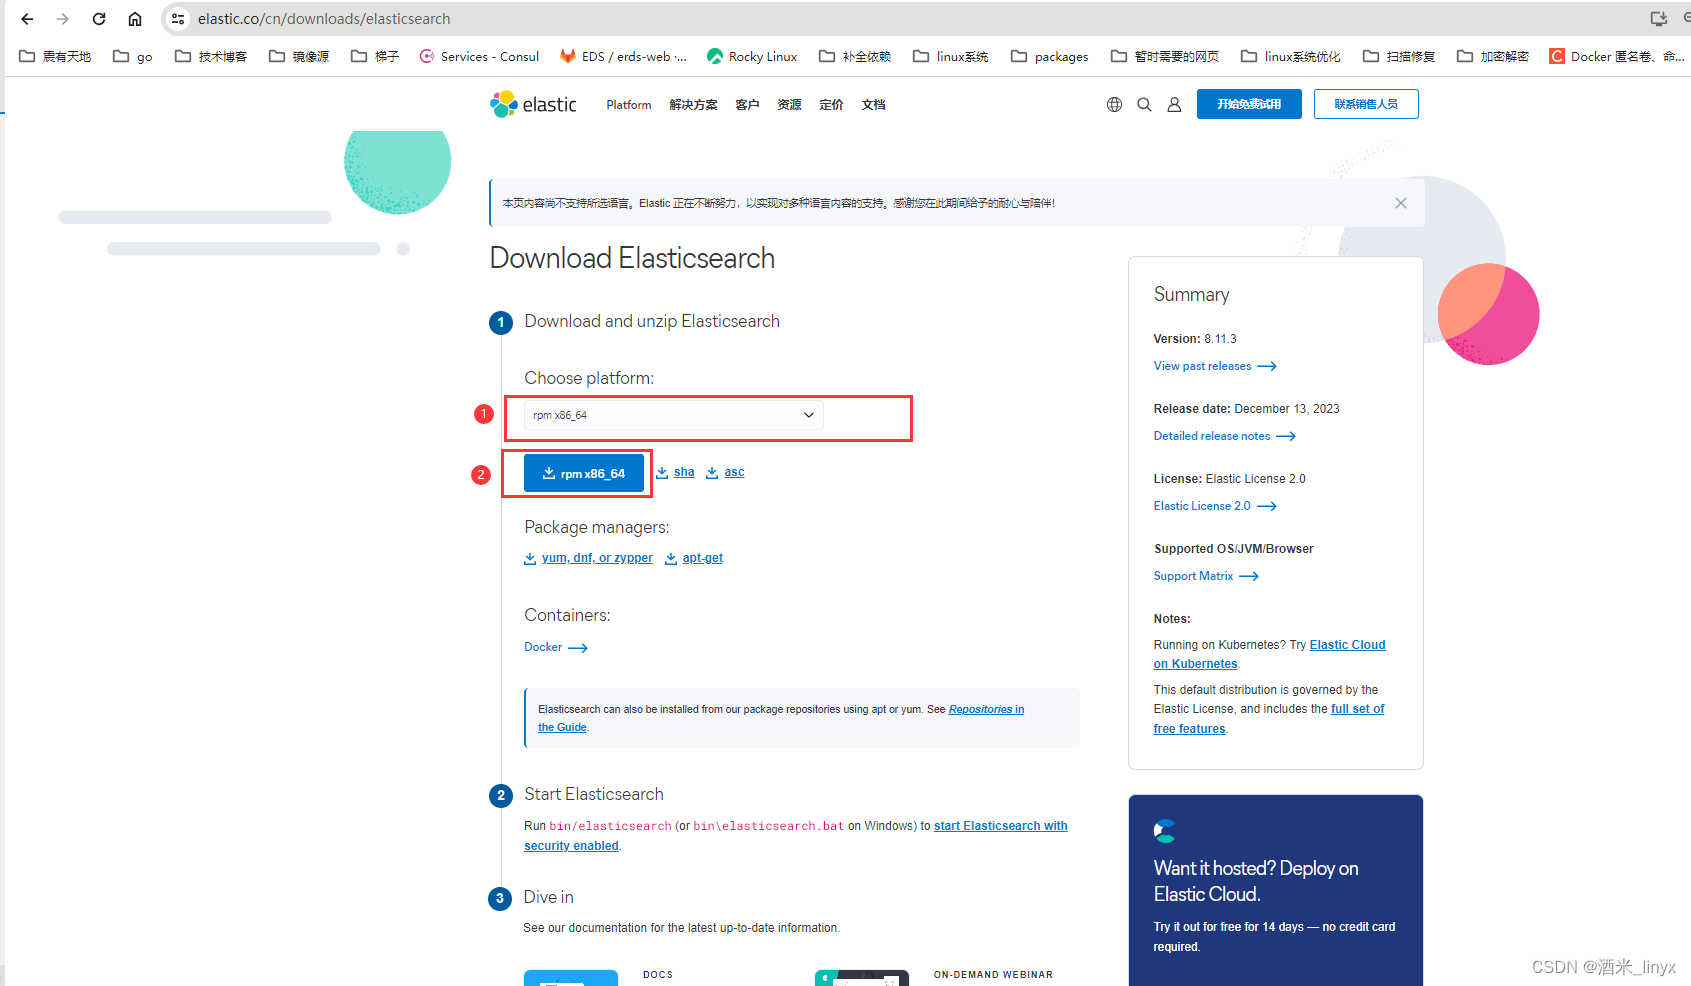
1. Elasticsearch的rpm包下载
es官方下载网址:https://www.elastic.co/cn/downloads/elasticsearch
2. 安装Elasticsearch服务
#安装Elasticsearch(一般说成es)的rpm包
[root@erds-node ~]# rpm -ivh elasticsearch-8.11.3-x86_64.rpm
warning: elasticsearch-8.11.3-x86_64.rpm: Header V4 RSA/SHA512 Signature, key ID d88e42b4: NOKEY
Updating / installing...
   1:elasticsearch-0:8.11.3-1         ################################# [100%]

--------------------------- Security autoconfiguration information ------------------------------

Authentication and authorization are enabled.
TLS for the transport and HTTP layers is enabled and configured.

#!!!!!!!!注意: 此处的Jg+*c_O-bhFlK3jZvm54为Elasticsearch服务的用户elastic的密钥
The generated password for the elastic built-in superuser is : Jg+*c_O-bhFlK3jZvm54

If this node should join an existing cluster, you can reconfigure this with
'/usr/share/elasticsearch/bin/elasticsearch-reconfigure-node --enrollment-token <token-here>'
after creating an enrollment token on your existing cluster.

You can complete the following actions at any time:

Reset the password of the elastic built-in superuser with
'/usr/share/elasticsearch/bin/elasticsearch-reset-password -u elastic'.

Generate an enrollment token for Kibana instances with
 '/usr/share/elasticsearch/bin/elasticsearch-create-enrollment-token -s kibana'.

Generate an enrollment token for Elasticsearch nodes with
'/usr/share/elasticsearch/bin/elasticsearch-create-enrollment-token -s node'.

-------------------------------------------------------------------------------------------------
### NOT starting on installation, please execute the following statements to configure elasticsearch service to start automatically using systemd
 sudo systemctl daemon-reload
 sudo systemctl enable elasticsearch.service
### You can start elasticsearch service by executing
 sudo systemctl start elasticsearch.service

#重载system配置
[root@erds-node ~]# systemctl daemon-reload
#设置开机自启,并启动服务
[root@erds-node ~]# systemctl enable --now  elasticsearch.service
Created symlink from /etc/systemd/system/multi-user.target.wants/elasticsearch.service to /usr/lib/systemd/system/elasticsearch.service.
3. 设置系统资源及内存大小分配
es节点非常消耗资源需调整内核参数如下:
[root@localhost ~]# vi /etc/security/limits.conf
* soft nofile 65536
* hard nofile 65536
* soft nproc 65536
* hard nproc 65536
* soft  memlock  unlimited
* hard memlock  unlimited
elasticsearch -  nofile  65535     #添加此行,设置最大文件数
elasticsearc   -  nproc  4096      #添加此行,设置最大线程数

[root@erds-node ~]# echo "vm.max_map_count=262144" >> /etc/sysctl.conf
[root@erds-node ~]# sysctl -p
vm.max_map_count = 262144
锁定elasticsearch使用内存的大小(可不调整,使用默认值)
[root@localhost elasticsearch]# vi jvm.options

	  ##可在此处修改elasticsearch默认占用的内存大小,根据自己系统内存大小进行设定,默认为4G
	  ## -Xms4g
	  ## -Xmx4g

[root@localhost ~]# vi /usr/lib/systemd/system/elasticsearch.service

      # Specifies the maximum size of virtual memory
      LimitAS=infinity
      LimitMEMLOCK=infinity         ####添加此行 :限制内存锁定

[root@localhost ~]# systemctl daemon-reload
[root@localhost ~]# cd /etc/elasticsearch/
[root@localhost elasticsearch]# vi elasticsearch.yml

      # Lock the memory on startup:
      bootstrap.memory_lock: true   #取消此行注释,内存锁定,索斯设置的1G内存
4. Elasticsearch的配置修改
[root@localhost elasticsearch]# cat elasticsearch.yml
#数据存储目录
path.data: /var/lib/elasticsearch
#日志存储目录
path.logs: /var/log/elasticsearch
#默认情况下,Elasticsearch只能在本地主机上访问,设置为0.0.0.0可在任意主机上使用https://IP:9200进行访问
network.host: 0.0.0.0
#设置Elasticsearch监听端口,默认为9200
http.port: 9200
#集群的主机列表,主机IP之间以”,“隔开
discovery.seed_hosts: ["localhost.localdomain"]
#允许从任意主机进行HTTPS访问,不过需要用户登录认证(用户:elastic;安装时提示的密码:Jg+*c_O-bhFlK3jZvm54)
http.host: 0.0.0.0
二、建立Elasticsearch集群
1. 安装Elasticsearch主节点server1
注意:此处步骤看目录的第一大点所有步骤进行操作: ”一、Elasticsearch服务的安装部署“;server1的安装,只有其配置文件不同
2. 配置server1,及配置文件的详解
[root@localhost elasticsearch]# cat elasticsearch.yml
# ---------------------------------- Cluster -----------------------------------
#集群名称
cluster.name: my-es
# ------------------------------------ Node ------------------------------------
#节点名称
node.name: server1
# ----------------------------------- Paths ------------------------------------
#数据存储目录
path.data: /var/lib/elasticsearch

#日志存储目录
path.logs: /var/log/elasticsearch
# ----------------------------------- Memory -----------------------------------
#启动时是否锁定内存资源的占用
bootstrap.memory_lock: true
# ---------------------------------- Network -----------------------------------
#设置为0.0.0.0监听本机所有的接口地址,可在任意主机上使用https://IP:9200进行访问
network.host: 0.0.0.0

#设置Elasticsearch监听端口,默认为9200
http.port: 9200
# --------------------------------- Discovery ----------------------------------
#集群的主机列表,主机IP之间以”,“隔开
discovery.seed_hosts: ["10.8.109.166","10.8.109.170","10.8.109.171"]

#使用符合主条件的初始节点集引导群集
#cluster.initial_master_nodes: ["node-1", "node-2"]
# ---------------------------------- Various -----------------------------------
# 是否允许通配符删除索引,默认是拒绝
#action.destructive_requires_name: false
# --------------------------------------------------------------------------------
#是否启用安全功能,默认启用
xpack.security.enabled: true
xpack.security.enrollment.enabled: true

#为HTTP API客户端连接(如Kibana、Logstash和Agent)启用加密
xpack.security.http.ssl:
  enabled: true
  keystore.path: certs/http.p12

#启用群集节点之间的加密和相互身份验证
xpack.security.transport.ssl:
  enabled: true
  verification_mode: certificate
  keystore.path: certs/transport.p12
  truststore.path: certs/transport.p12

#指定master节点范围(此处可用主机名,使用主机名时必须能进行DNS解析)
cluster.initial_master_nodes: ["10.8.109.166","10.8.109.170","10.8.109.171"]

#允许从任意主机进行HTTPS访问,不过需要用户登录认证(用户:elastic;安装时提示的密码:Jg+*c_O-bhFlK3jZvm54)
http.host: 0.0.0.0

#允许其他节点通过加密和相互验证加入群集
#transport.host: 0.0.0.0
3. 重启elasticsearch的server1节点
[root@localhost elasticsearch]# systemctl restart elasticsearch
[root@localhost elasticsearch]# ss -antlp |grep 9200
LISTEN     0      32768     [::]:9200                  [::]:*                   users:(("java",pid=3736,fd=446))

#访问页面
curl --cacert /etc/elasticsearch/certs/http_ca.crt -u elastic:sz90w5zHSpSohfTp82jv  https://127.0.0.1:9200
1. 安装Elasticsearch主节点server2
注意:此处步骤看目录的第一大点所有步骤进行操作: ”一、Elasticsearch服务的安装部署“;server2的安装,只有其配置文件不同
2. 配置server2,及配置文件的详解
[root@erds-node elasticsearch]# cat elasticsearch.yml
cluster.name: my-es     #集群名需与server1一致
node.name: server2      #本机名称
path.data: /var/lib/elasticsearch
path.logs: /var/log/elasticsearch
bootstrap.memory_lock: true
network.host: 0.0.0.0    #监听本机所有的接口地址
http.port: 9200
discovery.seed_hosts: ["10.8.109.166","10.8.109.170","10.8.109.171"]
cluster.initial_master_nodes: ["10.8.109.166","10.8.109.170","10.8.109.171"]
3. 重启elasticsearch的server2节点
[root@localhost elasticsearch]# systemctl restart elasticsearch
[root@localhost elasticsearch]# ss -antlp |grep 9200
LISTEN     0      32768     [::]:9200                  [::]:*                   users:(("java",pid=3736,fd=446))

#访问页面
curl --cacert /etc/elasticsearch/certs/http_ca.crt -u elastic:Jg+*c_O-bhFlK3jZvm54 https://127.0.0.1:9200
1. 安装Elasticsearch主节点server3步骤与server2相同
安装完成可输入进行检验:curl --cacert /etc/elasticsearch/certs/http_ca.crt -u elastic:x43LqggxgjpgeHErXY3d https://127.0.0.1:9200
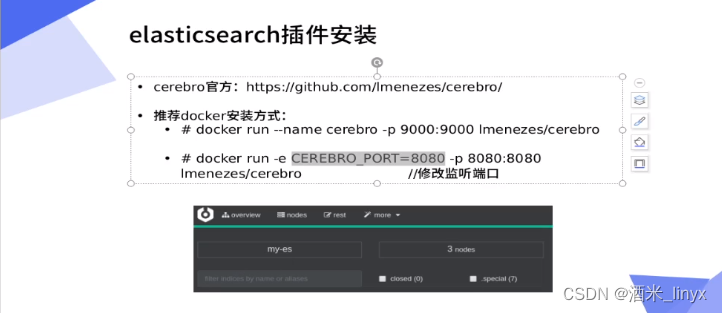
三、 elasticsearch插件的安装
**

一起探索未来云端世界的核心,云原生技术专区带您领略创新、高效和可扩展的云计算解决方案,引领您在数字化时代的成功之路。
更多推荐


 15
15 0
0- 0


 已为社区贡献1条内容

所有评论(0)