
【Flutter】MacOS 平台 Flutter 环境安装 ① ( 安装 MacOS 中的支持软件 | 安装 Flutter 3.41.7 开发环境 | 安装 Xode 及相关工具 )
文章目录
参考 配置 iOS 开发 官方文档进行 环境配置 ;
一、安装 MacOS 中的支持软件
1、安装 homebrew
homebrew 官方地址 https://brew.sh/ , 官方提供的安装命令为 :
/bin/bash -c "$(curl -fsSL https://raw.githubusercontent.com/Homebrew/install/HEAD/install.sh)"
这里我们使用的是 zsh 命令行 , 使用下面的命令 安装 homebrew ;
安装 homebrew 工具 , 参考 【FFmpeg】在 Mac OS 中编译 FFmpeg 源码 ① ( homebrew 安装 | 通过 gitee 源安装 homebrew | 安装 FFmpeg 编译所需的软件包 ) 博客 进行安装 ;
执行如下 Shell 命令 , 安装 homebrew ,
/bin/zsh -c "$(curl -fsSL https://gitee.com/cunkai/HomebrewCN/raw/master/Homebrew.sh)"
这是 Gitee 源 Shell 脚本 , 下载后会自动执行该 Shell 脚本 , 按照提示进行下一步下一步操作即可 ;
2、安装 zsh
zsh 是 Shell ( 命令行解释器 ) , Mac 现在默认就是 zsh , 一般不需要去官网下载安装 ;
" Oh My Zsh " 是 zsh 的配置框架 , 用于 主题、插件、一键美化 ;
执行
brew install zsh
命令 , 可以更新到最新版 ;
3、安装 Git
执行
brew install git
命令 , 即可安装 Git 工具 ;
4、安装 Rosetta 2
Rosetta 2 是苹果在 2020 年随 macOS Big Sur 推出的 " x86_64 → ARM64 动态二进制转译器 " , 作用就是 让原来为 Intel ( x86 ) 写的 Mac 软件 , 能在 Apple Silicon ( M1/M2/M3 等 ARM 架构 ) Mac 上直接跑 , 不用开发者重新编译 , 用户也不用做额外设置 ;
- 2020 年前 : Mac 用 Intel CPU ( x86_64 复杂指令集 )
- 2020 年后 : 改用自研 Apple Silicon ( ARM64 精简指令集 )
两种 CPU " 语言不通 " , Intel 程序不能直接在 ARM 上运行 , Rosetta 2 就是实时翻译官 , 把 x86 指令翻译成 ARM 能懂的指令
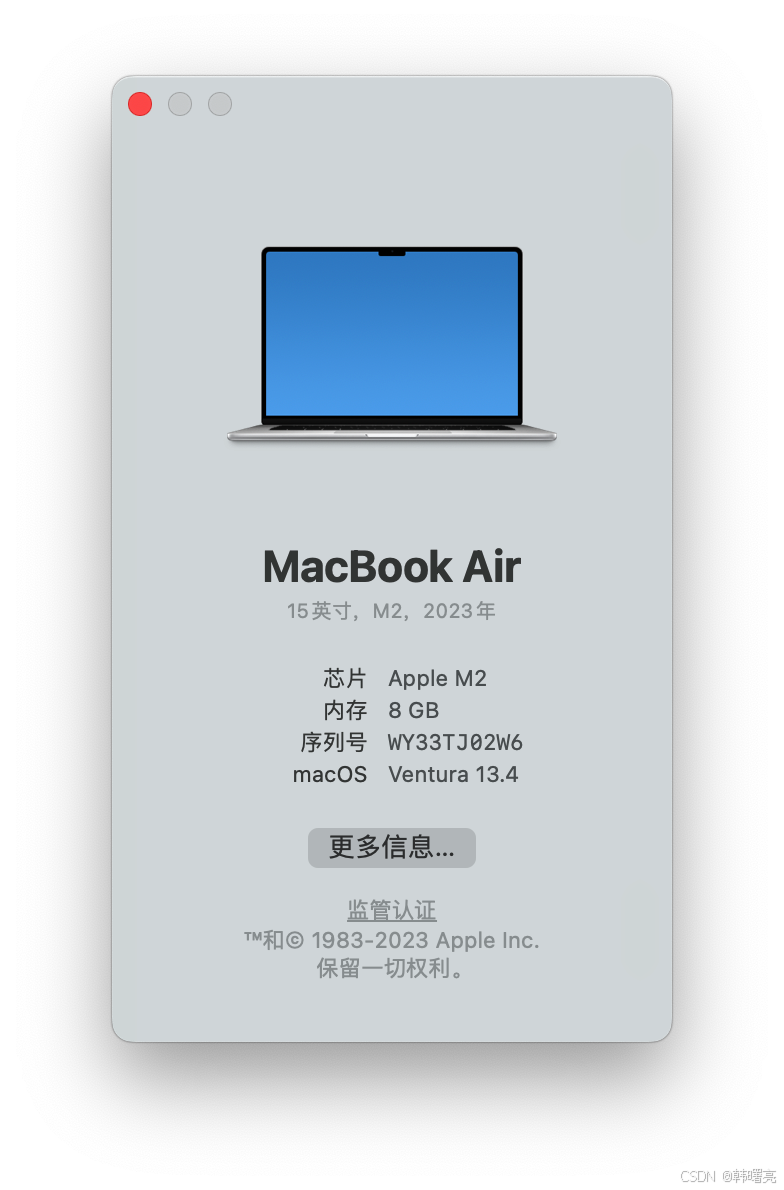
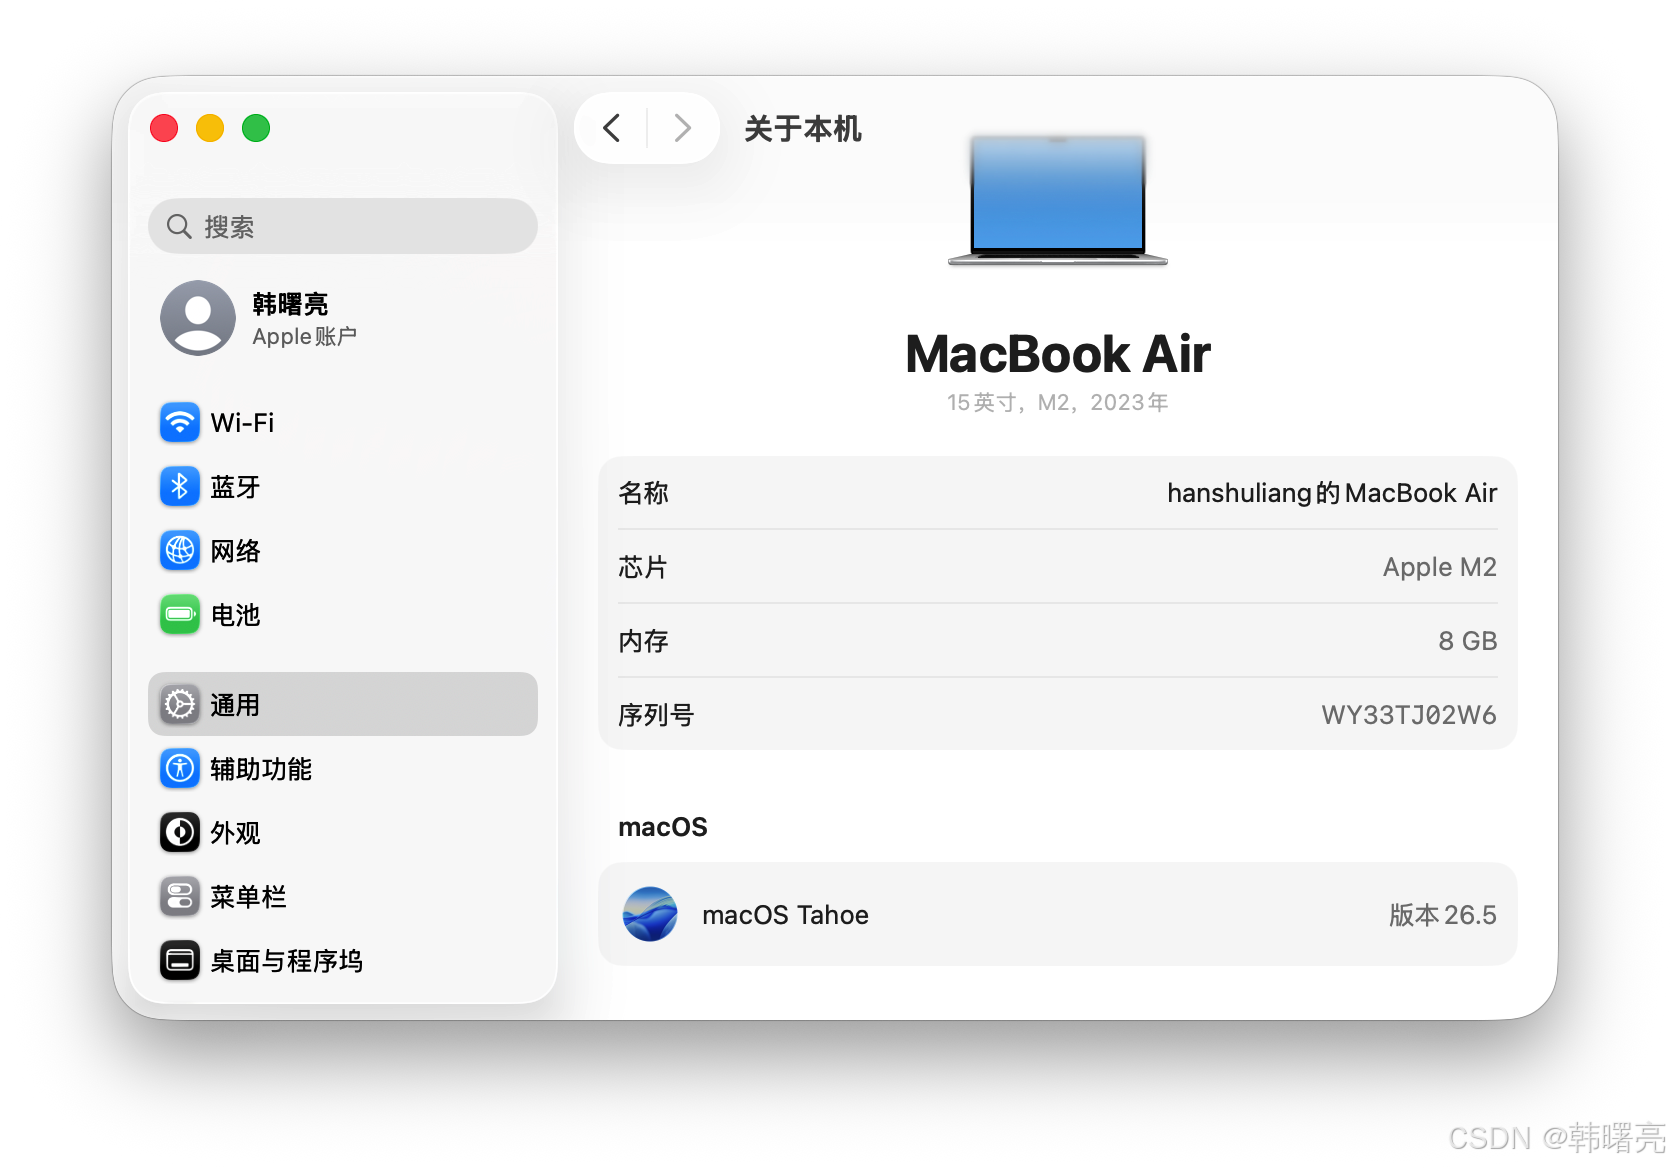
查看 Mac 的 芯片类型 , 如果不是 Intel 芯片 , 是 M1 / M2 / M3 苹果芯片 , 则需要安装 Rosetta2 , 这是为了提高 Flutter 开发的兼容性 , 一些 Flutter 组件需要 Rosetta2 进行转译 , 没有安装可能会报错 ;
执行
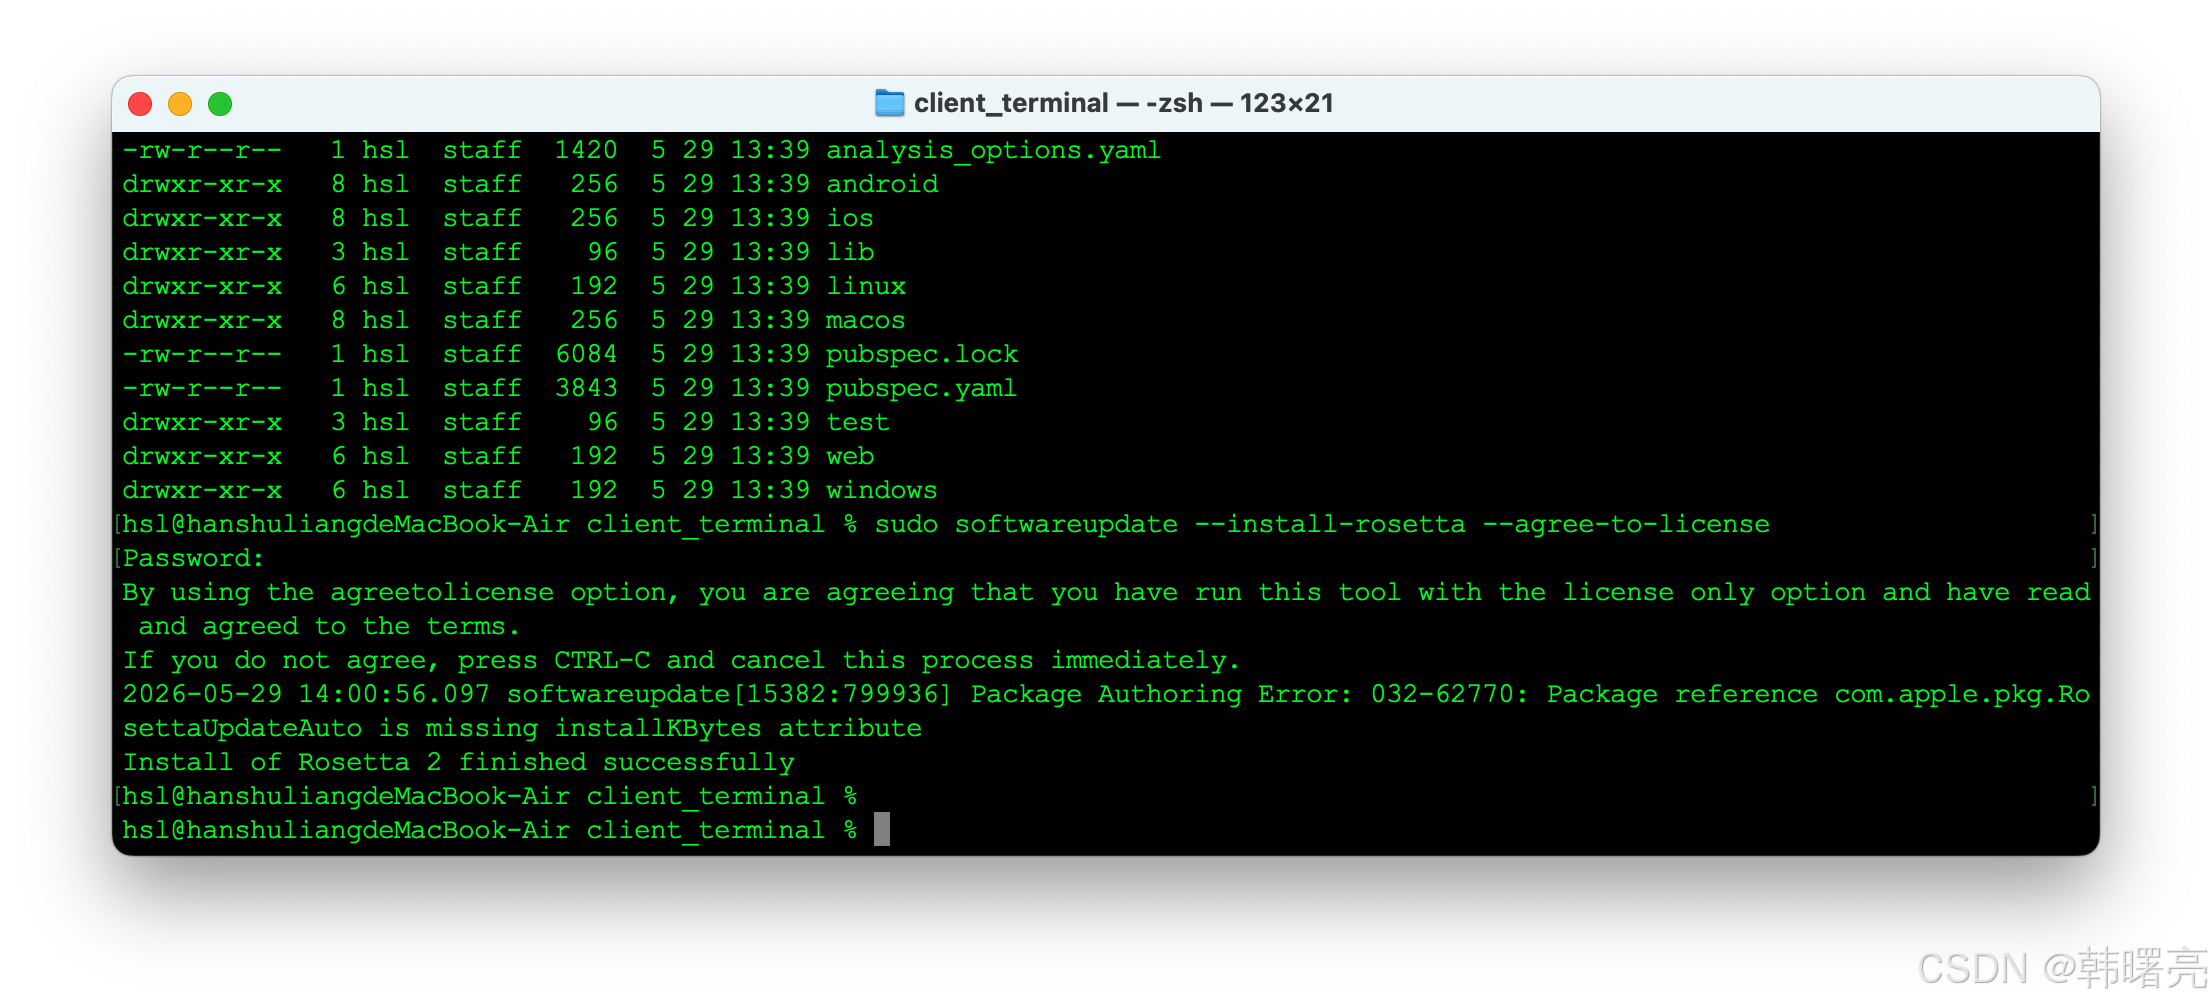
sudo softwareupdate --install-rosetta --agree-to-license
命令 , 安装 Rosetta 2 ;
执行结果 :
hsl@hanshuliangdeMacBook-Air client_terminal % sudo softwareupdate --install-rosetta --agree-to-license
Password:
By using the agreetolicense option, you are agreeing that you have run this tool with the license only option and have read and agreed to the terms.
If you do not agree, press CTRL-C and cancel this process immediately.
2026-05-29 14:00:56.097 softwareupdate[15382:799936] Package Authoring Error: 032-62770: Package reference com.apple.pkg.RosettaUpdateAuto is missing installKBytes attribute
Install of Rosetta 2 finished successfully
查看电脑的芯片版本 , 我的是 M2 苹果芯片 , 这里必须安装该工具 ;
二、安装 Flutter 开发环境
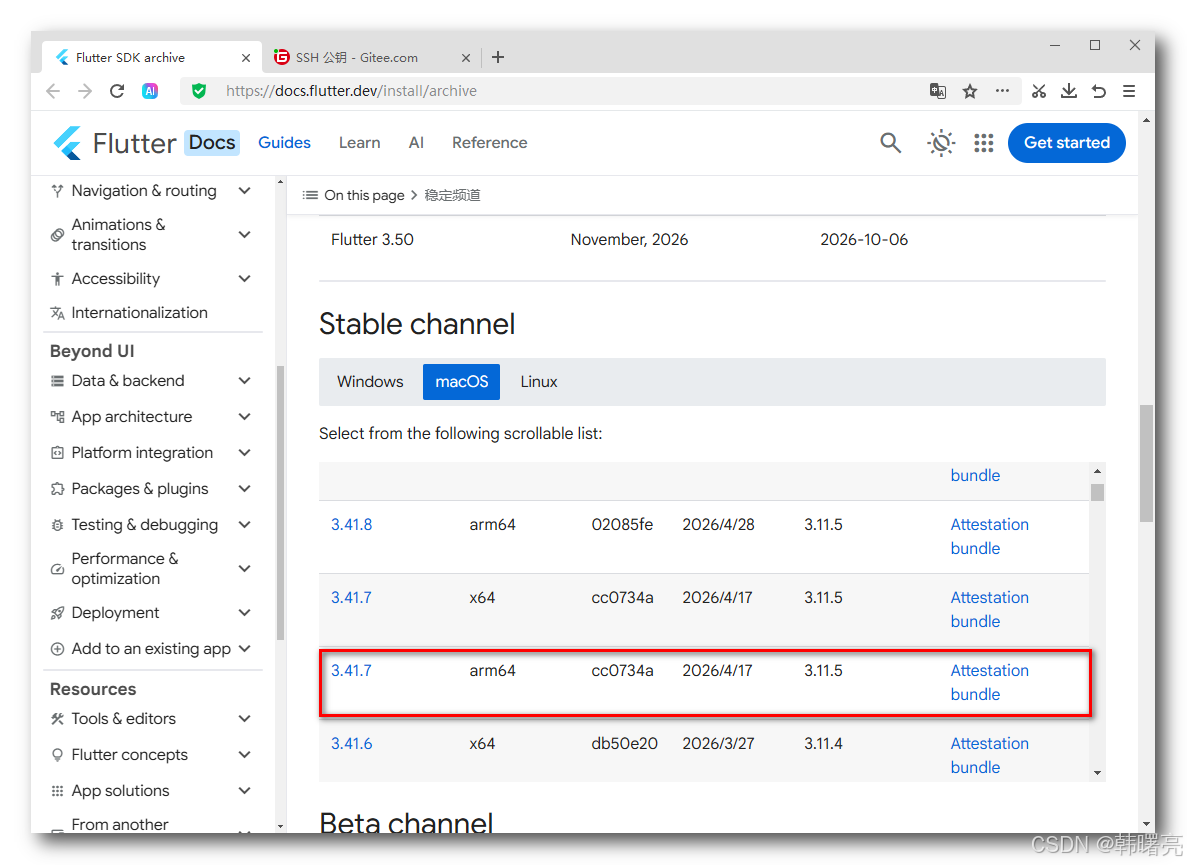
1、下载 Flutter 3.41.7
下载地址 : https://docs.flutter.dev/install/archive
我的 Mac 是 M2 苹果芯片 , 需要下载 arm64 版本 ;
如果上面的链接下载失败 , 可以考虑使用 https://storage.flutter-io.cn/flutter_infra_release/releases/stable/windows/flutter_windows_3.41.7-stable.zip 链接下载 , 这是国内镜像下载链接 ;
2、安装 Flutter 3.41.7
使用 默认归档工具打开 下载好的 flutter_macos_arm64_3.41.7-stable.zip 压缩包 , 就会自动解压到当前目录 , 解压后的 flutter 目录如下 :
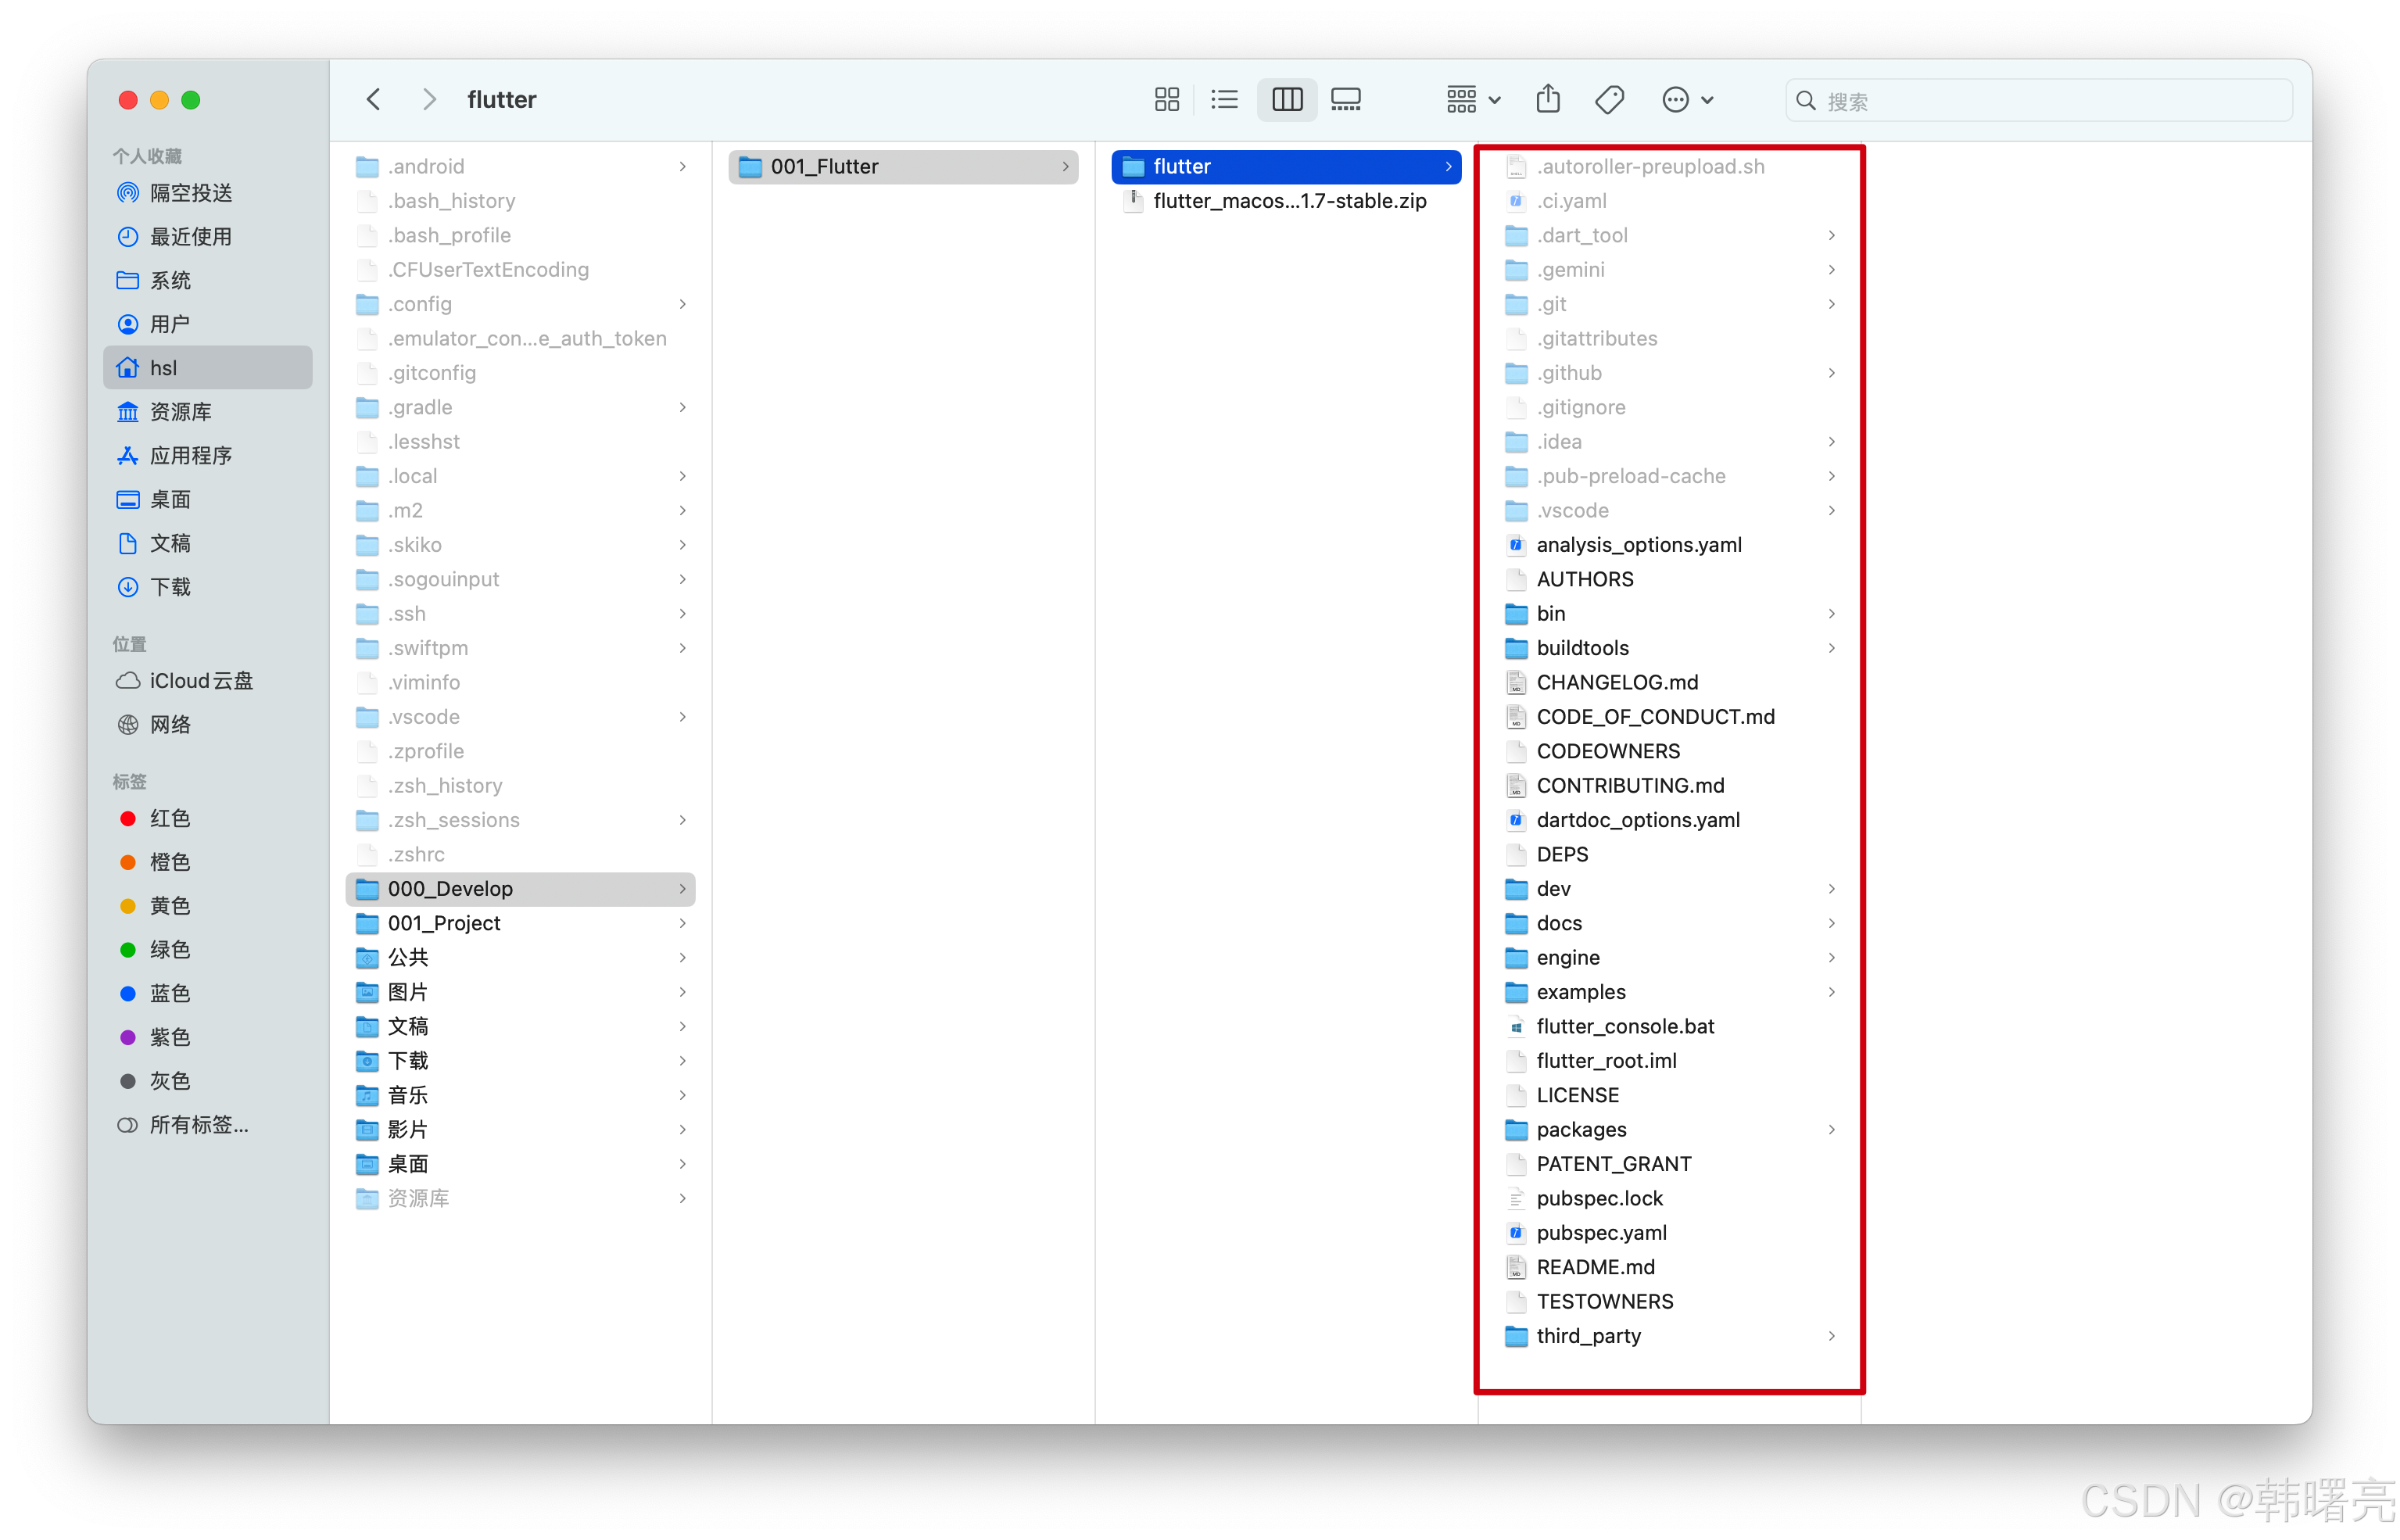
Flutter SDK 的根目录是 “ /Users/hsl/000_Develop/001_Flutter/flutter/ ” ;
3、配置 Flutter 环境变量
使用编辑器打开 ~/.zshrc 配置文件 , 这是运行 shell 脚本之前 自动执行的 Shell 命令 ;
在原来的基础上 , 添加如下内容 :
export PATH="${PATH}:/Users/hsl/000_Develop/001_Flutter/flutter/bin"
export PUB_HOSTED_URL="https://pub.flutter-io.cn"
export FLUTTER_STORAGE_BASE_URL="https://storage.flutter-io.cn"
特别注意 , 不要覆盖之前的 PATH 环境变量 ;
配置完执行 source ~/.zshrc 命令 , 令 环境变量 立即生效
完整的 ~/.zshrc 配置文件内容如下 : 仅做参考 ;
export ANDROID_HOME=/Users/hsl/Library/Android/sdk
export PATH=${PATH}:${ANDROID_HOME}/emulator
export PATH=${PATH}:${ANDROID_HOME}/tools
export PATH=${PATH}:${ANDROID_HOME}/platform-tools
export PATH=${PATH}:${ANDROID_HOME}/build-tools

export PATH="${PATH}:/Users/hsl/000_Develop/001_Flutter/flutter/bin"
export PUB_HOSTED_URL="https://pub.flutter-io.cn"
export FLUTTER_STORAGE_BASE_URL="https://storage.flutter-io.cn"
4、执行 flutter doctor 报错 - 系统版本太低
执行 flutter doctor , 报如下错误 , 当前 MacOS 的系统是 13 版本 , 新版本 Flutter ( 3.22+ 左右起 ) 的 Dart SDK 开始强制要求 macOS ≥14.0Flutter , 升级下 MacOS 系统 ;
Last login: Fri May 29 14:24:10 on ttys000
hsl@hanshuliangdeMacBook-Air ~ % flutter doctor
VM initialization failed: Current Mac OS X version 13.0 is lower than minimum supported version 14.0
hsl@hanshuliangdeMacBook-Air ~ %
升级系统 , 当前是 26.5 版本的 系统 ;
更新系统之后 , 再次执行
flutter doctor
命令 , 发现 Xcode 和 Android Studio 没有安装 , 在之后会进行安装 ;
hsl@hanshuliangdeMacBook-Air ~ %
hsl@hanshuliangdeMacBook-Air ~ % flutter doctor
Command exited with code 128: fetch --tags
Standard error: 致命错误 : 无法访问 'https://github.com/flutter/flutter.git/' : Recv failure: Operation timed out


Flutter assets will be downloaded from https://storage.flutter-io.cn. Make sure you trust this source!
Doctor summary (to see all details, run flutter doctor -v):
[✓] Flutter (Channel stable, 3.41.7, on macOS 26.5 25F71 darwin-arm64, locale zh-Hans-CN)
[!] Android toolchain - develop for Android devices (Android SDK version 35.0.1)
    ✗ cmdline-tools component is missing.
      Try installing or updating Android Studio.
      Alternatively, download the tools from https://developer.android.com/studio#command-line-tools-only
      and make sure to set the ANDROID_HOME environment variable.
      See https://developer.android.com/studio/command-line for more details.
    ✗ Android license status unknown.
      Run `flutter doctor --android-licenses` to accept the SDK licenses.
      See https://flutter.dev/to/macos-android-setup for more details.
[!] Xcode - develop for iOS and macOS (Xcode 26.5)
    ✗ CocoaPods not installed.
        CocoaPods is a package manager for iOS or macOS platform code.
        Without CocoaPods, plugins will not work on iOS or macOS.
        For more info, see https://flutter.dev/to/platform-plugins
      For installation instructions, see
      https://guides.cocoapods.org/using/getting-started.html#installation
[✓] Chrome - develop for the web
[✓] Connected device (3 available)
[✓] Network resources

! Doctor found issues in 2 categories.
The Flutter CLI developer tool uses Google Analytics to report usage and diagnostic
data along with package dependencies, and crash reporting to send basic crash
reports. This data is used to help improve the Dart platform, Flutter framework,
and related tools.

Telemetry is not sent on the very first run. To disable reporting of telemetry,
run this terminal command:

    flutter --disable-analytics

If you opt out of telemetry, an opt-out event will be sent, and then no further
information will be sent. This data is collected in accordance with the Google
Privacy Policy (https://policies.google.com/privacy).

hsl@hanshuliangdeMacBook-Air ~ %

三、安装 Xcode 开发环境
1、安装 Xcode 和 模拟器
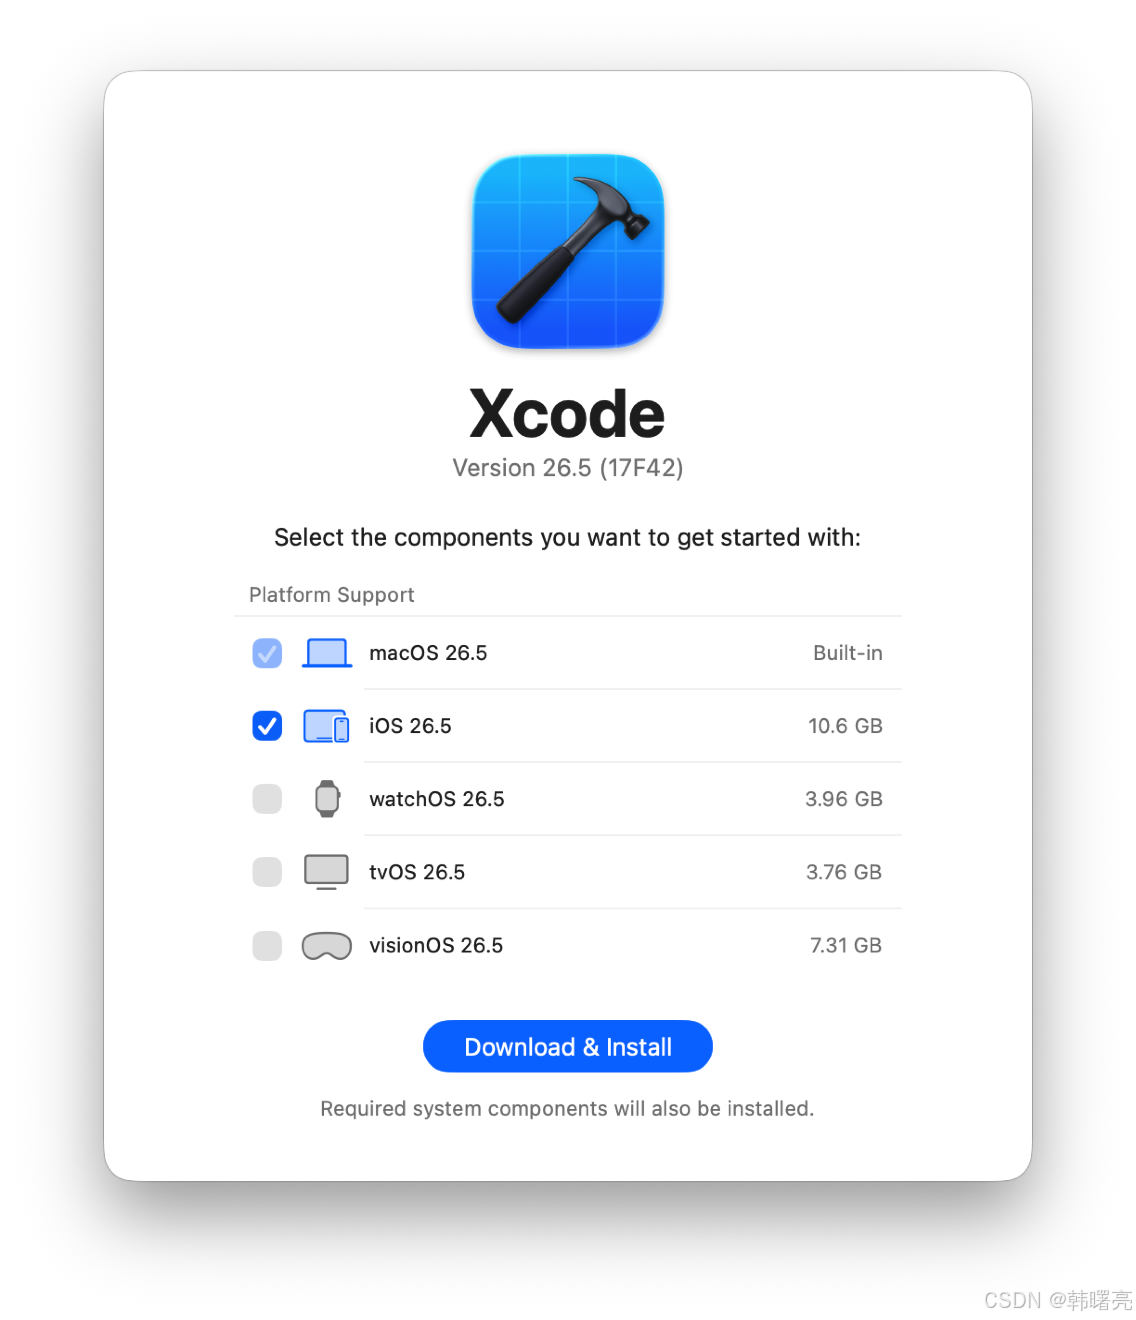
首次运行 Xcode , 会弹出用户协议 , 这里直接同意用户协议即可 , 然后进入下面的 组件选择页面 ;
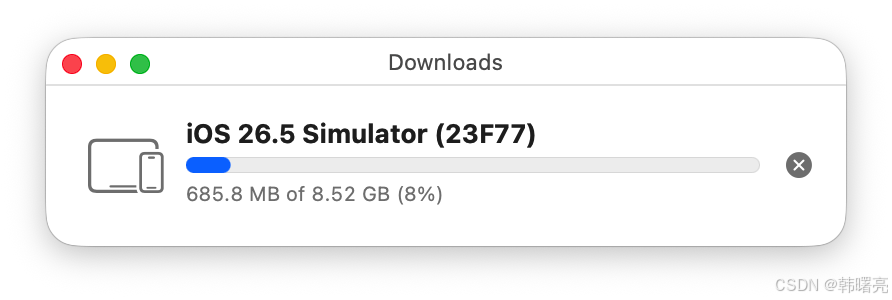
按照下面的默认选择即可 , 会下载 iOS 的 10G 左右的镜像 ;
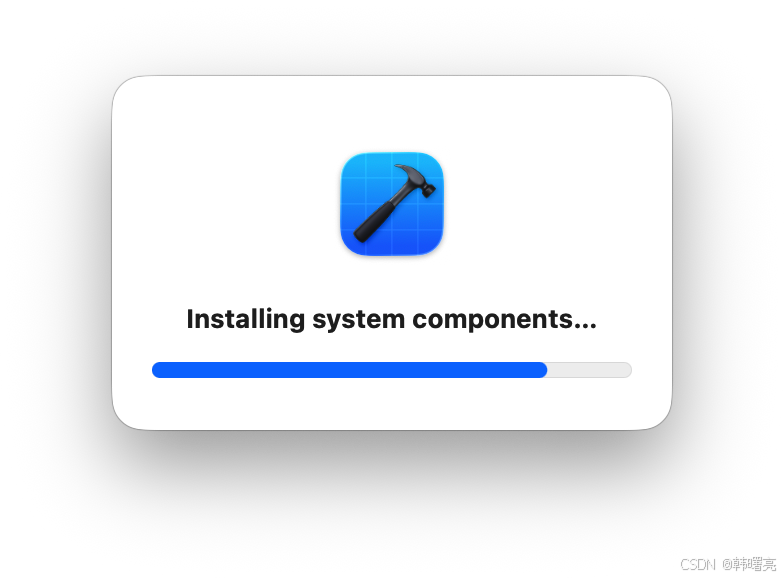
开始安装系统组件 ;
等待下载完成 ;
安装完毕 ;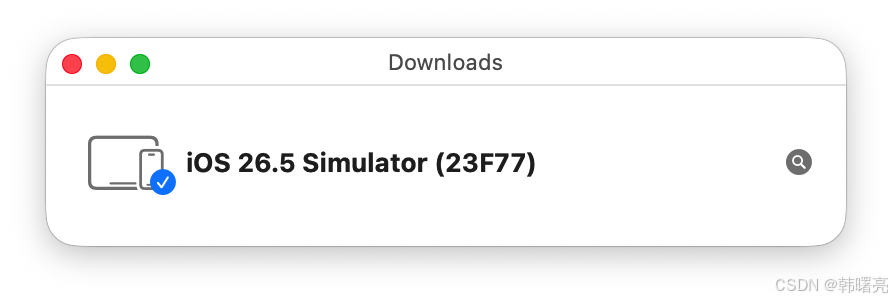
继续向后执行 ;
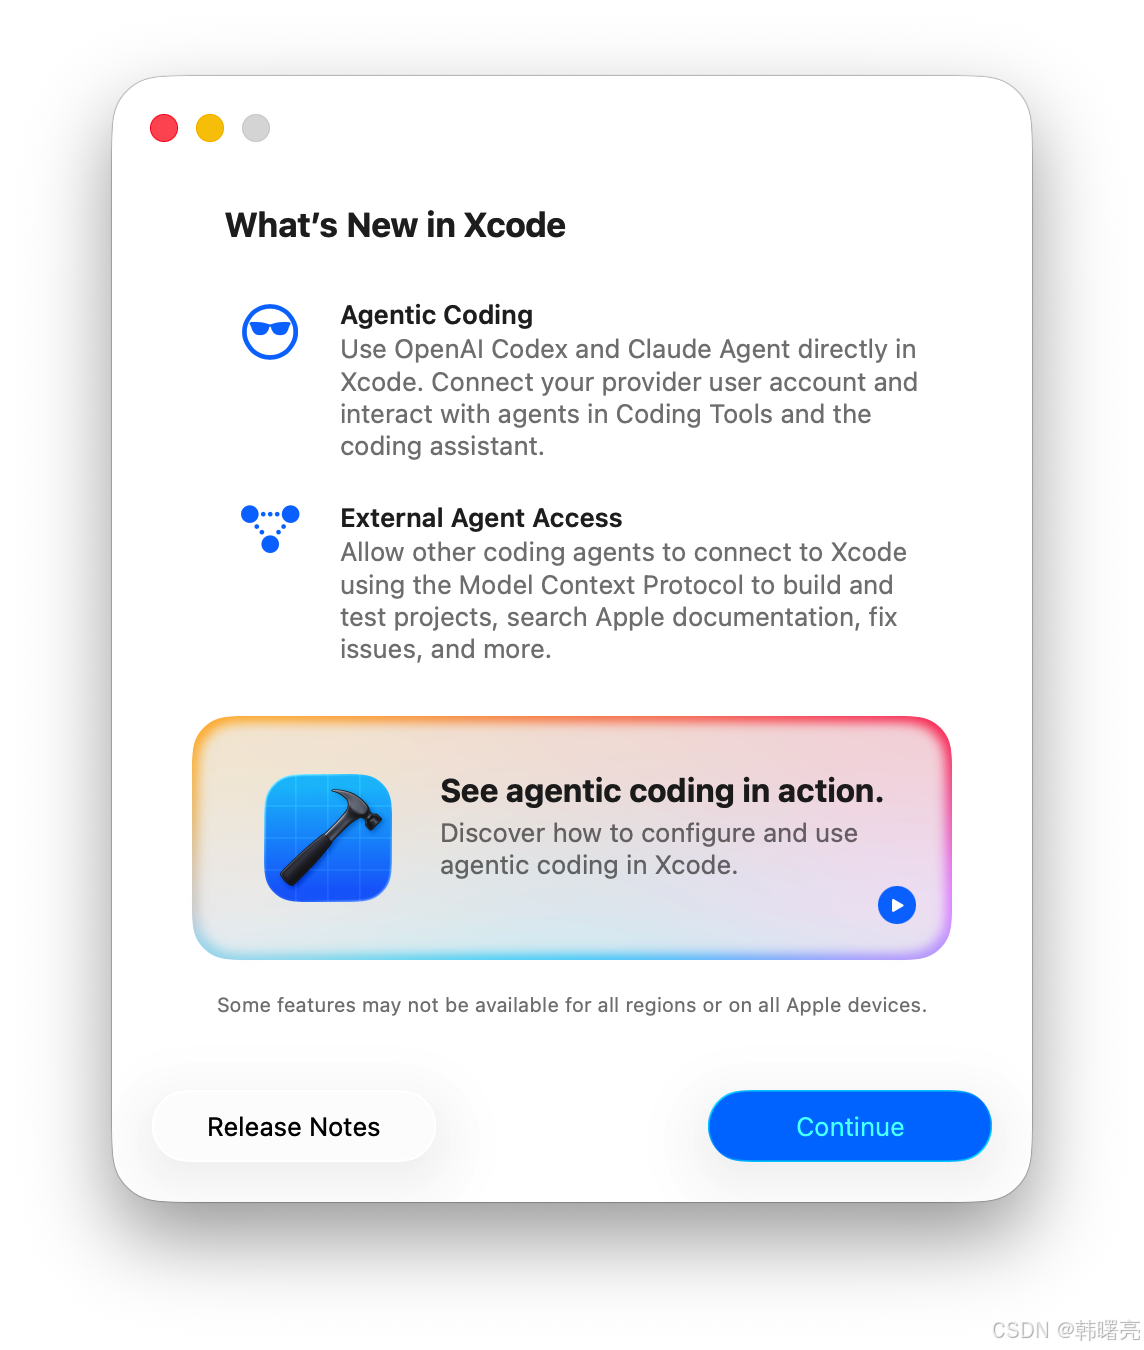
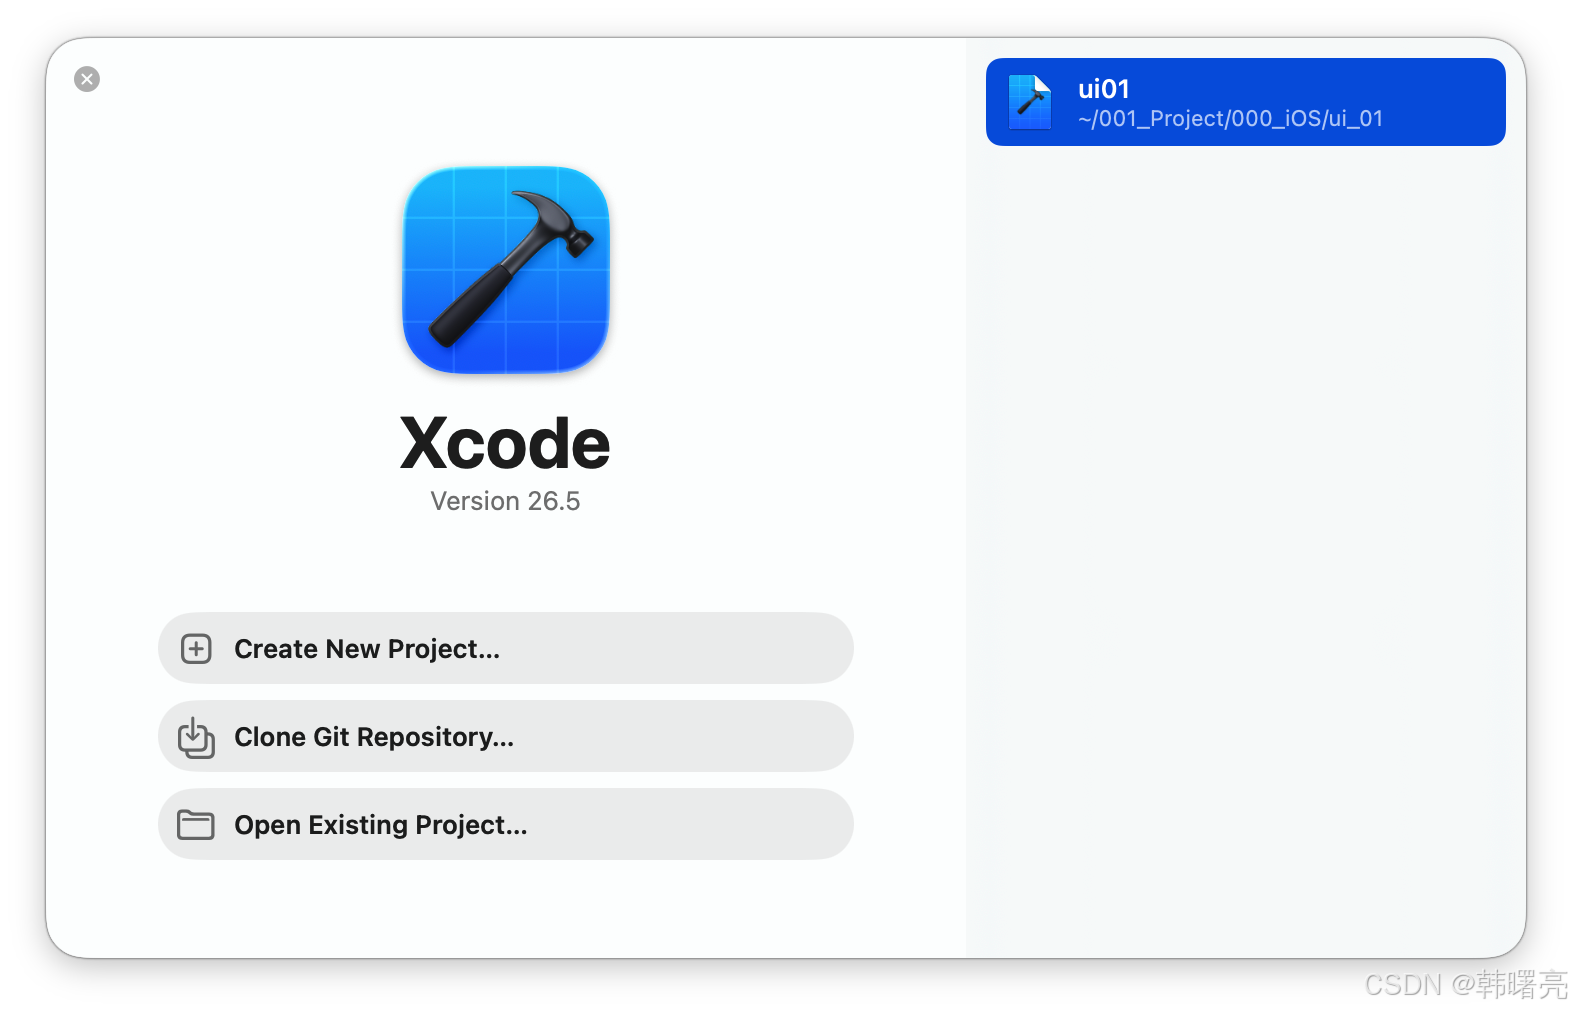
进入 Xcode 的 欢迎界面 ;
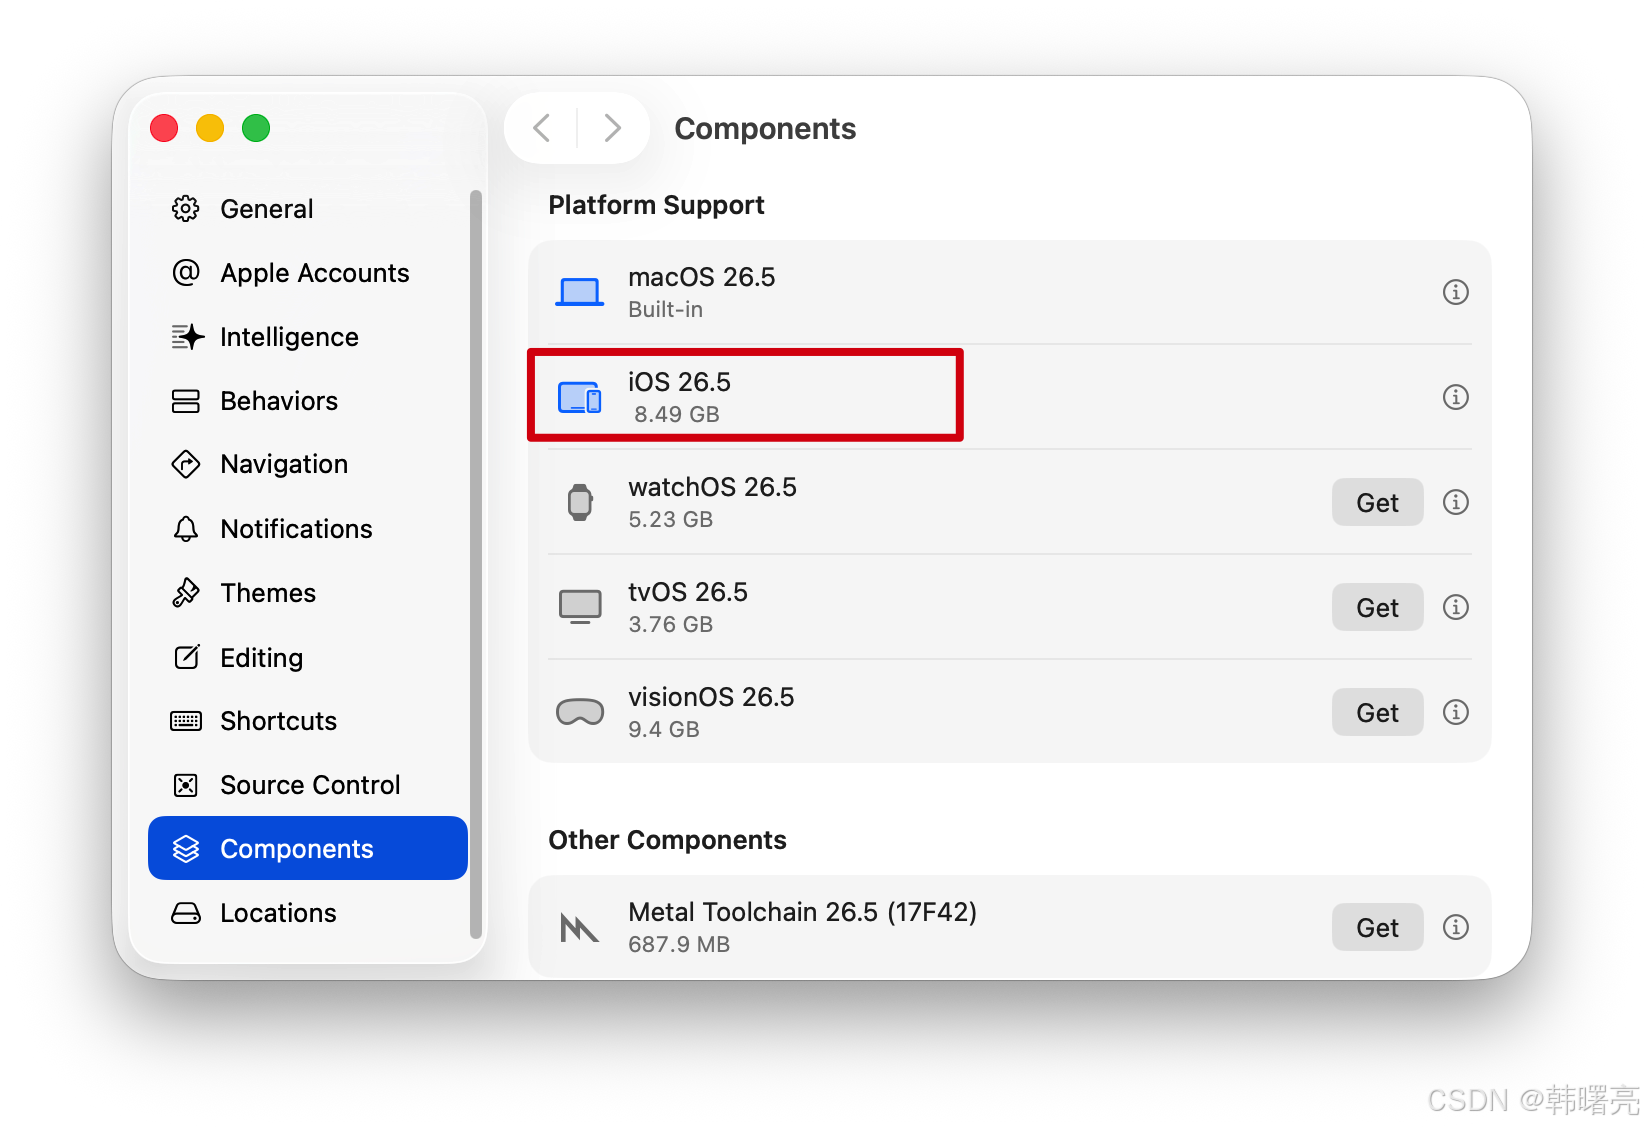
2、查看安装的模拟器
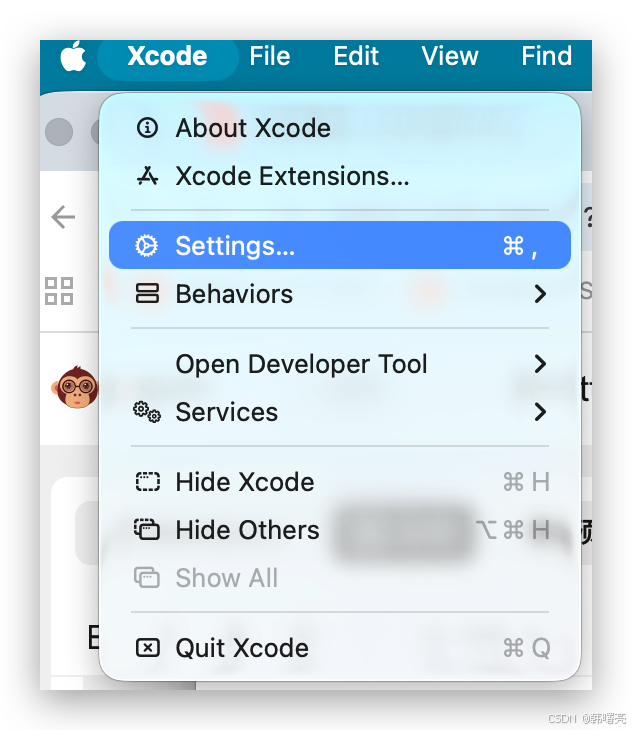
选择 菜单栏 / Xcode / Settings 选项 ;
在 Components 组件中 , 可以查看刚才安装的 iOS 镜像 ;
3、运行 Simulator 模拟器
安装完毕后 , 在 应用 中查找 Simulator 模拟器 ,
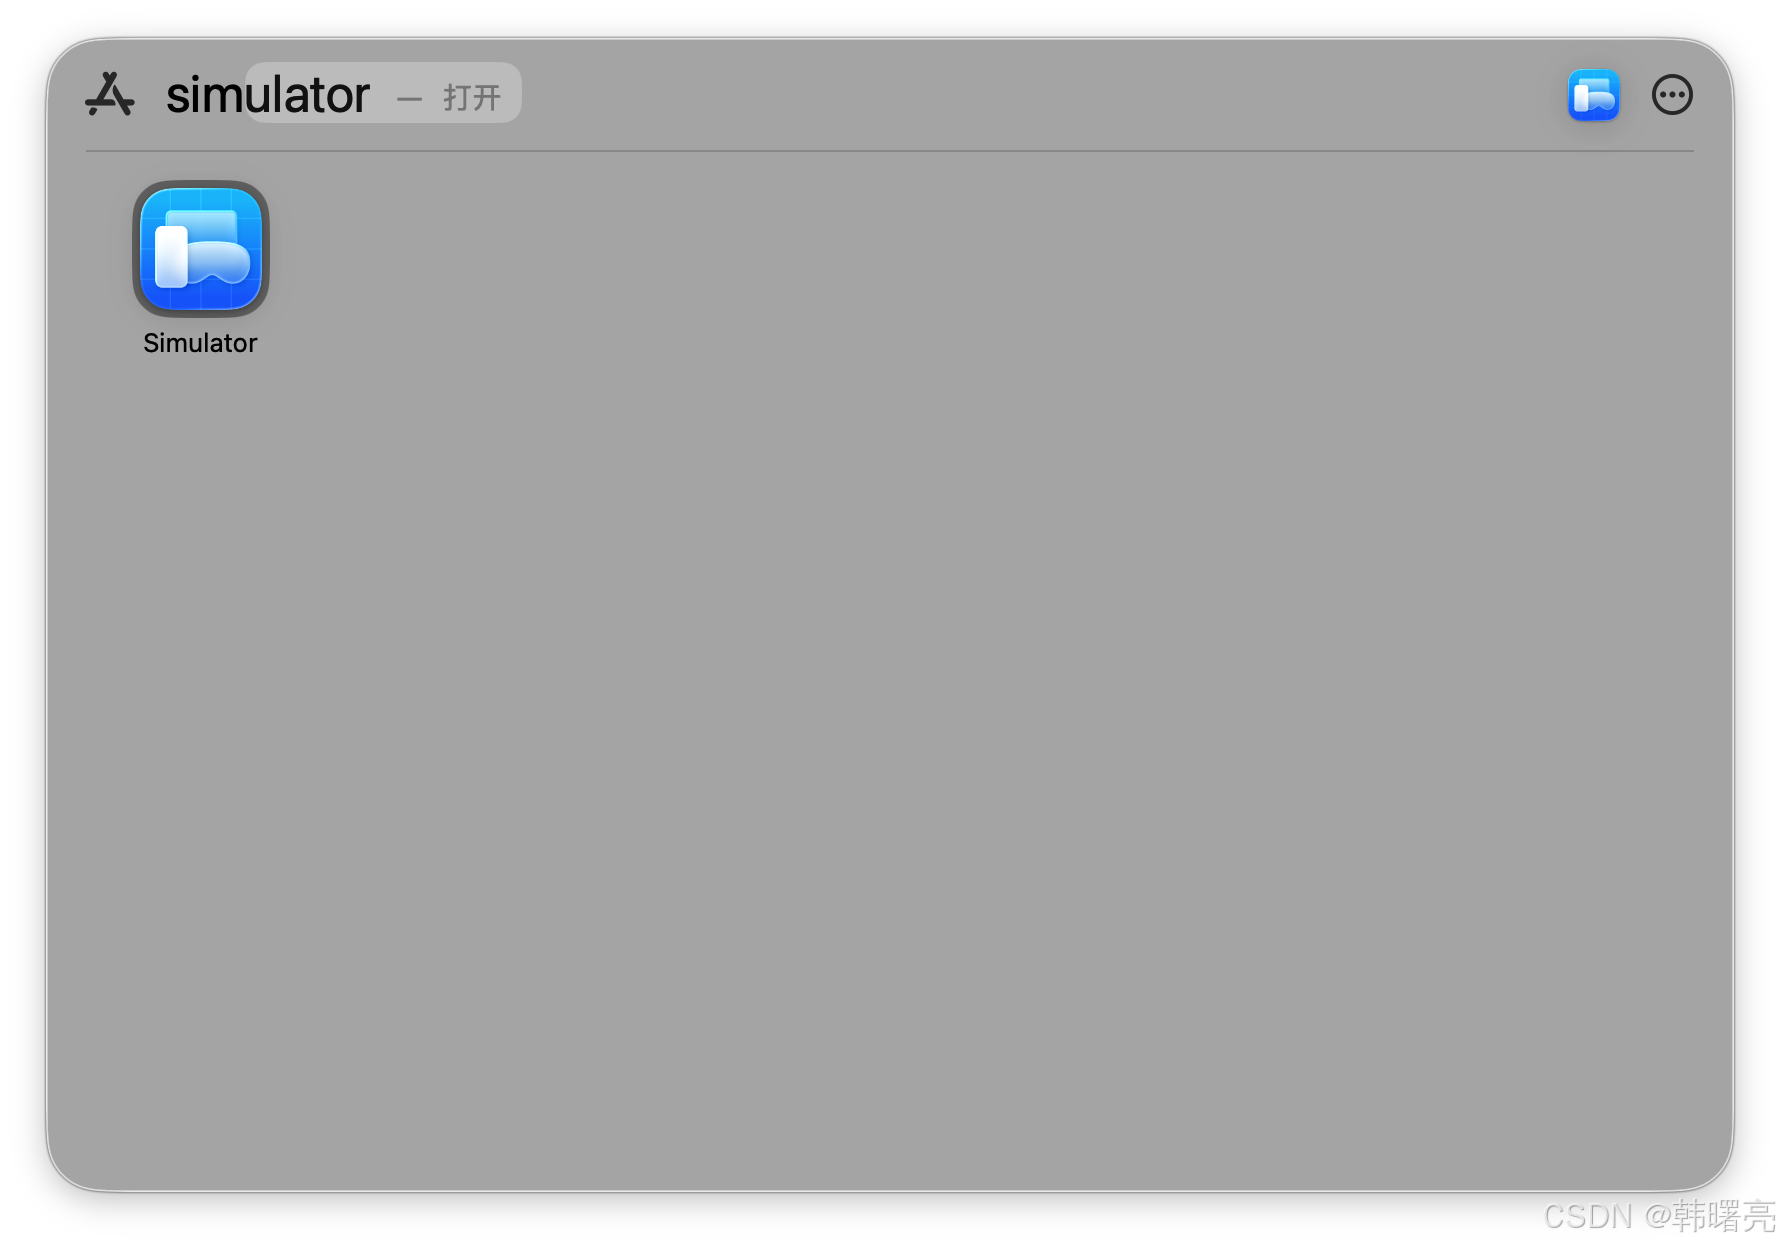
运行效果如下 :
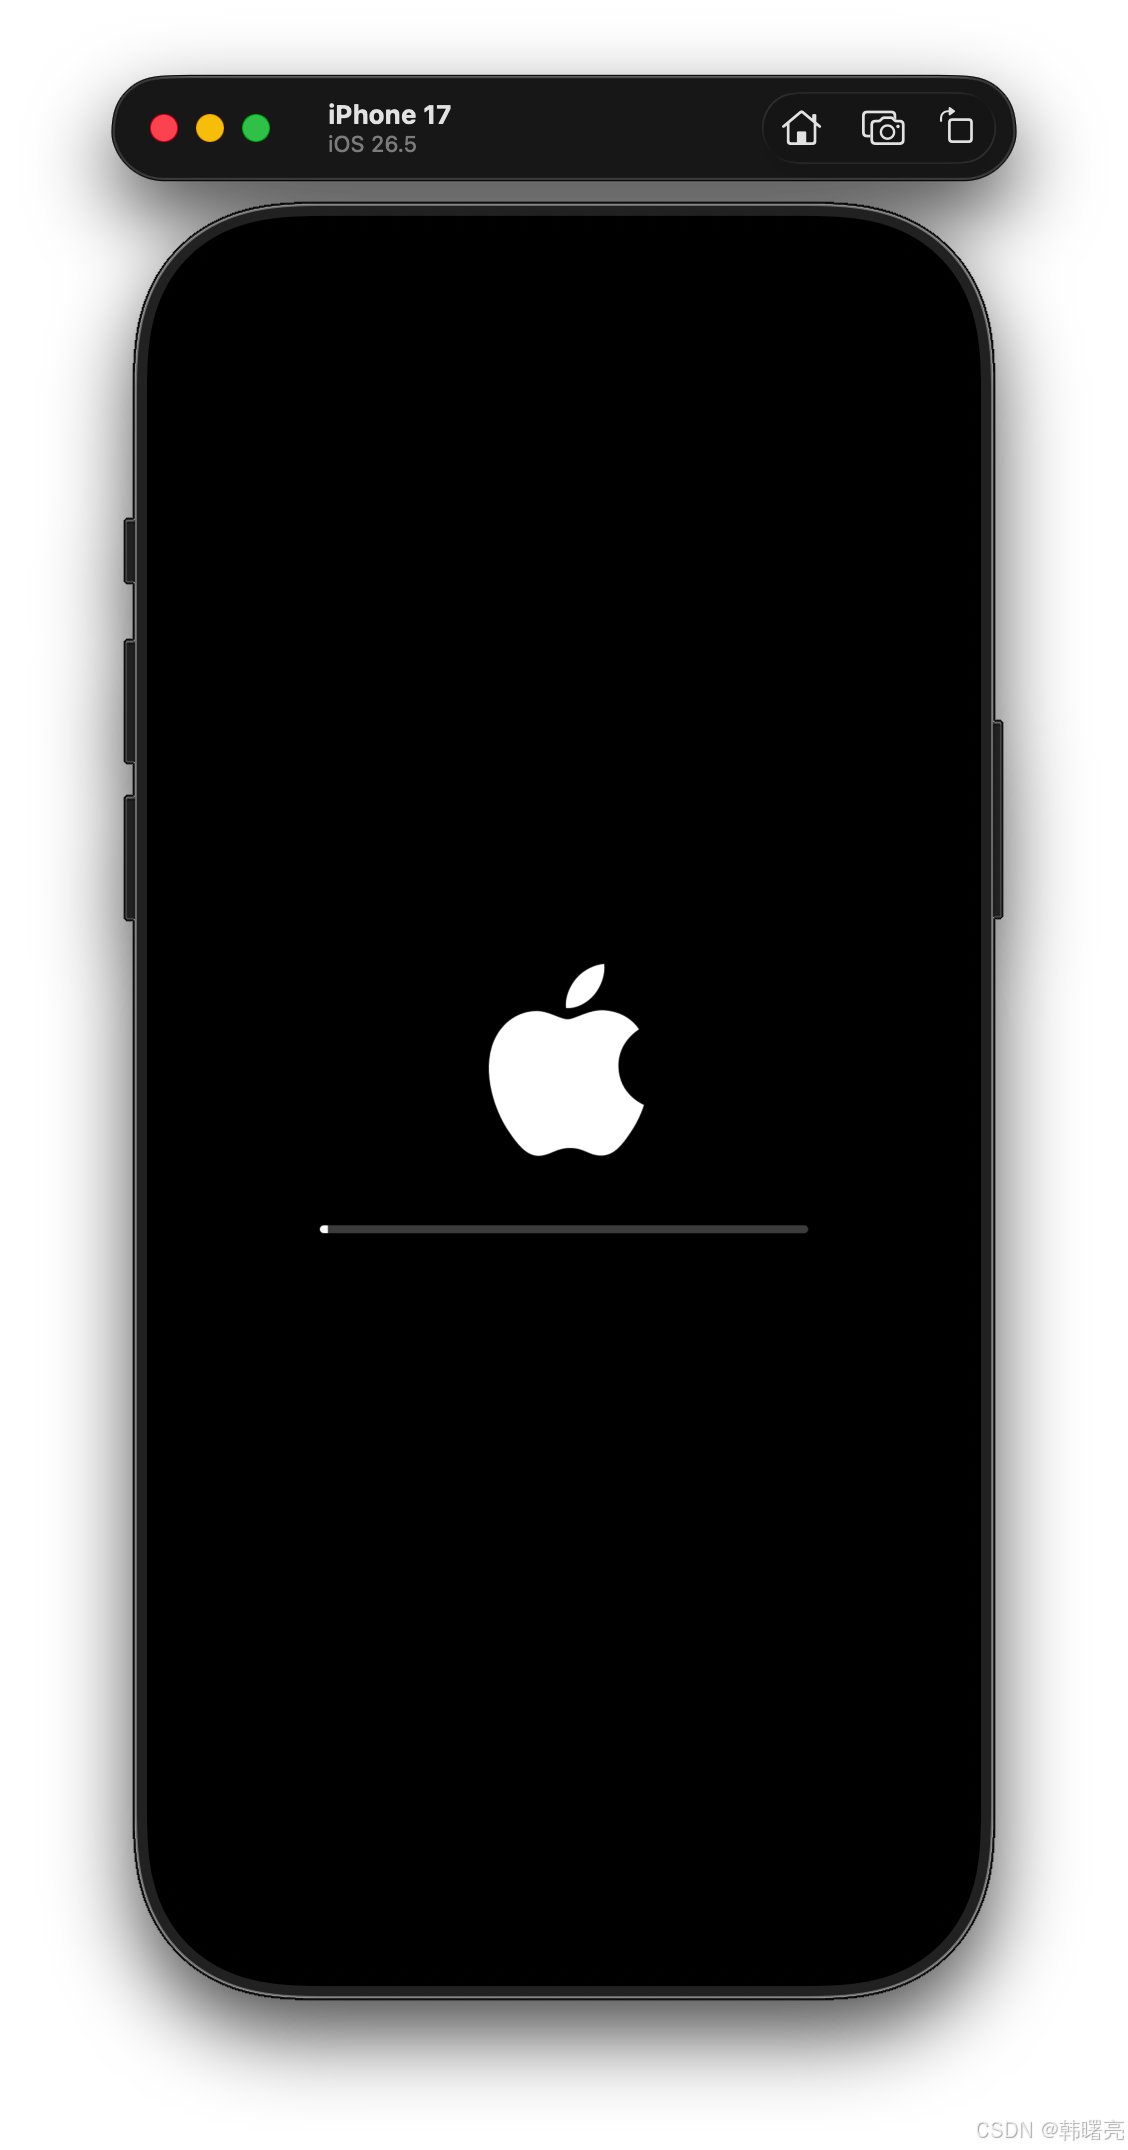
开机后的效果 :

4、切换 iOS 模拟器版本
右键点击 Simulator 任务图标 , 选择 Device 可以切换设备 ;
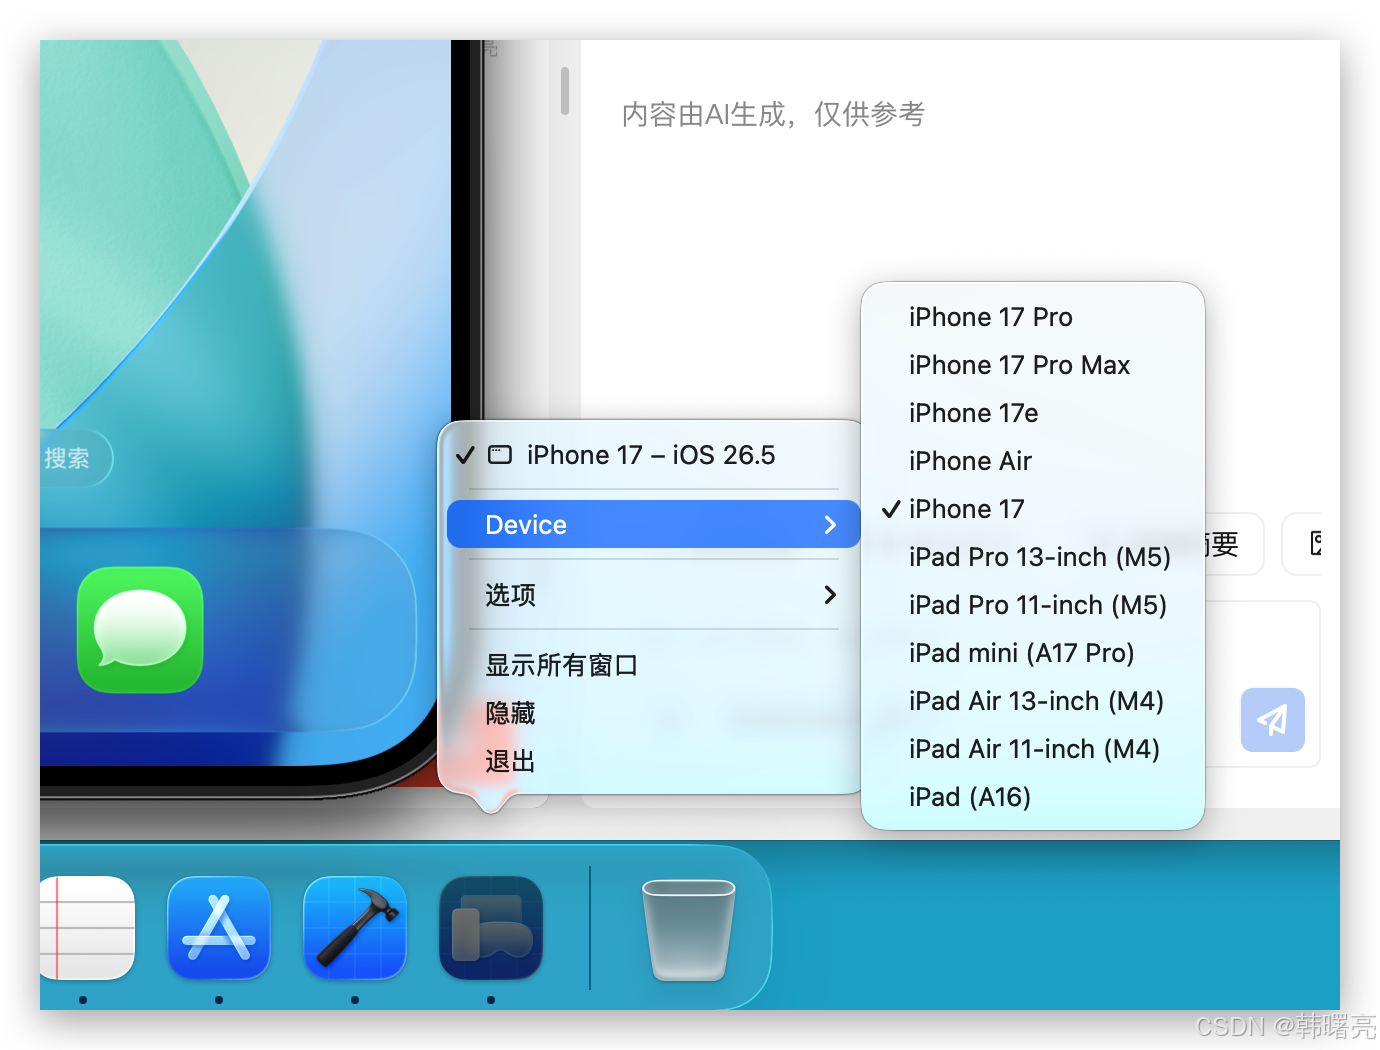
在 Xcode 中 , 选择 菜单栏 / Window / Devices & Simulators 选项 , 可以查看模拟器的具体类型 ;
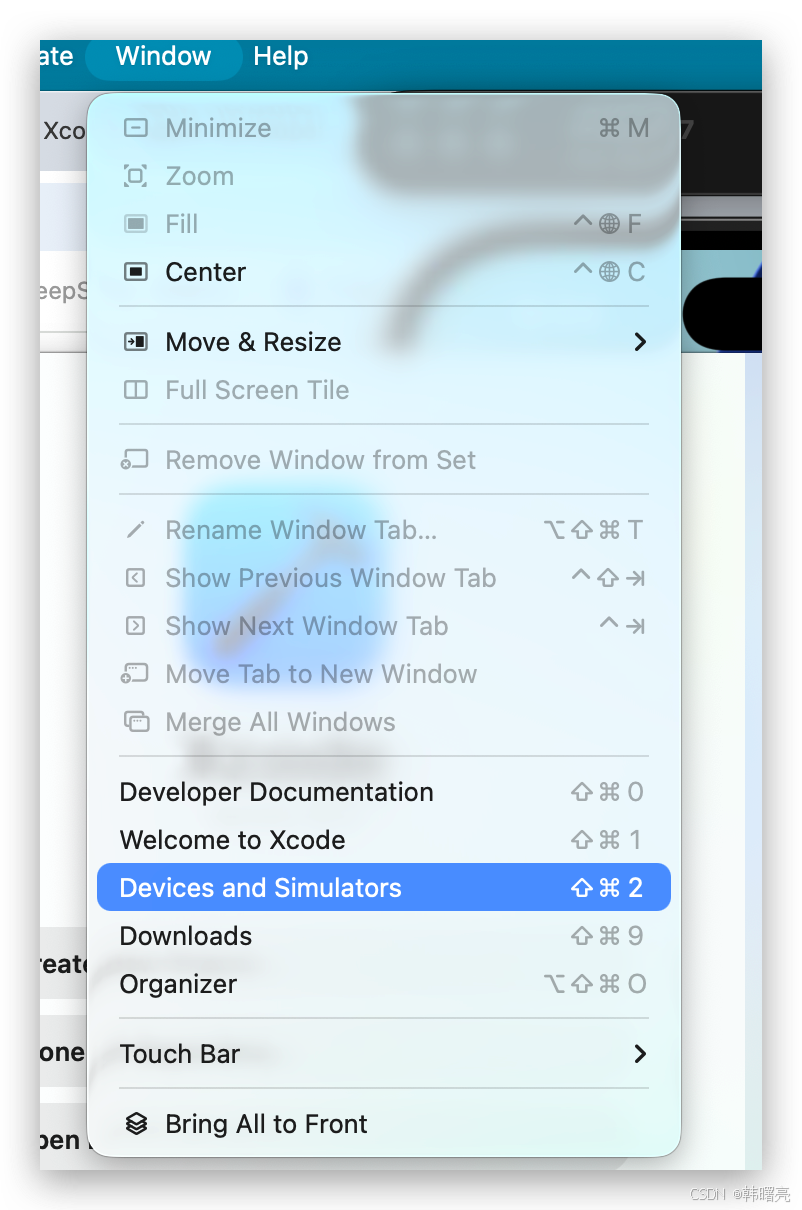
下面显示的是可选择的 模拟器 ; 如果有真机连接 , 会显示在左侧的 Device 面板中 ;
四、安装 Xcode 相关开发工具
参考 配置 iOS 开发 官方文档进行 环境配置 ;
1、安装 Xcode CLI 命令行 ( 必须执行 )
执行下面的命令 , 将系统命令行工具绑定到完整版 Xcode , 并自动完成 Xcode 的首次初始化与许可协议同意 , 这是 Flutter 开发环境必须得操作 ;
sudo sh -c 'xcode-select -s /Applications/Xcode.app/Contents/Developer && xcodebuild -runFirstLaunch'
- 命令结构 :
sudo sh -c '命令1 && 命令2'的 作用是 以管理员 身份运行 命令 1 和 命令 2 , && 的作用是 只有 命令 1 执行成功 , 才执行 命令 2 ; - 命令 1 :
xcode-select -s /Applications/Xcode.app/Contents/Developer;- 作用 : 把系统默认的开发者工具目录 , 指向你在 /Applications 里安装的完整 Xcode ;
- 告诉 clang、git、xcodebuild、pod 等工具 : 去 Xcode 包里找工具 , 而不是单独的 Command Line Tools ;
- Flutter / CocoaPods 编译 iOS/macOS 插件时 , 必须指向完整 Xcode , 否则会报 " 工具不完整 / 找不到 SDK " ;
- 命令 2 :
xcodebuild -runFirstLaunch, 首次打开 Xcode , 自动做三件事 :- 同意 Xcode 许可协议 , 避免每次 sudo 都弹协议 ;
- 自动安装 Xcode 必需的组件 , SDK、模拟器、工具链 ;
- 完成环境注册 , 让 xcrun、pod、flutter 能正常调用 Xcode 工具 ;
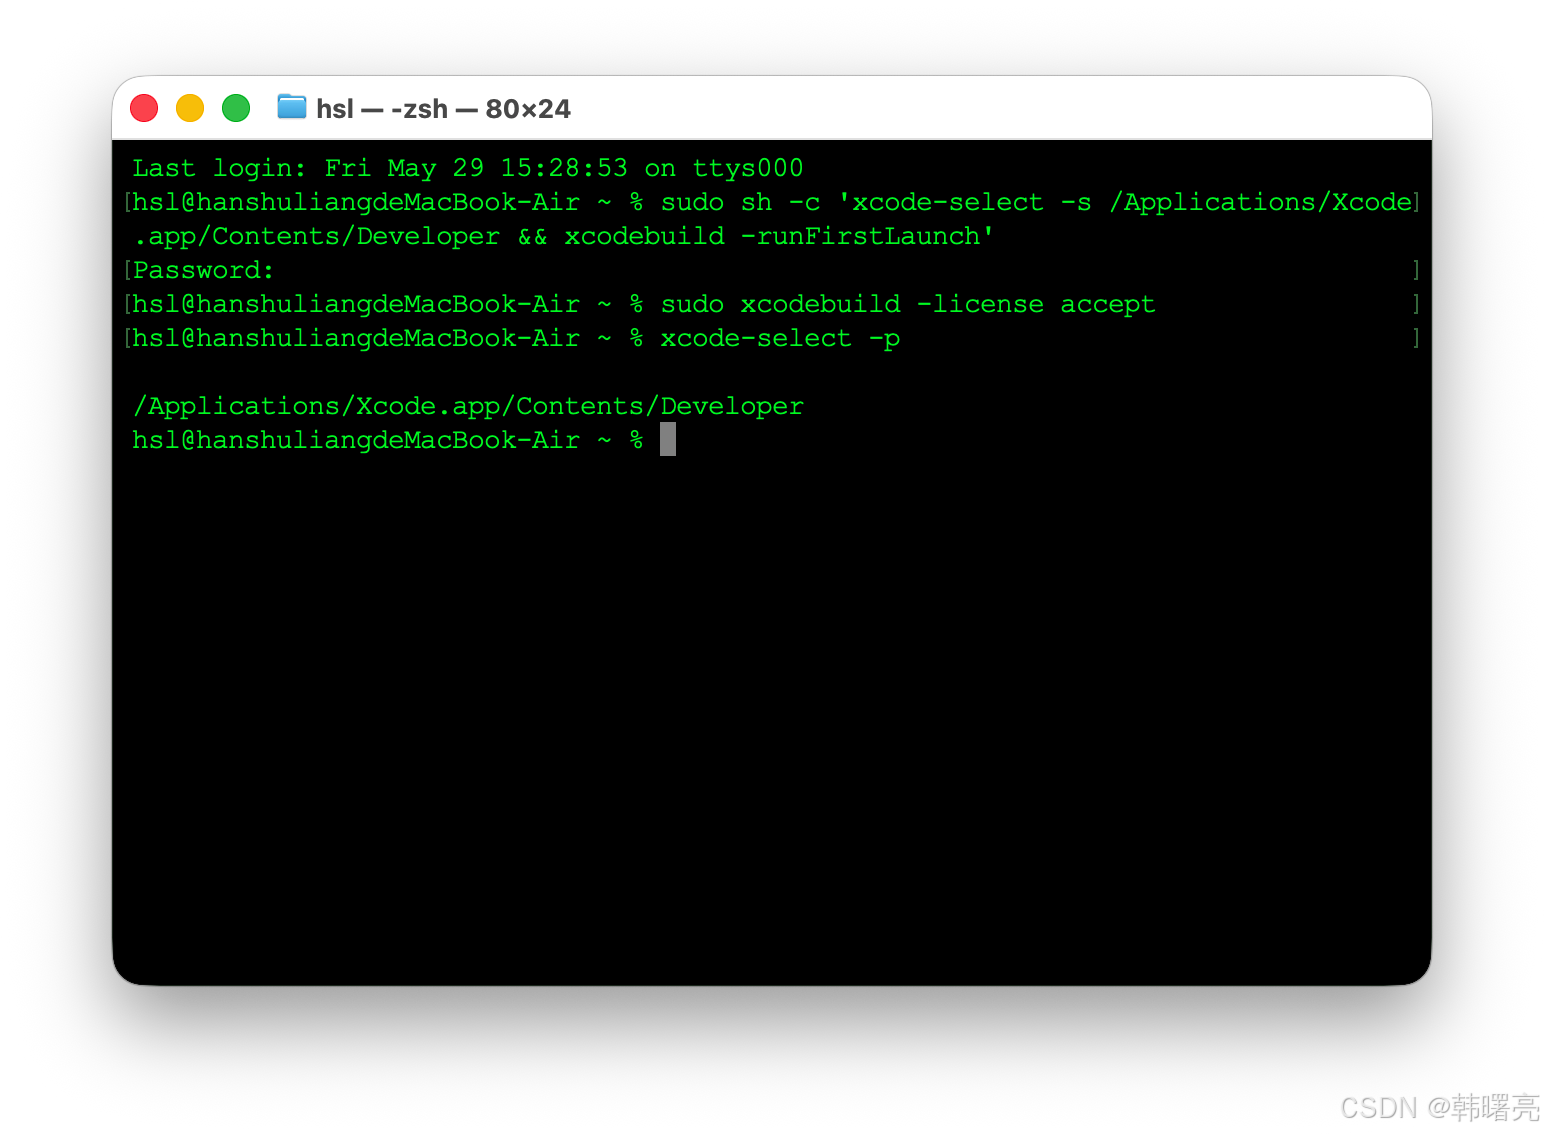
执行完上面的命令后 , 验证是否执行成功 :
# 确认许可 ( 保险 )
sudo xcodebuild -license accept

# 验证路径是否正确
xcode-select -p
# 正常输出 : /Applications/Xcode.app/Contents/Developer
完整执行流程 :
Last login: Fri May 29 15:28:53 on ttys000
hsl@hanshuliangdeMacBook-Air ~ % sudo sh -c 'xcode-select -s /Applications/Xcode.app/Contents/Developer && xcodebuild -runFirstLaunch'
Password:
hsl@hanshuliangdeMacBook-Air ~ % sudo xcodebuild -license accept
hsl@hanshuliangdeMacBook-Air ~ % xcode-select -p

/Applications/Xcode.app/Contents/Developer
hsl@hanshuliangdeMacBook-Air ~ %
2、安装 Ruby 3.2.9 版本
检查 Ruby 版本号
执行 ruby --version 检查以下 Ruby 版本号 , 发现是 2.6.10 , 版本太低 , 必须要升级到 3.10.0 以上 ;
hsl@hanshuliangdeMacBook-Air ~ % ruby --version
ruby 2.6.10p210 (2022-04-12 revision 67958) [universal.arm64e-darwin25]
如果 版本是 3.10.0 以上 , 则忽略本步骤 ;
安装 Ruby - brew install ruby
直接执行
brew install ruby
命令 , 安装 ruby ;
安装完毕后 , ruby 的版本还是 2.6.10 , 需要手动配置 环境变量 ;
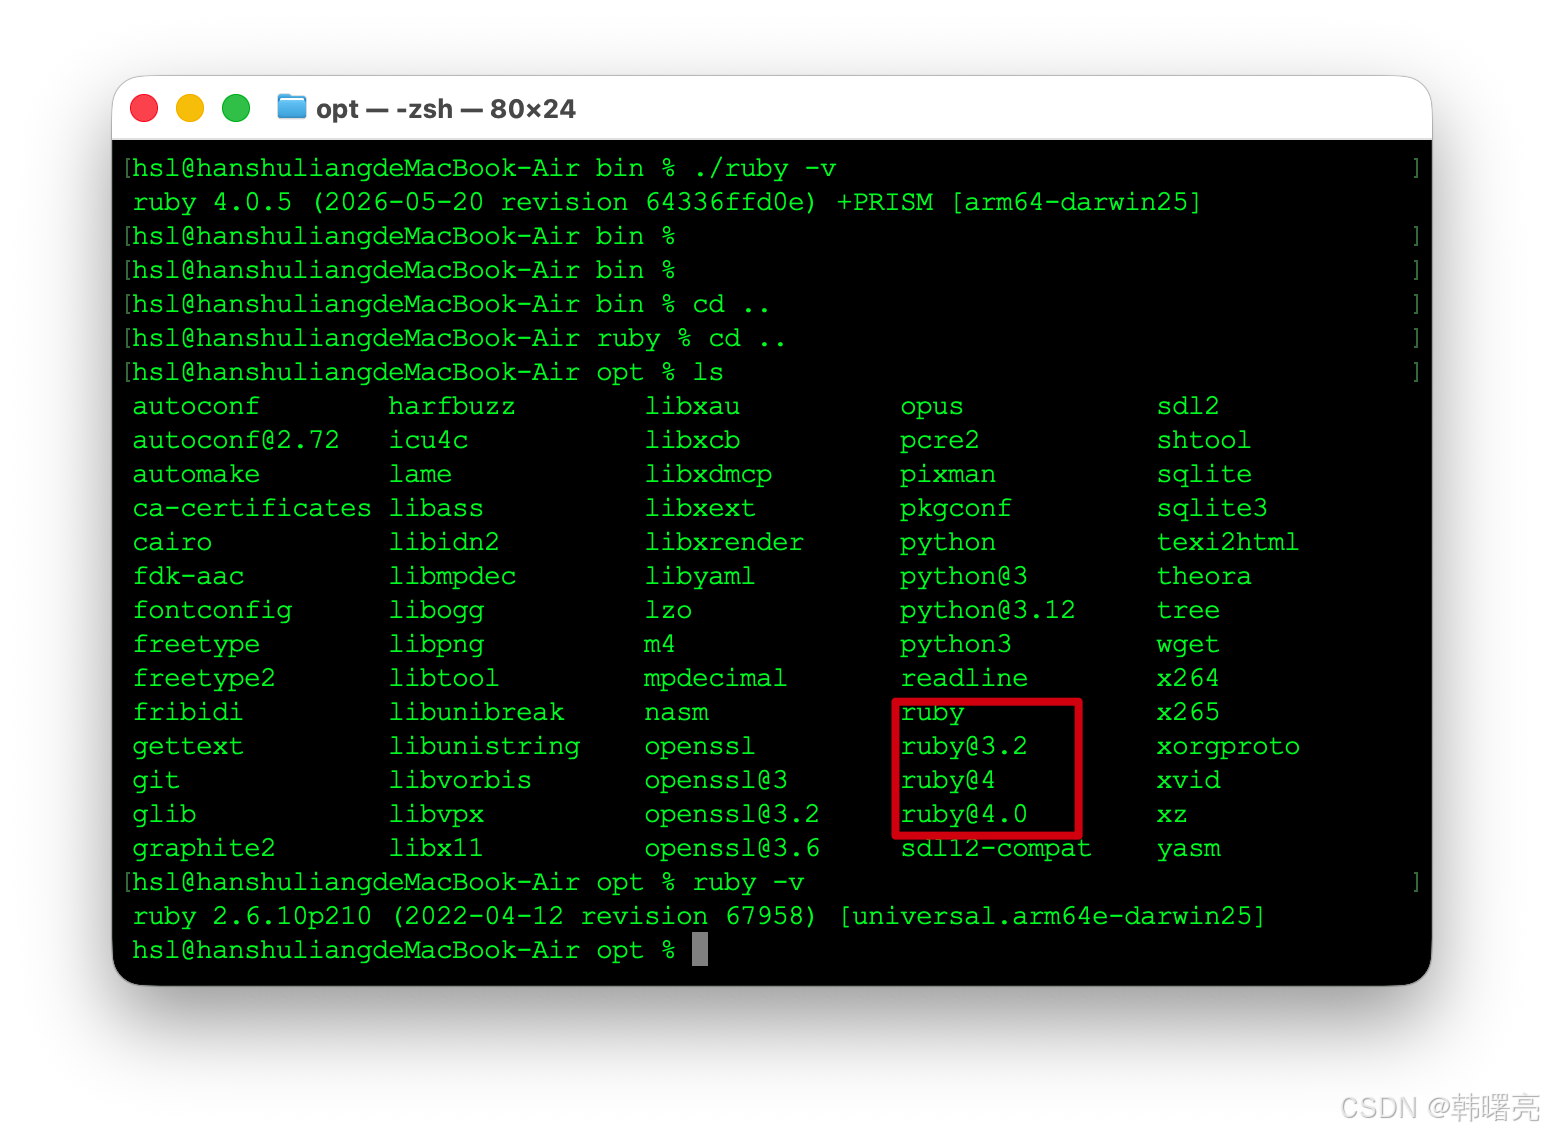
配置 Ruby 环境变量
在 /opt/homebrew/opt/ruby 目录下的 ruby 版本是 4.0.5 , 需要将其设置到环境变量中 ;
hsl@hanshuliangdeMacBook-Air ruby % ./bin/ruby -v
ruby 4.0.5 (2026-05-20 revision 64336ffd0e) +PRISM [arm64-darwin25]
hsl@hanshuliangdeMacBook-Air ruby %
hsl@hanshuliangdeMacBook-Air ruby % pwd
/opt/homebrew/opt/ruby
hsl@hanshuliangdeMacBook-Air ruby %
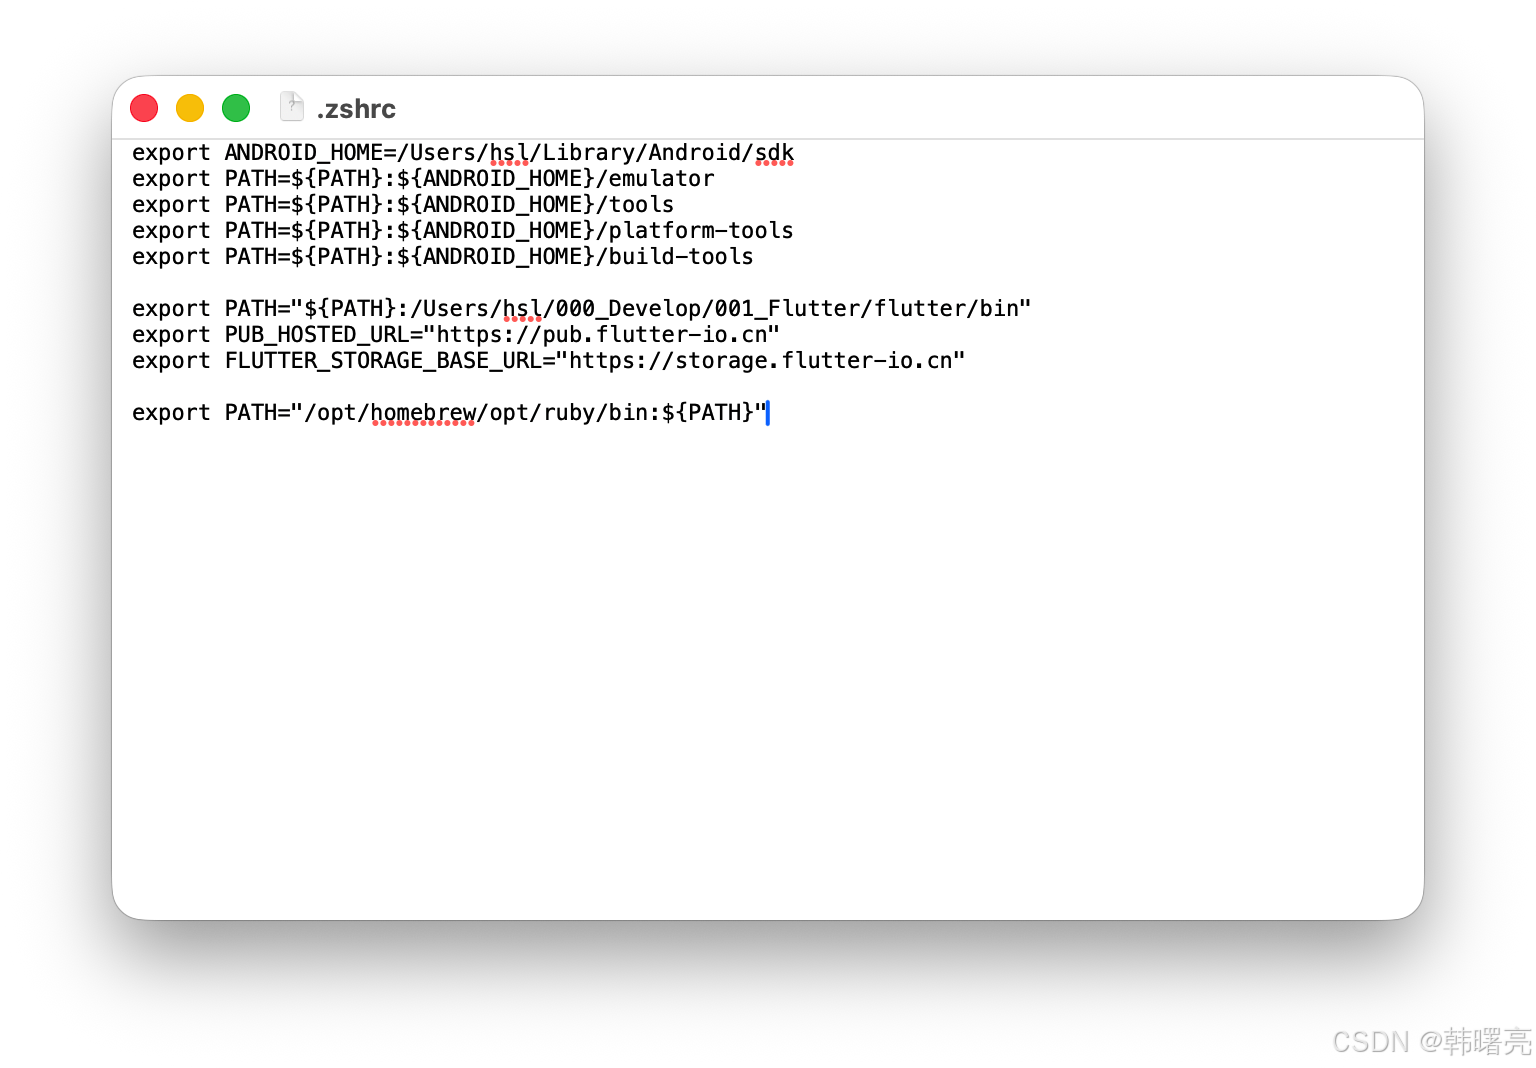
将 /opt/homebrew/opt/ruby/bin 设置到 ~/.zshrc 环境变量文件中 ,
在脚本中添加 export PATH="/opt/homebrew/opt/ruby/bin:${PATH}" , 特别注意要将 PATH 放在后面 , 在前面的 环境变量 优先级较高 ;
设置后的 脚本文件为 :
export ANDROID_HOME=/Users/hsl/Library/Android/sdk
export PATH=${PATH}:${ANDROID_HOME}/emulator
export PATH=${PATH}:${ANDROID_HOME}/tools
export PATH=${PATH}:${ANDROID_HOME}/platform-tools
export PATH=${PATH}:${ANDROID_HOME}/build-tools

export PATH="${PATH}:/Users/hsl/000_Develop/001_Flutter/flutter/bin"
export PUB_HOSTED_URL="https://pub.flutter-io.cn"
export FLUTTER_STORAGE_BASE_URL="https://storage.flutter-io.cn"

export PATH="/opt/homebrew/opt/ruby/bin:${PATH}"
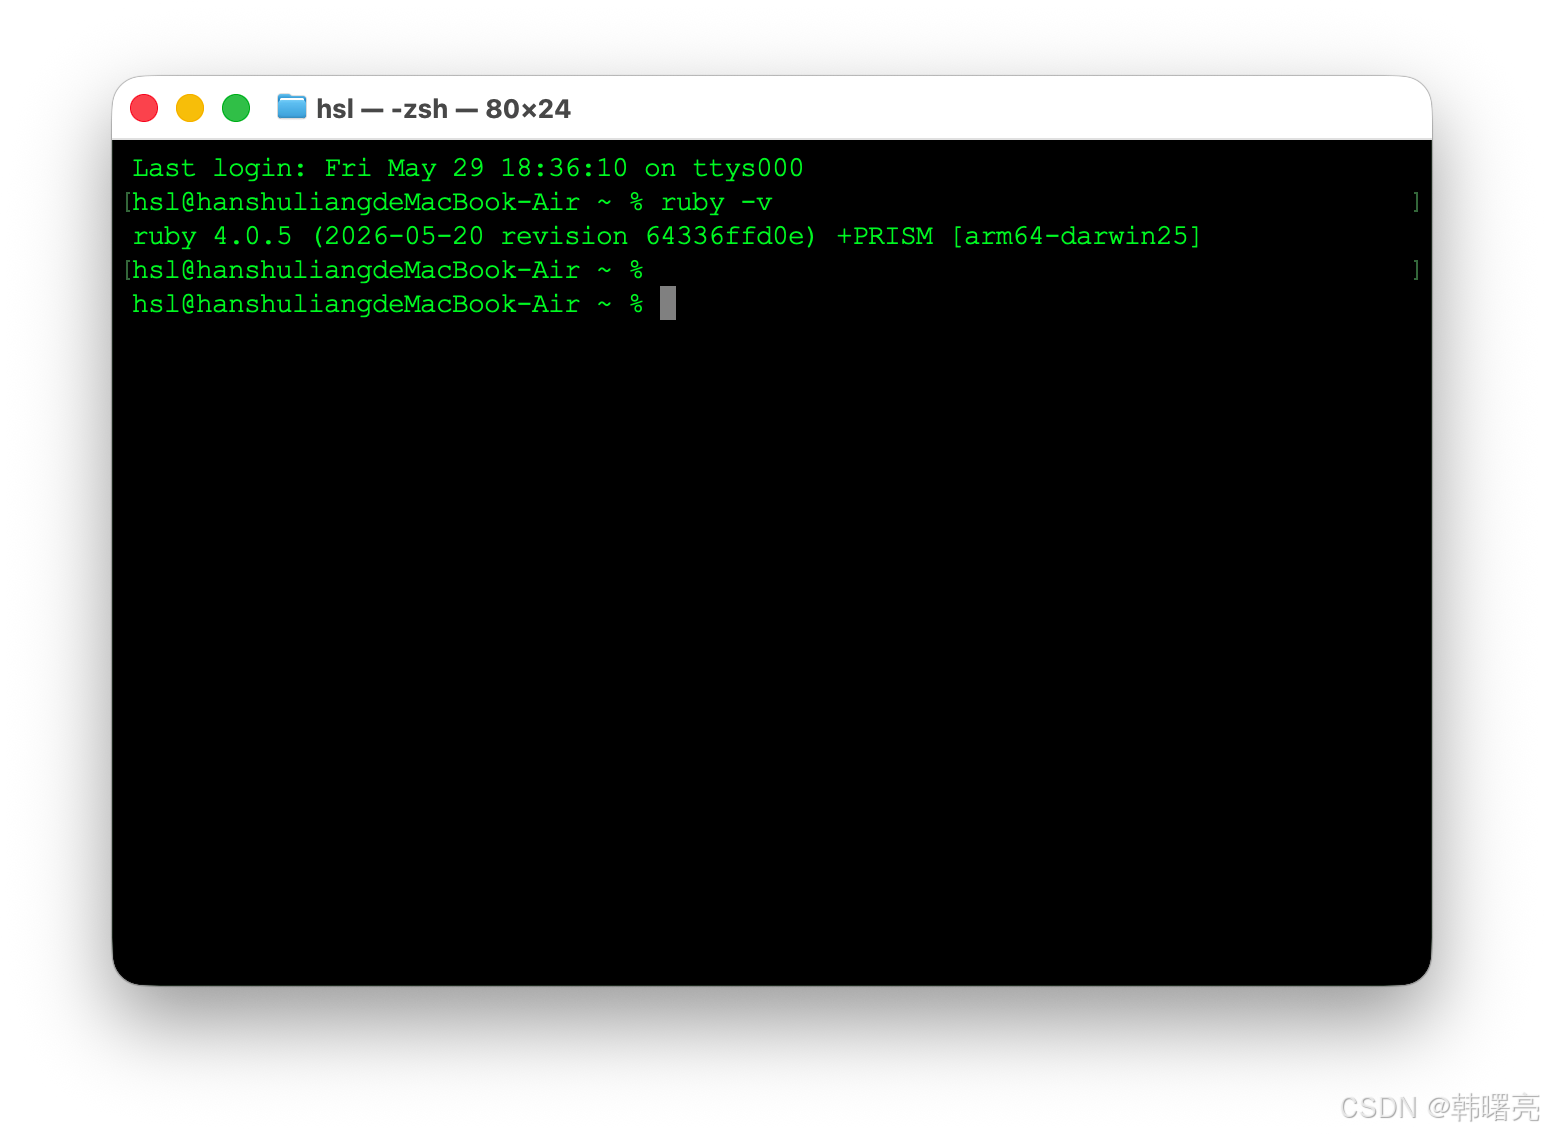
查看 Ruby 版本号
配置完毕后 , 再次执行 ruby -v 命令 , 查看 ruby 版本号 ;
Last login: Fri May 29 18:36:10 on ttys000
hsl@hanshuliangdeMacBook-Air ~ % ruby -v
ruby 4.0.5 (2026-05-20 revision 64336ffd0e) +PRISM [arm64-darwin25]
通过 RVM 工具安装 Ruby ( 不推荐使用 仅作参考 出错很多 )
安装 RVM 工具 ( 不推荐使用 仅做参考 )
上述执行 , 可能会由于 Ruby 版本 小于 3.1.0 导致报错 , 推荐使用下面的方法更新 Ruby ;
RVM 工具 是 Ruby 版本管理器 , 能在同一台电脑上安装、管理、切换多个 Ruby 版本 , 并隔离不同项目的 gem 依赖 ( 解决版本冲突 ) RVM ;
macOS 自带 Ruby 版本偏老 , 用 RVM 装新版 Ruby , 才能顺利安装新版 CocoaPods , 避免 iOS 编译报错 ;
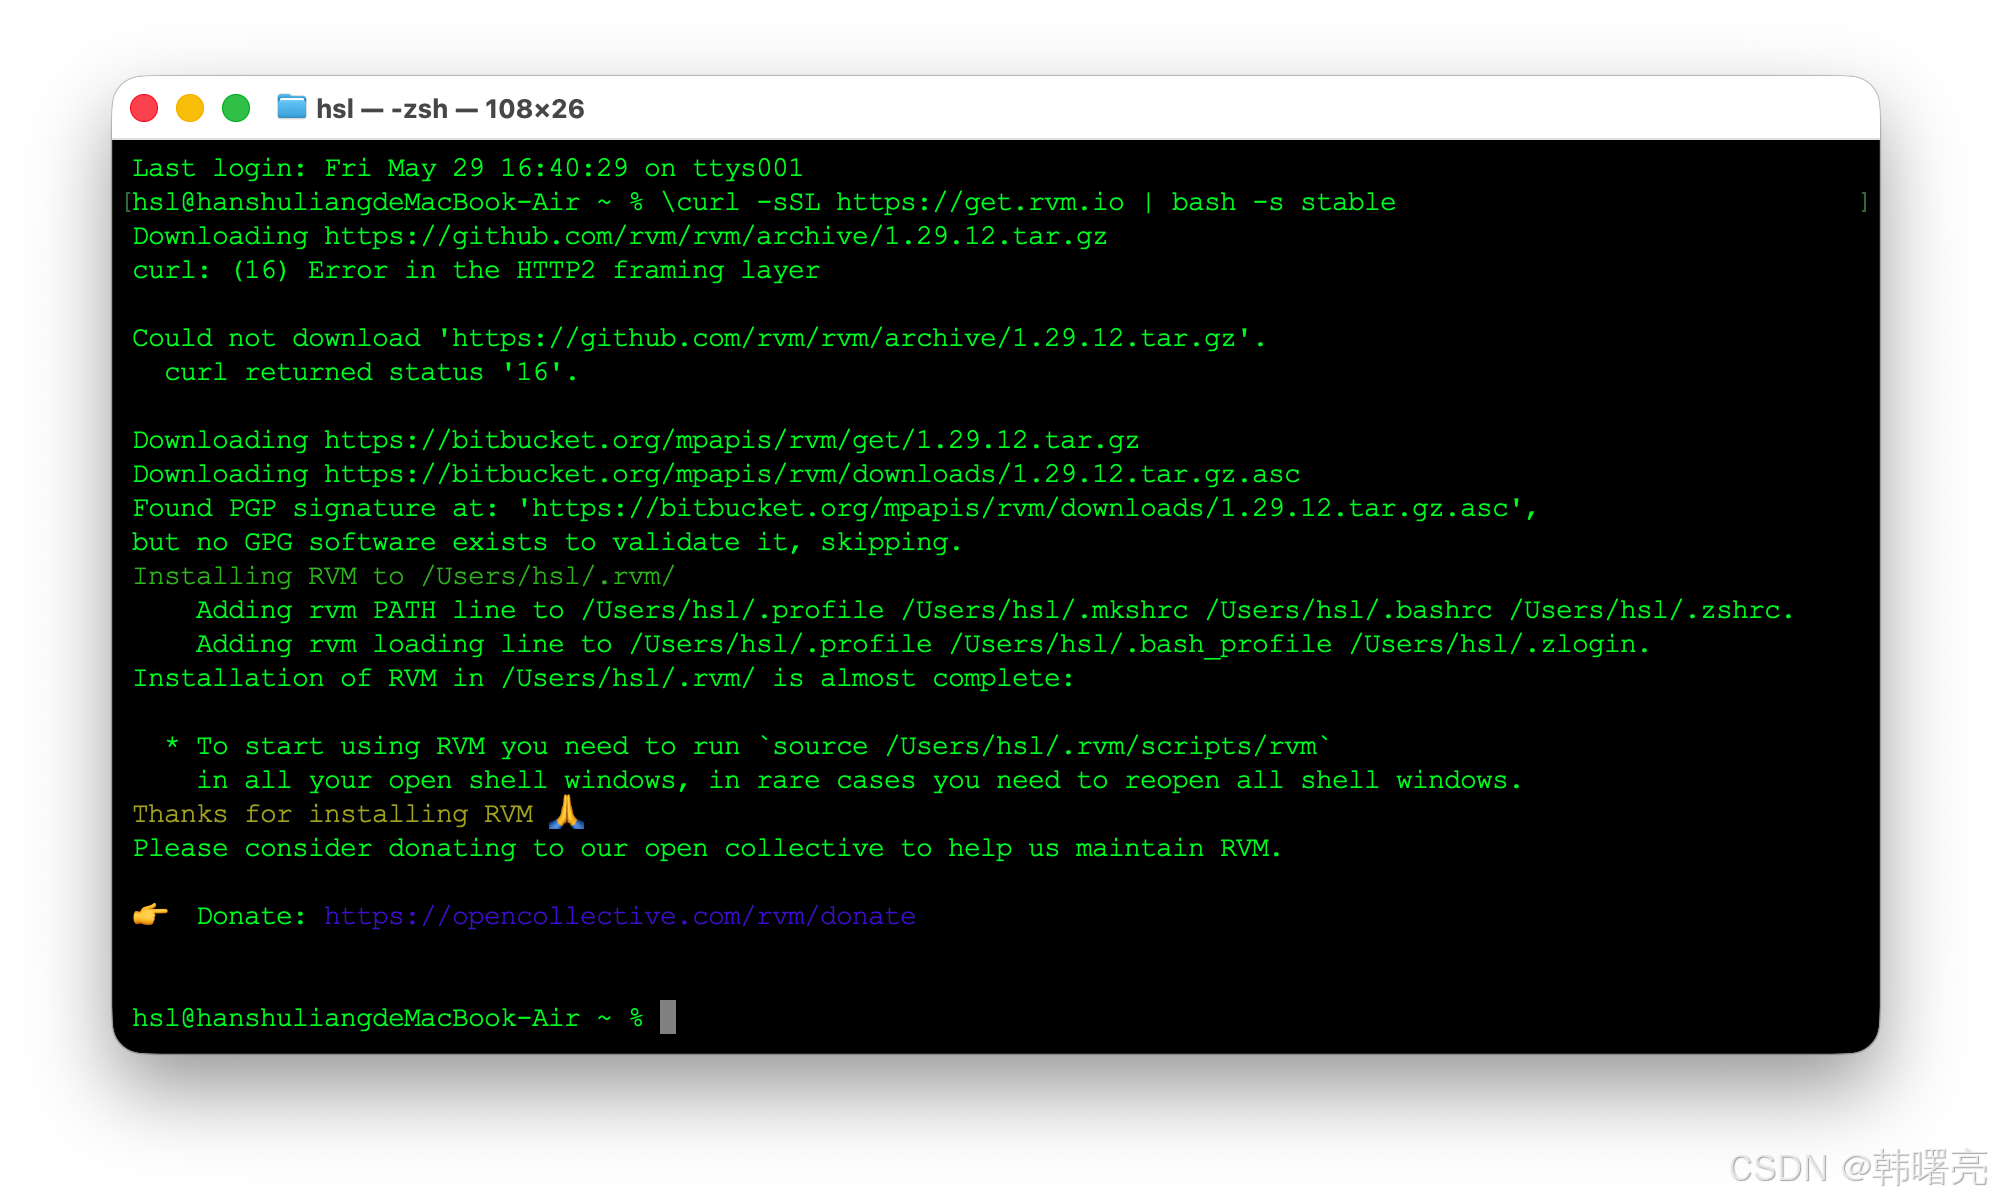
执行 下面的 命令 , 安装 RVM ( Ruby Version Manager ) 的 最新稳定版 RVM , 这是 Ruby 的 多版本 切换工具 ,
\curl -sSL https://get.rvm.io | bash -s stable
安装 Ruby 3.2.9 ( 不推荐使用 仅做参考 )
然后开始安装 Ruby ;
执行下面的命令 , 用 RVM 安装 Ruby 3.2.9 , 并强制让编译时链接 Homebrew 安装的 OpenSSL , 而不是系统自带的旧 OpenSSL/LibreSSL ;
rvm install 3.2.9 --with-openssl-dir=`brew --prefix openssl`
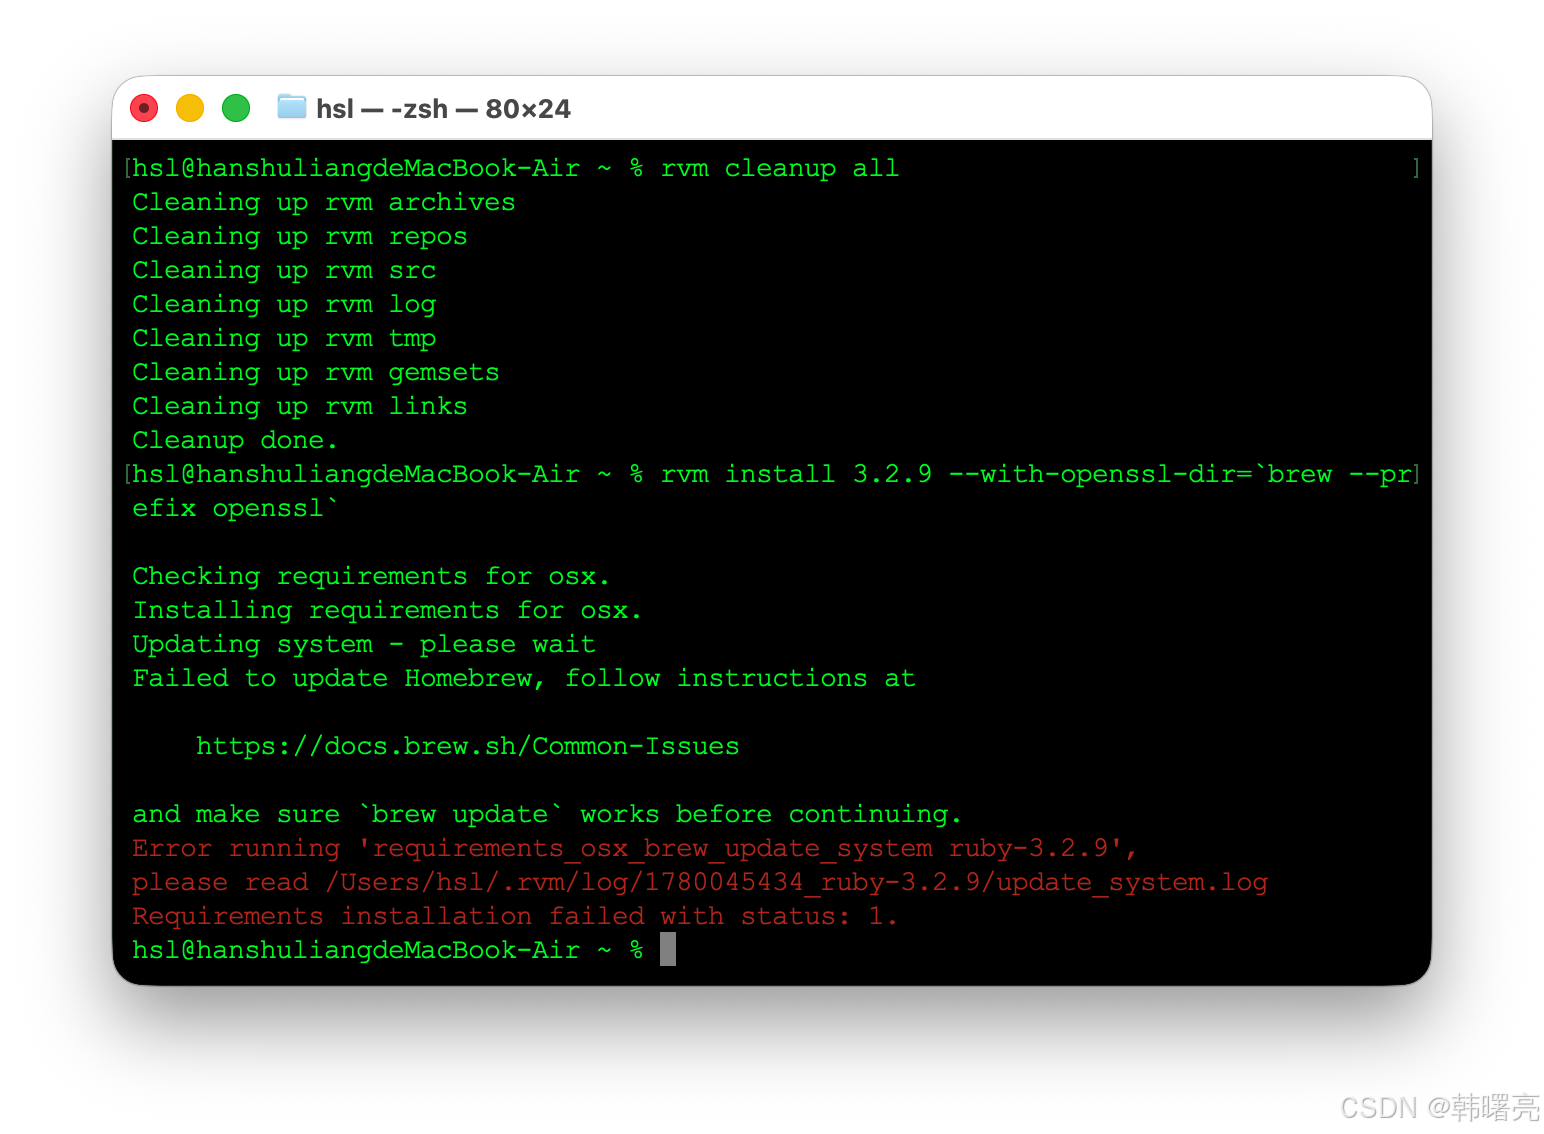
安装出错 - homebrew 出问题 ( 不推荐使用 仅做参考 )
该步骤 执行出错 :
hsl@hanshuliangdeMacBook-Air ~ % rvm install 3.2.9 --with-openssl-dir=`brew --prefix openssl`

Checking requirements for osx.
Installing requirements for osx.
Updating system - please wait
Failed to update Homebrew, follow instructions at

    https://docs.brew.sh/Common-Issues

and make sure `brew update` works before continuing.
Error running 'requirements_osx_brew_update_system ruby-3.2.9',
please read /Users/hsl/.rvm/log/1780045434_ruby-3.2.9/update_system.log
Requirements installation failed with status: 1.
hsl@hanshuliangdeMacBook-Air ~ %
解决 brew update 问题 ( 不推荐使用 仅做参考 )
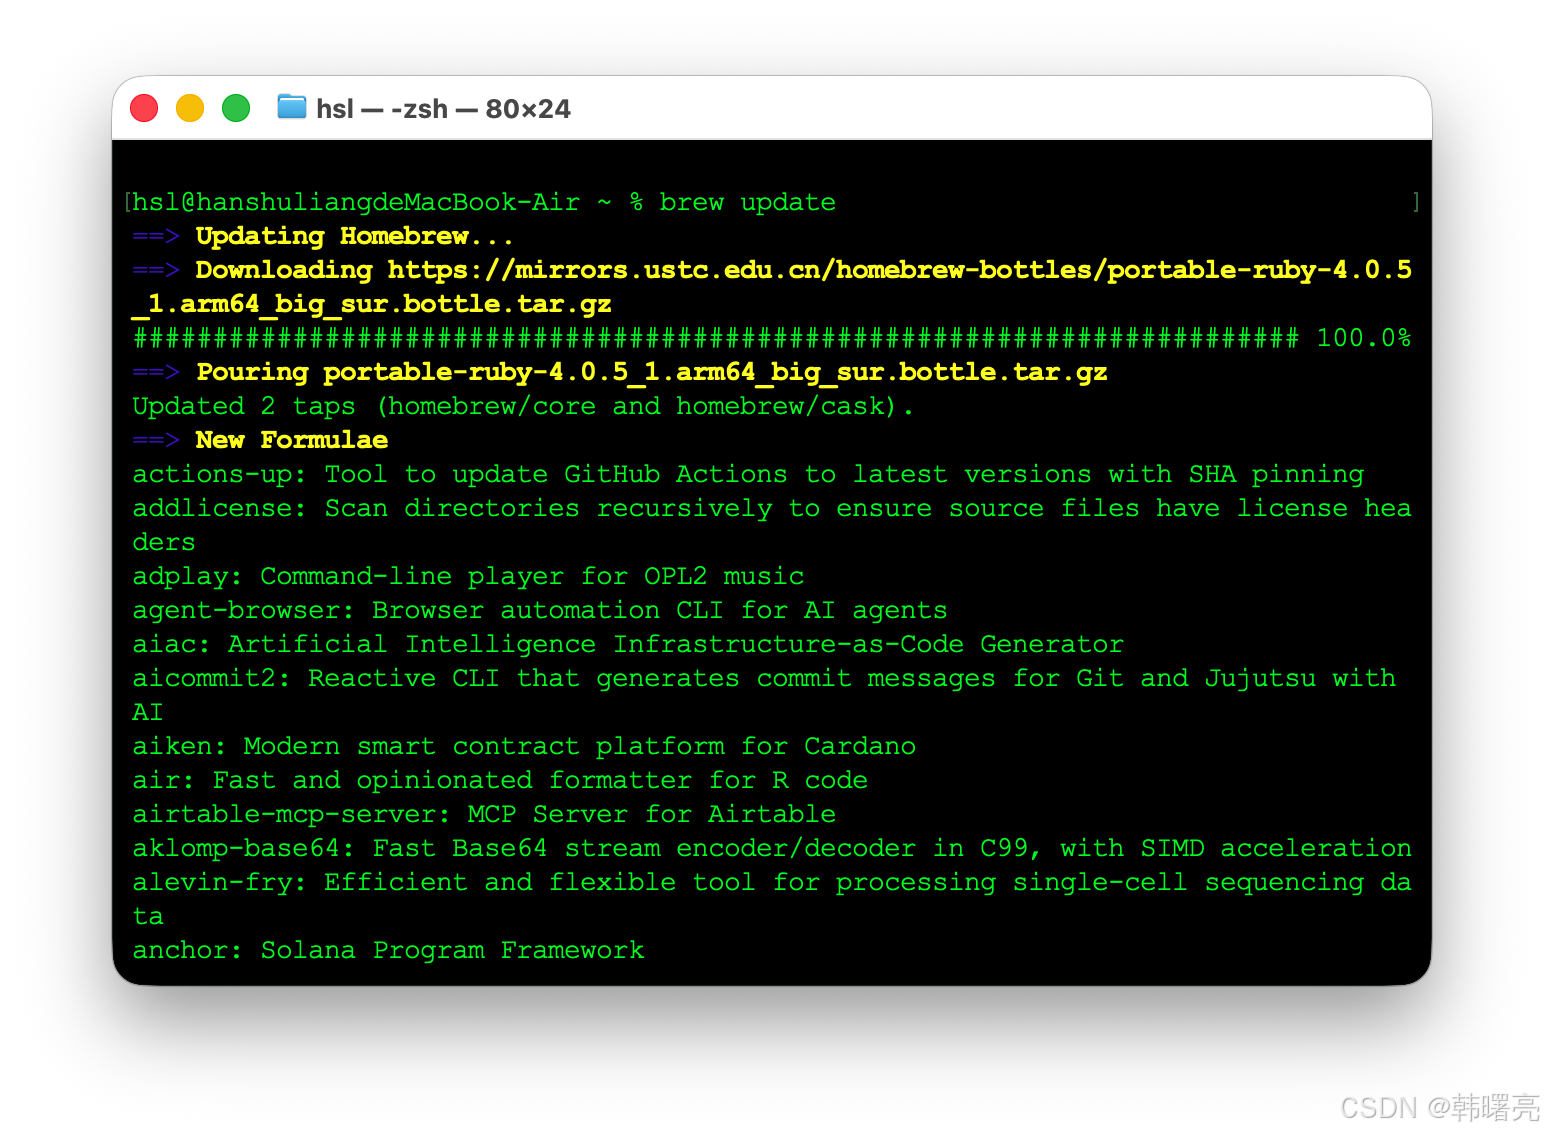
运行 brew update 卡住 , 重置 brew , 执行 brew update-reset 命令 强制重置本地仓库、重新拉官方 , 该命令能解决大部分卡住、冲突、损坏 , 该命令执行很慢 , 等待即可 ;
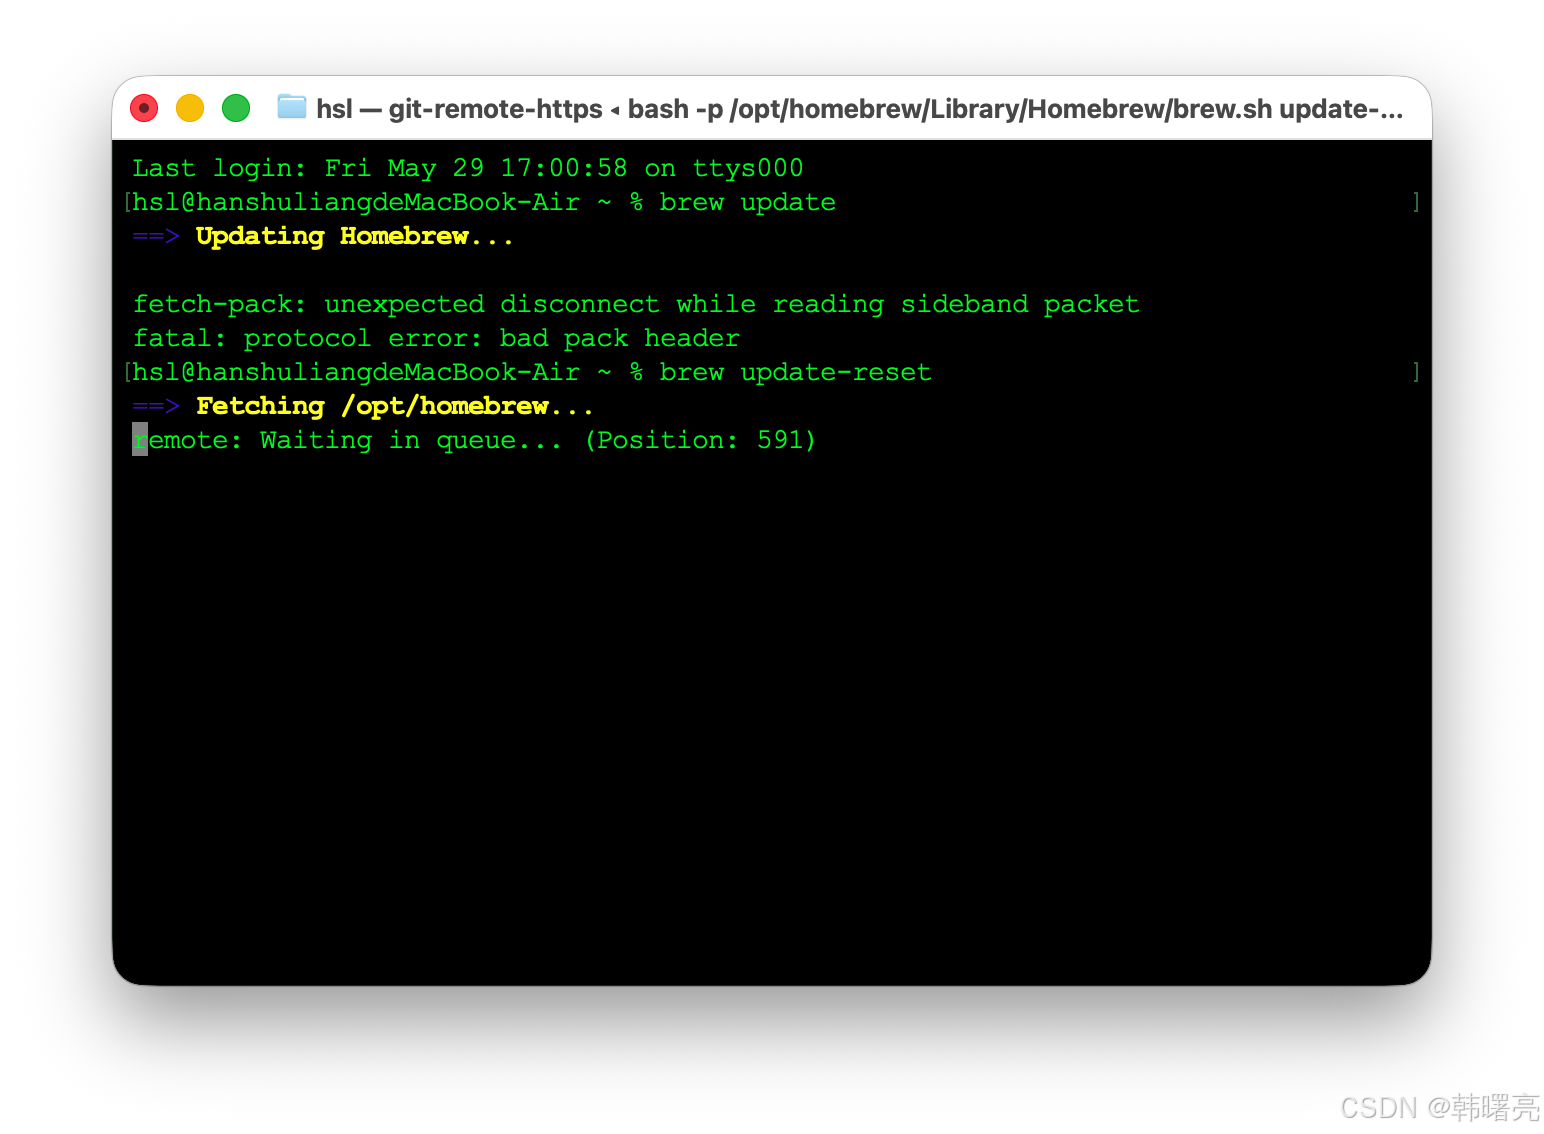
之后再重新执行 brew update 命令 , 本次执行成功 ;
brew doctor 检查 brew 问题 ( 不推荐使用 仅做参考 )
安装 Ruby 3.2.9 还是出错 ;
Last login: Fri May 29 17:17:07 on ttys000
hsl@hanshuliangdeMacBook-Air ~ % rvm install 3.2.9 --with-openssl-dir=`brew --prefix openssl`

Checking requirements for osx.
Installing requirements for osx.
Updating system - please wait
Installing required packages: coreutils, libyaml, libksba, zlib, openssl@1.1 - please wait
There were package installation errors, make sure to read the log.

Try `brew tap --repair` and make sure `brew doctor` looks reasonable.

Check Homebrew requirements https://docs.brew.sh/Installation
Error running 'requirements_osx_brew_libs_install coreutils libyaml libksba zlib openssl@1.1',
please read /Users/hsl/.rvm/log/1780048809_ruby-3.2.9/package_install_coreutils_libyaml_libksba_zlib_openssl@1.1.log
Requirements installation failed with status: 1.
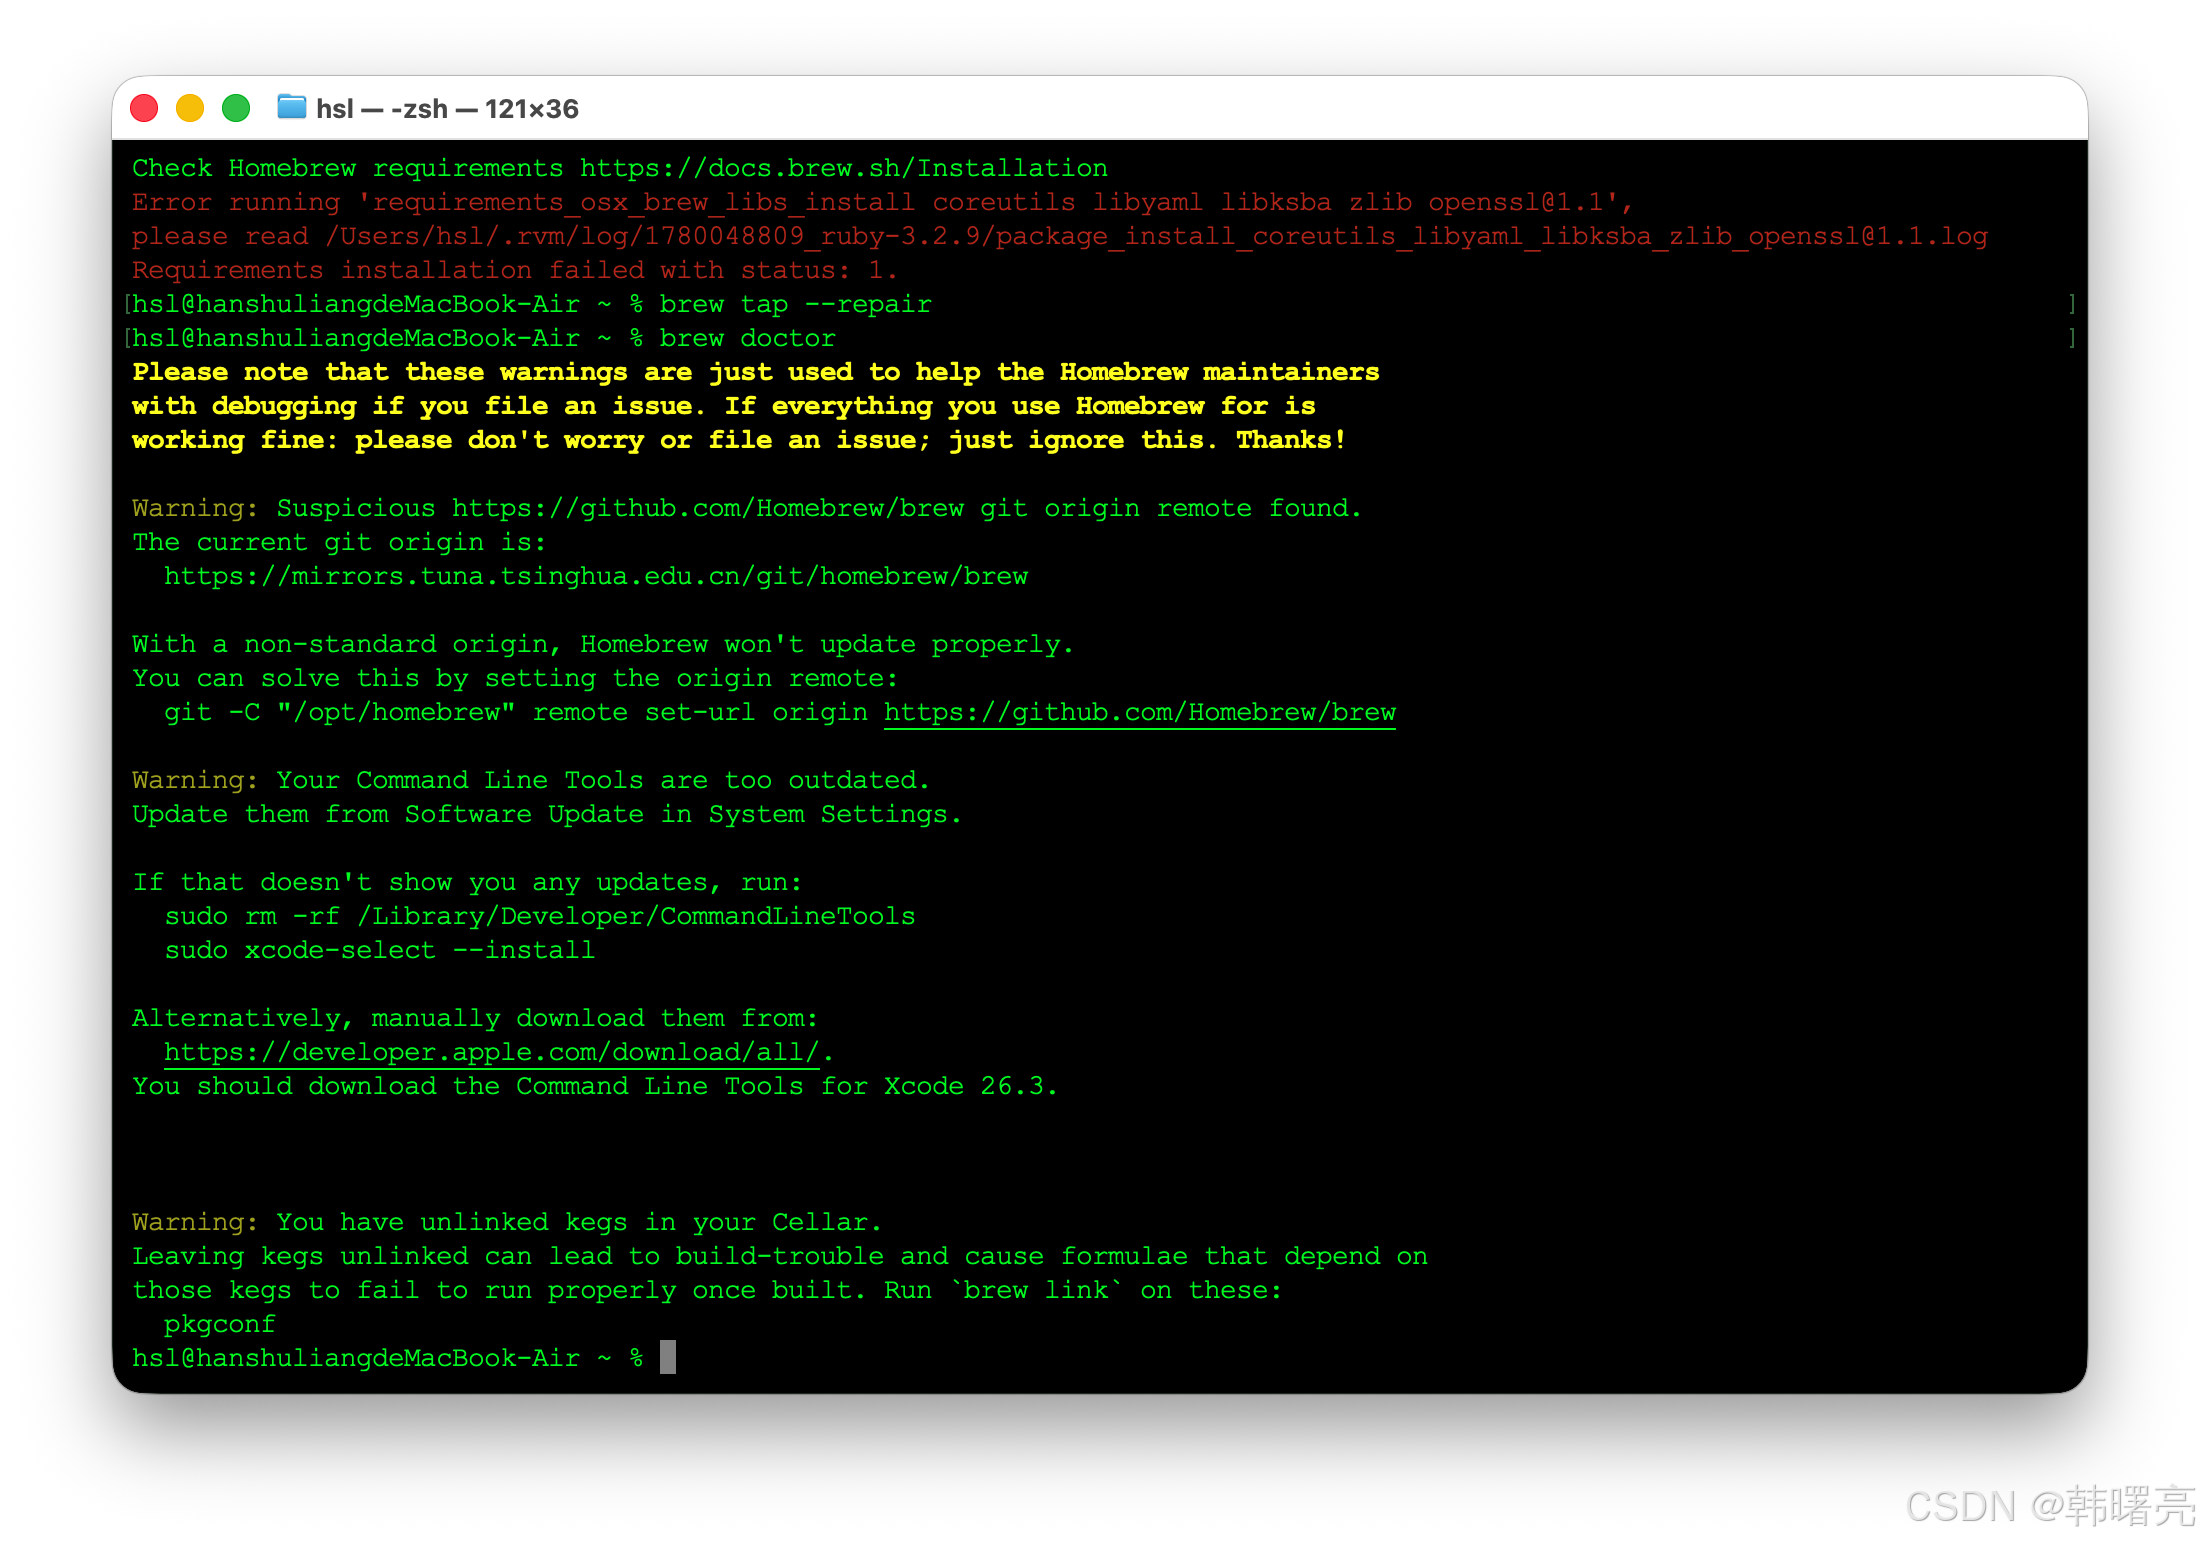
执行 brew doctor 排查问题 :
hsl@hanshuliangdeMacBook-Air ~ % brew tap --repair
hsl@hanshuliangdeMacBook-Air ~ % brew doctor
Please note that these warnings are just used to help the Homebrew maintainers
with debugging if you file an issue. If everything you use Homebrew for is
working fine: please don't worry or file an issue; just ignore this. Thanks!

Warning: Suspicious https://github.com/Homebrew/brew git origin remote found.
The current git origin is:
  https://mirrors.tuna.tsinghua.edu.cn/git/homebrew/brew

With a non-standard origin, Homebrew won't update properly.
You can solve this by setting the origin remote:
  git -C "/opt/homebrew" remote set-url origin https://github.com/Homebrew/brew

Warning: Your Command Line Tools are too outdated.
Update them from Software Update in System Settings.

If that doesn't show you any updates, run:
  sudo rm -rf /Library/Developer/CommandLineTools
  sudo xcode-select --install

Alternatively, manually download them from:
  https://developer.apple.com/download/all/.
You should download the Command Line Tools for Xcode 26.3.


Warning: You have unlinked kegs in your Cellar.
Leaving kegs unlinked can lead to build-trouble and cause formulae that depend on
those kegs to fail to run properly once built. Run `brew link` on these:
  pkgconf
hsl@hanshuliangdeMacBook-Air ~ %
rvm install 3.2.9 --skip-brew-update
继续安装 Ruby 3.2.9 ( 不推荐使用 仅做参考 )
继续执行下面的命令 , 将 Ruby 3.2.9 设置为 当前终端 + 系统全局默认 Ruby 版本 , 以后新开任何终端 , 自动使用 Ruby 3.2.9 ;
rvm use 3.2.9 --default
安装 CocoaPods 时 , 自动用 3.2.9 版本 , 不会再用系统老 Ruby ;
检查 Ruby 版本号 ( 不推荐使用 仅做参考 )
执行 下面的命令 , 检查 ruby 版本 ;
ruby --version
3、安装 CocoaPods 工具
安装命令
执行下面的命令 , 在 Mac 上安装 CocoaPods 工具 , 让 Flutter 可以正常编译、运行 iOS 项目 ;
sudo gem install cocoapods
- gem : Ruby 的包管理工具 , 这是 Mac 自带的工具 ;
- install : 安装命令 ;
- cocoapods : iOS 依赖管理工具 , 这是 Flutter 开发必装的工具 ;
- sudo : 用管理员权限安装 , 防止权限不足报错 ;
如果安装卡主 , 尝试执行 sudo gem install cocoapods -V 可以查看卡在什么位置失败了 ;
安装过程
安装完整过程 :
Last login: Fri May 29 18:36:10 on ttys000
hsl@hanshuliangdeMacBook-Air ~ % ruby -v
ruby 4.0.5 (2026-05-20 revision 64336ffd0e) +PRISM [arm64-darwin25]
hsl@hanshuliangdeMacBook-Air ~ %
hsl@hanshuliangdeMacBook-Air ~ % sudo gem install cocoapods
Password:
Fetching nanaimo-0.4.0.gem
Fetching colored2-3.1.2.gem
Fetching claide-1.1.0.gem
Fetching CFPropertyList-3.0.8.gem
Fetching atomos-0.1.3.gem
Fetching xcodeproj-1.27.0.gem
Fetching ruby-macho-2.5.1.gem
Fetching nap-1.1.0.gem
Fetching molinillo-0.8.0.gem
Fetching gh_inspector-1.1.3.gem
Fetching fourflusher-2.3.1.gem
Fetching escape-0.0.4.gem
Fetching cocoapods-try-1.2.0.gem
Fetching netrc-0.11.0.gem
Fetching cocoapods-trunk-1.6.0.gem
Fetching cocoapods-search-1.0.1.gem
Fetching cocoapods-plugins-1.0.0.gem
Fetching cocoapods-downloader-2.1.gem
Fetching cocoapods-deintegrate-1.0.5.gem
Fetching ffi-1.17.4-arm64-darwin.gem
Fetching ethon-0.18.0.gem
Fetching typhoeus-1.6.0.gem
Fetching public_suffix-4.0.7.gem
Fetching fuzzy_match-2.0.4.gem
Fetching concurrent-ruby-1.3.6.gem
Fetching httpclient-2.9.0.gem
Fetching algoliasearch-1.27.5.gem
Fetching addressable-2.9.0.gem
Fetching tzinfo-2.0.6.gem
Fetching minitest-5.27.0.gem
Fetching i18n-1.14.8.gem
Fetching connection_pool-3.0.2.gem
Fetching cocoapods-1.16.2.gem
Fetching activesupport-7.2.3.1.gem
Fetching cocoapods-core-1.16.2.gem
Successfully installed nanaimo-0.4.0
Successfully installed colored2-3.1.2
Successfully installed claide-1.1.0
Successfully installed CFPropertyList-3.0.8
Successfully installed atomos-0.1.3
Successfully installed xcodeproj-1.27.0
Successfully installed ruby-macho-2.5.1
Successfully installed nap-1.1.0
Successfully installed molinillo-0.8.0
Successfully installed gh_inspector-1.1.3
Successfully installed fourflusher-2.3.1
Successfully installed escape-0.0.4
Successfully installed cocoapods-try-1.2.0
Successfully installed netrc-0.11.0
Successfully installed cocoapods-trunk-1.6.0
Successfully installed cocoapods-search-1.0.1
Successfully installed cocoapods-plugins-1.0.0
Successfully installed cocoapods-downloader-2.1
Successfully installed cocoapods-deintegrate-1.0.5
Successfully installed ffi-1.17.4-arm64-darwin
Successfully installed ethon-0.18.0
Successfully installed typhoeus-1.6.0
Successfully installed public_suffix-4.0.7
Successfully installed fuzzy_match-2.0.4
Successfully installed concurrent-ruby-1.3.6
Successfully installed httpclient-2.9.0
A new major version is available for Algolia! Please now use the https://rubygems.org/gems/algolia gem to get the latest features.
Successfully installed algoliasearch-1.27.5
Successfully installed addressable-2.9.0
Successfully installed tzinfo-2.0.6
NOTE: minitest 5 will be the last in the minitest family to support
      ruby 1.8 to 2.7. If you need to keep using these versions,
      you need to pin your dependency to minitest with something
      like "~> 5.0". See History.rdoc to locate compatible
      versions.

      Further, minitest 6 will be dropping the following:

      + MiniTest (it's been Minitest for >10 years)
      + MiniTest::Unit
      + MiniTest::Unit::TestCase
      + assert_send (unless you argue for it well)
      + assert_equal nil, obj
      + mocks and stubs: moving minitest/mock.rb to its own gem
Successfully installed minitest-5.27.0
Successfully installed i18n-1.14.8
Successfully installed connection_pool-3.0.2
Successfully installed activesupport-7.2.3.1
Successfully installed cocoapods-core-1.16.2
Successfully installed cocoapods-1.16.2
配置 Pod 环境变量
Pod 可执行文件在 /opt/homebrew/lib/ruby/gems/4.0.0/bin 目录下 ;
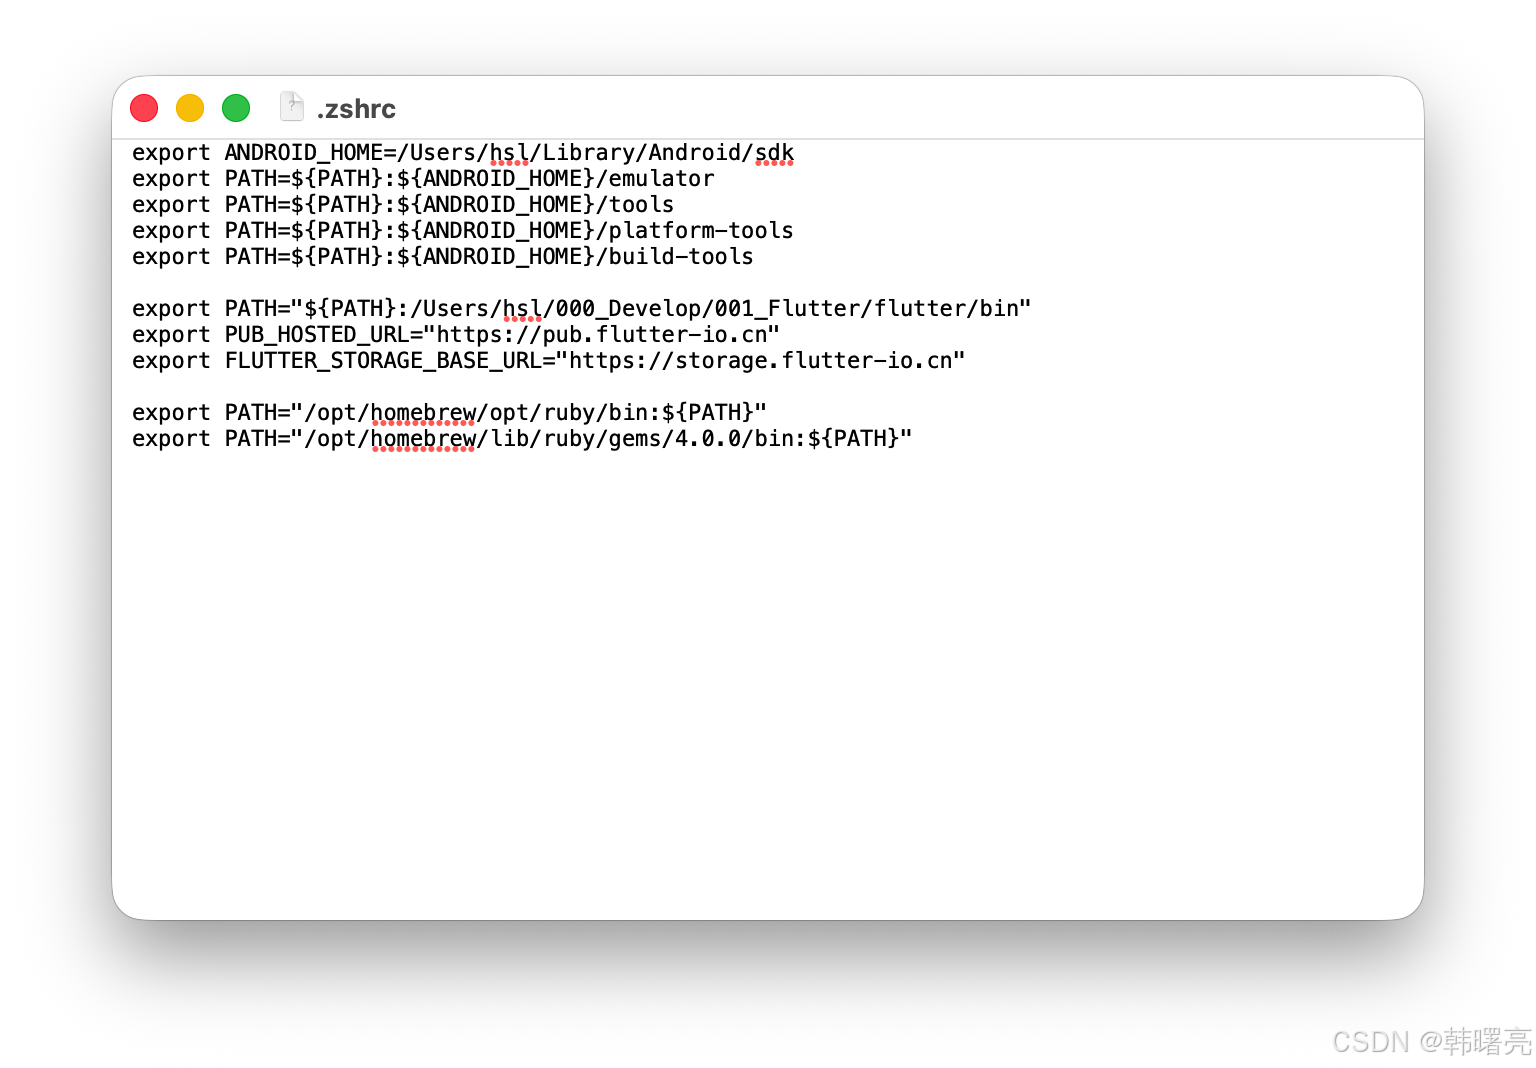
将 export PATH="/opt/homebrew/lib/ruby/gems/4.0.0/bin:${PATH}" 配置到脚本中 , 完整脚本如下 :
export ANDROID_HOME=/Users/hsl/Library/Android/sdk
export PATH=${PATH}:${ANDROID_HOME}/emulator
export PATH=${PATH}:${ANDROID_HOME}/tools
export PATH=${PATH}:${ANDROID_HOME}/platform-tools
export PATH=${PATH}:${ANDROID_HOME}/build-tools

export PATH="${PATH}:/Users/hsl/000_Develop/001_Flutter/flutter/bin"
export PUB_HOSTED_URL="https://pub.flutter-io.cn"
export FLUTTER_STORAGE_BASE_URL="https://storage.flutter-io.cn"

export PATH="/opt/homebrew/opt/ruby/bin:${PATH}"
export PATH="/opt/homebrew/lib/ruby/gems/4.0.0/bin:${PATH}"
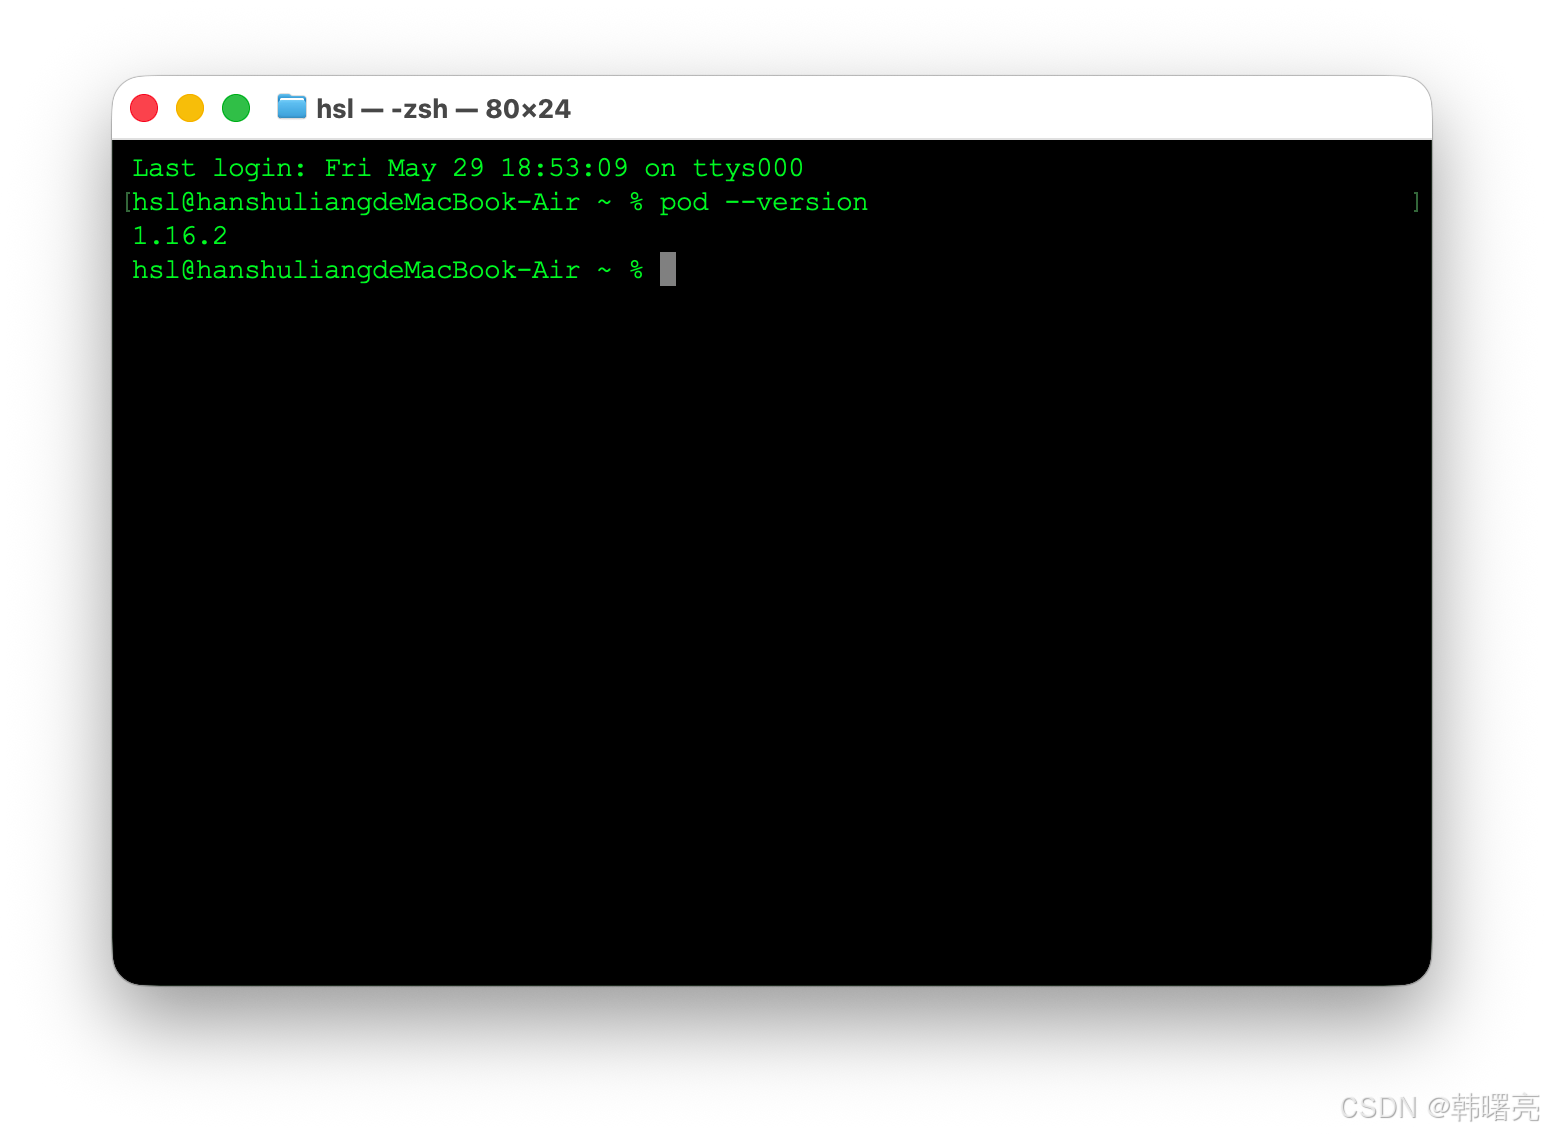
验证 pod 版本号
执行 pod --version 命令 , 查看 pod 版本号 ;
Last login: Fri May 29 18:53:09 on ttys000
hsl@hanshuliangdeMacBook-Air ~ % pod --version
1.16.2
hsl@hanshuliangdeMacBook-Air ~ %
4、验证 Flutter 环境 - flutter doctor
执行 flutter doctor 命令 , 验证 Flutter 环境 , 这一次除了 Android Studio 之外 , 都安装完毕 ;
执行过程 :
Last login: Fri May 29 18:53:09 on ttys000
hsl@hanshuliangdeMacBook-Air ~ % pod --version
1.16.2
hsl@hanshuliangdeMacBook-Air ~ % flutter doctor
Doctor summary (to see all details, run flutter doctor -v):
[✓] Flutter (Channel stable, 3.41.7, on macOS 26.5 25F71 darwin-arm64, locale
    zh-Hans-CN)
[!] Android toolchain - develop for Android devices (Android SDK version 35.0.1)
    ✗ cmdline-tools component is missing.
      Try installing or updating Android Studio.
      Alternatively, download the tools from
      https://developer.android.com/studio#command-line-tools-only and make sure
      to set the ANDROID_HOME environment variable.
      See https://developer.android.com/studio/command-line for more details.
    ✗ Android license status unknown.
      Run `flutter doctor --android-licenses` to accept the SDK licenses.
      See https://flutter.dev/to/macos-android-setup for more details.
[✓] Xcode - develop for iOS and macOS (Xcode 26.5)
[✓] Chrome - develop for the web
[✓] Connected device (3 available)
[✓] Network resources

! Doctor found issues in 1 category.
hsl@hanshuliangdeMacBook-Air ~ %

五、运行 Flutter 项目
1、查看可用的 Flutter 设备
执行 flutter devices 命令 , 查看可用的设备 ;
[hsl@hanshuliangdeMacBook-Air ~ % flutter devices
Found 3 connected devices:
  iPhone 17 (mobile) • B7CC39C4-F7C1-44E2-8D2A-7711B904AA46 • ios            •
  com.apple.CoreSimulator.SimRuntime.iOS-26-5 (simulator)
  macOS (desktop)    • macos                                • darwin-arm64   •
  macOS 26.5 25F71 darwin-arm64
  Chrome (web)       • chrome                               • web-javascript •
  Google Chrome 143.0.7499.170

No wireless devices were found.

Run "flutter emulators" to list and start any available device emulators.

If you expected another device to be detected, please run "flutter doctor" to
diagnose potential issues. You may also try increasing the time to wait for
connected devices with the "--device-timeout" flag. Visit
https://flutter.dev/setup/ for troubleshooting tips.
hsl@hanshuliangdeMacBook-Air ~ %
每个设备由四部分组成 ,
  iPhone 17 (mobile) • B7CC39C4-F7C1-44E2-8D2A-7711B904AA46 • ios            • com.apple.CoreSimulator.SimRuntime.iOS-26-5 (simulator)
  macOS (desktop)    • macos                                • darwin-arm64   • macOS 26.5 25F71 darwin-arm64
  Chrome (web)       • chrome                               • web-javascript • Google Chrome 143.0.7499.170
- 第一段 : 设备名称 + 设备形态 , iPhone 17 (mobile) / macOS (desktop) / Chrome (web)
- iPhone 17 : 设备名字
- (mobile) / (desktop) / (web) : 设备类型
- mobile = 手机 / 平板
- desktop = 桌面系统
- web = 浏览器
- 第二段 : 设备唯一 ID ( 最重要 ) , B7CC39C4-F7C1-44E2-8D2A-7711B904AA46、macos、chrome ;
- 用来执行 : flutter run -d 这里填这个 ID
- iOS 模拟器是 UUID
- macOS 固定是 macos
- Chrome 固定是 chrome
- 第三段 : 平台标识 ( platform )
- ios : iOS 设备 / 模拟器
- darwin-arm64 : macOS ( Apple Silicon )
- web-javascript : Web 平台
- 第四段 : 系统版本 + 模拟器 / 真机标记
- iOS : com.apple.CoreSimulator.SimRuntime.iOS-26-5 (simulator) , 明确告诉你是模拟器 + iOS 版本 ;
- macOS : macOS 26.5 25F71 darwin-arm64 系统版本 + 架构
- Chrome : Google Chrome 143.0.7499.170 浏览器版本
以 iPhone 17 模拟器为例 :
iPhone 17 (mobile) • B7CC39C4-F7C1-44E2-8D2A-7711B904AA46 • ios • com.apple.CoreSimulator.SimRuntime.iOS-26-5 (simulator)
┌──────────────────┐ ┌────────────────────────────────────┐ ┌────┐ ┌───────────────────────────────────────────────────────┐
│ 1. 设备名称与类型 │ │ 2. 设备唯一 ID ( 用在 flutter run ) │ │3.平台│ │4. 系统/运行时版本 + 是否模拟器                          │
└──────────────────┘ └────────────────────────────────────┘ └────┘ └───────────────────────────────────────────────────────┘
2、使用命令行运行 Flutter 程序到 iOS 模拟器中
执行
flutter run
命令 , 默认在以下三个设备的第一个设备下运行 :
  iPhone 17 (mobile) • B7CC39C4-F7C1-44E2-8D2A-7711B904AA46 • ios            • com.apple.CoreSimulator.SimRuntime.iOS-26-5 (simulator)
  macOS (desktop)    • macos                                • darwin-arm64   • macOS 26.5 25F71 darwin-arm64
  Chrome (web)       • chrome                               • web-javascript • Google Chrome 143.0.7499.170
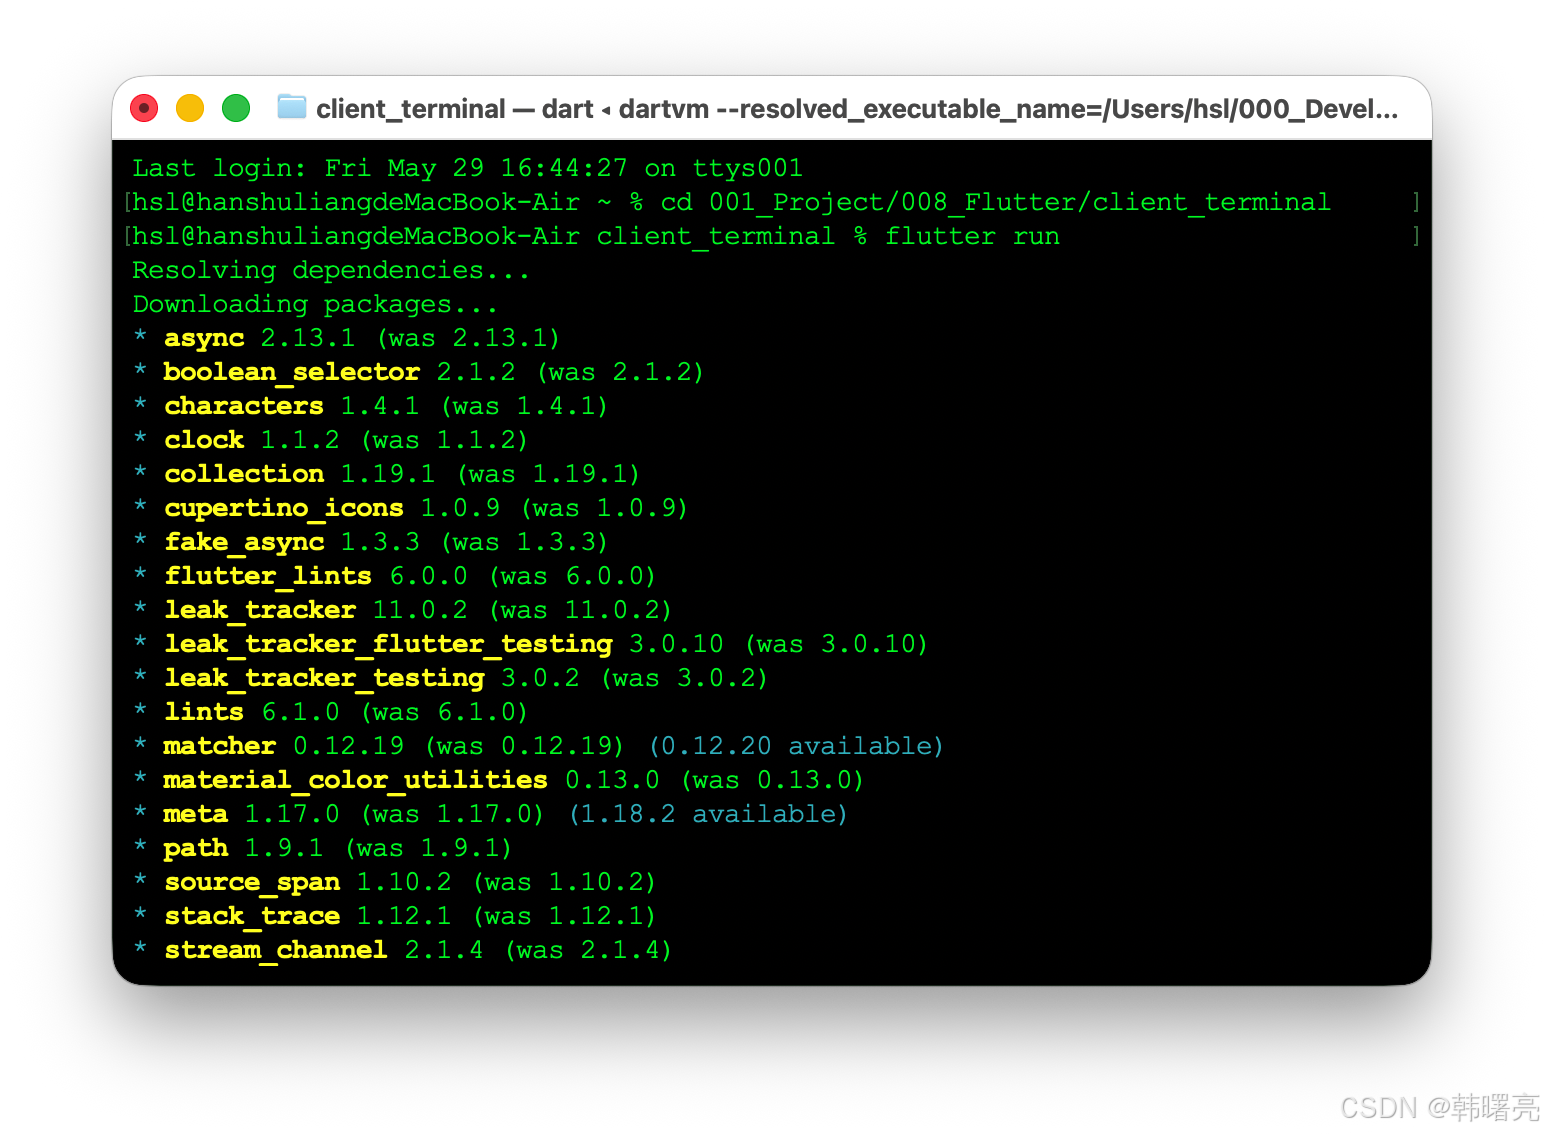
运行过程如下 :
Last login: Fri May 29 16:44:27 on ttys001
hsl@hanshuliangdeMacBook-Air ~ % cd 001_Project/008_Flutter/client_terminal
hsl@hanshuliangdeMacBook-Air client_terminal % flutter run
Resolving dependencies...
Downloading packages...
* async 2.13.1 (was 2.13.1)
* boolean_selector 2.1.2 (was 2.1.2)
* characters 1.4.1 (was 1.4.1)
* clock 1.1.2 (was 1.1.2)
* collection 1.19.1 (was 1.19.1)
* cupertino_icons 1.0.9 (was 1.0.9)
* fake_async 1.3.3 (was 1.3.3)
* flutter_lints 6.0.0 (was 6.0.0)
* leak_tracker 11.0.2 (was 11.0.2)
* leak_tracker_flutter_testing 3.0.10 (was 3.0.10)
* leak_tracker_testing 3.0.2 (was 3.0.2)
* lints 6.1.0 (was 6.1.0)
* matcher 0.12.19 (was 0.12.19) (0.12.20 available)
* material_color_utilities 0.13.0 (was 0.13.0)
* meta 1.17.0 (was 1.17.0) (1.18.2 available)
* path 1.9.1 (was 1.9.1)
* source_span 1.10.2 (was 1.10.2)
* stack_trace 1.12.1 (was 1.12.1)
* stream_channel 2.1.4 (was 2.1.4)
* string_scanner 1.4.1 (was 1.4.1)
* term_glyph 1.2.2 (was 1.2.2)
* test_api 0.7.10 (was 0.7.10) (0.7.12 available)
* vector_math 2.2.0 (was 2.2.0) (2.3.0 available)
* vm_service 15.2.0 (was 15.2.0)
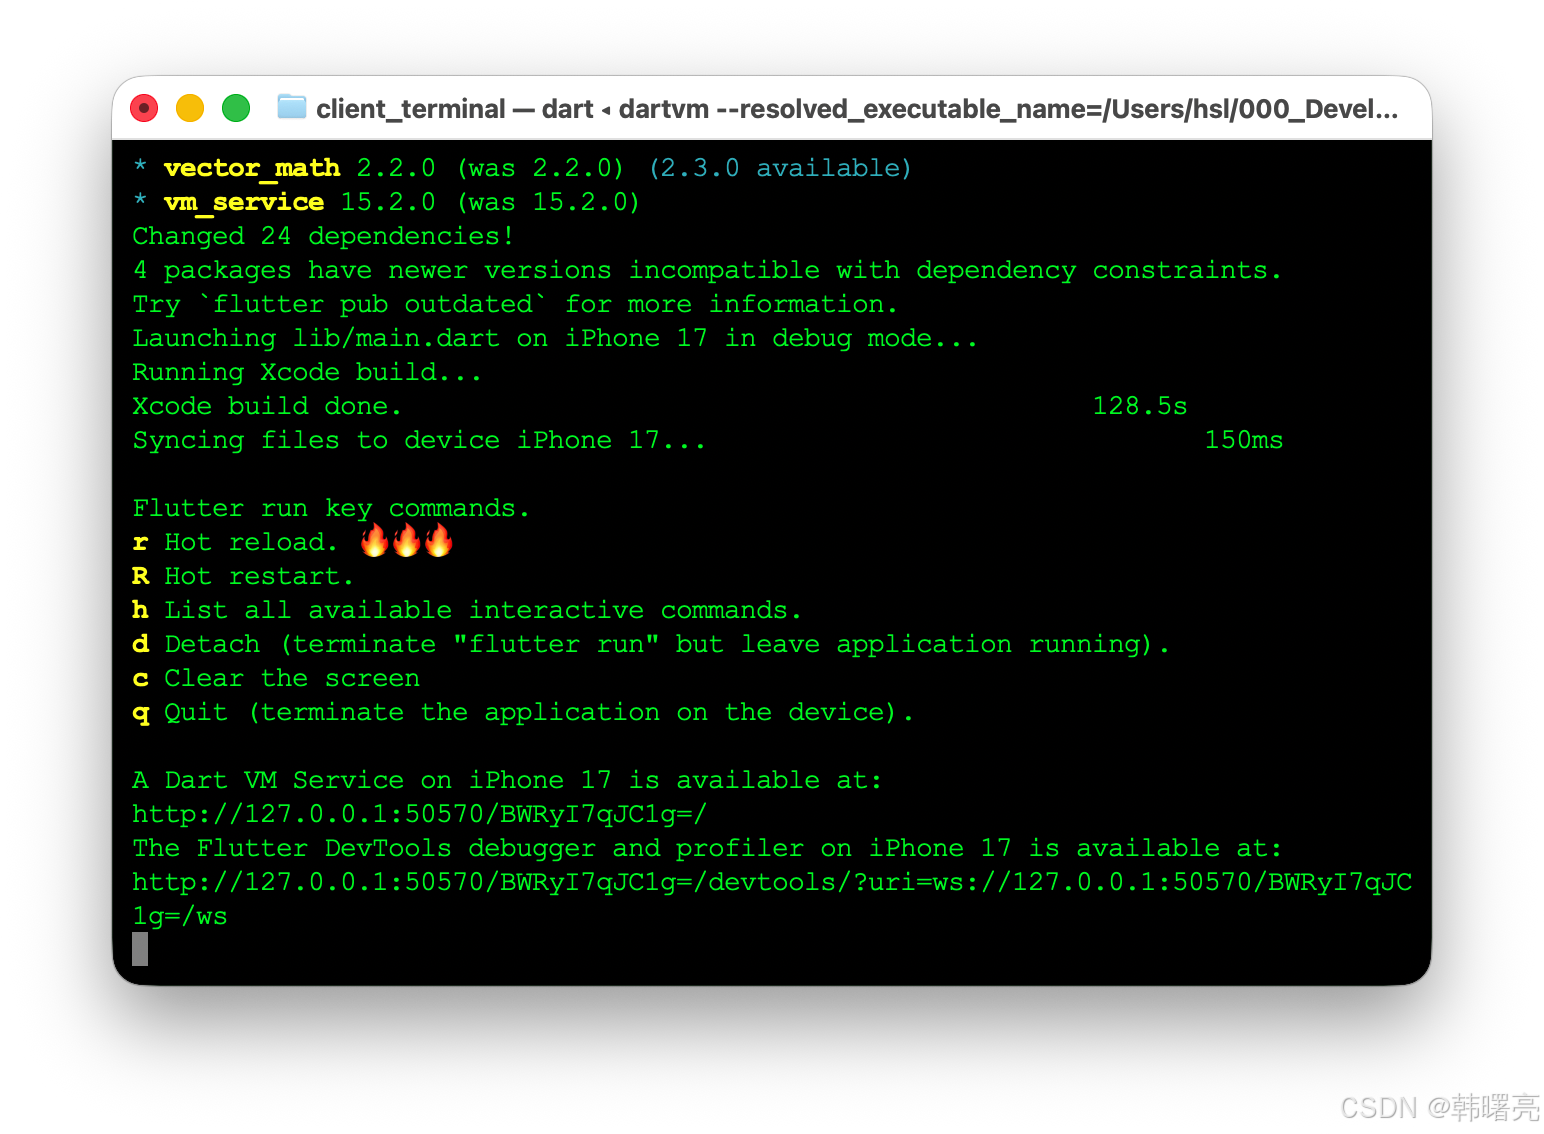
Changed 24 dependencies!
4 packages have newer versions incompatible with dependency constraints.
Try `flutter pub outdated` for more information.
Launching lib/main.dart on iPhone 17 in debug mode...
Running Xcode build...
Xcode build done. 128.5s
Syncing files to device iPhone 17... 150ms
Flutter run key commands.
r Hot reload. 🔥🔥🔥
R Hot restart.
h List all available interactive commands.
d Detach (terminate "flutter run" but leave application running).
c Clear the screen
q Quit (terminate the application on the device).
A Dart VM Service on iPhone 17 is available at:
http://127.0.0.1:50570/BWRyI7qJC1g=/
The Flutter DevTools debugger and profiler on iPhone 17 is available at:
http://127.0.0.1:50570/BWRyI7qJC1g=/devtools/?uri=ws://127.0.0.1:50570/BWRyI7qJC
1g=/ws
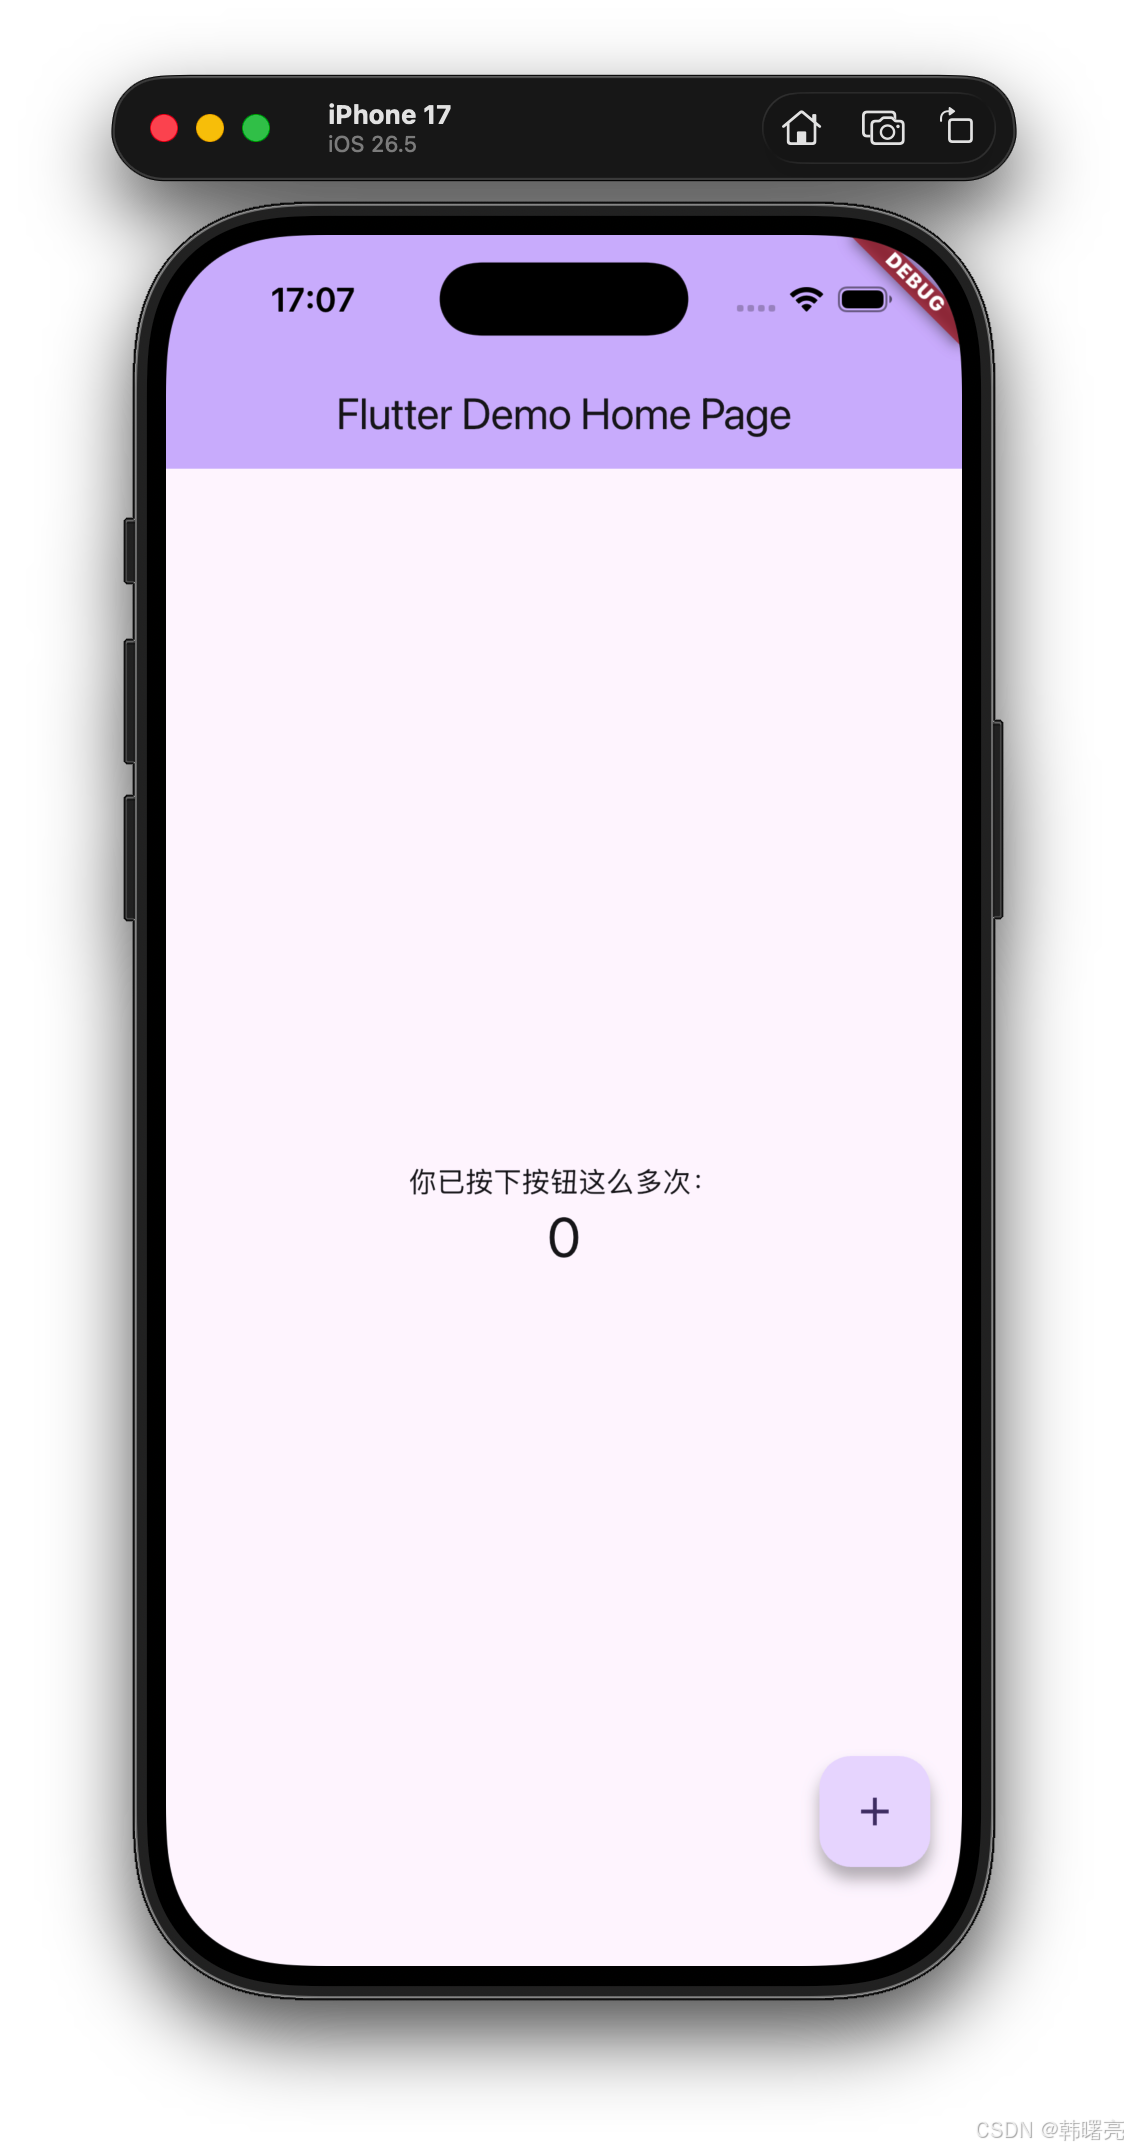
iOS 模拟器中成功运行 Flutter 项目 ;
更多推荐


 6
6 0
0- 0


 已为社区贡献21条内容

所有评论(0)