
物理内存防御重器:基于 C/C++ 内存泄露与越界写堆栈排查及 Valgrind 逆向定位实战
物理内存防御重器:基于 C/C++ 内存泄露与越界写堆栈排查及 Valgrind 逆向定位实战
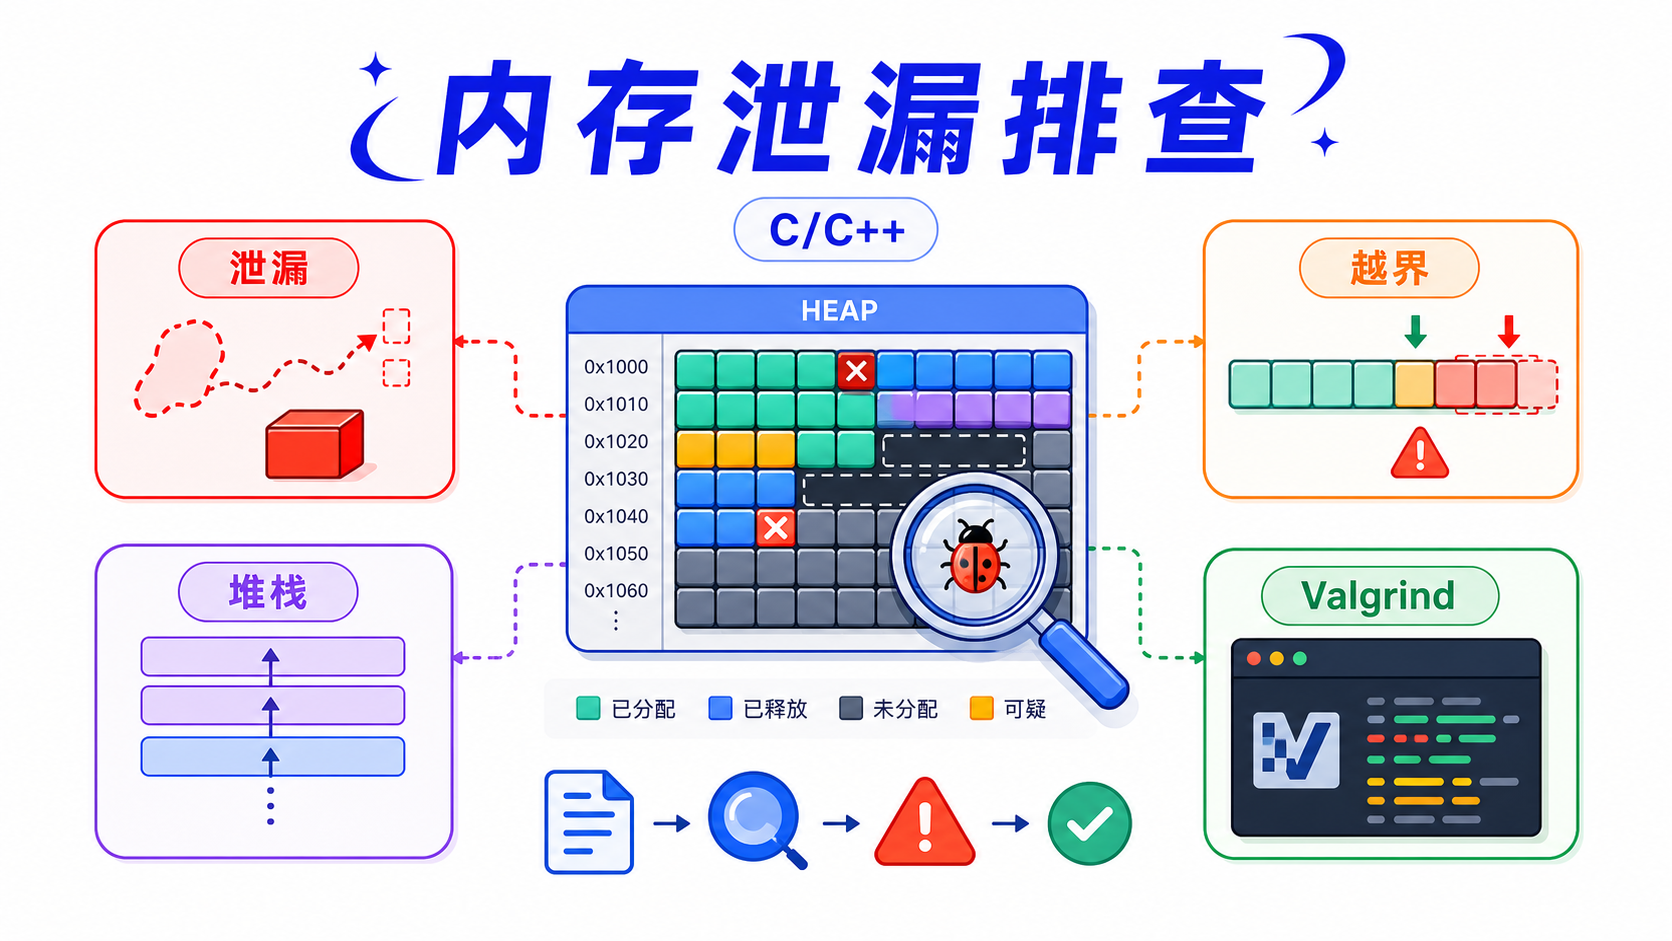
在要求极致性能与资源控制的底层系统级软件(如网络代理网关、嵌入式实时控制器、高频交易引擎等)开发中,C/C++ 是无可替代的技术主力。然而,C/C++ 手动管理内存的灵活性伴随着巨大的运行安全风险。**内存泄漏(Memory Leak)与缓冲区溢出越界写(Out-of-bounds Write)**始终是生产环境中进程异常崩溃(Segmentation Fault)与系统安全漏洞的隐形源头。由于 C/C++ 不具有运行期边界安全检查,这类问题往往在运行数天甚至数月后才在极端压力下突然爆发,其排查难度极高。本文将深入拆解堆内存物理布局的破坏机理,并手写一个生产级、基于哨兵字节(Guard Bytes)监测越界写与泄漏的 C++ 内存诊断引擎底座。
一、拒绝隐性崩溃:C/C++ 内存管理中的深渊
为什么 C/C++ 的内存 bug 如此难以定位?其根本原因在于内存被破坏的现场与程序发生崩溃的现场通常是完全剥离的。
- 缓冲区溢出的堆破坏(Heap Corruption):
当程序向一个在堆上申请的char* buf = new char[16]写入 20 个字节的数据时,多余的 4 个字节不会立即引发操作系统报错。它们会物理覆写紧随该内存块之后的邻接堆管理区数据(如 glibc malloc 的 Chunk Header 块头信息,包含前一个块的大小、使用状态等)。
程序只会在很久之后,在另一个完全无关的线程执行free()操作、需要遍历 Chunk 链表时才崩溃。 此时,真正的越界写“作案现场”早已无法追溯。 - 静默的内存泄漏(Memory Leak):
在复杂的异步调用和异常处理分支中,开发人员极其容易在return之前遗漏delete。虽然单次泄漏可能只有几十字节,但在每秒处理数万次连接的网络网关中,这一隐性消耗会像滚雪球般迅速吞噬系统物理内存,最终触发操作系统的OOM-Killer,导致业务静默下线。 - 传统排查手段的局限性:
依靠人工 Review 代码无法拦截深层的运行时泄漏,而使用Valgrind虽然检测精准,但其底层通过**二进制翻译(Dynamic Binary Instrumentation)**运行,会将程序运行速度拖慢 20 到 50 倍,完全无法部署到真实的生产压测环境。因此,构建轻量级、低开销的自研内存安全检测网具有极其关键的工程实用价值。
二、架构分析:Guard Bytes(哨兵字节)与堆内存块生命周期设计
为了捕获内存越界与泄漏,我们必须在每次分配内存时,在物理布局上主动掺入“防伪标记(Guard Bytes)”。
graph TD
    subgraph 正常物理内存布局 (Aligned Chunk Layout)
        Header[Metadata Header: 记录分配大小、文件名与行号] -->|连续物理地址| LeftGuard[Left Guard: 4 字节魔数 0xDEADBEEF]
        LeftGuard -->|连续物理地址| UserPayload[User Data Space: 用户真实可写空间]
        UserPayload -->|连续物理地址| RightGuard[Right Guard: 4 字节魔数 0xDEADC0DE]
    end

    subgraph 越界写破坏探测 (Out-of-bounds Detection)
        App[用户程序写入超出 Payload 边界] -->|物理覆写| RightGuard
        RightGuard -->|值变为| RuinedGuard[破坏的哨兵: 0x12345678]

        FreeCall[调用 SafeFree 释放] -->|校验哨兵| Check{RightGuard == 0xDEADC0DE?}
        Check -- 否 --> Alarm[报告越界写错误, 打印分配栈文件名/行号]
        Check -- 是 --> FreePhys[真正调用 free 释放]
    end

    style LeftGuard fill:#ccffcc,stroke:#00aa00,stroke-width:2px
    style RightGuard fill:#ccffcc,stroke:#00aa00,stroke-width:2px
    style RuinedGuard fill:#ffcccc,stroke:#aa0000,stroke-width:2px
    style Alarm fill:#ffffcc,stroke:#aaaa00,stroke-width:2px
1. 内存块首尾的 Guard Bytes 哨兵机制
当用户向诊断引擎请求 $N$ 字节的内存空间时,我们实际在底层分配 $N + \text{sizeof(Header)} + \text{sizeof(LeftGuard)} + \text{sizeof(RightGuard)}$ 长度的物理内存。
- Header:存储当前内存分配的大小、文件名和代码行号,方便在泄露时精确定位代码行。
- Left Guard & Right Guard:在用户数据区的前后紧邻位置,分别填入两个独一无二的魔数(例如:
0xDEADBEEF与0xDEADC0DE)。 - 校验机理:当程序写入数据越界时,必然会污染右侧相邻的
Right Guard。在程序调用delete/free释放这块内存时,诊断器会立即检查首尾两个魔数的值是否被篡改。如果是,则立即精准报错。
2. 内存泄漏链表跟踪(Allocation Tracker)
为了捕捉泄漏,我们必须在全局维护一个双向链表。每次成功分配内存,都会将当前内存块的 Header 节点链接进这个全局链表中;当内存被成功释放时,则将其从链表移出。
在程序退出或收到诊断信号时,如果全局链表内依然残留有节点,这些节点就是无可争议的内存泄露源头。通过解析 Header 里记录的文件名和行号,即可瞬间完成定位。
三、核心实现:自研轻量级 C++ 内存安全诊断引擎
下面我们将使用 C++11 标准,手写一套名为 SafeMemoryAllocator 的轻量级内存诊断底座,重载全局 new 与 delete 运算符。
内存诊断引擎 C++ 代码实现
新建文件 SafeMemoryAllocator.hpp:
#ifndef SAFE_MEMORY_ALLOCATOR_HPP
#define SAFE_MEMORY_ALLOCATOR_HPP

#include <iostream>
#include <mutex>
#include <cstring>
#include <cstdlib>

namespace security {

// 声明首尾哨兵魔数
const uint32_t LEFT_GUARD_MAGIC  = 0xDEADBEEF;
const uint32_t RIGHT_GUARD_MAGIC = 0xDEADC0DE;

// 堆块头部元数据,记录分配信息,并作为双向链表节点
struct MemoryHeader {
    size_t user_size;
    const char* file_name;
    int line_number;
    MemoryHeader* prev;
    MemoryHeader* next;
};

class SafeMemoryAllocator {
private:
    std::mutex mtx;
    MemoryHeader* list_head; // 全局追踪链表头指针

    SafeMemoryAllocator() : list_head(nullptr) {}

public:
    static SafeMemoryAllocator& getInstance() {
        static SafeMemoryAllocator instance;
        return instance;
    }

    // 严禁拷贝与赋值
    SafeMemoryAllocator(const SafeMemoryAllocator&) = delete;
    SafeMemoryAllocator& operator=(const SafeMemoryAllocator&) = delete;

    /**
     * 包装的安全内存分配函数
     */
    void* allocate(size_t size, const char* file, int line) {
        if (size == 0) return nullptr;

        // 计算总物理分配大小 = Header + LeftGuard(4字节) + UserData + RightGuard(4字节)
        size_t total_size = sizeof(MemoryHeader) + sizeof(uint32_t) + size + sizeof(uint32_t);

        // 调用底层物理 malloc 申请空间
        void* raw_ptr = std::malloc(total_size);
        if (!raw_ptr) {
            throw std::bad_alloc();
        }

        // 1. 初始化并安置 Header
        MemoryHeader* header = static_cast<MemoryHeader*>(raw_ptr);
        header->user_size = size;
        header->file_name = file;
        header->line_number = line;
        header->prev = nullptr;
        header->next = nullptr;

        // 2. 写入左侧哨兵字节
        uint8_t* byte_ptr = static_cast<uint8_t*>(raw_ptr);
        uint32_t* left_guard = reinterpret_cast<uint32_t*>(byte_ptr + sizeof(MemoryHeader));
        *left_guard = LEFT_GUARD_MAGIC;

        // 3. 计算用户数据区入口指针
        void* user_ptr = static_cast<void*>(byte_ptr + sizeof(MemoryHeader) + sizeof(uint32_t));

        // 4. 写入右侧哨兵字节
        uint32_t* right_guard = reinterpret_cast<uint32_t*>(byte_ptr + sizeof(MemoryHeader) + sizeof(uint32_t) + size);
        *right_guard = RIGHT_GUARD_MAGIC;

        // 5. 并发安全地将该节点链接入全局监控链表
        std::lock_guard<std::mutex> lock(mtx);
        if (!list_head) {
            list_head = header;
        } else {
            header->next = list_head;
            list_head->prev = header;
            list_head = header;
        }

        return user_ptr;
    }

    /**
     * 包装的安全内存释放函数
     */
    void deallocate(void* ptr) {
        if (!ptr) return;

        // 根据用户指针,逆向推导物理内存起始地址
        uint8_t* byte_ptr = static_cast<uint8_t*>(ptr);
        void* raw_ptr = static_cast<void*>(byte_ptr - sizeof(uint32_t) - sizeof(MemoryHeader));

        MemoryHeader* header = static_cast<MemoryHeader*>(raw_ptr);
        size_t size = header->user_size;

        // 1. 验证左侧哨兵是否被篡改
        uint32_t* left_guard = reinterpret_cast<uint32_t*>(byte_ptr - sizeof(uint32_t));
        if (*left_guard != LEFT_GUARD_MAGIC) {
            std::cerr << "\n[CRITICAL ERROR] Left Buffer Overflow Detected!\n"
                      << "  Allocated at: " << header->file_name << ":" << header->line_number << "\n"
                      << "  User Size: " << size << " bytes\n"
                      << "  Left Guard Value: 0x" << std::hex << *left_guard
                      << " (Expected: 0x" << LEFT_GUARD_MAGIC << ")\n" << std::dec;
            std::abort(); // 立即强行终止进程,防范安全漏洞扩散
        }

        // 2. 验证右侧哨兵是否被篡改
        uint32_t* right_guard = reinterpret_cast<uint32_t*>(byte_ptr + size);
        if (*right_guard != RIGHT_GUARD_MAGIC) {
            std::cerr << "\n[CRITICAL ERROR] Right Buffer Overflow (Out-of-bounds Write) Detected!\n"
                      << "  Allocated at: " << header->file_name << ":" << header->line_number << "\n"
                      << "  User Size: " << size << " bytes\n"
                      << "  Right Guard Value: 0x" << std::hex << *right_guard
                      << " (Expected: 0x" << RIGHT_GUARD_MAGIC << ")\n" << std::dec;
            std::abort();
        }

        // 3. 从全局链表中解耦
        {
            std::lock_guard<std::mutex> lock(mtx);
            if (header->prev) {
                header->prev->next = header->next;
            }
            if (header->next) {
                header->next->prev = header->prev;
            }
            if (list_head == header) {
                list_head = header->next;
            }
        }

        // 4. 清理脏数据,彻底释放物理内存
        std::free(raw_ptr);
    }

    /**
     * 程序退出时调用,打印所有未释放的泄漏内存块
     */
    void checkMemoryLeaks() {
        std::lock_guard<std::mutex> lock(mtx);
        if (!list_head) {
            std::cout << "[INFO] Memory check completed. No leaks detected!\n";
            return;
        }

        std::cerr << "\n[WARNING] Memory Leaks Detected!\n";
        MemoryHeader* curr = list_head;
        size_t total_leak_size = 0;
        int leak_count = 0;

        while (curr) {
            std::cerr << "  Leak [" << ++leak_count << "]: "
                      << curr->user_size << " bytes allocated at "
                      << curr->file_name << ":" << curr->line_number << "\n";
            total_leak_size += curr->user_size;
            curr = curr->next;
        }
        std::cerr << "Total leak size: " << total_leak_size << " bytes across " << leak_count << " blocks.\n";
    }
};

} // namespace security

// 重载全局 placement new,接收文件名与行号
inline void* operator new(size_t size, const char* file, int line) {
    return security::SafeMemoryAllocator::getInstance().allocate(size, file, line);
}

inline void* operator new[](size_t size, const char* file, int line) {
    return security::SafeMemoryAllocator::getInstance().allocate(size, file, line);
}

// 对应重载 delete 以调用安全清理
inline void operator delete(void* ptr) noexcept {
    security::SafeMemoryAllocator::getInstance().deallocate(ptr);
}

inline void operator delete[](void* ptr) noexcept {
    security::SafeMemoryAllocator::getInstance().deallocate(ptr);
}

// 宏定义替换,自动拦截正常的 new 调用注入源码坐标
#define new new(__FILE__, __LINE__)

#endif // SAFE_MEMORY_ALLOCATOR_HPP
四、权衡博弈:内存对齐损耗与诊断运行开销
在 C/C++ 开发中,任何安全性保障都必然会以牺牲一部分底层系统开销为代价。
1. 严格的内存对齐(Memory Alignment)破坏与开销
现代 CPU(如 x86-64、ARM)要求内存地址对齐(如 8 字节或 16 字节对齐),以确保单次 CPU 总线读写能够以最高效的方式加载数据。
在上面的 allocate 实现中,我们在物理堆空间中任意塞入了 MemoryHeader 和左侧的 4 字节 uint32_t。这极易破坏用户数据区地址的对齐边界。如果返回的用户指针 user_ptr 没有对齐到 8 字节边界,当程序执行类似 double 或特定 SIMD 向量化运算时,CPU 会产生严重的非对齐内存访问(Unaligned Access),导致硬件级性能降级,在某些嵌入式架构上(如早期 ARM)甚至直接抛出硬件异常(Bus Error)。因此,生产级的诊断分配器必须在内部执行向上舍入(Rounding up)的对齐逻辑,这会增加一部分空闲碎片(Memory Padding)的内存开销。
2. 全局互斥锁的并发吞吐瓶颈
为了维护全局追踪链表,我们在 allocate 和 deallocate 阶段对全局双向链表的操作获取了同一个 std::mutex 互斥锁。
在高并发多线程服务中,如果各个线程频繁分配和回收几十字节的对象,这把全局锁会成为系统最严重的线程瓶颈(Thread Bottleneck),导致 CPU 核心频繁处于挂起状态。为了在生产环境中启用该诊断,我们必须将链表替换为每个线程独占的局部存储(Thread Local Storage, TLS),或者基于分段锁设计,降低并发冲突。
五、总结
C/C++ 系统级开发的底线在于对物理内存的精确掌控与边界保护。针对越界写导致堆结构静默破坏以及隐性泄露等痛点,自研基于哨兵字节(Guard Bytes)的 SafeMemoryAllocator 能够在物理空间两端安置魔数以实时监测越界破坏,并通过全局节点链表在析构时完成泄漏点文件名与行号的逆向定位。然而,在架构实施中,开发团队需注意哨兵插入对 CPU 内存对齐边界的破坏,并采取合理的锁细粒度分流,避免安全检测工具对高并发吞吐带来二次伤害。
更多推荐
 7
7 0
0- 0


 已为社区贡献16条内容

所有评论(0)