liunx中安装nginx,部署vue前端项目(docker中安装的nginx不可以使用以下方法)
1、先利用“npm run build”命令打包vue前端项目,得到项目录中的dist包。2、利用Xshell工具中的xftp将这个dist包,放到自己指定路径下(此博客放置的位置是/home/wang下)。3、利用命令“yum install -y nginx”命令,下载最新版的nginx。nginx常用命令:nginx----启动nginxnginx-sstop----关闭nginxnginx
·
1、先利用“npm run build”命令打包vue前端项目,得到项目录中的dist包。
2、利用Xshell工具中的xftp将这个dist包,放到自己指定路径下(此博客放置的位置是/home/wang下)。
3、利用命令“yum install -y nginx”命令,下载最新版的nginx。
nginx常用命令:
nginx                              ----启动nginx
nginx  -s  stop                ----关闭nginx
nginx  -s  reload             ----nginx重新加载配置文件(每次修改nginx.conf配置文件都要重新加载)
如下: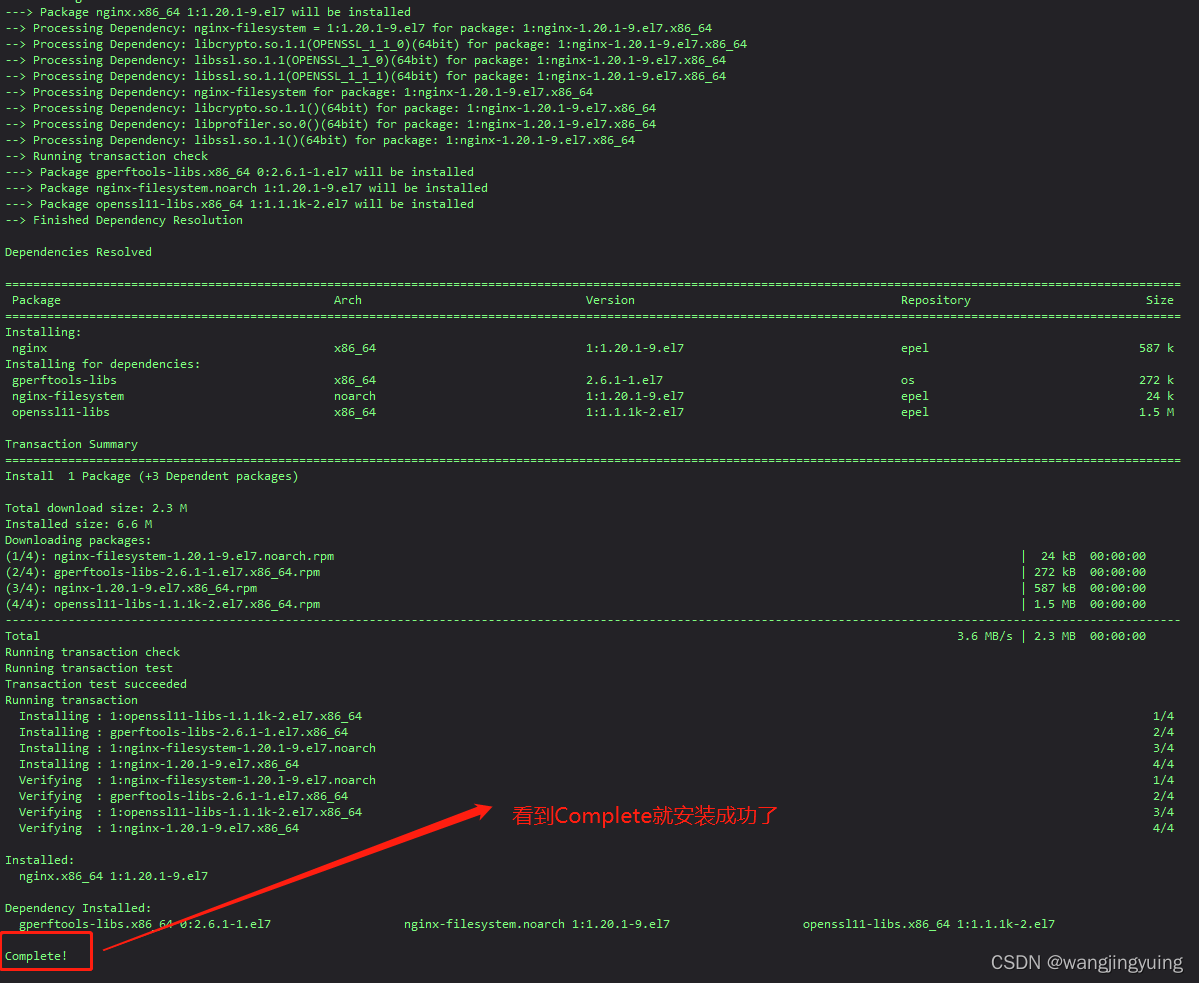
4、启动nginx,如下:

5、利用“whereis nginx”找到nginx下的配置文件nginx.conf,一般都在/etc/nginx/nginx.conf。如下:

6、使用“vim nginx.conf”命令开始编辑配置文件内容(除了注释的地方,其他地方基本不用改),如下:
user nginx;
worker_processes auto;
error_log /var/log/nginx/error.log;
pid /run/nginx.pid;

include /usr/share/nginx/modules/*.conf;

events {
    worker_connections 1024;
}

http {
    log_format  main  '$remote_addr - $remote_user [$time_local] "$request" '
                      '$status $body_bytes_sent "$http_referer" '
                      '"$http_user_agent" "$http_x_forwarded_for"';

    access_log  /var/log/nginx/access.log  main;

    sendfile            on;
    tcp_nopush          on;
    tcp_nodelay         on;
    keepalive_timeout   65;
    types_hash_max_size 4096;

    include             /etc/nginx/mime.types;
    default_type        application/octet-stream;

    include /etc/nginx/conf.d/*.conf;

   server {
        listen       8000;                                                #此处为前端暴露的访问端口
        server_name   localhost;

         location /api/ {                                                # /api/ 为后端的公共路径
              proxy_pass   http://81.68.99.244:8083;   #此处应该填写自己部署后端的路由以及端口
              proxy_set_header Host $HOST;
         }
        location / {
            #root   html;
            try_files $uri $uri/ /index.html;
            root /home/wang/dist;                              #root  后面跟的就是存放dist包的绝对路径
            index  index.html index.htm;
        }

        include /etc/nginx/default.d/*.conf;

        error_page 404 /404.html;
        location = /404.html {
        }

        error_page 500 502 503 504 /50x.html;
        location = /50x.html {
        }
    }

}
7、使用“nginx -s reload”重新加载配置文件,就部署完成了(切记每次改动nginx.conf配置文件都需要重新加载才生效)。

前往低代码交流专区
更多推荐


 0
0 0
0- 0


 已为社区贡献1条内容

所有评论(0)