【Vue】动手实现录屏功能并本地保存
一、Vue我们还是使用之前文章的Vue.js文件在这里Vue实现摄像头功能哦二、创建目录三、实现1. index.html代码:<!DOCTYPE html><html><head><meta charset="utf-8"><title></title><script src="vue.js"><...
·
一、Vue
我们还是使用之前文章的Vue.js文件
在这里Vue实现摄像头功能哦
二、创建目录

三、实现
1. index.html

代码:
<!DOCTYPE html>
<html>
    <head>
        <meta charset="utf-8">
        <title></title>
        <script src="vue.js"></script>
    </head>
    <body>
        <div id="vueapp">
            <div>
                <button @click="btnRecordClicked" :disabled="recording">录制</button>
                <button @click="btnPauseClicked" :disabled="paused||!recording">暂停</button>
                <button @click="btnResumeClicked" :disabled="!paused||!recording">继续</button>
                <button @click="btnStopClicked" :disabled="!recording">停止</button>
                <button :disabled="!currentWebmData" @click="btnPlayClicked">播放</button>
            </div>
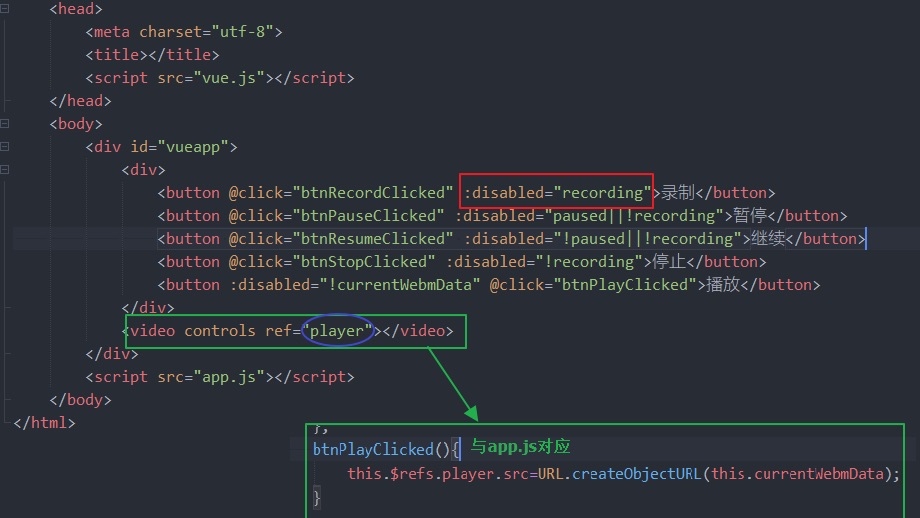
            <video controls ref="player"></video>
        </div>
        <script src="app.js"></script>
    </body>
</html>
2. app.js

代码
 new Vue({
    el:"#vueapp",
    data:{
        currentWebmData:0,
        recording:false,
        paused:false
    },
    mounted() {
        this._initApp();
    },

    methods:{
        async _initApp(){
            // this._stream=await navigator.mediaDevices.getUserMedia({audio:true,video:false});
            this._stream=await navigator.mediaDevices.getDisplayMedia();
            this._recorder=new MediaRecorder(this._stream,{mimeType:"video/webm;codecs=h264"});
            this._recorder.ondataavailable=this.recorder_dataAvailableHandler.bind(this);
        },
        recorder_dataAvailableHandler(e){
            console.log(e);
            this.currentWebmData=e.data;
        },
        btnRecordClicked(){
            this.recording=true;
            this.paused=false;
            this._recorder.start();
        },
        btnPauseClicked(){
            this.paused=true;
            this._recorder.pause();
        },
        btnResumeClicked(){
            this.paused=false;
            this._recorder.resume();
        },
        btnStopClicked(){
            this.recording=false;
            this._recorder.stop();
        },
        btnPlayClicked(){
            this.$refs.player.src=URL.createObjectURL(this.currentWebmData);}
    }
});
四、效果
1. 选择要录屏的范围
2. 就可以点击开始录制啦

更多推荐
 已为社区贡献1条内容


所有评论(0)