Kubernetes安装部署(1),6年菜鸟开发面试字节跳动Linux运维研发岗
k8s.gcr.io/kube-controller-manager:v1.23.17k8s.gcr.io/kube-scheduler:v1.23.17k8s.gcr.io/kube-proxy:v1.23.17k8s.gcr.io/pause:3.6k8s.gcr.io/etcd:3.5.1-0k8s.gcr.io/coredns/coredns:v1.8.6kubeadm config im
k8s.gcr.io/kube-controller-manager:v1.23.17
k8s.gcr.io/kube-scheduler:v1.23.17
k8s.gcr.io/kube-proxy:v1.23.17
k8s.gcr.io/pause:3.6
k8s.gcr.io/etcd:3.5.1-0
k8s.gcr.io/coredns/coredns:v1.8.6
###### 2. 更改为阿里云的镜像地址:
kubeadm config images list --image-repository
显示下面的内容:
registry.aliyuncs.com/google_containers
I0418 18:28:18.740057 20021 version.go:255] remote version is much newer: v1.27.1; falling back to: stable-1.23
registry.aliyuncs.com/google_containers/kube-apiserver:v1.23.17
registry.aliyuncs.com/google_containers/kube-controller-manager:v1.23.17
registry.aliyuncs.com/google_containers/kube-scheduler:v1.23.17
registry.aliyuncs.com/google_containers/kube-proxy:v1.23.17
registry.aliyuncs.com/google_containers/pause:3.6
registry.aliyuncs.com/google_containers/etcd:3.5.1-0
registry.aliyuncs.com/google_containers/coredns:v1.8.6
###### 3. 然后将镜像手动拉取下来


这样在初始化的时候回更快一些(还有一个办法就是直接在docker上把镜像pull下来,docker只要配置一下国内源即可快速的将镜像pull下来):
kubeadm config images pull --image-repository
显示下面的内容:
registry.aliyuncs.com/google_containers
I0418 18:28:31.795554 20088 version.go:255] remote version is much newer: v1.27.1; falling back to: stable-1.23
[config/images] Pulled registry.aliyuncs.com/google_containers/kube-apiserver:v1.23.17
[config/images] Pulled registry.aliyuncs.com/google_containers/kube-controller-manager:v1.23.17
[config/images] Pulled registry.aliyuncs.com/google_containers/kube-scheduler:v1.23.17
[config/images] Pulled registry.aliyuncs.com/google_containers/kube-proxy:v1.23.17
[config/images] Pulled registry.aliyuncs.com/google_containers/pause:3.6
[config/images] Pulled registry.aliyuncs.com/google_containers/etcd:3.5.1-0
[config/images] Pulled registry.aliyuncs.com/google_containers/coredns:v1.8.6
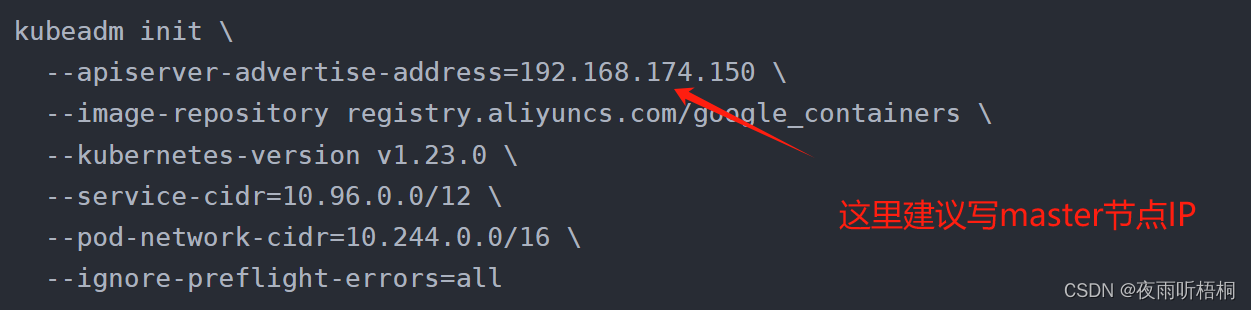
######  4. **初始化kubernetes**


执行下面的 kube init命令
kubeadm init
–apiserver-advertise-address=192.168.174.150
–image-repository registry.aliyuncs.com/google_containers
–kubernetes-version v1.23.0
–service-cidr=10.96.0.0/12
–pod-network-cidr=10.244.0.0/16
–ignore-preflight-errors=all
等待一会,会出现 **kubeadm join <IP地址> --token \*\*\*\*\*\*\*\*\*** 这样的内容
注意! 保存下来这段 kubeadm join 命令 ,这段命令用于将node子节点加入master节点
>
> **此时子节点还不能直接加入,需要做完下面的配置:**
>
>
>
mkdir -p $HOME/.kube
sudo cp -i /etc/kubernetes/admin.conf $HOME/.kube/config
sudo chown ( i d − u ) : (id -u): (id−u):(id -g) $HOME/.kube/config
vim /root/.bash_profile
超级用户变量
export KUBECONFIG=/etc/kubernetes/admin.conf
设置别名
alias k=kubectl
设置kubectl命令补齐功能
source <(kubectl completion bash)
source /root/.bash_profile
下载 kube-flannel.yml 文件:
yum install -y wget
wget https://raw.githubusercontent.com/flannel-io/flannel/master/Documentation/kube-flannel.yml
**自我介绍一下,小编13年上海交大毕业,曾经在小公司待过,也去过华为、OPPO等大厂,18年进入阿里一直到现在。**
**深知大多数Linux运维工程师,想要提升技能,往往是自己摸索成长或者是报班学习,但对于培训机构动则几千的学费,着实压力不小。自己不成体系的自学效果低效又漫长,而且极易碰到天花板技术停滞不前!**
**因此收集整理了一份《2024年Linux运维全套学习资料》,初衷也很简单,就是希望能够帮助到想自学提升又不知道该从何学起的朋友,同时减轻大家的负担。**

**既有适合小白学习的零基础资料,也有适合3年以上经验的小伙伴深入学习提升的进阶课程,基本涵盖了95%以上Linux运维知识点,真正体系化!**
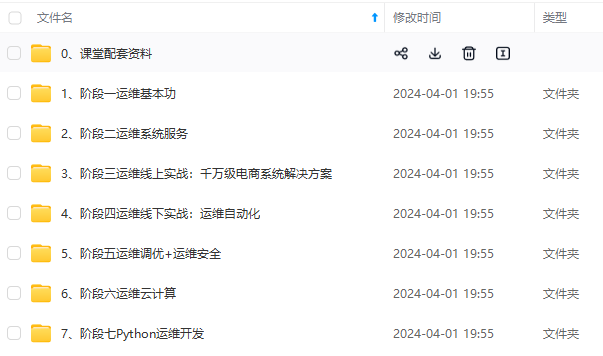
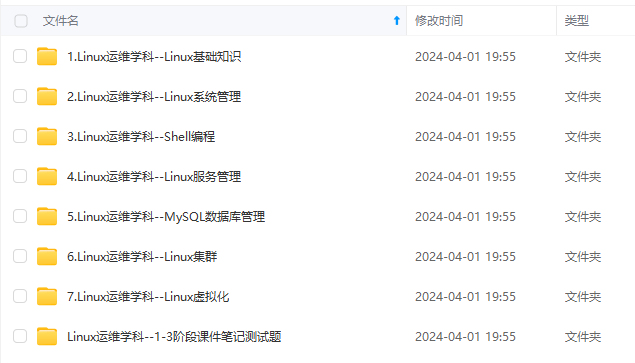
**由于文件比较大,这里只是将部分目录大纲截图出来,每个节点里面都包含大厂面经、学习笔记、源码讲义、实战项目、讲解视频,并且后续会持续更新**
**如果你觉得这些内容对你有帮助,可以添加VX:vip1024b (备注Linux运维获取)**

部分目录大纲截图出来,每个节点里面都包含大厂面经、学习笔记、源码讲义、实战项目、讲解视频,并且后续会持续更新**
**如果你觉得这些内容对你有帮助,可以添加VX:vip1024b (备注Linux运维获取)**
[外链图片转存中...(img-atNtiWGq-1712503874572)]

K8S/Kubernetes社区为您提供最前沿的新闻资讯和知识内容
更多推荐
 16
16 0
0- 0


 已为社区贡献2条内容

所有评论(0)