

SpringSecurity 连接数据库 和 ruoyi的使用
登录访问。
·
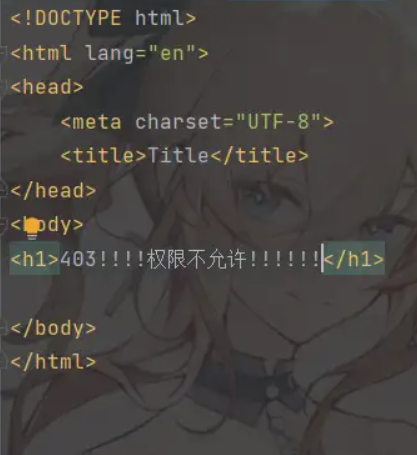
一.添加403界面
1.创建页面
2.修改配置文件

3.访问端口
二.获取认证用户信息
获取方法
1)方法1
@GetMapping("user1")
public Object getuser(Principal principal){
    return principal;
}

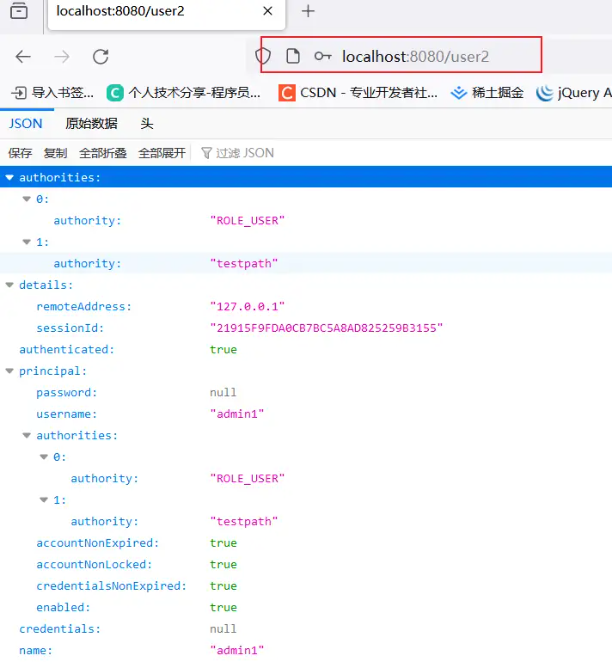
登录访问

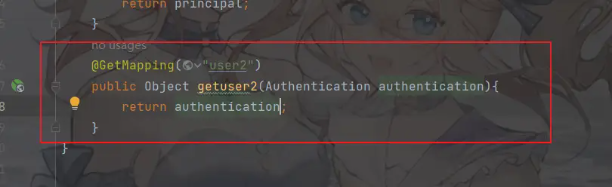
2)方法2
@GetMapping("user2")
public Object getuser2(Authentication authentication){
    return authentication;
}
3)方法3
@GetMapping("user3")
public Object getuser3(){
    Authentication authentication = SecurityContextHolder.getContext().getAuthentication();
    return authentication;
}


三.连接数据库
1.准备环境
1)添加jar包
<!--        mybatis plus-->
<dependency>
    <groupId>com.baomidou</groupId>
    <artifactId>mybatis-plus-boot-starter</artifactId>
    <version>3.5.3</version>
</dependency>
<!-- 自动生成-->
<dependency>
    <groupId>com.baomidou</groupId>
    <artifactId>mybatis-plus-generator</artifactId>
    <version>3.5.3</version>
</dependency>
<!-- 模板-->
<dependency>
    <groupId>org.apache.velocity</groupId>
    <artifactId>velocity-engine-core</artifactId>
    <version>2.3</version>
</dependency>
<dependency>
    <groupId>org.freemarker</groupId>
    <artifactId>freemarker</artifactId>
</dependency>
<!--        mysql-->
<dependency>
    <groupId>mysql</groupId>
    <artifactId>mysql-connector-java</artifactId>
    <version>8.0.28</version>
</dependency>
2)添加配置文件 连接mysql

3)创建表
package com.example;
import com.baomidou.mybatisplus.annotation.FieldFill;
import com.baomidou.mybatisplus.generator.FastAutoGenerator;
import com.baomidou.mybatisplus.generator.config.OutputFile;
import com.baomidou.mybatisplus.generator.fill.Column;
import java.util.Arrays;
import java.util.Collections;
import java.util.List;
public class MyTest {
    public static void main(String[] args) {
        FastAutoGenerator.create("jdbc:mysql://localhost:3306/aaa","root","123456")
                // 全局配置
                .globalConfig((scanner, builder) -> builder
                        .author("aaaa")
                        .outputDir("E:\\qy169\\java\\SpringSecurity\\src\\main\\java")
                )
                // 包配置
                .packageConfig(
                        (scanner, builder) ->
                                builder
                                        .parent("com.example")
                                        .pathInfo(Collections.singletonMap(OutputFile.xml, "E:\\qy169\\java\\SpringSecurity\\src\\main\\resources\\mapper")))
                // 策略配置
                .strategyConfig((scanner, builder) -> builder.addInclude(getTables(scanner.apply("请输入表名,多个英文逗号分隔?所有输入 all")))
                        .controllerBuilder().enableRestStyle().enableHyphenStyle()
                        .entityBuilder().enableLombok().addTableFills(
                                new Column("create_time", FieldFill.INSERT)
                        ).build())
                /*
                    模板引擎配置,默认 Velocity 可选模板引擎 Beetl 或 Freemarker
                   .templateEngine(new BeetlTemplateEngine())
                   .templateEngine(new FreemarkerTemplateEngine())
                 */
                .execute();


// 处理 all 情况
    }
    protected static List<String> getTables(String tables) {
        return "all".equals(tables) ? Collections.emptyList() : Arrays.asList(tables.split(","));
    }
}

2.连接操作
1)修改配置文件
@Resource
private TabUserMapper userMapper;
@Resource
private TabUserRoleMapper userRoleMapper;
@Resource
private TabRoleMapper roleMapper;
@Resource
private TabMenuMapper menuMapper;
@Override
public UserDetails loadUserByUsername(String username) throws UsernameNotFoundException {
// username 代表的前端传递过来的名字
// 根据名字去数据库中查询一下有没有这个用户的信息
QueryWrapper queryWrapper = new QueryWrapper();
//
queryWrapper.eq("username",username);
TabUser tabUser = userMapper.selectOne(queryWrapper);
if(tabUser!=null){
// 有值
// 查询用户对应的角色的id
QueryWrapper queryWrapper1 = new QueryWrapper();
queryWrapper1.eq("uid",tabUser.getId());
List<TabUserRole> tabUserRoles = userRoleMapper.selectList(queryWrapper1);
//
//
// List<Integer> rids = new ArrayList<>();
// for (TabUserRole tabUserRole : tabUserRoles) {
// rids.add(tabUserRole.getRid());
// }
List<Integer> rids = tabUserRoles.stream().map(tabUserRole -> tabUserRole.getRid()).collect(Collectors.toList());
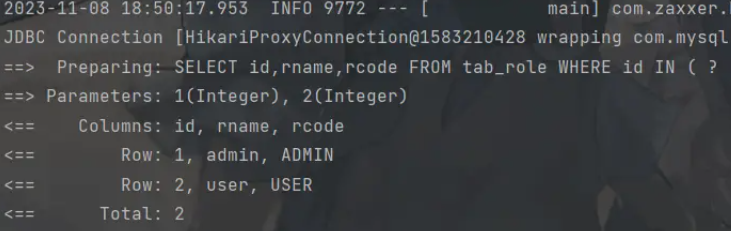
// 根据角色的id 查询rcode
List<TabRole> tabRoles = roleMapper.selectBatchIds(rids);
// List<SimpleGrantedAuthority> authorities = new ArrayList<>();
// for (TabRole tabRole : tabRoles) {
// authorities.add(new SimpleGrantedAuthority(tabRole.getRcode()));
//
// }
// 角色的信息
// 角色管理 修改角色的名字
List<SimpleGrantedAuthority> collect = tabRoles.stream().map(tabRole -> new SimpleGrantedAuthority("ROLE_"+tabRole.getRcode())).collect(Collectors.toList());
// 根据角色id 查询对应的mcode
// 1. 根据角色的id 查询菜单的mcode
List<TabMenu> menus= menuMapper.selectCodeByRids(rids);
List<SimpleGrantedAuthority> resources = menus.stream().map(tabMenu -> new SimpleGrantedAuthority(tabMenu.getMcode())).collect(Collectors.toList());
// 将角色的信息 和资源的信息合并在一起
// List<SimpleGrantedAuthority> allresource = new ArrayList<>();
// allresource.addAll(resources);
// allresource.addAll(collect);
List<SimpleGrantedAuthority> allresource = Stream.concat(collect.stream(), resources.stream()).collect(Collectors.toList());
return new User(username, tabUser.getPassword(), allresource);
}
return null;
}
2)创建测试类

3)查询
4)添加
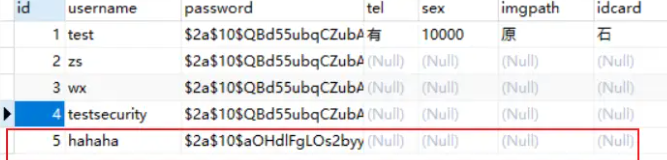
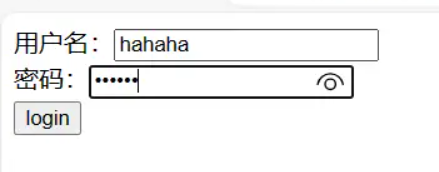
5)用户登录
3.根据角色id查询菜单
1)创建方法写sql语句
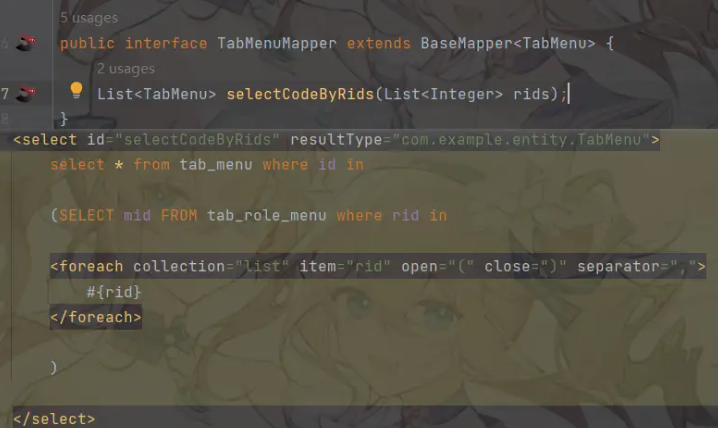
2)修改配置文件

3)访问页面

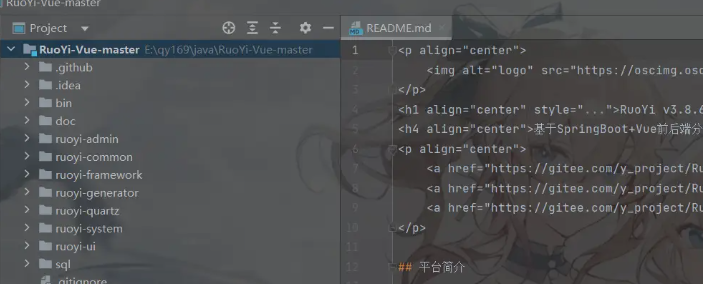
四:若依框架
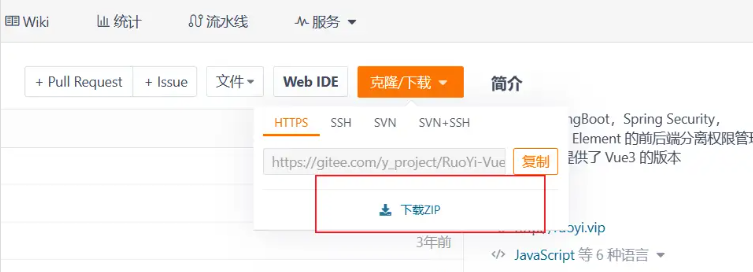
1.下载
RuoYi 若依官方网站 |后台管理系统|权限管理系统|快速开发框架|企业管理系统|开源框架|微服务框架|前后端分离框架|开源后台系统|RuoYi|RuoYi-Vue|RuoYi-Cloud|RuoYi框架|RuoYi开源|RuoYi视频|若依视频|RuoYi开发文档|若依开发文档|Java开源框架|Java|SpringBoot|SrpingBoot2.0|SrpingCloud|Alibaba|MyBatis|Shiro|OAuth2.0|Thymeleaf|BootStrap|Vue|Element-UI||www.ruoyi.vip

2.配置
1)打开若依文件
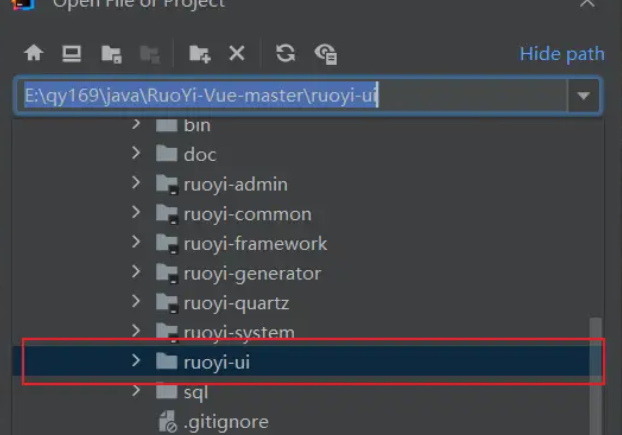
2)配置环境
启动若依ui
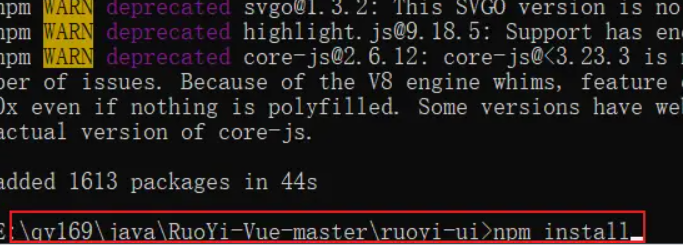
3)安装依赖
npm install --registry=https://registry.npmmirror.com

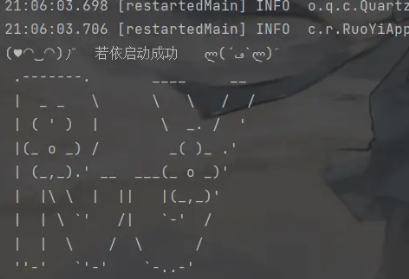
若依的启动类

4)配置文件
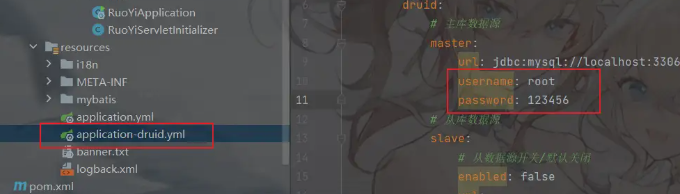
5)创建数据库

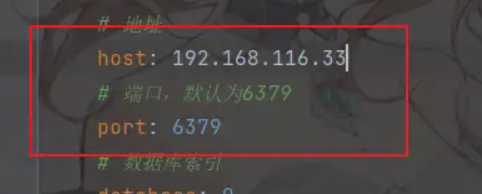
6)配置redis
启动redis

修改端口号
在ruoyi-ui中修改配置

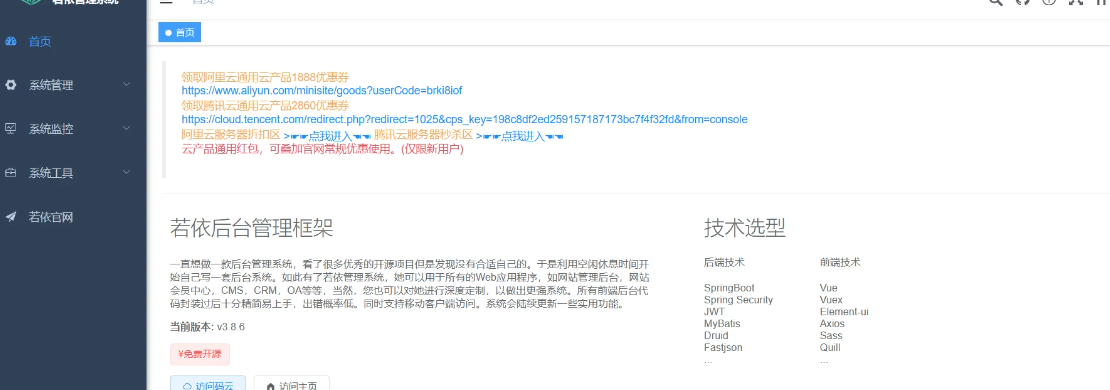
7)启动
8)安装插件 下载包
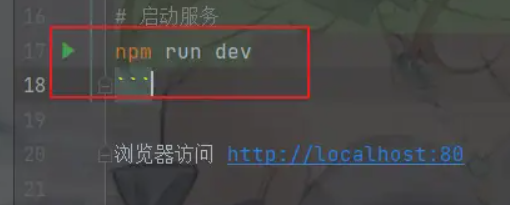
启动服务
npm run dev
3.操作
1)登录
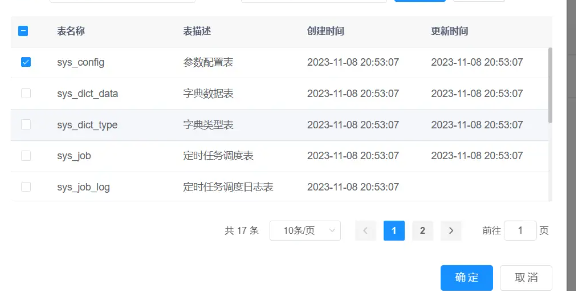
 2)导入表
2)导入表
3)生成代码


快速构建 Web 应用程序
更多推荐
 13
13 0
0- 0


 已为社区贡献1条内容

所有评论(0)