
Kubernetes探针(Probes)介绍(Startup、Readiness、Liveness)
Kubernetes探针(Probes)介绍(Startup、Readiness、Liveness)
内容介绍
第一章节侧重每种探针的理论介绍,第二章节会结合每一个探针的实际使用场景给出案例。
1.Kubernetes探针(Probes)介绍
Kubernetes 提供了探针(Probes)来帮助对集群中的 Pod 进行健康检查。通过这些探针,Kubernetes 可以知道应用程序的运行状况,并根据需要采取相应的操作,例如重新启动容器或者从负载均衡中移除容器。
1.1 Readiness 探针(就绪检测):
- 检查应用程序是否准备好为请求提供服务。
- 如果 Readiness 探针失败,该 Pod 的 IP 地址不会被列入与该 Pod 关联的 Service 的 Endpoints。
- 使用场景:确保流量只发送到已经准备好处理请求的 Pod。例如,在容器中的数据库或其他依赖服务启动并准备好之前,一个 Web 服务器可能还没准备好接受请求。
1.2 Liveness 探针(活性检测):
- 检查应用程序是否还在运行。
- 如果 Liveness 探针失败,Kubelet 会杀死容器,然后根据 Pod 的重启策略决定是否重启容器。
- 使用场景:确保应用程序处于运行状态,如果应用程序挂起或死锁,Liveness 探针可以确保它被重新启动。
1.3 Startup 探针(启动检测):
- 检查容器应用是否已经开始。
- 如果 Startup 探针失败,Kubelet 将杀死容器,并且容器根据其重启策略进行重启。
- 使用场景:某些应用程序在启动时可能需要较长的初始化时间,这种情况下,Liveness 探针可能会因为时间过长而失败,Startup探针可以用来专门检查启动状态,而不影响 Liveness 探针的其他检查。
1.4探针的常见配置参数
-
exec:
用于执行指定的命令。如果命令退出时返回 0,则探针视为成功。exec: command: - "cat" - "/tmp/healthy" -
httpGet:
用于发送 HTTP GET 请求到容器的指定端口和路径。如果响应的状态码大于等于 200 且小于 400,则探针视为成功。httpGet: path: /healthz port: 8080 scheme: HTTP -
tcpSocket:
用于打开到容器的指定端口的 TCP 套接字。如果容器接受了连接,则探针视为成功。tcpSocket: port: 8080 -
initialDelaySeconds:
在容器启动后等待多长时间才开始执行探针。 -
periodSeconds:
指定执行探针的频率(以秒为单位)。例如,如果periodSeconds为 10,则探针每10秒执行一次。 -
timeoutSeconds:
指定应该等待探针完成的时间(以秒为单位)。如果探针超出了这个时间还没有返回结果,则视为失败。 -
successThreshold:
最少需要多少次连续成功才视为成功。这对于 Startup 探针尤其有用,其默认值为 1。 -
failureThreshold:
在视为失败之前,允许探针失败的次数。 -
httpHeaders(仅对httpGet有效):
设置 HTTP 请求的自定义头。httpGet: path: /healthz port: 8080 httpHeaders: - name: X-Custom-Header value: Awesome
2.探针案例测试
首先创建一个用于测试的Nginx Deployment以及与之关联的Service
# Deployment yaml 文件内容
apiVersion: apps/v1
kind: Deployment
metadata:
  name: nginx-deployment
spec:
  replicas: 1
  selector:
	matchLabels:
  	app: nginx
  template:
	metadata:
  	labels:
    	app: nginx
	spec:
  	containers:
  	- name: nginx
    	image: nginx:latest

# Service 文件内容
apiVersion: v1
kind: Service
metadata:
  name: nginx-service
spec:
  selector:
    app: nginx
  ports:
    - protocol: TCP
      port: 80
      targetPort: 80
      nodePort: 30080
  type: NodePort
启动成功后通过任意集群机器IP地址+30080端口即可访问Nginx服务。
2.1Readiness探针测试
先测试一下成功启动的案例,加入一个Readiness探针,检测方式为httpGet,检测的目标是Nginx中80端口的index.html。
# Deployment yaml文件配置方式
apiVersion: apps/v1
kind: Deployment
metadata:
  name: nginx-deployment
spec:
  replicas: 1
  selector:
    matchLabels:
      app: nginx
  template:
    metadata:
      labels:
        app: nginx
    spec:
      containers:
      - name: nginx
        image: nginx:latest
        readinessProbe: # 就绪探针检测
          httpGet: # Http Get方式
            path: /index.html # 目标路径
            port: 80 # 目标端口
          failureThreshold: 5 # 失败多少次才真的失效
          periodSeconds: 10 # 检测间隔时间
          timeoutSeconds: 10 # 请求超时时间
查看Pod 启动状态可以看到新的Pod “nginx-deployment-737483gg2f-yu3sb” 成功启动并能对外提供服务。
# kubectl get po -w
NAME                                READY   STATUS    RESTARTS   AGE
nginx-deployment-7782dghdsh-anjdn  1/1     Running   0          23h
nginx-deployment-737483GG-4ltdw   0/1     Pending   0          0s
nginx-deployment-737483gg2f-yu3sb   0/1     Pending   0          0s
nginx-deployment-737483gg2f-yu3sb   0/1     ContainerCreating   0          0s
nginx-deployment-737483gg2f-yu3sb   0/1     ContainerCreating   0          1s
nginx-deployment-737483gg2f-yu3sb   0/1     Running             0          6s
nginx-deployment-737483gg2f-yu3sb   1/1     Running             0          6s
nginx-deployment-7782dghdsh-anjdn   1/1     Terminating         0          23h
nginx-deployment-7782dghdsh-anjdn   1/1     Terminating         0          23h
nginx-deployment-7782dghdsh-anjdn   0/1     Terminating         0          23h
nginx-deployment-7782dghdsh-anjdn   0/1     Terminating         0          23h
nginx-deployment-7782dghdsh-anjdn   0/1     Terminating         0          23h
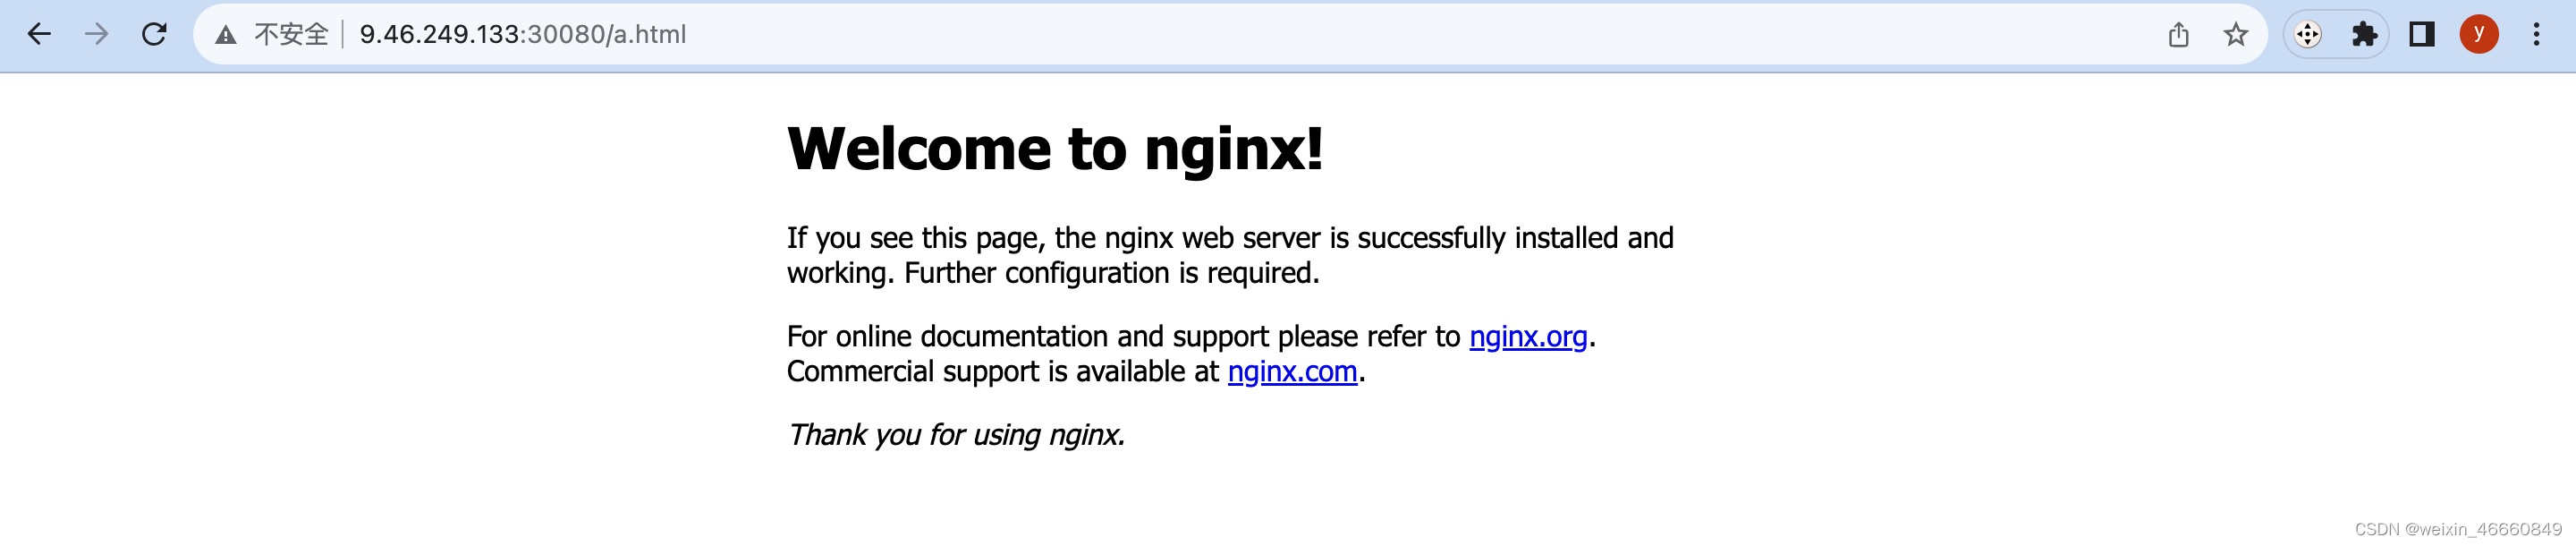
在测试一个无法通过Readiness探针检测的案例,方法为检测一个80端口不存在网页a.html。
为了能看到页面失效的状态,先删除之前的Deployment部署
# Deployment yaml文件配置方式
apiVersion: apps/v1
kind: Deployment
metadata:
  name: nginx-deployment
spec:
  replicas: 1
  selector:
    matchLabels:
      app: nginx
  template:
    metadata:
      labels:
        app: nginx
    spec:
      containers:
      - name: nginx
        image: nginx:latest
        readinessProbe: # 就绪探针检测
          httpGet: # Http Get方式
            path: /a.html # 目标路径,默认未修改的Nginx容器不存在
            port: 80 # 目标端口
          failureThreshold: 5 # 失败多少次才真的失效
          periodSeconds: 10 # 检测间隔时间
          timeoutSeconds: 10 # 请求超时时间
此时可以看到的状态是容器的状态为Running,但是就绪的状态为0/1,
# kubectl get po -w
NAME                                READY   STATUS    RESTARTS   AGE
nginx-deployment-548rmdsnvd-jcdj1   0/1     Pending   0          0s
nginx-deployment-548rmdsnvd-jcdj1   0/1     Pending   0          0s
nginx-deployment-548rmdsnvd-jcdj1   0/1     ContainerCreating   0          0s
nginx-deployment-548rmdsnvd-jcdj1   0/1     ContainerCreating   0          1s
nginx-deployment-548rmdsnvd-jcdj1   0/1     Running             0          3s
由于Readiness探针检测为通过,该容器会被从其相关的 Service 的负载均衡器中剔除,这意味着它不会再接收任何新的流量,直到 Readiness 探针再次成功为止。如果查看之前访问Nginx的网页,看到的效果为

2.2 Liveness探针测试
为了能看到全新状态,先删除之前的Deployment部署
先测试一个Liveness探针能通过的状态
apiVersion: apps/v1
kind: Deployment
metadata:
  name: nginx-deployment
spec:
  replicas: 1
  selector:
    matchLabels:
      app: nginx
  template:
    metadata:
      labels:
        app: nginx
    spec:
      containers:
      - name: nginx
        image: nginx:latest
        livenessProbe: # 存活探针检测
          httpGet: # Http Get方式
            path: /index.html # 目标路径
            port: 80 # 目标端口
          initialDelaySeconds: 3 # 检测的延迟时间
          failureThreshold: 5 # 失败多少次才真的失效
          periodSeconds: 10 # 检测间隔时间
          timeoutSeconds: 10 # 请求超时时间
完成后容器可以正常对外提供服务。
kubectl get po -w
NAME                            	READY   STATUS	RESTARTS   AGE
nginx-deployment-dsgydgsvd62-cod3s   0/1 	ContainerCreating   0      	0s
nginx-deployment-dsgydgsvd62-cod3s   0/1 	ContainerCreating   0      	1s
nginx-deployment-dsgydgsvd62-cod3s   0/1 	Running         	0      	3s
nginx-deployment-dsgydgsvd62-cod3s   1/1 	Running         	0      	3s
现在测试一下Liveness探针生效的情况,如果 Liveness 探针失败,Kubelet 会杀死容器,然后根据 Pod 的重启策略决定是否重启容器。如果未设置从其策略,则默认为Always(即Kubelet会不断重启容器)。
测试思路为,进入容器中,将index.html重命名为a.html,然后通过"nginx -s
reoald"命令确保服务不中断的情况下重新加载nginx配置文件。
# 进入容器内
kubectl exec -it nginx-deployment-3y8d384h-shdu1 -- /bin/sh

/usr/local/nginx/html # ls
50x.html    index.html
/usr/local/nginx/html # mv index.html a.thml
/usr/local/nginx/html # nginx -s reload
2023/08/28 03:21:09 [notice] 24#0: signal process started
/usr/local/nginx/html # command terminated with exit code 137
可以看到最终我们会自动的退出容器"command terminated with exit code 137",这是由于容器发生了重启操作。
可以通过describe pod查看pod的event信息,可以明确的看到由于Liveness探针检测未通过,容器发生了重启。
kubectl describe po nginx-deployment-3y8d384h-shdu1

# Pod Event部分的内容
Events:
  Type     Reason     Age                  From               Message
  ----     ------     ----                 ----               -------
  Normal   Scheduled  3m27s                default-scheduler  Successfully assigned probe-test/nginx-deployment-3y8d384h-shdu1 to w2
  Normal   Pulled     3m25s                kubelet            Successfully pulled image "nginx:latest" in 464.707459ms
  Normal   Pulling    66s (x2 over 3m26s)  kubelet            Pulling image "nginx:latest"
  Normal   Created    66s (x2 over 3m25s)  kubelet            Created container nginx
  Warning  Unhealthy  66s (x5 over 106s)   kubelet            Liveness probe failed: HTTP probe failed with statuscode: 404
  Normal   Killing    66s                  kubelet            Container nginx failed liveness probe, will be restarted
  Normal   Pulled     66s                  kubelet            Successfully pulled image "nginx:latest" in 461.031119ms
  Normal   Started    65s (x2 over 3m25s)  kubelet            Started container nginx
2.3 Startup探针测试
为了能看到全新状态,先删除之前的Deployment部署
从Startup探针的功能来看,某些应用程序在启动时可能需要较长的初始化时间,这种情况下,Liveness 探针可能会因为时间过长而失败,Startup 探针可以用来专门检查启动状态,而不影响 Liveness 探针的其他检查。
设置一个Liveness探针检测nginx容器中80端口下的a.html页面(假设a.html是一个容器启动后很久才会正确启动的服务),将重启时间设置的比较快,例如:initialDelaySeconds设置为3s;failureThreshold设置为3次;periodSeconds设置为3s;timeoutSeconds设置为2s,重启策略保持Always。
这样容器在启动后大约12s左右就会重新启动( 3s + 3*3s = 12s)
# deployment 的设置
apiVersion: apps/v1
kind: Deployment
metadata:
  name: nginx-deployment
spec:
  replicas: 1
  selector:
    matchLabels:
      app: nginx
  template:
    metadata:
      labels:
        app: nginx
    spec:
      containers:
      - name: nginx
        image: nginx:latest
        livenessProbe: # 存活探针检测
          httpGet: # Http Get方式
            path: /a.html # 目标路径
            port: 80 # 目标端口
          initialDelaySeconds: 3 # 检测的延迟时间
          failureThreshold: 3 # 失败多少次才真的失效
          periodSeconds: 3 # 检测间隔时间
          timeoutSeconds: 2 # 请求超时时间

# 观察到容器的状态 12s左右会重启一次
kubectl get po -w
NAME                                READY   STATUS    RESTARTS   AGE
nginx-deployment-78djhjsjdh7-xsji1   1/1     Running   0          5s
nginx-deployment-78djhjsjdh7-xsji1   1/1     Running   1 (1s ago)   13s
nginx-deployment-78djhjsjdh7-xsji1   1/1     Running   2 (1s ago)   25s
nginx-deployment-78djhjsjdh7-xsji1   1/1     Running   3 (2s ago)   38s
此时容器就会发生不断的重启,原因是无法检测到a.html(这里我们假设a.html是容器启动后需要较长时间才能正确启动的服务),这样就会导致应用不断的循环启动无法对外提供服务。解决方法可以将initialDelaySeconds设置为一个较大的值确保等待一个足够长的时间(确保服务能够启动),但是由于环境CPU,网络延时等的动态变化很难确定一个合理的initialDelaySeconds,Startup探针就能解决这个问题。
设置一个Startup探针,设置一个较长的等待时间(确保有足够的时间去容器内进行操作),例如:failureThreshold设置为300,periodSeconds设置为3s
# deployment 中设置如下内容
apiVersion: apps/v1
kind: Deployment
metadata:
  name: nginx-deployment
spec:
  replicas: 1
  selector:
    matchLabels:
      app: nginx
  template:
    metadata:
      labels:
        app: nginx
    spec:
      containers:
      - name: nginx
        image: nginx:latest
        startupProbe: # 启动探针检测
          httpGet: # Http Get方式
            path: /a.html # 目标路径
            port: 80 # 目标端口
          initialDelaySeconds: 3 # 检测的延迟时间
          failureThreshold: 300 # 失败多少次才真的失效
          periodSeconds: 3 # 检测间隔时间
          timeoutSeconds: 2 # 请求超时时间
        livenessProbe: # 存活探针检测
          httpGet: # Http Get方式
            path: /a.html # 目标路径
            port: 80 # 目标端口
          failureThreshold: 3 # 失败多少次才真的失效
          periodSeconds: 3 # 检测间隔时间
          timeoutSeconds: 2 # 请求超时时间

# 之后进入容器创建名为a.html的页面,并通过"nginx -s reload"更新nginx配置文件
kubectl exec -it nginx-deployment-c839892f1-kovf1 -- /bin/sh
/usr/local/nginx/html # ls
50x.html    index.html
/usr/local/nginx/html # cp index.html a.html
/usr/local/nginx/html # ls
50x.html    a.html      index.html
/usr/local/nginx/html # nginx -s reload
2023/08/28 05:41:44 [notice] 18#0: signal process started
/usr/local/nginx/html #
此时查看pod的实时状态可以看到,可以看到,虽然设置了livenessProbe的检测,但是容器并没有在12s左右的时间重启,这表示此时liveness探针的检测并未被真正执行。只有当Startup探针通过检测后(容器内完成了"cp index.html a.html; nginx -s reload"操作),liveness探针生效并检测通过,容器可以正常对外服务。
kubectl get po -w
NAME                               READY   STATUS    RESTARTS   AGE
nginx-deployment-c839892f1-kovf1   0/1     Running   0          6s
nginx-deployment-c839892f1-kovf1   0/1     Running   0          63s
nginx-deployment-c839892f1-kovf1   1/1     Running   0          63s
页面也能看到a.html的信息

CSDN联合极客时间,共同打造面向开发者的精品内容学习社区,助力成长!
更多推荐


 0
0 0
0- 0


 已为社区贡献16条内容

所有评论(0)