vue项目+js 实现层叠轮播图——基础积累
vue项目+js 实现层叠轮播图——基础积累
·
vue项目+js 实现层叠轮播图——基础积累
好久没有写文章了,堕落了。前一段时间在写官网,遇到一个需求:效果图如下: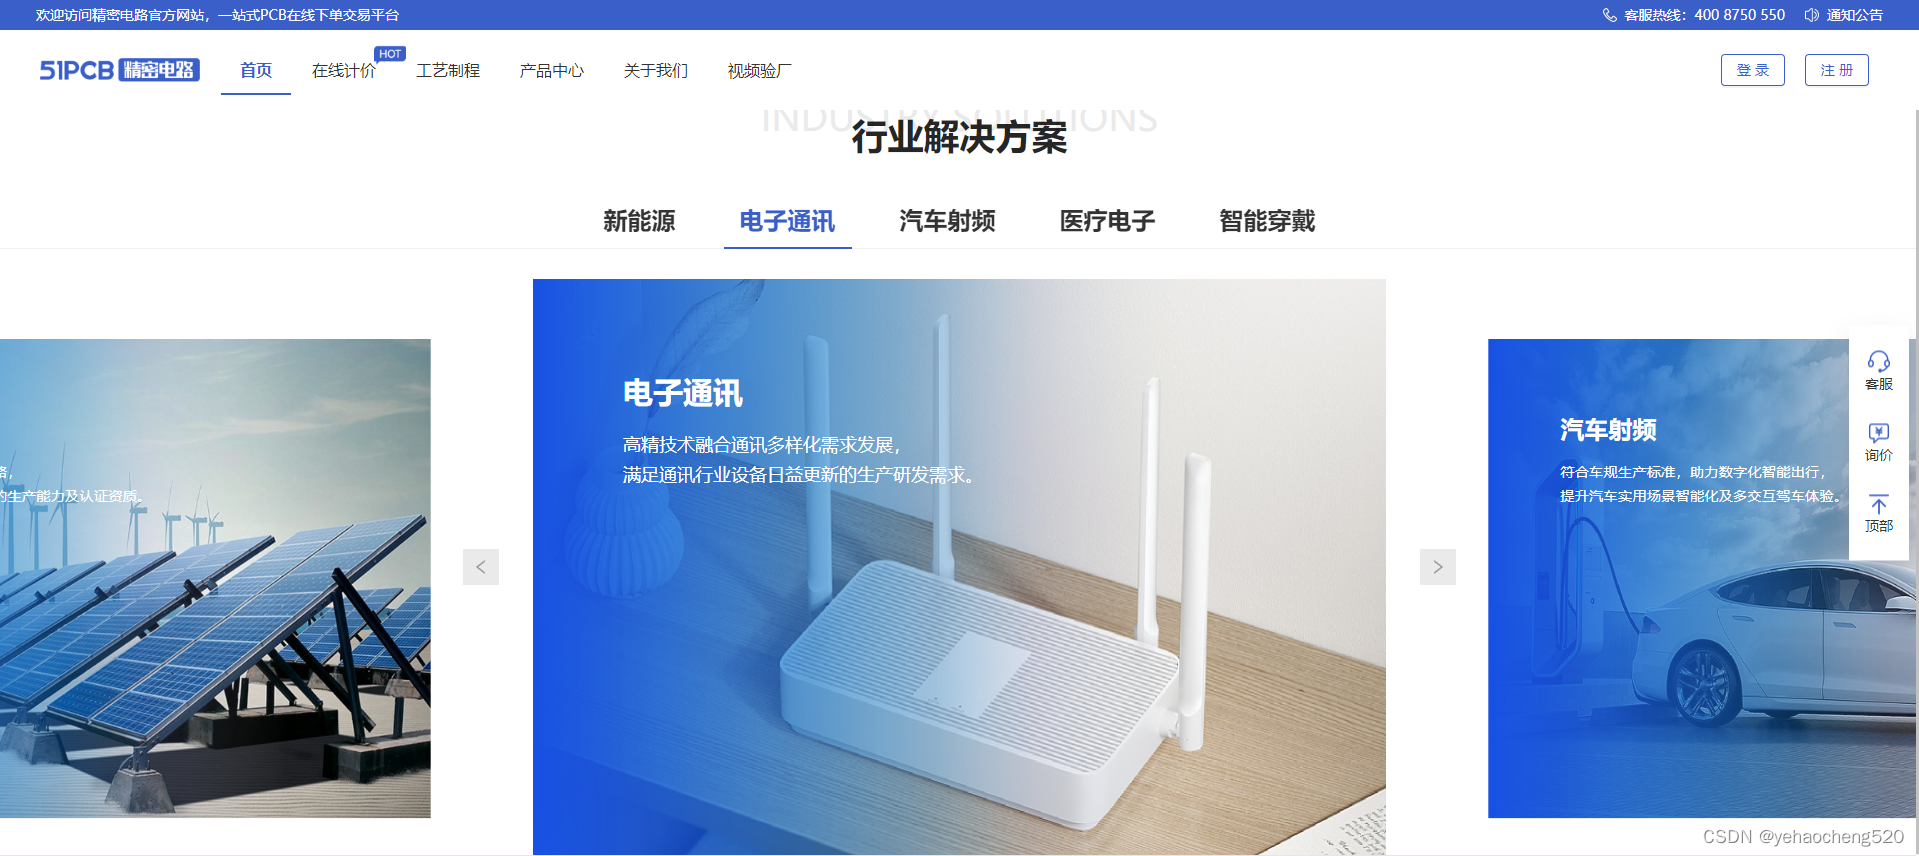
就是实现一个层叠轮播图。
我之前是通过elementUi中的走马灯组件来实现的,博文链接:
elementUi中的走马灯组件实现层叠轮播图:https://app.mockplus.cn/app/Im3IwiE5w8_5/comment/design/yIadWLR_ty1
但是效果不咋好:
1. 切换效果不好
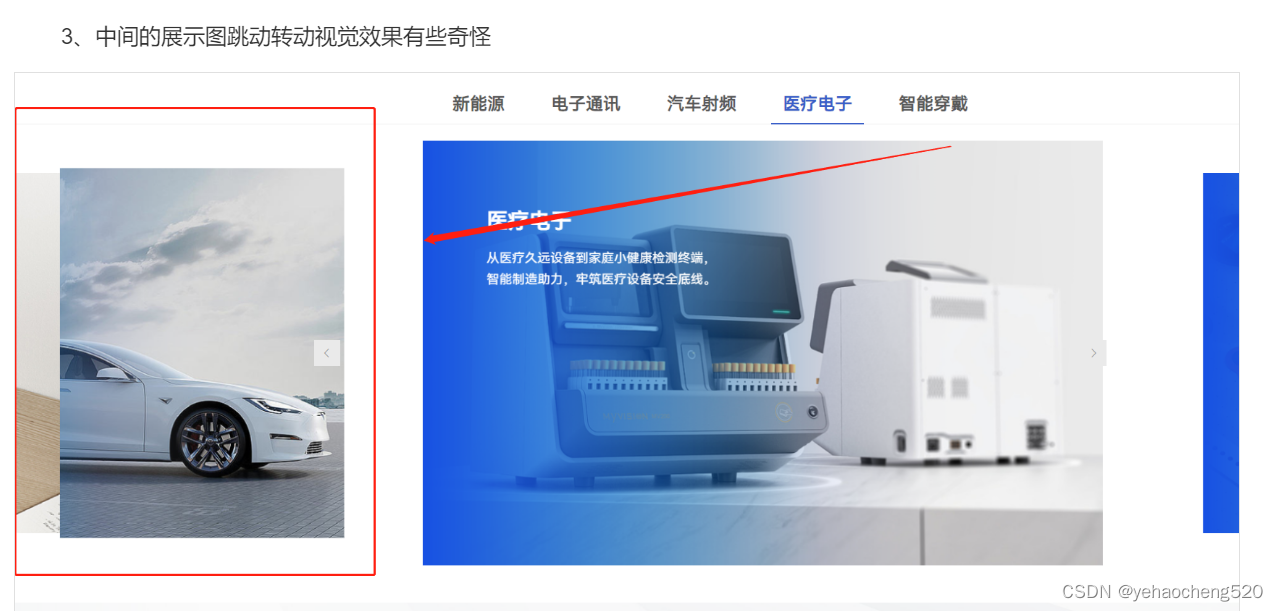
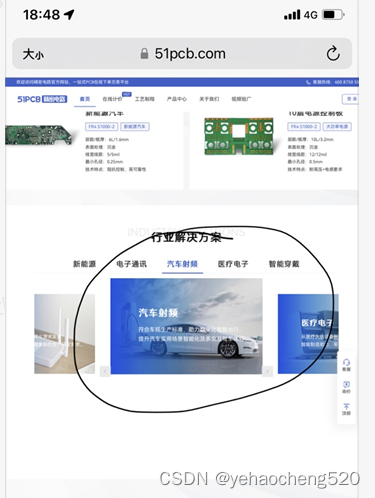
2.移动端适配不好
最终我从网上找到了下面的解决办法,基本上就是手写了一个轮播图组件,但是由于我js比较差,直接找了个相似的改了改,效果还不错。
直接上代码:
1.组件代码——carouseComp.vue(自定义的名字哈)
<template>
  <div class="carousel" ref="carousel">
    <a-tabs
      :activeKey="currentIndex"
      :animated="false"
      @change="tabChange"
      @keydown.native.capture.stop.prevent
    >
      <a-tab-pane
        v-for="(tab, index) in bannerTabList"
        :key="index"
        :tab="tab"
      ></a-tab-pane>
    </a-tabs>
    <div class="whole">
      <div class="roll-img">
        <span class="last" @click="after" v-show="showIndex">
          <a-icon type="left" />
        </span>
        <!-- 图片容器 -->
        <ul id="ul">
          <li
            v-on:click="change($event)"
            v-for="(item, index) in bannerImgList"
            :key="item"
            :class="classes[index]"
          >
            <img :src="item" alt="" />
            <div>
              <h2>{{ bannerTextList[index].title }}</h2>
              <div>
                {{ bannerTextList[index].text1 }}
              </div>
              <div>
                {{ bannerTextList[index].text2 }}
              </div>
            </div>
          </li>
        </ul>
        <span class="next" @click="before" v-show="showIndex">
          <a-icon type="right" />
        </span>
      </div>
    </div>
  </div>
</template>

<script>
export default {
  data: function() {
    return {
      showIndex: true, // 是否显示左右按钮
      classes: ['left', 'center', 'right', 'after1', 'after2'],
      timer: null,
      bannerTabList: ['新能源', '电子通讯', '汽车射频', '医疗电子', '智能穿戴'],
      currentIndex: 0,
      bannerImgList: [
        require('@/assets/img/banner/5.png'),
        require('@/assets/img/banner/1.png'),
        require('@/assets/img/banner/2.png'),
        require('@/assets/img/banner/3.png'),
        require('@/assets/img/banner/4.png'),
      ],
      bannerTextList: [
        {
          title: '智能穿戴',
          text1: '应用穿戴式技术对日常穿戴进行智能化功能场景应用,',
          text2: '支持手表、手环、眼镜等智能穿戴设备线路板生产。',
        },
        {
          title: '新能源',
          text1: '坚持贯彻能源可持续发展战略,',
          text2: '不断研发新能源设备线路板的生产能力及认证资质。',
        },
        {
          title: '电子通讯',
          text1: '高精技术融合通讯多样化需求发展,',
          text2: '满足通讯行业设备日益更新的生产研发需求。',
        },
        {
          title: '汽车射频',
          text1: '符合车规生产标准,助力数字化智能出行,',
          text2: '提升汽车实用场景智能化及多交互驾车体验。',
        },
        {
          title: '医疗电子',
          text1: '从医疗久远设备到家庭小健康检测终端,',
          text2: '智能制造助力,牢筑医疗设备安全底线。',
        },
      ],
    };
  },
  methods: {
    tabChange(val) {
      clearInterval(this.timer);
      let last = null;
      let first = null;
      if (this.currentIndex < val) {
        for (let i = 0; i < val - this.currentIndex; i++) {
          last = this.classes.pop();
          this.classes.unshift(last);
        }
      } else if (this.currentIndex > val) {
        for (let i = 0; i < this.currentIndex - val; i++) {
          first = this.classes.shift();
          this.classes.push(first);
        }
      }
      setTimeout(() => {
        this.currentIndex = val;
      }, 200);
    },
    before() {
      let last = this.classes.pop();
      this.classes.unshift(last);
      this.currentIndex = this.currentIndex < 4 ? this.currentIndex + 1 : 0;
    },
    after() {
      let first = this.classes.shift();
      this.classes.push(first);
      this.currentIndex =
        this.currentIndex > 0
          ? this.currentIndex - 1
          : this.currentIndex + 5 - 1;
    },
    change(e) {
      if (e.target.parentNode.classList.contains('left')) {
        this.after();
      } else if (e.target.parentNode.classList.contains('right')) {
        this.before();
      } else {
        return false;
      }
    },
  },
  mounted() {
    this.$nextTick(() => {
      var that = this;
      this.$refs.carousel.addEventListener('mouseover', function() {
        clearInterval(that.timer);
      });
      this.$refs.carousel.addEventListener('mouseout', function() {
        that.timer = setInterval(() => {
          that.before();
        }, 3000);
      });
      this.timer = setInterval(() => {
        this.before();
      }, 3000);
    });
  },
  beforeDestroy() {
    clearInterval(this.timer);
  },
};
</script>
<style lang="less" scoped>
ul,
li {
  list-style: none;
}
.carousel {
  width: 100%;
  height: 600px;
  .whole {
    width: 853px;
    height: 100%;
    margin: 0 auto;
    .roll-img {
      width: 100%;
      height: 100%;
      position: relative;
      transform-style: preserve-3d;
      ul li {
        position: absolute;
        width: 100%;
        height: 100%;
        cursor: pointer;
        & > div {
          position: absolute;
          left: 90px;
          top: 96px;
          color: #fff;
          z-index: 2;
          h2 {
            font-size: 30px;
            font-weight: 700;
            text-align: left;
            color: #ffffff;
            line-height: 32px;
            margin-bottom: 24px;
          }
          div {
            height: 30px;
            font-size: 18px;
            font-weight: 400;
            text-align: left;
            color: #ffffff;
          }
          &:hover {
            font-weight: normal;
          }
        }
      }
    }
  }
}
img {
  width: 100%;
  height: 100%;
}

.left {
  left: -870px;
  transform: scale(0.8);
  z-index: 4;
  transition: all 0.5s ease;
}
.center {
  z-index: 6;
  left: 0;
  top: 0;
  bottom: 10%;
  transition: all 0.5s ease;
}
.right {
  left: 870px;
  transform: scale(0.8);
  z-index: 4;
  transition: all 0.5s ease;
}
.left > div,
.right > div {
  z-index: 5;
  width: 100%;
  height: 100%;
  position: absolute;
  left: 0;
  top: 0;
  transition: all 0.3s ease;
}
.after1,
.after2,
.after3 {
  z-index: 3;
  left: 0;
  top: 0;
  visibility: hidden;
  transform: scale(0);
}
.last,
.next {
  position: absolute;
  z-index: 10;
  width: 36px;
  height: 36px;
  font-size: 16px;
  font-weight: bold;
  text-align: center;
  line-height: 36px;
  cursor: pointer;
  top: 45%;
  background: #eaeaea;
  color: #999999;
  &:hover {
    background: #3a5fc9;
    color: #fff;
  }
}
.list {
  width: 30%;
  height: 5px;
  display: flex;
  margin: 0 auto;
  margin-top: 20px;
}
.btn {
  transition: all 0.3s ease;
  flex: 1;
  background: rgb(244, 244, 244);
}
.btn:not(:first-child) {
  margin-left: 20px;
}
.last {
  left: -70px;
}
.next {
  right: -70px;
}
// 指示灯
.btn.active {
  background: #f00;
}
</style>
2.组件的使用
2.1 组件的引用
import carouseComp from './modules/carouseComp.vue';
2.2 组件的注册
export defautl{
	components:{carouseComp}
}
3.组件的使用
<carouseComp style="width:100%;height:600px;"></carouseComp>
完成。
当前组件只适用于5张图片的轮播,如果要适配其他数量的图片,则需要添加 图片路径和class类名,否则组件会报错。
功能实现!!!
完成!!!多多积累,多多收获!!!

Vue社区为您提供最前沿的新闻资讯和知识内容
更多推荐


 3
3 0
0- 0


 已为社区贡献69条内容

所有评论(0)