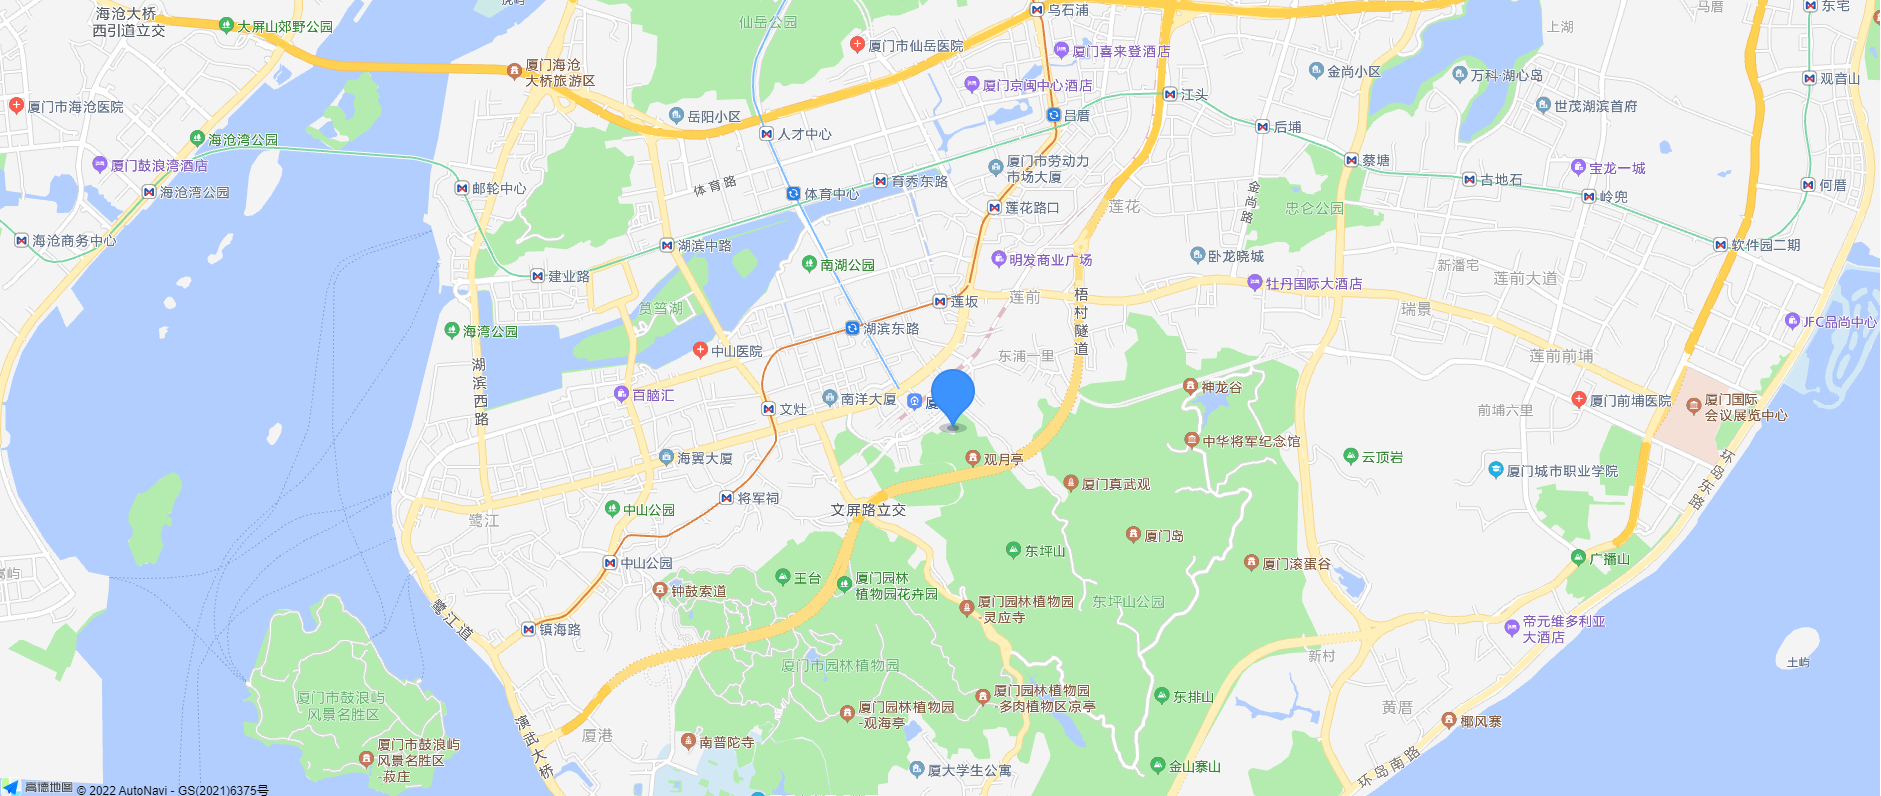
vue使用高德地图api,点击地图标记,弹出弹窗,使用animate让弹窗有动画的加载
vue使用高德地图,在高德地图上绘制标记点,点击标记点触发弹窗,手写弹窗,利用父子组件传值,弹窗使用animate动画库使其拥有加载、关闭动画
·
分以下步骤
一、引入高德地图
1、在高德地图——控制台——获取key
传送门:高德地图
登陆后打开控制台

创建应用

添加服务,获取密钥


2、npm 安装
这里来个官方文档的传送门:高德地图api
npm i @amap/amap-jsapi-loader --save
3、新建一个vue文件 作为地图容器
<template>
  <div>
  	// 这个是承载地图的容器
      <div id="container" style="z-index: 1"></div>
     //下面这个就是 弹窗组件
      <pop v-if="isShow" @listenChild="listenChild"></pop>
  </div>
</template>

<script>
  import AMapLoader from '@amap/amap-jsapi-loader';
  import pop from './pop';
  export default {
      components:{
        pop
      },
    data(){
      return{
        map:null, // 地图
        maker: null, // 点
        marker: [118.118174,24.468552], // 中心点
        icon: null, // 点的样式
        isShow:false,
      }
    },
    mounted(){
      //DOM初始化完成进行地图初始化
      this.initMap();
    },
    methods:{
   		// 监听子组件的事件
        listenChild(e) {
            this.isShow = e; // 关闭弹窗
        },
        // 打开弹窗
      openPop(e) {
        console.log(e); // 这里的参数是点击位置的信息,包括经纬度等
        this.isShow =true; // 打开弹窗
      },
      // 绘制地图
      initMap(){
        AMapLoader.load({
          key:"*****************", // 申请好的Web端开发者Key,首次调用 load 时必填
          version:"2.0",      // 指定要加载的 JSAPI 的版本,缺省时默认为 1.4.15
          plugins:[''],       // 需要使用的的插件列表,如比例尺'AMap.Scale'等
        }).then((AMap)=>{
          this.map = new AMap.Map("container",{  //设置地图容器id
            viewMode:"3D",    //是否为3D地图模式
            zoom:14,           //初始化地图级别
            center:this.marker, //初始化地图中心点位置
          });
          // 设置点样式
          this.icon = new AMap.Icon({
              image: '//a.amap.com/jsapi_demos/static/demo-center/icons/poi-marker-default.png',  // Icon的图像
              offset: new AMap.Pixel(-13, -30)
          });
          // 将 icon 传入 marker,
          // 官网上还有一个海量标记,意思就是可以一次创建多个点,详细的大家可以自测一下
          this.maker = new AMap.Marker({
            position: new AMap.LngLat(this.marker), // 点的位置
            icon:  this.icon,
            offset: new AMap.Pixel(-13, -30)
          });
          this.maker.on('click',this.openPop); // 给点标记添加点击事件,写入对应函数
          this.map.add(this.maker); // 添加点标记
        }).catch(e=>{
          console.log(e);
        })
      },
    },
  }
</script>
<style  scoped>
  #container{
    padding:0px;
    margin: 0px;
    width: 100%;
    height: 800px;
  }
</style>
二、引入animate.css动画
这里我采用的是animate的动画库
传送门:animate效果演示网站
1、npm 安装
//由于vue官网引入的是3.5.1版本 所以为了避免踩坑,我这里也用同个版本
npm install animate.css@3.5.1 --save
如果再安装过程中遇到问题:可以看看这里
2、main.js引入
import animated from 'animate.css'
Vue.use(animated)
3、使用animate动画
这里我就不详细写了
重要的事情说三遍!!!
一定不要忘记 animated 这个前缀
// 当你选择好对应的动画效果时,记住他的名字,同时
// 一定不要忘记 animated 这个前缀
<div class="animated bounceInUp">
  <h4>About Need Cash</h4>
</div>
一定不要忘记 animated 这个前缀
三、手写弹窗组件
新建一个文件 pop.vue
// 为了方便,以下的宽高我都是写死的
<template>
    <div style="position:relative;">
    //  背景,点击背景通知父组件关闭
        <div class="mark" @click="closeMark"></div>
        // 这里的三目判断是控制进出动画效果
        <div class="img animated" :class="out?'fadeInDown':'bounceOutUp'">
            <img width="500px" height="300px" src="https://profile.csdnimg.cn/4/2/3/1_fantasywt"/>
        </div>
    </div>
</template>

<script>
    export default {
        name: "pop",
        data () {
            return {
                out:true // 控制动画的样式变量
            }
        },
        methods:{
            closeMark() {
            //  这里加个延时,我们的动画需要一秒的时间,如果直接通知父组件关闭,是不会等动画结束再关闭的
                setTimeout(()=>this.$emit('listenChild',false),1000)
                this.out = false
            },
        }
    }
</script>

<style scoped>
    .mark{
        z-index: 1000;
        position:fixed;
        background-color: rgba(3, 3, 3, 0.3);
        top:0;
        left: 0;
        bottom: 0;
        right: 0;
    }
    .img{
        position: fixed;
        top: 20%;
        left: 50%;
        z-index: 1050;
        margin-left: -275px;
    }
</style>
总结
以上的代码可能有不规范的地方,还请大家睁一只眼闭一只眼
如果有错误的地方欢迎在评论里指出来,一起交流探讨
我是前端入门小白,感谢你们的阅读
更多推荐
 已为社区贡献1条内容


所有评论(0)