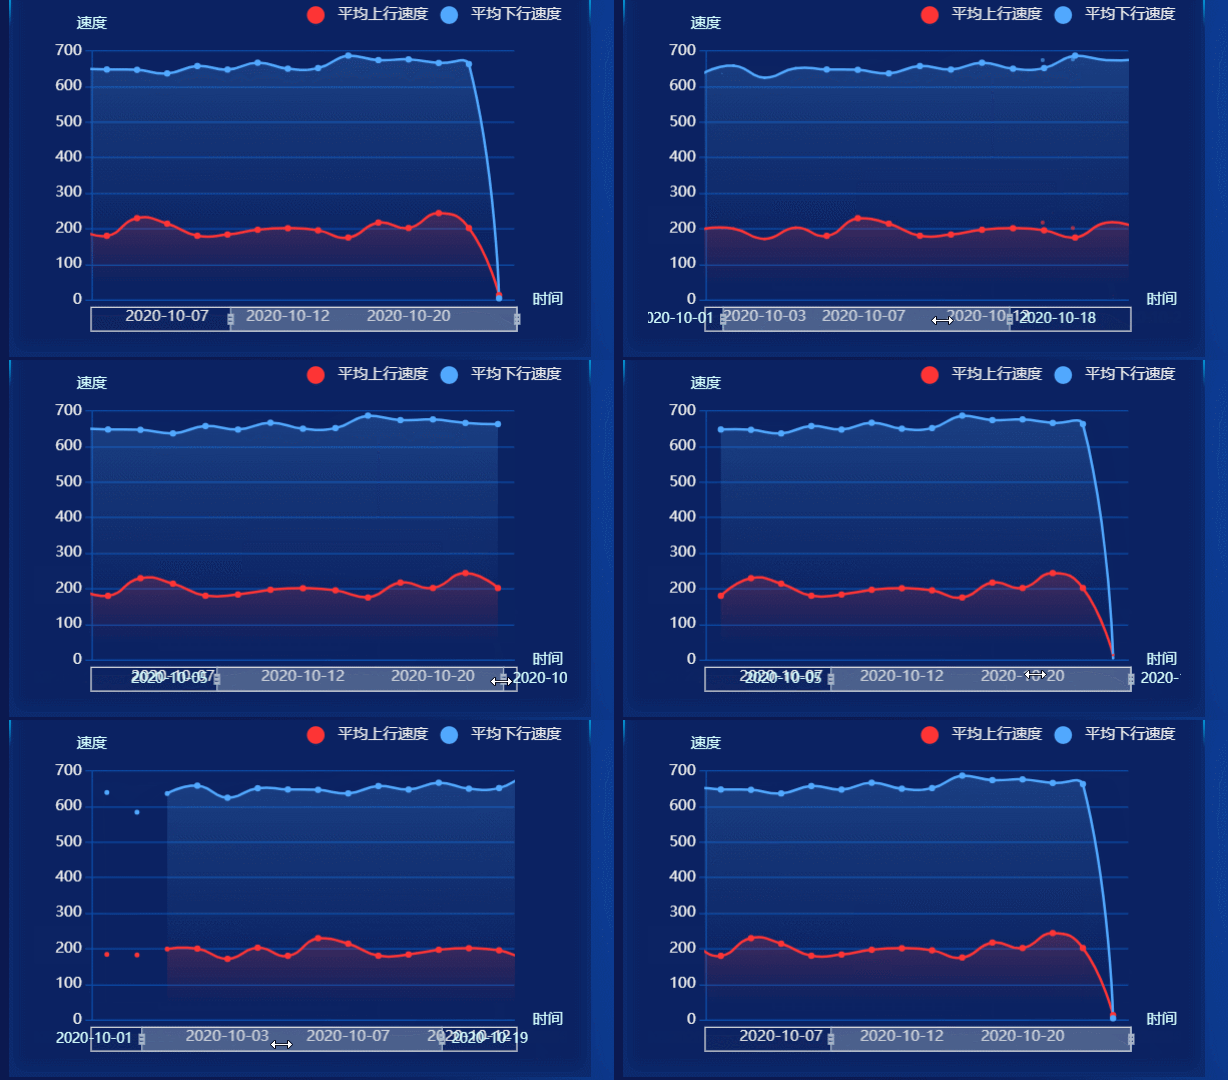
Vue Echarts图表dataZoom缩放区域根据数据量显示
Vue Echarts图表dataZoom缩放区域根据数据量显示当时用echarts图表显示数据的时候,比如折线图柱状图,当数据量太大的时候,需要设置 dataZoom实现区域缩放,但是当数据量比较少的时候又不希望出现区域缩放控件,所以说这个时候就需要根据数据量动态显示dataZoom。在 echarts 图表的 option 配置中配置 dataZoom项:dataZoom: [{type: '
·
Vue Echarts图表dataZoom缩放区域根据数据量显示
当时用echarts图表显示数据的时候,比如折线图柱状图,当数据量太大的时候,需要设置 dataZoom实现区域缩放,但是当数据量比较少的时候又不希望出现区域缩放控件,所以说这个时候就需要根据数据量动态显示dataZoom。
在 echarts 图表的 option 配置中配置 dataZoom项:
  dataZoom: [{
    type: 'slider',
    show: true,
    height: 20,
    left: '10%',
    right: '10%',
    bottom: '2%',
    start: 0,
    end: 100,
    textStyle: {
      color: '#d4ffff',
      fontSize: 11
    }
  }, {
    type: 'inside'
  }],
dataZoom具体配置 点这里
然后写代码去判断一下这个dataZoom 是否生效以及他的初始和结束分别是多少。
比如当我想让柱状图或者是折线图横轴数量超过7的时候出现缩放控件,那在小于等于7的时候把控件的show属性设置为false,初始设置为0,当超过7的时候把控件的show属性设置为true,初始位置计算一下或者是直接设置为0。xData是x轴数据的list集合。
	   if (xData.length <= 7) {
          option.dataZoom[0].show = false
          option.dataZoom[0].start = 0
        } else {
          option.dataZoom[0].start = (7 / xData.length) * 100
          // option.dataZoom[0].start = 0
        }
这样就可以了!
然后就可以渲染echarts图表了。
this.charts = echarts.init(document.getElementById(id))
this.charts.clear()  // 清空echarts数据
this.charts.setOption(option) // 重新渲染option
销毁 echarts 图表,一般是放到销毁组件的生命周期中。
// 销毁
destroyed () {
  this.charts.dispose()
}
OK,完成!当后台返回的x轴数据超过7的时候,会自动的把 dataZoom 渲染出来并且根据代码设置显示缩放区域的起止位置,可以根据自己的需要修改起止位置。

更多推荐
 已为社区贡献45条内容


所有评论(0)