
spring security+vue实现权限管理(授权登录)
1.Security核心类介绍1.AuthenticationManager在security中最核心之一就是这个AuthenticationManager, AuthenticationManager是一个用来处理认证(Authentication)请求的接口。在其中只定义了一个方法authenticate(),该方法只接收一个代表认证请求的Authentication对象作为参数,如果认证成功
1.Security核心类介绍
1.AuthenticationManager
在security中最核心之一就是这个AuthenticationManager, AuthenticationManager是一个用来处理认证(Authentication)请求的接口。在其中只定义了一个方法authenticate(),该方法只接收一个代表认证请求的Authentication对象作为参数,如果认证成功,则会返回一个封装了当前用户权限等信息的Authentication对象进行返回。
2.ProviderManager
在Spring Security中,AuthenticationManager的默认实现是ProviderManager,而且它不直接自己处理认证请求,而是委托给其所配置的AuthenticationProvider列表,然后会依次使用每一个AuthenticationProvider进行认证,如果有一个AuthenticationProvider认证后的结果不为null,则表示该AuthenticationProvider已经认证成功,之后的AuthenticationProvider将不再继续认证。然后直接以该AuthenticationProvider的认证结果作为ProviderManager的认证结果。如果所有的AuthenticationProvider的认证结果都为null,则表示认证失败,将抛出一个ProviderNotFoundException。校验认证请求最常用的方法是根据请求的用户名加载对应的UserDetails,然后比对UserDetails的密码与认证请求的密码是否一致,一致则表示认证通过。Spring Security内部的DaoAuthenticationProvider就是使用的这种方式。其内部使用UserDetailsService来负责加载UserDetails,UserDetailsService将在下节讲解。在认证成功以后会使用加载的UserDetails来封装要返回的Authentication对象,加载的UserDetails对象是包含用户权限等信息的。认证成功返回的Authentication对象将会保存在当前的SecurityContext中。
3.Authentication
Authentication是表示用户信息的一个接口,通过它可封装一些用户登录认证的对象,用户认证成功后,又会生成一个信息更加全面,包括用户所拥有的角色等信息的Authentication对象,然后把它保存在SecurityContextHolder 所持有的 SecurityContext 中,供后续的程序进行调用,如访问权限的鉴定等。
4.SecurityContextHolder
它是一个用来保存SecurityContext的一个类,而SecurityContext中又存储着用户信息。它含有很多静态方法,如getContext、setContext、clearContext来对SecurityContext进行操作。
5.UserDetails
该接口是提供用户信息的核心接口。该接口实现仅仅存储用户的信息。后续会将该接口提供的用户信息封装到认证对象Authentication中去。UserDetails 默认提供了:
用户的权限集, 默认需要添加ROLE_ 前缀
用户的加密后的密码, 不加密会使用{noop}前缀
应用内唯一的用户名
账户是否过期
账户是否锁定
凭证是否过期
用户是否可用
如果以上的信息满足不了你使用,你可以自行实现扩展以存储更多的用户信息。比如用户的邮箱、手机号等等。通常我们使用其实现类:
org.springframework.security.core.userdetails.User
该类内置一个建造器UserBuilder 会很方便地帮助我们构建UserDetails 对象
6.UserDetailsService
UserDetails中定义了用户的账户、密码、权限等信息,可通过实现该接口中的方式自行定义用户信息类。而UserDetailsService中只有一个方法loadUserByUsername(),该方法返回的便是一个UserDetails对象。这个方法主要是对web传来的用户信息进行验证操作,验证成功便返回用户所属的UserDetails信息。用户验证不通过则抛出UsernameNotFoundException异常。
2.数据库设置

3.实战
####### 登录流程
1)容器启动(MySecurityMetadataSource:loadResourceDefine加载系统资源与权限列表)
2)用户发出请求
3)过滤器拦截(LoginFilter实现UsernamePasswordAuthenticationFilter)
4)取得请求资源所需权限(UrlFilterInvocationSecurityMetadataSource实现FilterInvocationSecurityMetadataSource)
5)匹配用户拥有权限和请求权限(UrlAccessDecisionManager实现AccessDecisionManager),如果用户没有相应的权限,
执行第6步,否则执行第7步。
6)登录
7)验证并授权(SysUserDetailsService:loadUserByUsername)
3.1导入依赖
<!--导入mybatis-->
        <dependency>
            <groupId>org.mybatis.spring.boot</groupId>
            <artifactId>mybatis-spring-boot-starter</artifactId>
            <version>1.1.1</version>
        </dependency>

        <!--导入连接池-->
        <dependency>
            <groupId>com.alibaba</groupId>
            <artifactId>druid</artifactId>
            <version>1.1.20</version>
        </dependency>

        <!-- mysql 数据库驱动. -->
        <dependency>
            <groupId>mysql</groupId>
            <artifactId>mysql-connector-java</artifactId>
        </dependency>
<!--        security-->
        <dependency>
            <groupId>org.springframework.boot</groupId>
            <artifactId>spring-boot-starter-security</artifactId>
        </dependency>
3.2 编写配置文件
#配置端口
server:
port: 9999
servlet:
context-path: /
spring:
application:
name: EasyPermissions
datasource:
type: com.alibaba.druid.pool.DruidDataSource
driver-class-name: com.mysql.cj.jdbc.Driver
url: jdbc:mysql://127.0.0.1:3306/easy_permissions?characterEncoding=utf-8&&&serverTimezone=UTC&&&useSSL=false
username: root
password: root
# 下面为连接池的补充设置,应用到上面所有数据源中
# 初始化大小,最小,最大
initial-size: 5
min-idle: 5
max-active: 20
# 配置获取连接等待超时的时间
max-wait: 60000
# 配置间隔多久才进行一次检测,检测需要关闭的空闲连接,单位是毫秒
time-between-eviction-runs-millis: 60000
# 配置一个连接在池中最小生存的时间,单位是毫秒
min-evictable-idle-time-millis: 300000
validation-query: SELECT 1 FROM DUAL
test-while-idle: true
test-on-borrow: false
test-on-return: false
# 打开PSCache,并且指定每个连接上PSCache的大小
pool-prepared-statements: true
# 配置监控统计拦截的filters,去掉后监控界面sql无法统计,'wall'用于防火墙
max-pool-prepared-statement-per-connection-size: 20
filters: stat,wall
use-global-data-source-stat: true
# 通过connectProperties属性来打开mergeSql功能;慢SQL记录
connect-properties: druid.stat.mergeSql=true;druid.stat.slowSqlMillis=5000
redis:
host: localhost
port: 6379
jedis:
pool:
max-wait: 30000
max-active: 100
max-idle: 20
min-idle: 0
#配置mybatisis
mybatis:
config-location: classpath:mybatis/mybatis-config.xml
mapper-locations: classpath:mybatis/mappers/*.xml
3.3 编写UserDetails
/**
 * 系统用户
 */
@Data
@NoArgsConstructor
@AllArgsConstructor
public class SysUserEntity implements Serializable ,UserDetails {

  /**
   * 用户ID
   */
  private long userId;
  /**
   * 用户名字
   */
  private String username;
  /**
   * 用户密码
   */
  private String password;
  /**
   * 盐值
   */
  private String salt;
  /**
   * 邮箱
   */
  private String email;
  /**
   * 电话
   */
  private String mobile;
  /**
   * 状态 1 正常使用 2.冻结
   */
  private long status;
  /**
   * 创建用户ID
   */
  private long createUserId;
  /**
   * 创建时间
   */
  private Timestamp createTime;

  //角色列表
  private List<SimpleGrantedAuthority> roles;

  @Override
  public Collection<? extends GrantedAuthority> getAuthorities() {
    return roles;
  }

  @Override
  public boolean isAccountNonExpired() {
    return true;
  }

  @Override
  public boolean isAccountNonLocked() {
    return true;
  }

  @Override
  public boolean isCredentialsNonExpired() {
    return true;
  }

  @Override
  public boolean isEnabled() {
    return true;
  }
}
3.4 编写UserDetailsService
/**
 * 身份认证
 * 1.根据用户名查询到用户信息
 * 2.根据用户信息查询所属的角色
 * 3.添加角色到UserDetails并返回
 */
@Component
public class SysUserDetailsService implements UserDetailsService {

    @Autowired
    private SysUserMapper sysUserMapper;
    @Override
    public UserDetails loadUserByUsername(String s) throws UsernameNotFoundException {
        SysUserEntity sysUser = new SysUserEntity();
        if(StringUtil.isEmpty(s)){
            return null;
        }
        sysUser.setMobile(s);
        //查询用户信息
        List<SysUserEntity> userInfo = sysUserMapper.getUserInfo(sysUser);

        if(userInfo!=null&&userInfo.size()>0){
            SysUserEntity sysUserEntity = userInfo.get(0);
            //查询用户角色
            List<SysRoleEntity> roles = sysUserMapper.getUserRole(sysUserEntity.getUserId());
            List<SimpleGrantedAuthority> authorities = new ArrayList<>();
            if(roles!=null&&roles.size()>0){
                for(SysRoleEntity role:roles){
                    //添加用户角色
                    authorities.add(new SimpleGrantedAuthority("ROLE_"+role.getRoleName()));
                }
            }
            //设置权限
            sysUserEntity.setRoles(authorities);
            return sysUserEntity;
        }else{
            throw new RuntimeException("用户不存在");
        }
    }
}
3.5 核心配置Security
@Configuration
@EnableWebSecurity
@EnableGlobalMethodSecurity(prePostEnabled = true)//访问接口需要权限
public class SecurityConfig extends WebSecurityConfigurerAdapter {

    @Autowired
    private SysUserDetailsService sysUserDetailsService;

    @Autowired
    private SecurityAuthenticationSuccessHandler successHandler;
    @Autowired
    private SecurityAuthenticationFailureHandler failureHandler;

    @Autowired
    UrlFilterInvocationSecurityMetadataSource urlFilterInvocationSecurityMetadataSource;
    @Autowired
    UrlAccessDecisionManager urlAccessDecisionManager;
    @Autowired
    AuthenticationAccessDeniedHandler authenticationAccessDeniedHandler;

    /**
     * 密码加密
     * @return
     */
    @Bean
    public PasswordEncoder passwordEncoder(){
        return new BCryptPasswordEncoder();
    }

    /**
     * 默认配置
     * @param http
     * @throws Exception
     */
    @Override
    protected void configure(HttpSecurity http) throws Exception {
        http.authorizeRequests()
                .withObjectPostProcessor(new ObjectPostProcessor<FilterSecurityInterceptor>() {
                    @Override
                    public <O extends FilterSecurityInterceptor> O postProcess(O o) {
                        o.setSecurityMetadataSource(urlFilterInvocationSecurityMetadataSource);
                        o.setAccessDecisionManager(urlAccessDecisionManager);
                        return o;
                    }
                })
                .requestMatchers(CorsUtils::isPreFlightRequest).permitAll()
                .antMatchers("/verifyCode/**","/checkCode/*","/login","/doLogin")
                .permitAll()
                .and()
                .logout()
                .logoutSuccessHandler((req, resp, authentication) -> {
                            resp.setContentType("application/json;charset=utf-8");
                            PrintWriter out = resp.getWriter();
                            out.write(new ObjectMapper().writeValueAsString(R.ok("注销成功!")));
                            out.flush();
                            out.close();
                        }
                )
                .and()
                .csrf().disable().exceptionHandling()
                //没有认证时,在这里处理结果,不要重定向
                .authenticationEntryPoint((req, resp, authException) -> {
                            resp.setContentType("application/json;charset=utf-8");
                            resp.setStatus(401);
                            PrintWriter out = resp.getWriter();
                            R r = new R();
                            r.put("errorMsg","未登录访问失败!");
                            if (authException instanceof InsufficientAuthenticationException) {
                                r.put("errorMsg","请求失败,请联系管理员!");
                            }
                            out.write(new ObjectMapper().writeValueAsString(r));
                            out.flush();
                            out.close();
                        }
                );
        //添加过滤器
        http.addFilterAt(loginFilter(), UsernamePasswordAuthenticationFilter.class);
    }


    /**
     * 密码加密
     * @param auth
     * @throws Exception
     */
    @Override
    protected void configure(AuthenticationManagerBuilder auth) throws Exception {
        auth.userDetailsService(sysUserDetailsService).passwordEncoder(passwordEncoder());
    }

    /**
     * 静态资源过滤
     * @param web
     * @throws Exception
     */
    @Override
    public void configure(WebSecurity web) throws Exception {
        web.ignoring().antMatchers("/static/**","/*.html","/css/**","/img/**","/js/**","/login.html");
    }


    @Bean
    LoginFilter loginFilter() throws Exception {
        LoginFilter loginFilter = new LoginFilter();
        //设置登录成功返回
        loginFilter.setAuthenticationSuccessHandler((request, response, authentication) -> {
                    response.setContentType("application/json;charset=utf-8");
                    PrintWriter out = response.getWriter();
                    SysUserEntity sysUser = (SysUserEntity) authentication.getPrincipal();
                    sysUser.setPassword(null);
                    R r = new R();
                    r.put("msg","登录成功");
                    r.put("data",sysUser);
                    String s = new ObjectMapper().writeValueAsString(r);
                    out.write(s);
                    out.flush();
                    out.close();
                }
        );
        //设置认证失败返回
        loginFilter.setAuthenticationFailureHandler((request, response, exception) -> {
                    response.setContentType("application/json;charset=utf-8");
                    PrintWriter out = response.getWriter();
                    R r = new R();
                    if (exception instanceof LockedException) {
                        r.put("msg","账户被锁定,请联系管理员!");
                    } else if (exception instanceof CredentialsExpiredException) {
                        r.put("msg","密码过期,请联系管理员!");
                    } else if (exception instanceof AccountExpiredException) {
                        r.put("msg","账户过期,请联系管理员!");
                    } else if (exception instanceof DisabledException) {
                        r.put("msg","账户被禁用,请联系管理员!");
                    } else if (exception instanceof BadCredentialsException) {
                        r.put("msg","用户名或者密码输入错误,请重新输入!");
                    }else{
                        r.put("msg",exception.getMessage());
                    }
                    out.write(new ObjectMapper().writeValueAsString(r));
                    out.flush();
                    out.close();
                }
        );
        loginFilter.setAuthenticationManager(authenticationManagerBean());
        loginFilter.setFilterProcessesUrl("/doLogin");
        return loginFilter;
    }
}
3.6 核心登录过滤器
/**
 * 自定义验证逻辑
 */
public class LoginFilter extends UsernamePasswordAuthenticationFilter {
    Logger logger = LoggerFactory.getLogger(LoginFilter.class);
    @Override
    public Authentication attemptAuthentication(HttpServletRequest request, HttpServletResponse response) throws AuthenticationException {
        if (!request.getMethod().equals("POST")) {
            throw new AuthenticationServiceException(
                    "Authentication method not supported: " + request.getMethod());
        }
        HttpSession session = request.getSession();

        String verify_code = (String) session.getAttribute("verify_code");
        System.out.println("verify_code--->"+verify_code);

        logger.error("request.getContentType()--->"+request.getContentType());
        logger.error("类型比较:"+request.getContentType().equals(MediaType.APPLICATION_JSON_UTF8_VALUE));
//切记 不同浏览器上面getContentType()可能是大写可能是小写,这里不能用equels得用equalsIgnoreCase
        if (request.getContentType().equals(MediaType.APPLICATION_JSON_VALUE) || request.getContentType().equalsIgnoreCase(MediaType.APPLICATION_JSON_UTF8_VALUE)) {
            Map<String, String> loginData = new HashMap<>();
            try {
                loginData = new ObjectMapper().readValue(request.getInputStream(), Map.class);
            } catch (IOException e) {
            }finally {
                String code = loginData.get("code");
                System.out.println("code--->"+code);
                checkCode(response, code, verify_code);
            }
            String username = loginData.get(getUsernameParameter());
            String password = loginData.get(getPasswordParameter());
            if (username == null) {
                username = "";
            }
            if (password == null) {
                password = "";
            }
            username = username.trim();
            UsernamePasswordAuthenticationToken authRequest = new UsernamePasswordAuthenticationToken(
                    username, password);
            setDetails(request, authRequest);
            return this.getAuthenticationManager().authenticate(authRequest);
        } else {
            checkCode(response, request.getParameter("code"), verify_code);
            return super.attemptAuthentication(request, response);
        }
    }

    public void checkCode(HttpServletResponse resp, String code, String verify_code) {
        if (code == null || verify_code == null || "".equals(code) || !verify_code.toLowerCase().equals(code.toLowerCase())) {
            //验证码不正确
            throw new AuthenticationServiceException("验证码不正确");
        }
    }
}
3.6 核心权限校验
一般情况下,我们如果需要自定义权限拦截,则需要涉及到FilterInvocationSecurityMetadataSource这个接口了。
/**
 * 从当前请求url中判断属于哪些权限
 */
@Component
public class UrlFilterInvocationSecurityMetadataSource implements FilterInvocationSecurityMetadataSource {

    @Autowired
    private SysUserMapper sysUserMapper;
//    在做uri匹配规则
    AntPathMatcher antPathMatcher = new AntPathMatcher();
    @Override
    public Collection<ConfigAttribute> getAttributes(Object o) throws IllegalArgumentException {
        //获取请求地址
        String requestUrl = ((FilterInvocation) o).getRequestUrl();
        if ("/login".equals(requestUrl)||requestUrl.contains("/verifyCode")) {
            return null;
        }
        List<SysMenuEntity> allMenu = sysUserMapper.getAllMenu();
        List<SysRoleEntity> allRole = sysUserMapper.getAllRole();
        String[] str = new String[allRole.size()];
        for(SysMenuEntity menu:allMenu){
            if(menu.getUrl() == null || menu.getUrl().length() <= 0){
                continue;
            }
            System.out.println("url:"+menu.getUrl()+"----->requestUrl:"+requestUrl);
            if(antPathMatcher.match(menu.getUrl(), requestUrl)){
                //获取到该菜单对应的所有角色
                List<SysRoleEntity> roles = menu.getRoles();
                if(roles!=null){
                    for(int i=0;i<roles.size();i++){
                        str[i] = roles.get(i).getRoleName();
                    }
                    return SecurityConfig.createList(str);
                }
                break;
            }
        }
        return SecurityConfig.createList("ROLE_LOGIN");
    }

    @Override
    public Collection<ConfigAttribute> getAllConfigAttributes() {
        return null;
    }

    @Override
    public boolean supports(Class<?> aClass) {
        return FilterInvocation.class.isAssignableFrom(aClass);
    }
}
实现AccessDecisionManager 重写授权管理
spring security是通过AccessDecisionManager进行授权管理的
/**

 * 自定义AccessDecisionManager 来判断是否拥有权限
 */
@Component
public class UrlAccessDecisionManager implements AccessDecisionManager {
    @Override
    public void decide(Authentication authentication, Object o, Collection<ConfigAttribute> collection) throws AccessDeniedException, InsufficientAuthenticationException {
        Iterator<ConfigAttribute> iterator = collection.iterator();
        while (iterator.hasNext()) {
            ConfigAttribute ca = iterator.next();
            //当前请求需要的权限
            String needRole = ca.getAttribute();
            if ("ROLE_LOGIN".equals(needRole)) {
                if (authentication instanceof AnonymousAuthenticationToken) {
                    throw new BadCredentialsException("未登录");
                } else
                    return;
            }
            //当前用户所具有的权限
            Collection<? extends GrantedAuthority> authorities = authentication.getAuthorities();
            for (GrantedAuthority authority : authorities) {
                if (authority.getAuthority().equals(needRole)) {
                    return;
                }
            }
        }
        throw new AccessDeniedException("权限不足!");
    }

    @Override
    public boolean supports(ConfigAttribute configAttribute) {
        return true;
    }

    @Override
    public boolean supports(Class<?> aClass) {
        return true;
    }
}
4.Vue编写配置
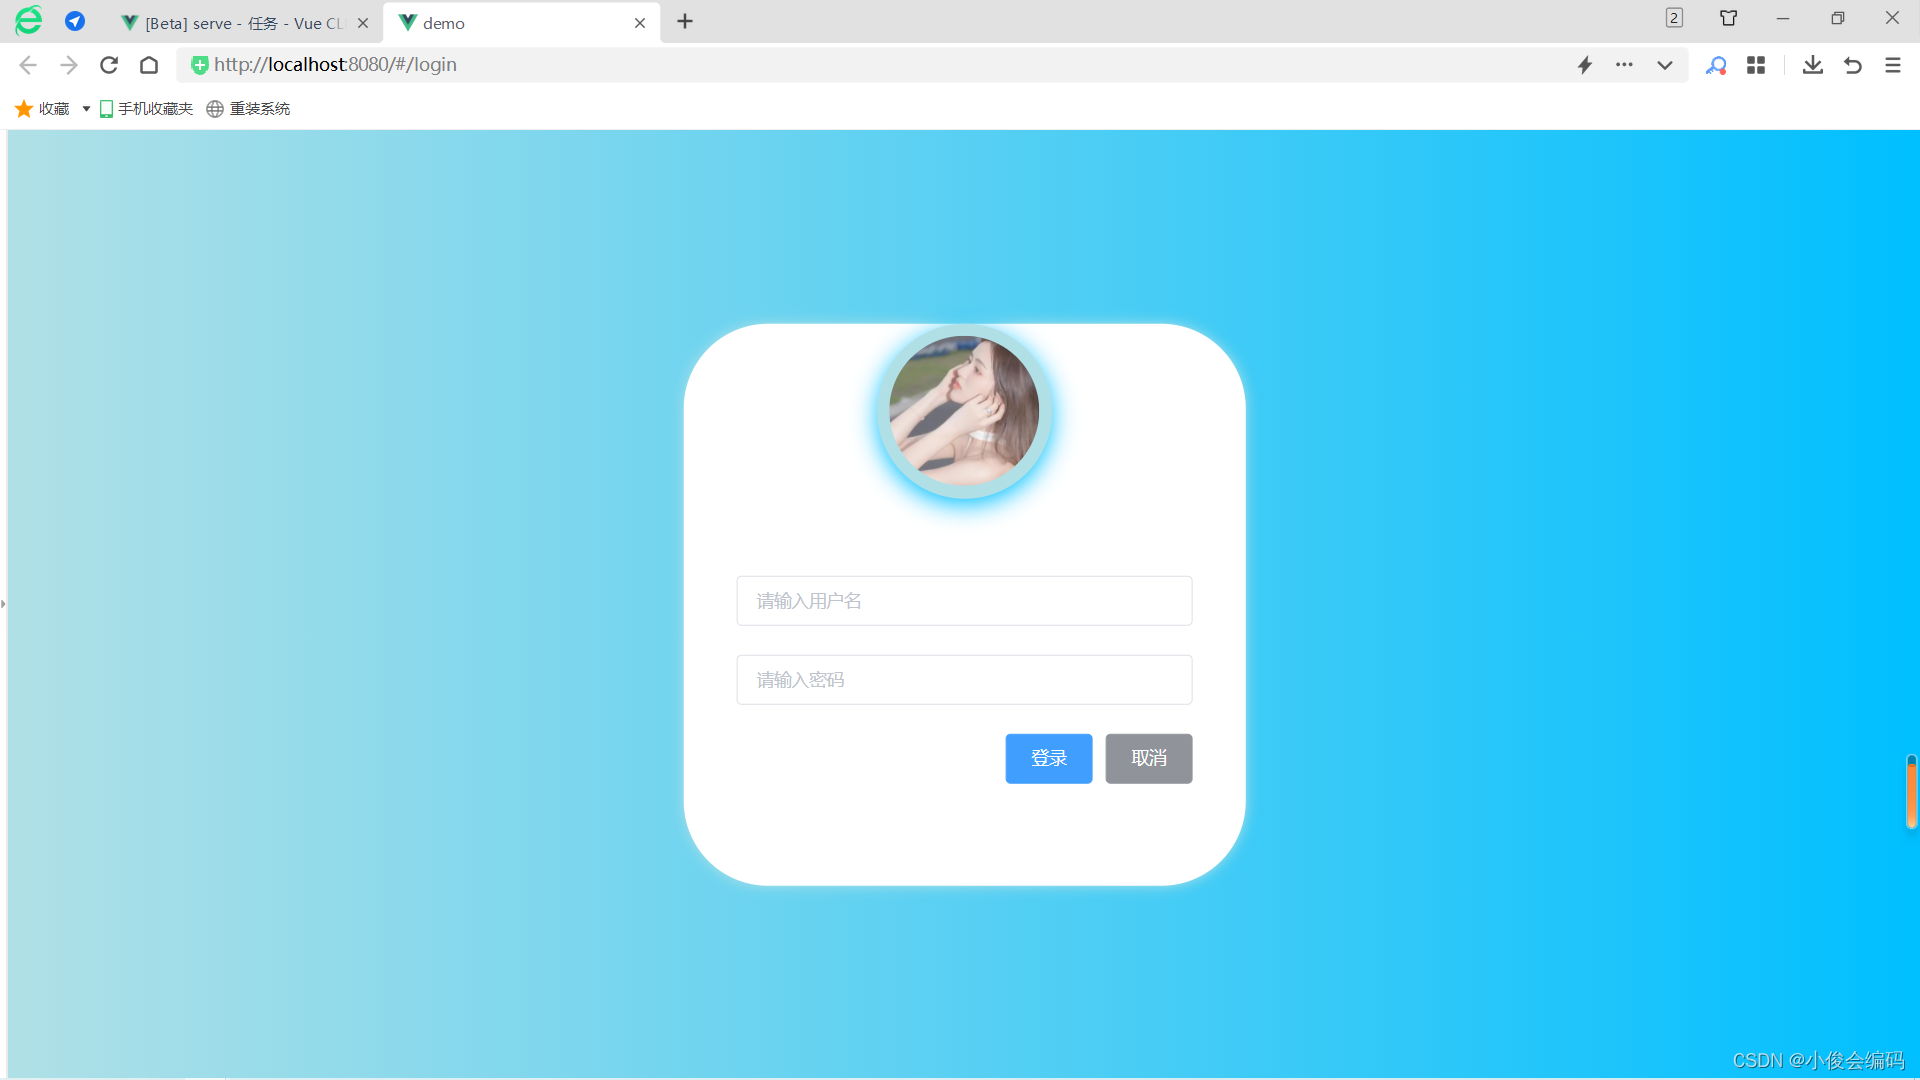
4.1 编写登录页面
<template>
    <div style="">
        <el-row>
            <el-col :span="18" style="height: 100vh;" class="left_box">
                <transition name="el-zoom-in-center">
                    <p style="font-size: 60px;color:#333;position: relative;left:16%;top:20%;">EasyPermissions</p>
                </transition>
                    <p style="font-size: 50px;color:#f5f5f5;position: relative;left:16%;top:20%;">打造最简单的权限管理系统</p>

            </el-col>
            <el-col :span="6" style="height: 100vh; display: flex;flex-direction: column; align-items: center;justify-content: center;">

                <div class="login_container">
                    <div class="login_box">
                        <!--头像区域-->
                        <div class="avatar_box">
                            <img src="../../assets/logo.jpg" alt />
                        </div>
                        <el-form :rules="rules" :model="form" ref="loginFormRef" :status-icon="true">
                            <el-form-item prop="username">
                                <el-input prefix-icon="el-icon-user-solid" placeholder="账号" v-model="form.username"></el-input>
                            </el-form-item>
                            <el-form-item prop="password">
                                <el-input type="password" prefix-icon="el-icon-lock" placeholder="密码" v-model="form.password"></el-input>
                            </el-form-item>
                            <el-form-item prop="code">
                                <el-row :gutter="20">
                                    <el-col :span="14">
                                        <el-input prefix-icon="el-icon-cloudy" placeholder="验证码" v-model="form.code"></el-input>
                                    </el-col>
                                    <el-col :span="10" style="height: 100%;">
                                        <img :src="vcUrl" @click="updateVerifyCode" class="code_img"/>
                                    </el-col>
                                </el-row>

                            </el-form-item>
                            <el-form-item class="btns">
                                <el-button type="primary" @click="submitLogin">登录</el-button>
                                <el-button type="info" @click="resetLoginForm">重置</el-button>
                            </el-form-item>
                        </el-form>
                    </div>
                </div>

            </el-col>
        </el-row>
    </div>

</template>

<script>
    export default {
        name: "login",
        data(){
            //验证码
            return{
                fits: ['fill', 'contain', 'cover', 'none', 'scale-down'],
                url: '../../assets/bj.jpg',
                verifyCode:"",
                vcUrl: 'http://localhost:9999/verifyCode?t='+Date.parse(new Date()),
                form:{
                    username:"",
                    password:"",
                    code:""
                },
                rules: {
                    username: [
                        {required: true, message: '请输入账号', trigger: 'blur'},
                        {min: 4, max: 12, message: '长度在 4 到 12 个字符', trigger: 'blur'}
                    ],
                    password: [
                        {required: true, message: '请输入密码', trigger: 'blur'},
                        {min: 3, max: 12,message: '长度在 3 到 12 个字符', trigger: 'blur'}
                    ],
                    code: [
                        // { required: true, trigger: 'blur', validator: validateVerifycode}
                        { required: true,message: '请输入验证码', trigger: 'blur'},
                        {min: 3, max: 6,message: '长度在 3 到 6 个字符', trigger: 'blur'}
                    ],
                }
            }
        },
        methods: {
            updateVerifyCode() {
                this.vcUrl = 'http://localhost:9999/verifyCode?t='+Date.parse(new Date());
            },
            // 点击登录按钮
            submitLogin () {
                this.$refs.loginFormRef.validate(valid => {
                    console.log(valid)
                    //登录
                    let data = {username:this.form.username,password:this.form.password,code:this.form.code};
                    this.$axios.post("/doLogin",data).then(res=>{
                        console.log(res)
                    }).catch(res=>{
                        console.log(res)
                    })
                })
            },
            // 点击重置按钮 重置表单
            resetLoginForm () {
                // console.log(this)
                this.$refs.loginFormRef.resetFields()
            },

            checkCode(){
                let url = "http://127.0.0.1:9999/checkCode/"+this.form.code;
                console.log(url)
                this.$axios.get(url).then(res=>{
                    console.log(res);
                    if(res.code==0){
                        console.log("ss")
                    }
                }).catch(res=>{
                    console.log(res)
                })
            }
        }
    }
</script>

<style scoped>
    .left_box{
        margin: 0px;
        padding: 0px;
        height: 100%;
        background: url('../../assets/bj.jpg') no-repeat;
        background-size: 100% 100%;
    }
    .login_container{
        height: 100%;
        width: 100%;
        display: flex;
        flex-direction: column;
        justify-content: center;
        align-items: center;
        background: #F2F6FC;
    }
    .login_box{
        width: 80%;
        height: 50%;
        padding-left: 10%;
        padding-right: 10%;
        background-color: #F2F6FC;
        border-radius: 5px;
        display: flex;
        flex-direction: column;
        align-items: center;
        /*justify-content: center;*/
    }
    .avatar_box {
        width: 100px;
        height: 100px;
        border: 1px solid #eee;
        border-radius: 50%;
        box-shadow: 0 0 10px #ddd;
        transform: translate(0px,-50px);
        background: #fff;
    }
    .avatar_box img {
        width: 100%;
        height: 100%;
        border-radius: 50%;
        background: #eee;
    }
    .btns{
        width: 100%;
        display: flex;
        flex-direction: column;
        align-items: center;
        justify-content: center;
    }
    .code_img{
        height: 38px;
        width: 100%;
    }
</style>
4.2 核心axios配置解决跨域问题
1.配置代理
在package.json同级目录下新建vue.config.js,内容如下
module.exports = {
    outputDir: 'dist',   //build输出目录
    assetsDir: 'assets', //静态资源目录(js, css, img)
    lintOnSave: false, //是否开启eslint
    devServer: {
        open: true, //是否自动弹出浏览器页面
        host: "localhost",
        port: '8080',
        proxy: {
            '/api': {
                target: 'http://127.0.0.1:9999', //API服务器的地址
                changeOrigin: true,
                ws: true,
                pathRewrite: {
                    '^/api': '/'
                }
            }
        },
    }
}
2.在main.js中配置axios
import axios from 'axios';

Vue.prototype.$axios = axios;
//允许携带cookie
axios.defaults.withCredentials = true;
axios.defaults.baseURL = "/api";
axios.defaults.headers.post["Content-Type"] = "application/json";
5.服务端解决跨域
1.编写一个拦截器
/**
 * 跨域拦截器
 */
@Component
public class FilterConfig implements HandlerInterceptor {

    public void afterCompletion(HttpServletRequest arg0, HttpServletResponse arg1, Object arg2, Exception arg3)
            throws Exception {
    }

    public void postHandle(HttpServletRequest arg0, HttpServletResponse arg1, Object arg2)
            throws Exception {
    }

    public boolean preHandle(HttpServletRequest request, HttpServletResponse response, Object arg2) throws Exception {
        response.setHeader("Access-Control-Allow-Origin",request.getHeader("Origin"));
        response.setHeader("Access-Control-Allow-Methods", "*");
        response.setHeader("Access-Control-Allow-Credentials", "true");
        response.setHeader("Access-Control-Allow-Headers", "Authorization,Origin, X-Requested-With, Content-Type, Accept,Access-Token");//Origin, X-Requested-With, Content-Type, Accept,Access-Token
        return true;
    }
}
2.在springmvc配置中加入拦截器
@Configuration
public class WebMvcConfig extends WebMvcConfigurerAdapter {

    @Autowired
    private FilterConfig filterConfig;

    public void addInterceptors(InterceptorRegistry registry){
        registry.addInterceptor(filterConfig).addPathPatterns("/**");
    }

    /**
     * 跨域支持
     *
     * @param registry
     */
    @Override
    public void addCorsMappings(CorsRegistry registry) {
        registry.addMapping("/**")
                .allowedOrigins("*")
                .allowCredentials(true)
                .allowedMethods("GET", "POST", "DELETE", "PUT", "PATCH", "OPTIONS", "HEAD")
                .maxAge(3600 * 24);
    }

}
总结:以上就是vue+spring security权限管理 还有后续很多功能还在开发中,目前只实现了授权登录。有问题的加我qq2372491762咨询。

基于 Vue 的企业级 UI 组件库和中后台系统解决方案,为数万开发者服务。
更多推荐
 11
11 0
0- 0


 已为社区贡献1条内容

所有评论(0)