
如何在 Ubuntu 20.04 上安装 Etherpad 协作 Web 编辑器
介绍
Etherpad 是一个 Web 应用程序,可在浏览器中实现实时协作文本编辑。它是用 Node.js 编写的,可以在各种平台和操作系统上自托管。
在本教程中,我们将在 Ubuntu 20.04 服务器上安装 Etherpad,使用 SQLite 数据库引擎来存储我们的数据。我们还将安装和配置 Nginx 以充当应用程序的反向代理,我们将从 Let's Encrypt 证书颁发机构获取并安装 SSL 证书,以启用与 Etherpad 实例的安全 HTTPS 连接。
**注意:**如果您希望使用我们的 App Platform 服务来自托管 Etherpad,请参阅我们的 [将 Etherpad 协作 Web 编辑器部署到 App 平台](https://docs.digitalocean.com/tutorials/ etherpad-app-platform/) 教程,我们在其中创建一个 App Platform 应用程序来运行 Etherpad Docker 容器,并将其连接到托管 PostgreSQL 数据库。
先决条件
在开始本教程之前,您将需要以下内容:
-
一个 Ubuntu 20.04 服务器,具有非 root、
sudo-enabled 用户,并启用了 UFW 防火墙。请阅读我们的 使用 Ubuntu 20.04 进行初始服务器设置 以了解有关设置这些要求的更多信息。 -
已安装 Node.js,版本 14 或更高版本。请参阅 [如何在 Ubuntu 20.04 上安装 Node.js 的选项 2](https://www.digitalocean.com/community/tutorials/how-to-install-node-js-on-ubuntu-20-04#option- 2-%E2%80%94-installing-node-js-with-apt-using-a-nodesource-ppa) 了解如何使用 NodeSource 包安装最新版本的 Node.js。
-
指向您服务器的公共 IP 地址的域名。例如,这应该类似于
example.com或etherpad.example.com。
注意: 如果您使用的是 DigitalOcean,我们的 DNS 文档 可以帮助您设置域名控制面板。
满足先决条件后,继续执行步骤 1,我们将在其中下载和配置 Etherpad 应用程序。
步骤 1 — 下载和配置 Etherpad
要安装 Etherpad,您需要下载源代码、安装依赖项并配置 systemd 以运行服务器。
Etherpad 维护人员建议以自己的用户身份运行该软件,因此您的第一步是使用 adduser 命令创建一个新的 etherpad 用户:
sudo adduser --system --group --home /opt/etherpad etherpad
这会创建一个 --system 用户,这意味着它不能直接登录并且没有分配密码或 shell。我们给它一个“/opt/etherpad”的主目录,我们将在这里下载和配置 Etherpad 软件。我们还使用 --group 标志创建了一个 etherpad 组。
您现在需要以 etherpad 用户身份运行一些命令。为此,您将使用 sudo 命令打开一个 bash shell 作为 etherpad 用户。然后将目录(cd)更改为/opt/etherpad:
sudo -u etherpad bash
cd /opt/etherpad
您的 shell 提示符将更新以显示您是 etherpad 用户。它应该类似于 etherpad@host:~$。
现在使用 Git 将 Etherpad 存储库克隆到 /opt/etherpad 中:
git clone --branch master https://github.com/ether/etherpad-lite.git 。
这会将 Etherpad 源代码的 master 分支拉入当前目录 (.)。完成后,运行 Etherpad 的 installDeps.sh 脚本来安装依赖项:
./bin/installDeps.sh
这可能需要一分钟。完成后,您需要手动安装最后一个依赖项。我们需要 cd 进入 Etherpad src 文件夹并安装 sqlite3 包,以便使用 SQLite 作为我们的数据库。
首先,进入src目录:
光盘源
然后使用 npm 安装 sqlite3 包:
npm 安装 sqlite3
作为 etherpad 用户,您的最后一项任务是更新 Etherpad settings.json 文件以将 SQLite 用于其数据库,并与 Nginx 良好配合。回到 /opt/etherpad 目录:
cd /opt/etherpad
然后使用您喜欢的文本编辑器打开设置文件:
纳米设置.json
该文件被格式化为 JSON,但在解释每个设置的过程中都有大量注释。您可以配置很多,但现在我们对更新数据库配置的两个值感兴趣:
设置.json
“dbType”:“脏”,
“数据库设置”:{
“文件名”:“var/dirty.db”
},
向下滚动并查找 dbType 和 dbSettings 部分,如图所示。将设置更新为 sqlite 和您选择的文件名,如下所示:
设置.json
"dbType": "sqlite",
“数据库设置”:{
“文件名”:“var/sqlite.db”
},
最后,向下滚动一些,找到 trustProxy 设置,并将其更新为 true:
设置.json
“信任代理”:是的,
保存并关闭设置文件。在 nano 中,您可以通过输入 CTRL+O 然后 ENTER 保存并关闭,然后输入 CTRL+X 退出来保存和关闭。
完成后,一定要退出 etherpad 用户的 shell:
出口
您将返回到普通用户的 shell。
Etherpad 已安装和配置。接下来我们将创建一个 systemd 服务来启动和管理 Etherpad 进程。
第 2 步 — 为 Etherpad 创建 Systemd 服务
为了在启动时启动 Etherpad 并使用 systemctl 管理进程,我们需要创建一个 systemd 服务文件。在您喜欢的文本编辑器中打开新文件:
Sudonano / et c / sys te md / sys te m / e e r pad。服务
我们将根据 Etherpad 文档 wiki 中的信息创建服务定义。 如何将 Etherpad Lite 部署为服务 页面提供了一个示例配置,只需进行一些更改即可使其对我们有用。
将以下内容添加到文本编辑器中,然后保存并关闭文件:
/etc/systemd/system/etherpad.service
[单元]
Descriptionu003dEtherpad,一个协作的网络编辑器。
Afteru003dsyslog.target network.target

[服务]
类型u003d简单
用户u003detherpad
组u003detherpad
工作目录u003d/opt/etherpad
环境u003dNODE_ENVu003d生产
ExecStartu003d/usr/bin/node --experimental-worker /opt/etherpad/node_modules/ep_etherpad-lite/node/server.js
重启u003d总是

[安装]
WantedByu003d多用户.target
该文件为 systemd 提供了运行 Etherpad 所需的信息,包括运行它的用户和组,以及用于启动进程的命令(ExecStartu003d...)。
关闭文件后,重新加载 systemd 守护进程以引入新配置:
sudo systemctl daemon-reload
接下来,启用“etherpad”服务。这意味着服务将在您的服务器重新启动时启动:
sudo systemctl 启用 etherpad
最后,我们可以启动服务:
sudo systemctl 启动 etherpad
使用 systemctl status 检查服务是否正常启动:
sudo systemctl status etherpad
输出● etherpad.service - Etherpad,一个协作的网络编辑器。
已加载:已加载(/etc/systemd/system/etherpad.service;已启用;供应商预设:已启用)
活跃:自 2021-09-09 14:12:43 UTC 以来活跃(运行); 18 分钟前
主PID:698(节点)
任务:13(限制:1136)
内存:152.0M
CGroup:/system.slice/etherpad.service
└─698 /usr/bin/node --experimental-worker /opt/etherpad/node_modules/ep_etherpad-lite/node/server.js
输出应表明该服务是“活动的(正在运行)”。
Etherpad 现在正在运行,但它对公众不可用,因为端口 9001 被防火墙阻止了。在下一步中,我们将通过在 Etherpad 进程之前将 Nginx 设置为反向代理来公开 Etherpad。
步骤 3 — 安装和配置 Nginx
将 Nginx 等 Web 服务器放在 Node.js 服务器前面可以通过将缓存、压缩和静态文件服务卸载到更高效的进程来提高性能。我们将安装 Nginx 并将其配置为 proxy 对 Etherpad 的请求,这意味着它将负责将用户的请求传递给 Etherpad 并再次返回。
首先,刷新你的包列表,然后使用 apt 安装 Nginx:
sudo apt 更新
sudo apt install nginx
使用“Nginx Full”UFW 应用程序配置文件允许到端口“80”和“443”(HTTP 和 HTTPS)的流量:
sudo ufw 允许“Nginx 已满”
添加了输出规则
添加了规则 (v6)
接下来,在 /etc/nginx/sites-available 目录中打开一个新的 Nginx 配置文件。我们将调用我们的“etherpad.conf”,但您可以使用不同的名称:
Sudonano / Etc / Ngin x / Shite s - Ah I bee / Eer pad。 conf
将以下内容粘贴到新的配置文件中,确保将 your_domain_here 替换为指向您的 Etherpad 服务器的域。例如,这将类似于 etherpad.example.com。
/etc/nginx/sites-available/etherpad.conf
服务器 {
听 80;
听 [::]:80;
server_name your_domain_here;

access_log /var/log/nginx/etherpad.access.log;
错误日志/var/log/nginx/etherpad.error.log;

地点 / {
proxy_pass http://127.0.0.1:9001;
proxy_buffering 关闭;
proxy_set_header 主机 $host;
proxy_pass_header 服务器;

# 代理头
proxy_set_header X-Real-IP $remote_addr;
proxy_set_header X-Forwarded-For $remote_addr;
proxy_set_header X-Forwarded-Proto $scheme;
proxy_http_version 1.1;

# websocket 代理
proxy_set_header 升级 $http_upgrade;
proxy_set_header 连接“升级”;
}
}
此配置大致基于 [Etherpad wiki 上提供的配置](https://github.com/ether/etherpad-lite/wiki/How-to-put-Etherpad-Lite-behind-a-reverse-Proxy#仅限 https)。目前它仅支持 HTTP,因为我们将让 Certbot 在下一步中负责配置 SSL。配置的其余部分设置日志记录位置,然后将所有流量传递到“http://127.0.0.1:9001”,即我们在上一步中启动的 Etherpad 实例。我们还设置了行为良好的代理和 websockets(启用实时双向通信的持久 HTTP 连接)通过代理工作所需的各种标头。
保存并关闭文件,然后通过将其链接到 /etc/nginx/sites-enabled/ 来启用配置:
sudo ln -s /etc/nginx/sites-available/etherpad.conf /etc/nginx/sites-enabled/
使用 nginx -t 验证配置文件语法是否正确:
须藤 nginx -t
[secondary_lable 输出]
nginx:配置文件/etc/nginx/nginx.conf 语法没问题
nginx:配置文件/etc/nginx/nginx.conf 测试成功
最后,重新加载 nginx 服务以获取新配置:
sudo systemctl 重新加载 nginx
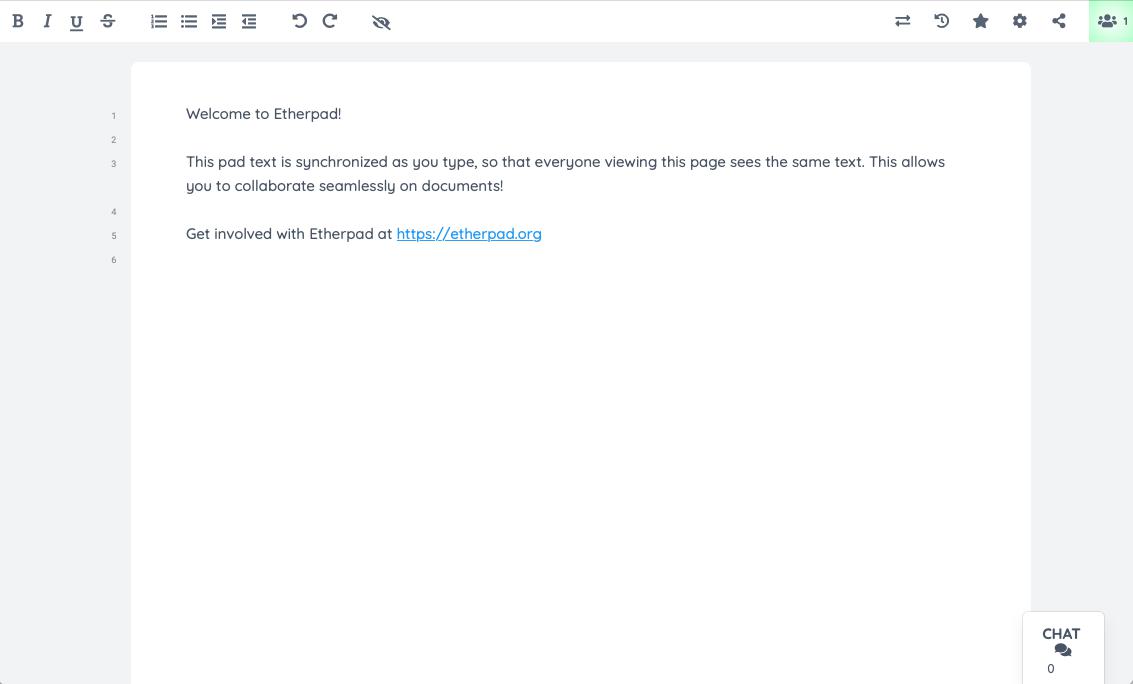
您的 Etherpad 站点现在应该可以在纯 HTTP 上使用,它看起来像这样:

现在我们的站点已经通过 HTTP 启动并运行,是时候保护与 Certbot 和 Let's Encrypt 证书的连接了。
第 4 步 — 安装 Certbot 并设置 SSL 证书
感谢 Certbot 和 Let's Encrypt 免费证书颁发机构,将 SSL 加密添加到我们的 Etherpad 应用程序只需要两个命令。
首先,安装 Certbot 及其 Nginx 插件:
sudo apt install certbot python3-certbot-nginx
接下来,在 --nginx 模式下运行 certbot,并指定您在 Nginx server_name 配置中使用的相同域:
sudo certbot --nginx -d your_domain_here
系统将提示您同意 Let's Encrypt 服务条款,并输入电子邮件地址。
之后,系统会询问您是否要将所有 HTTP 流量重定向到 HTTPS。这取决于您,但通常建议这样做并且安全。
之后,Let's Encrypt 将确认您的请求,Certbot 将下载您的证书:
输出恭喜!您已成功启用 https://etherpad.example.com

您应该在以下位置测试您的配置:
https://translate.google.com/translate?hl=en&sl=auto&tl=zh&u=https://www.ssllabs.com/ssltest/analyze.html?d=etherpad.example.com
- - - - - - - - - - - - - - - - - - - - - - - - - - - - - - - - - - - - - -

重要笔记:
- 恭喜!您的证书和链已保存在:
/etc/letsencrypt/live/etherpad.example.com/fullchain.pem
您的密钥文件已保存在:
/etc/letsencrypt/live/etherpad.example.com/privkey.pem
您的证书将于 2021-12-06 到期。获得新的或经过调整的
此证书的版本,只需再次运行 certbot
使用“certonly”选项。以非交互方式更新 *all* of
你的证书,运行“certbot renew”
- 您的帐户凭据已保存在您的 Certbot 中
/etc/letsencrypt 的配置目录。你应该做一个
立即安全备份此文件夹。这个配置目录将
还包含 Certbot 获得的证书和私钥,所以
定期备份此文件夹是理想的。
- 如果您喜欢 Certbot,请考虑通过以下方式支持我们的工作:

捐赠给 ISRG / Let's Encrypt:https://letsencrypt.org/donate
捐赠给 EFF:https://eff.org/donate-le
Certbot 将自动重新加载 Nginx 以获取新的配置和证书。重新加载您的网站,如果您选择重定向选项,它应该会自动将您切换到 HTTPS。
你完成了!试用您的新 Etherpad 编辑器并邀请一些合作者。
结论
在本教程中,我们使用 Nginx 和 Let's Encrypt SSL 证书设置 Etherpad。您的 Etherpad 现在可以使用了,但您可能还需要进行更多配置,包括添加经过身份验证的用户、添加插件以及通过 skins 自定义用户界面。
您的 SQLite 支持的 Etherpad 实例将能够处理中等数量的活动用户,但如果您预计流量非常高,您可能需要考虑配置 MySQL 或 PostgreSQL 数据库。
所有这些配置选项都记录在 The Official Etherpad Wiki 上。
更多推荐


 0
0 0
0- 0


 已为社区贡献12493条内容

所有评论(0)