
使用 NestJS + Vue3 集成 TikTok OAuth 登录(含本地 HTTPS 与跳转处理)
本文介绍如何使用 NestJS 后端 + Vue3 前端 + ngrok 本地 HTTPS 集成 TikTok 登录,流程如下:
- 准备工作
- 在 TikTok 开发者后台创建应用,获取 Client Key 和 Client Secret。
- 配置 Redirect URI(必须 HTTPS,且与后端回调路由一致)。
- 注意选择
Sandbox或Production环境。
- NestJS 后端
- 提供两个路由:
/auth/tiktok/login→ 重定向到 TikTok 授权页面。/auth/tiktok/callback→ 接收授权码code,用CLIENT_KEY + CLIENT_SECRET请求access_token,然后重定向前端页面并携带 token。
- 关键安全点:
CLIENT_SECRET必须保存在后端,不可暴露给前端。
- 提供两个路由:
- ngrok 本地 HTTPS
- TikTok 只允许 HTTPS Redirect URI,本地开发需使用 ngrok 暴露本地端口。
- 地址每次启动可能变化,需更新到 TikTok 后台配置。
- 前端
- 前端可直接调用后端
/login接口跳转 TikTok 授权。 - 回调重定向到前端页面后,通过 URL query 获取 token 和 open_id。
- 前端可直接调用后端
- 注意事项
- Redirect URI 必须完全一致,不能带 query 参数或全角符号。
- access_token 建议用后端生成的 JWT 返回前端,保证安全。
- ngrok 免费地址不固定,生产环境应使用固定域名。
1、准备工作
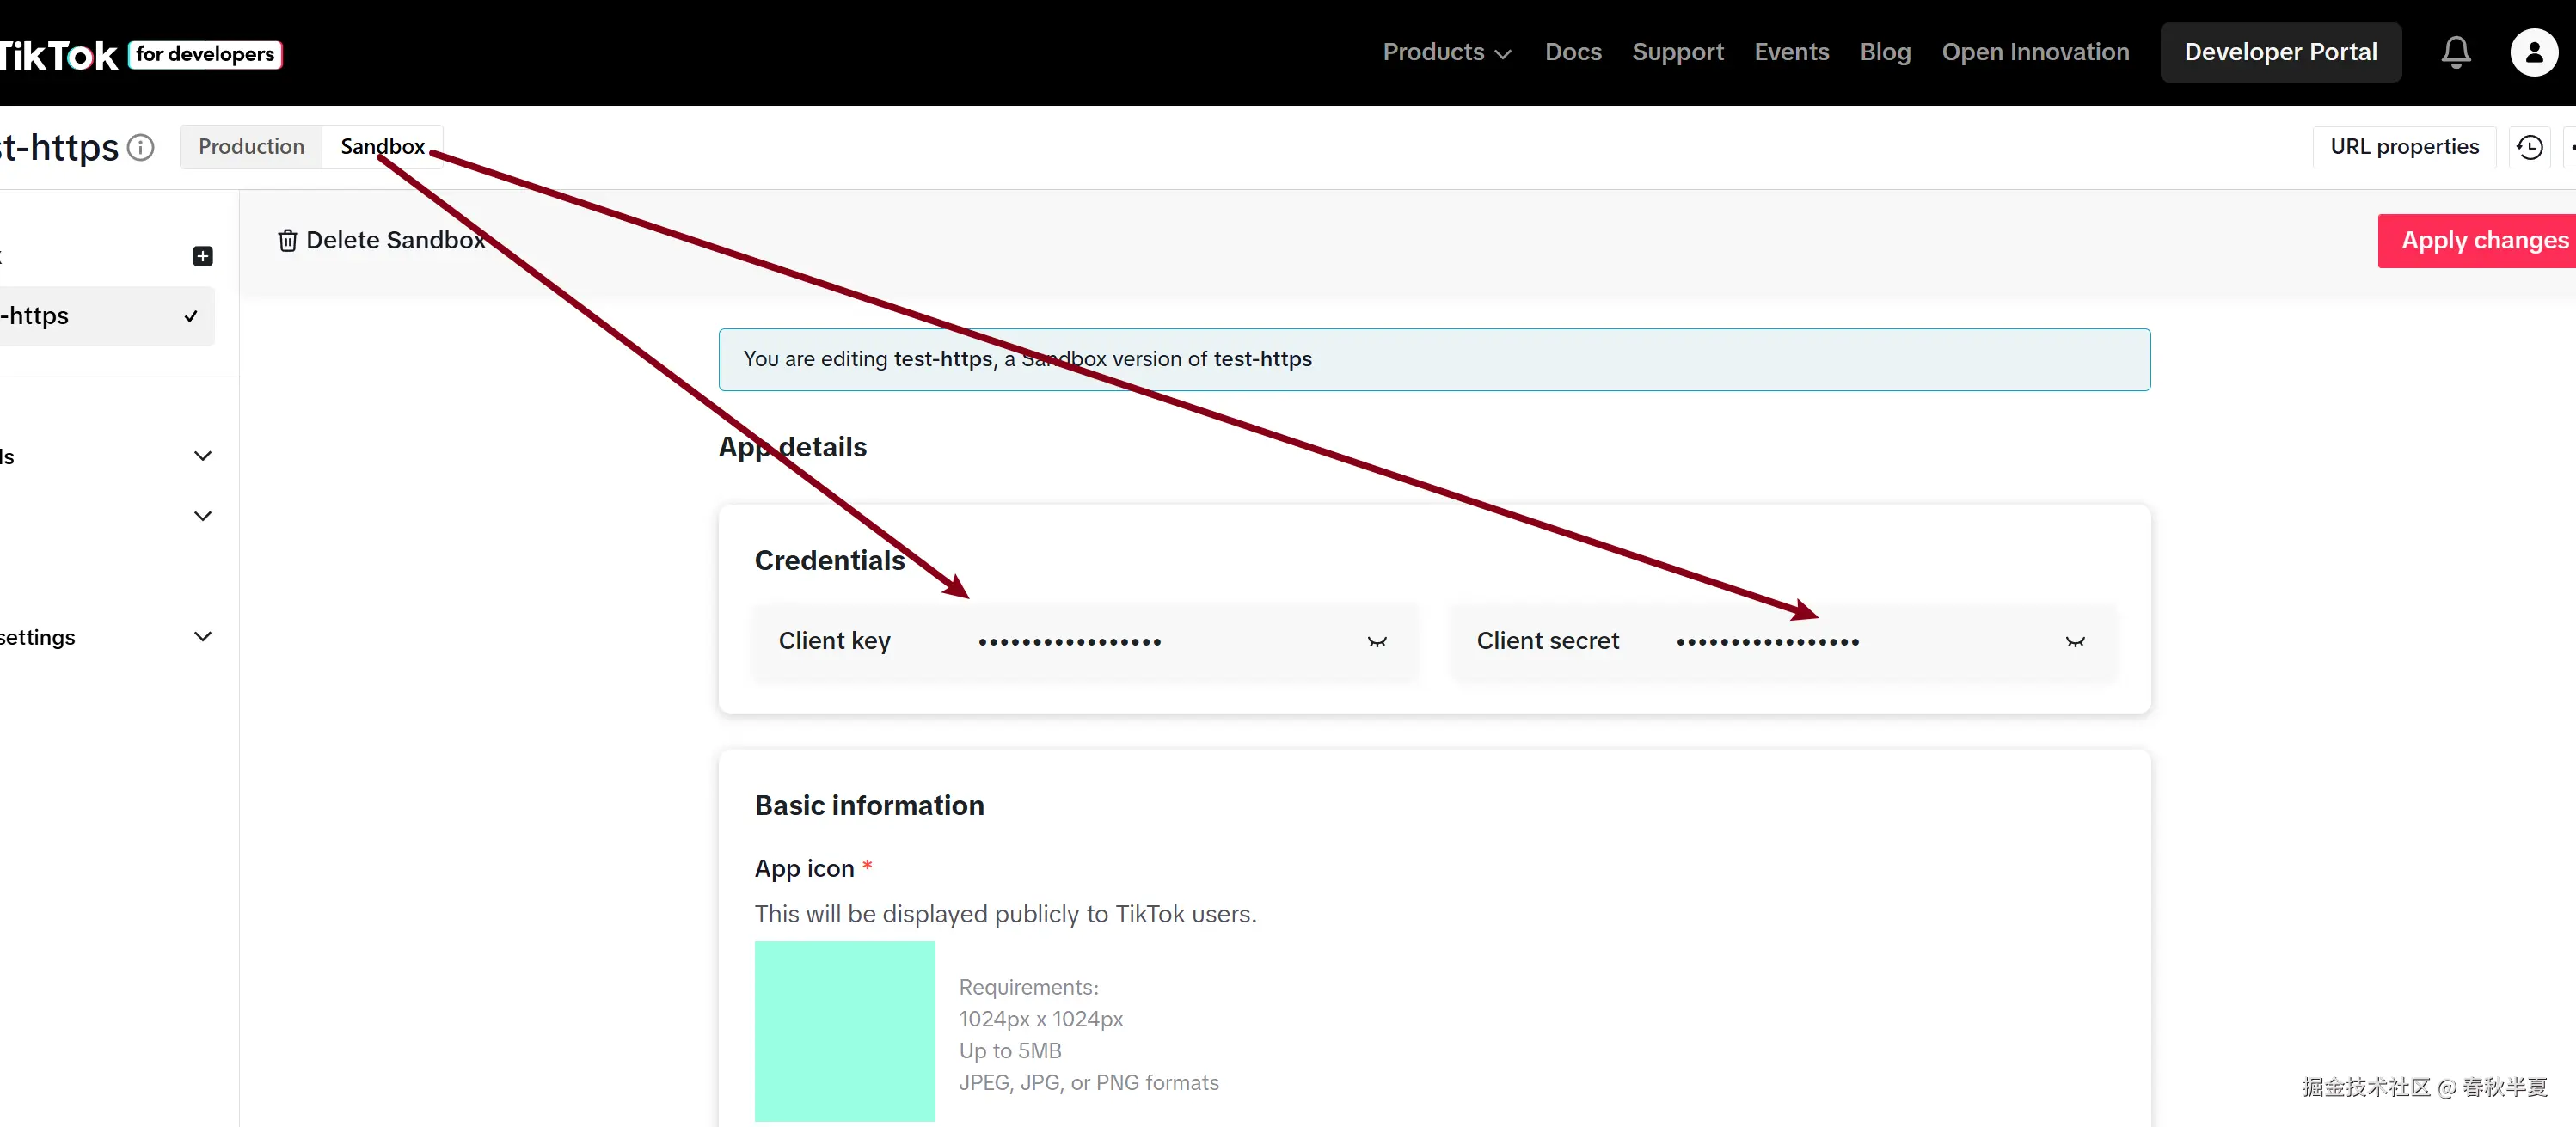
TikTok 开发者后台配置
注册并创建应用,获取:
- Client Key
- Client Secret
注意选项卡
ProductionSandbox此文章都是在Sandbox下
配置 Redirect URI:
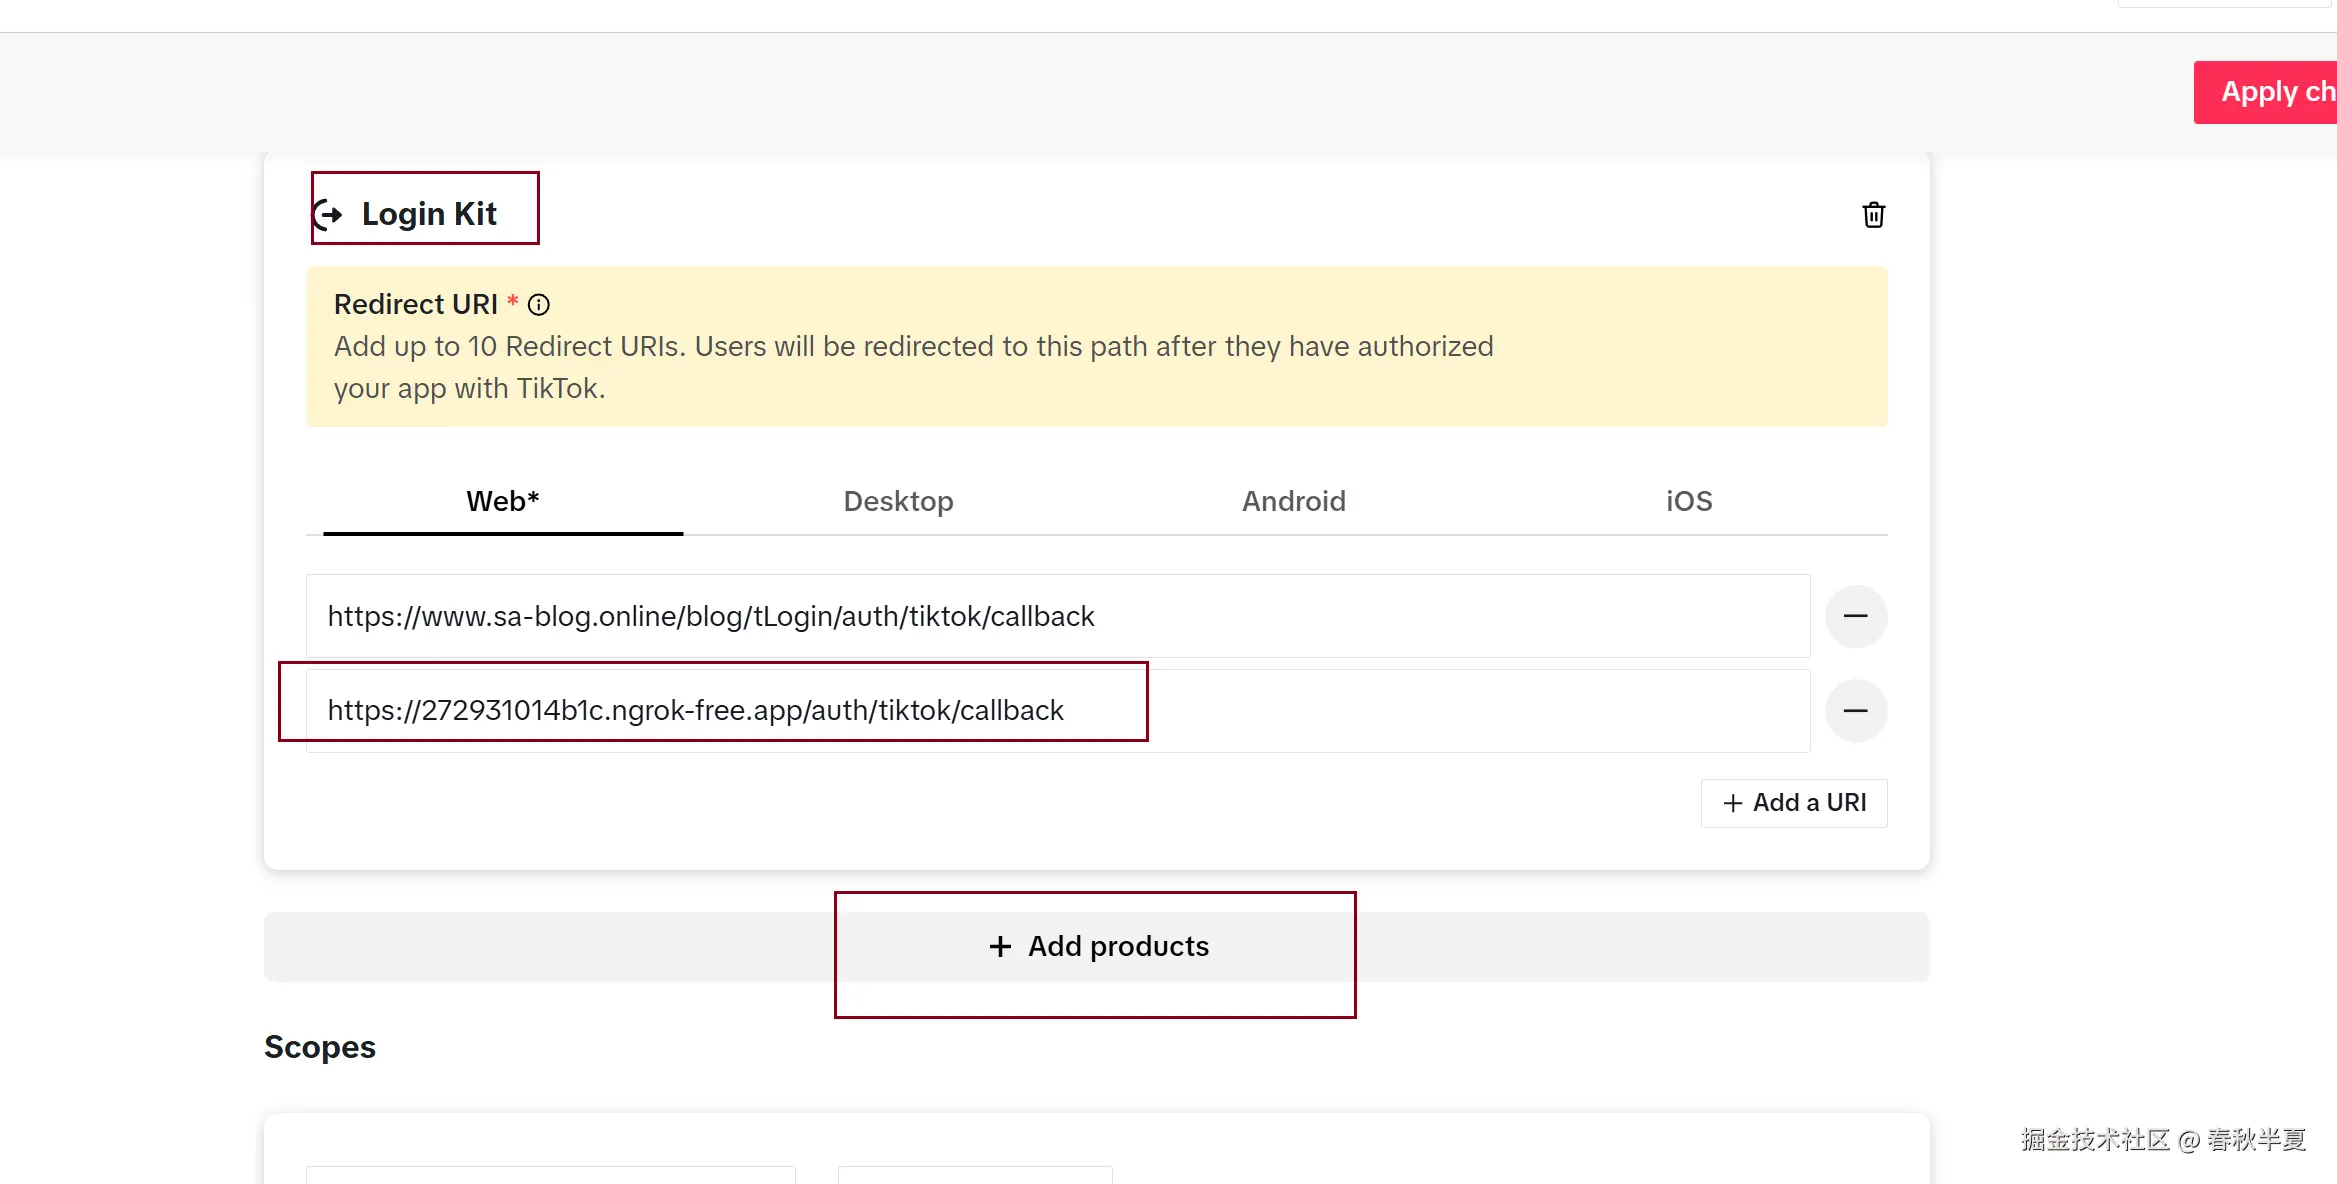
- 第一次如果不存在
Login Kit点击Add products添加即可 - 配置的地址为后端服务地址,本地开发穿透https后面会介绍
2、NestJS 后端实现
我使用的是nestjs,使用express、koa等等都可以,实现login\callback路由即可
import { Controller, Get, Query, Res } from '@nestjs/common'; import express from 'express'; import fetch from 'node-fetch'; const CLIENT_KEY = 'sbawczl4qpz9j8q1u0'; const CLIENT_SECRET = 'vIl5HCzGzcTMPV8yvywMdnJHE8Gl9e0V'; const REDIRECT_URI = 'https://272931014b1c.ngrok-free.app/auth/tiktok/callback'; interface TikTokTokenResponse { access_token: string; expires_in: number; refresh_token: string; refresh_expires_in: number; open_id: string; scope: string; token_type: string; } @Controller('auth/tiktok') export class AuthController { @Get('login') login(@Res() res: express.Response) { } @Get('callback') async callback(@Query('code') code: string, @Res() res: express.Response) { } }
login
此步骤主要用来跳转tiktok登录授权页面,这个可以放在前端,注意query参数的redirect_uri需要和tiktok配置一致
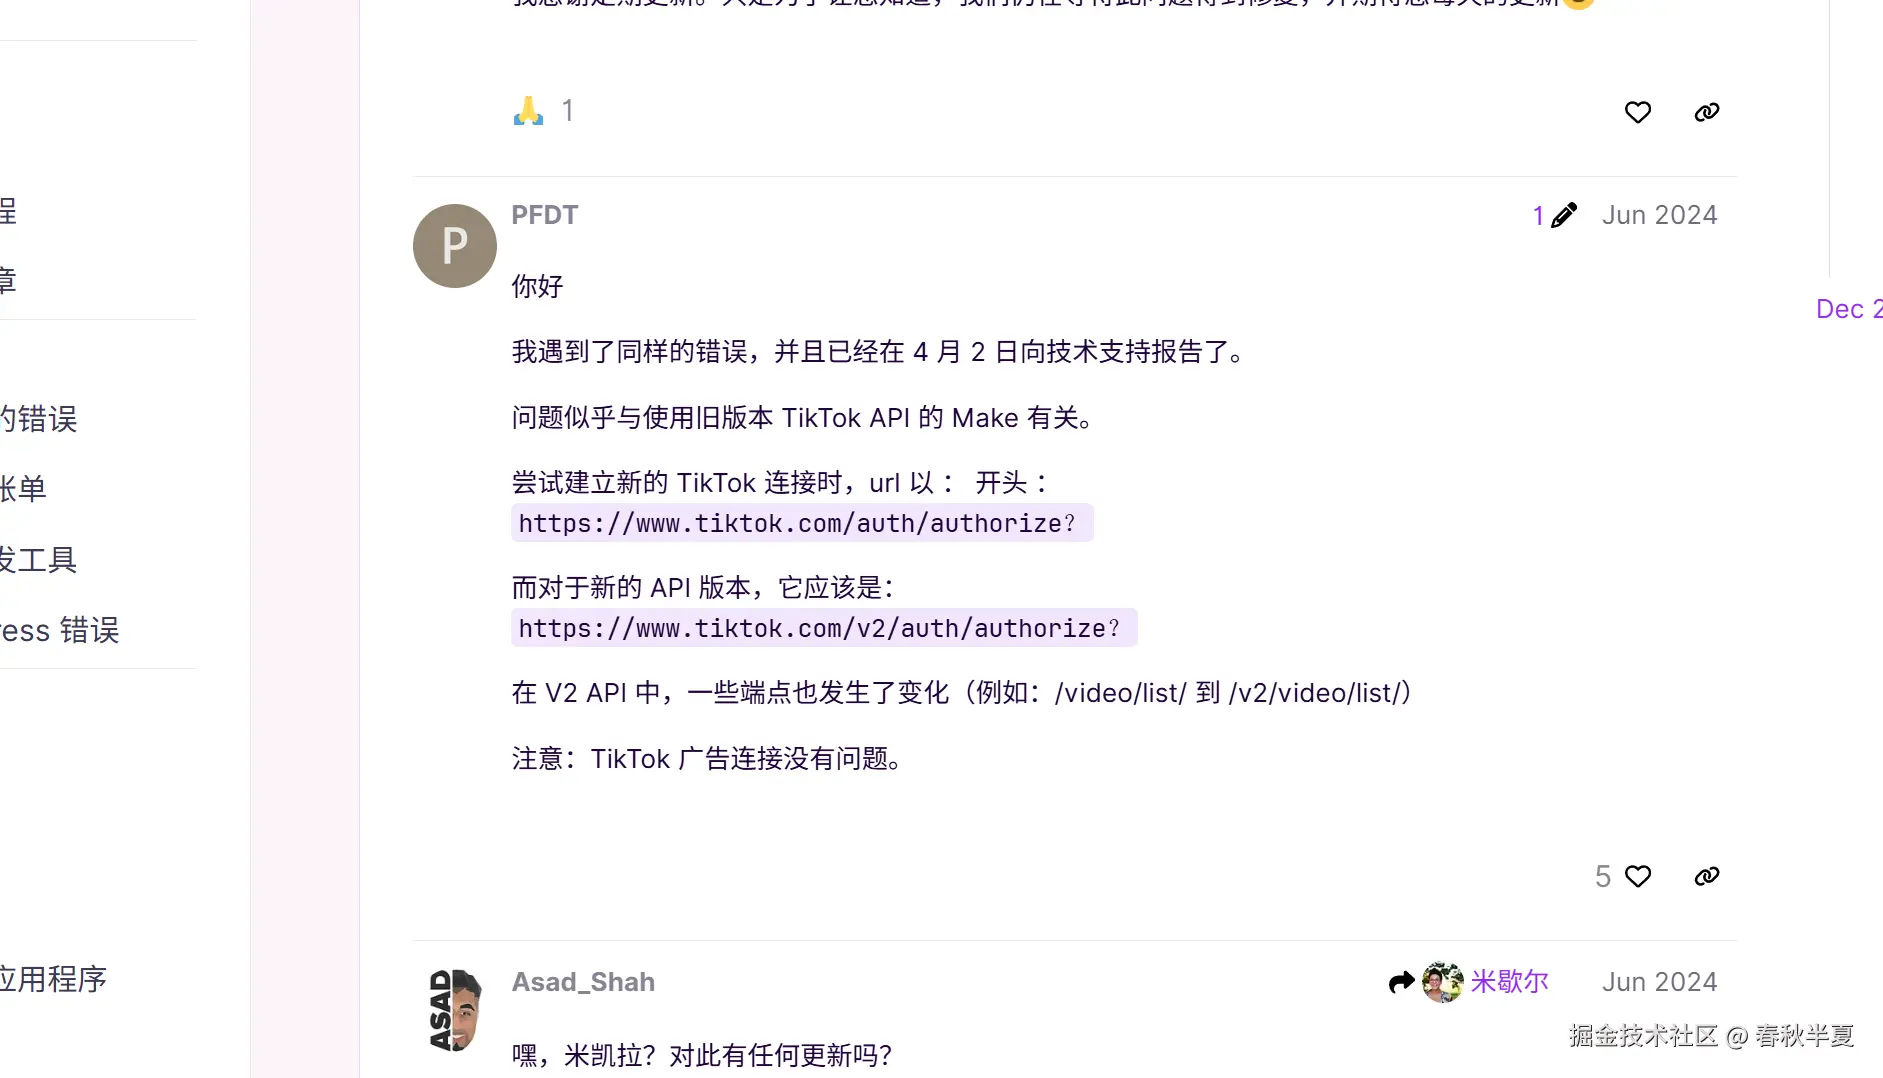
https://www.tiktok.com/v2/auth/authorize之前一直卡在这里,地址加了个v2标注一下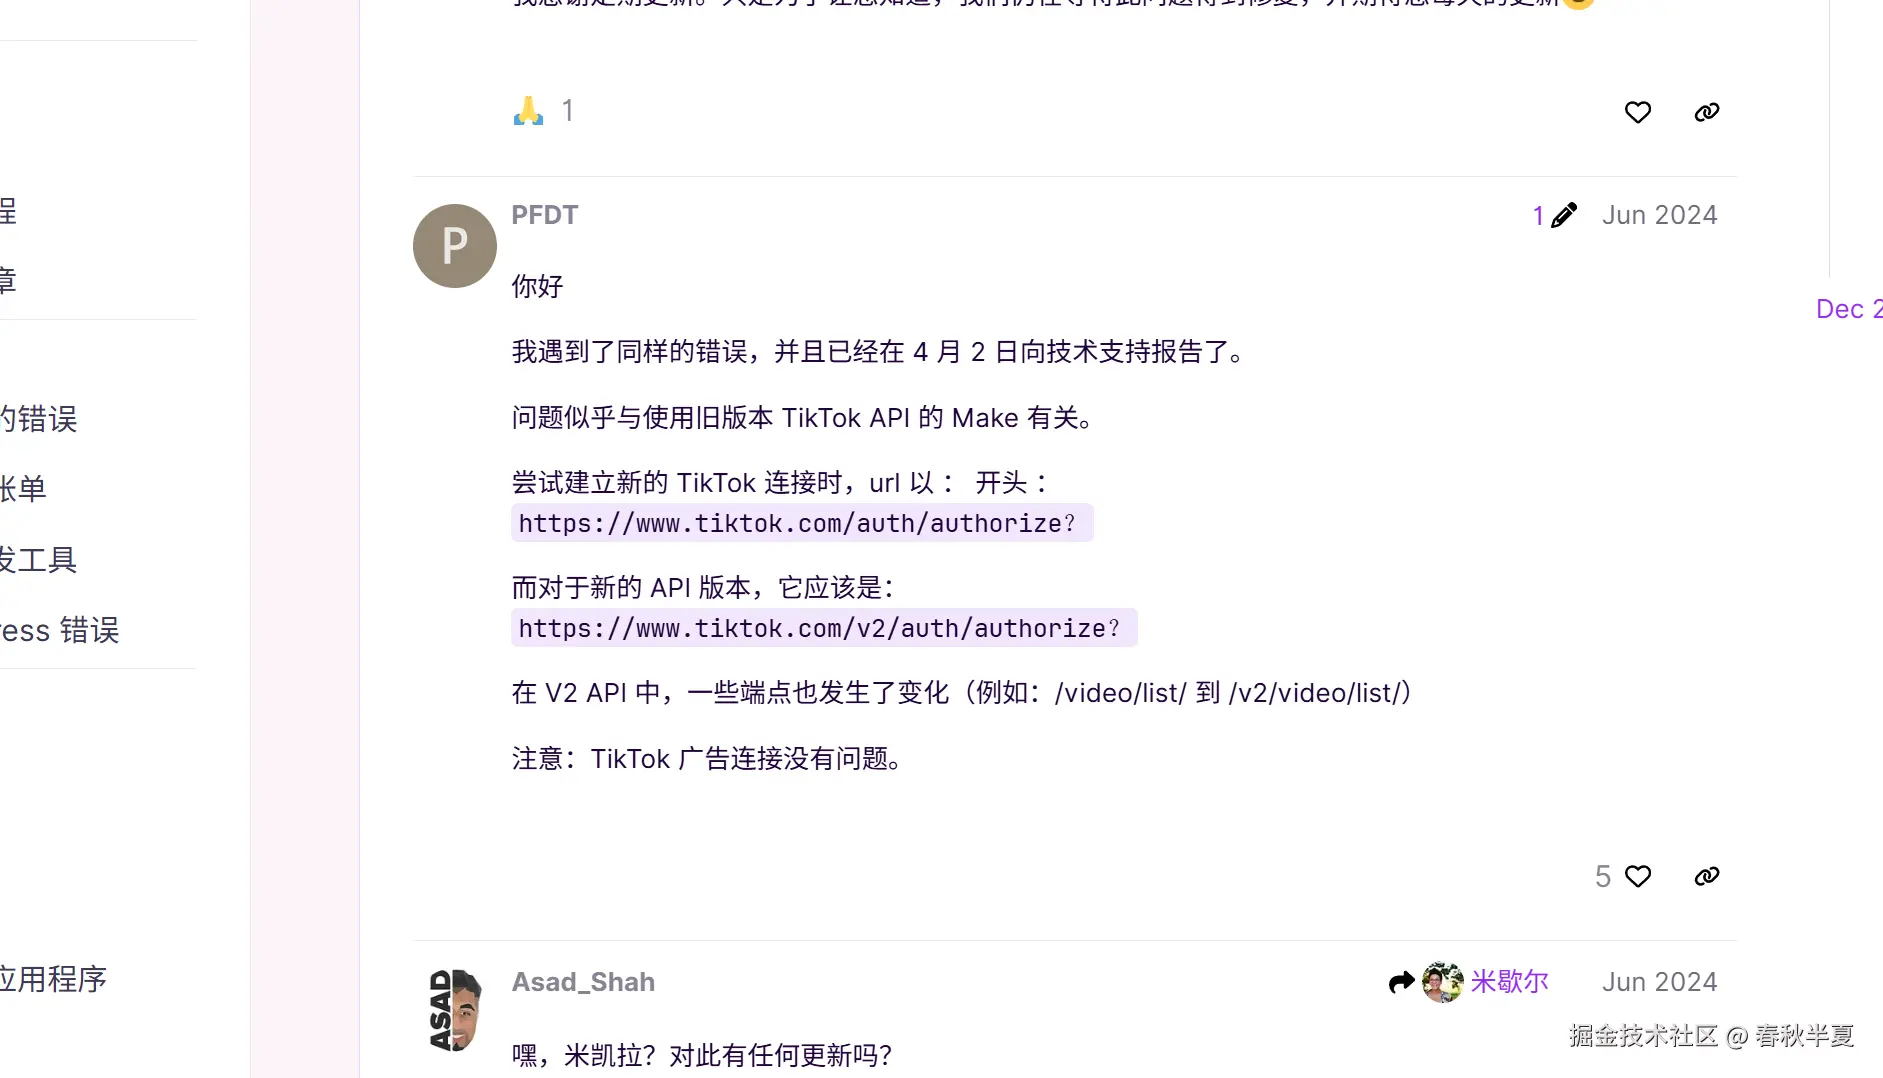
@Get('login') login(@Res() res: express.Response) { const url = `https://www.tiktok.com/v2/auth/authorize` + `?client_key=${CLIENT_KEY}` + `&scope=user.info.basic` + `&response_type=code` + `&redirect_uri=${encodeURIComponent(REDIRECT_URI)}`; res.redirect(url); }
callback
该路由就是tiktok配置一致所需的
tokenData就是获取到的信息,在这里可以存储信息、重定向前端页面...
@Get('callback') async callback(@Query('code') code: string, @Res() res: express.Response) { try { const tokenRes = await fetch( 'https://open.tiktokapis.com/v2/oauth/token/', { method: 'POST', headers: { 'Content-Type': 'application/x-www-form-urlencoded' }, body: new URLSearchParams({ client_key: CLIENT_KEY, client_secret: CLIENT_SECRET, code, grant_type: 'authorization_code', redirect_uri: REDIRECT_URI, }), }, ); const tokenData = (await tokenRes.json()) as TikTokTokenResponse; // 拿到后可以重定向前端页面,tokenData就是登陆后的信息了 res.redirect( `http://localhost:5173?access_token=${tokenData.access_token}`, ); } catch (err: unknown) { if (err instanceof Error) { res.status(500).json({ error: err.message }); } else { res.status(500).json({ error: String(err) }); } } }
3、ngrok本地穿透https&域名
TikTok 要求 Redirect URI 必须是 HTTPS。本地开发时可以用 ngrok 暴露本地端口: 选择你系统版本安装即可
nestjs默认端口3000,以下命令将该端口暴露:
ngrok http 3000
https://272931014b1c.ngrok-free.app地址就可以用来配置tiktok redirect
每次运行地址都会变化,随机的需要更新tiktok redirect

更新配置

4、前端
window.location.href = servicePath + "/auth/tiktok/login";跳转到服务端login接口,使用它的跳转,当然前端可以做这一步,不需要后端ip直接跳转tiktok提供的地址即可,只需要注意query参数的redirect_uri需要和tiktok配置一致
<script setup lang="ts"> const onLogin = () => { const servicePath = `http://192.168.1.73:3000` window.location.href = servicePath + "/auth/tiktok/login"; } const search = () =>{ return window.location.search } </script> <template> <div> {{search()}} </div> <button @click="onLogin">tiktok login</button> </template> <style scoped> .logo { height: 6em; padding: 1.5em; will-change: filter; transition: filter 300ms; } .logo:hover { filter: drop-shadow(0 0 2em #646cffaa); } .logo.vue:hover { filter: drop-shadow(0 0 2em #42b883aa); } </style>
更多推荐



 7
7 0
0- 0


 已为社区贡献4条内容

所有评论(0)