
Windows、Kylin server环境离线部署Zabbix5.0、6.0、7.0 Agent端、
本文介绍了Zabbix Agent2在Windows和Linux环境下的安装部署方法。Windows系统需下载对应版本的安装包(5.0.42/6.0.32/7.0.2)并执行安装,通过检查10050端口确认服务是否启动。Linux环境(CentOS/Kylin)提供在线和离线两种安装方式,包括加载软件库、安装agent2、修改主机名和配置文件等步骤,安装完成后需启动服务并通过zabbix_get命
1、下载agent2安装包agent端
下载agent2-6.0.32
https://cdn.zabbix.com/zabbix/binaries/stable/6.0/6.0.32/zabbix_agent2-6.0.32-windows-amd64-openssl.msi
下载agent2-7.0.2
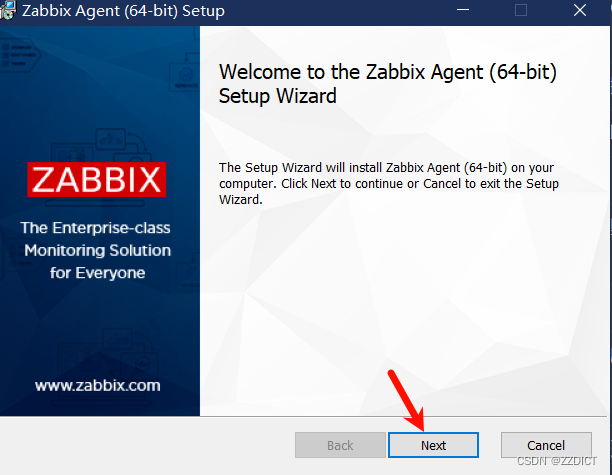
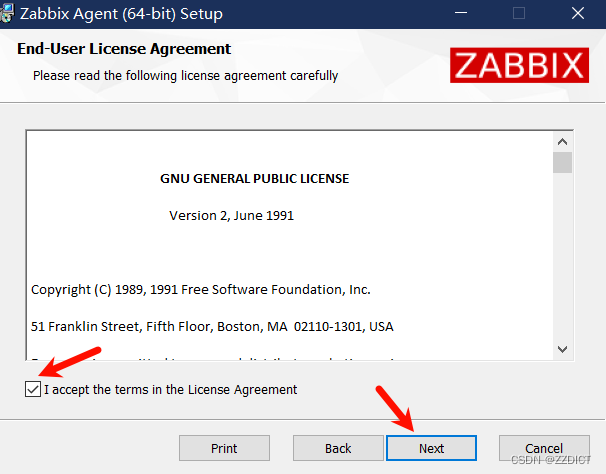
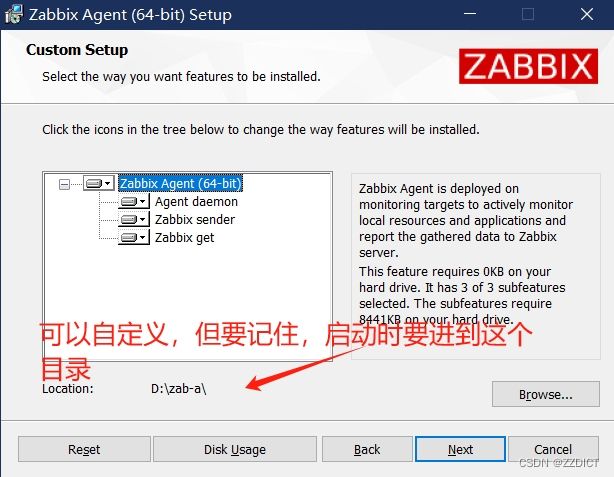
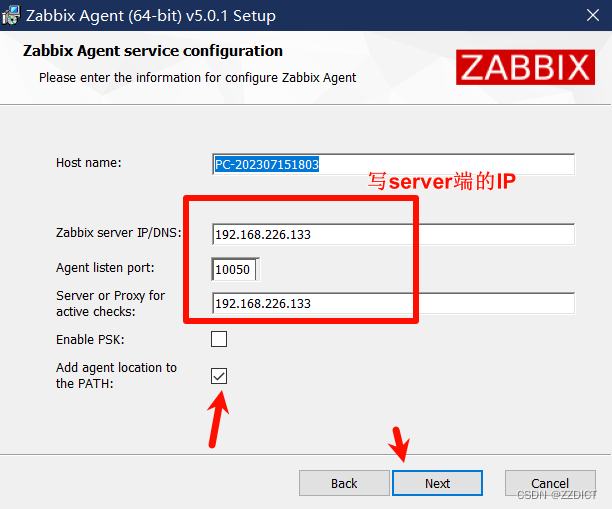
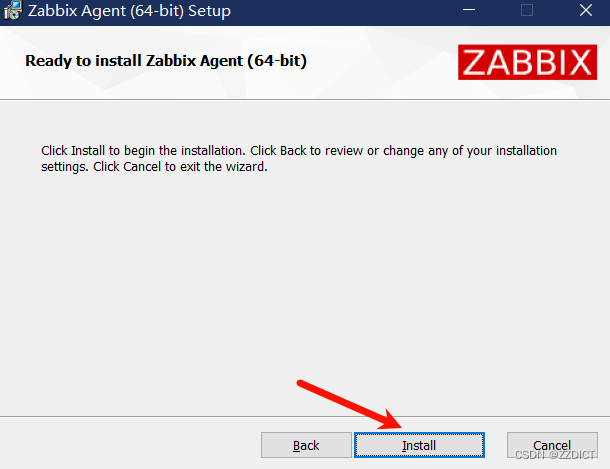
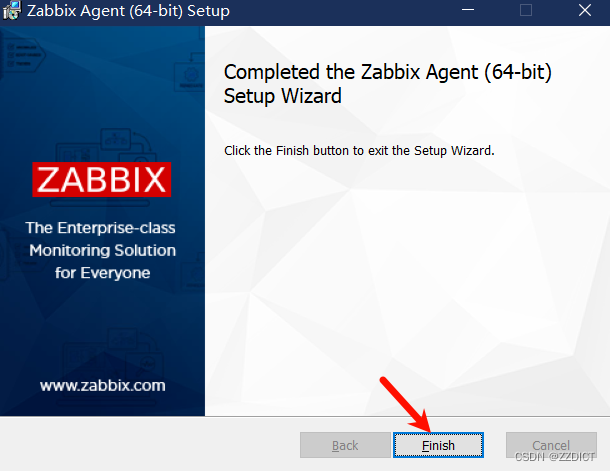
2、安装zabbix_agent2
双击安装包
3、检查是否启动
3.1、(windows环境)Agent端验证
PS C:\Users\Administrator> netstat -an
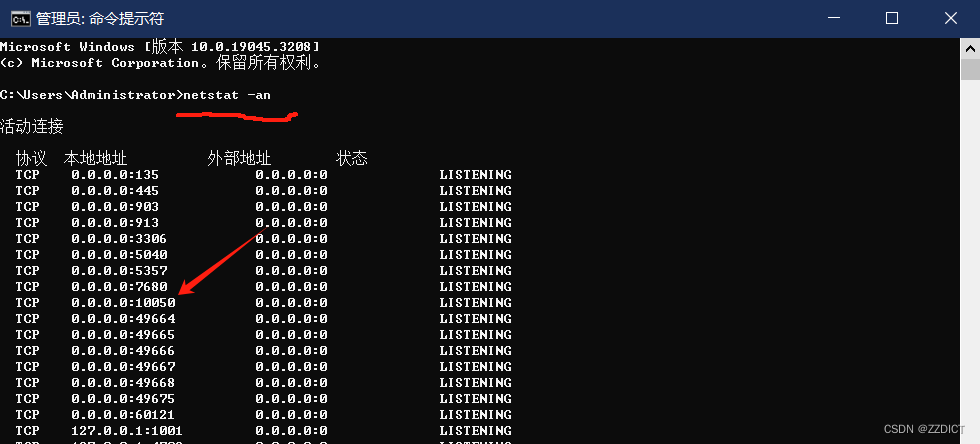
看到在监听10050端口就是正常启动啦
3.2、(CentOS环境)服务端验证Agent是否安装成功
[root@localhost /]# zabbix_get -s '192.168.216.132' -p 10050 -k 'agent.ping' #IP为客户端IP
1
[root@localhost /]# zabbix_get -s '192.168.216.132' -p 10050 -k 'agent.hostname' #IP为客户端IP
name-1
4、Kylin server环境离线部署Zabbix5.0、6.0 Agent端
4.1、安装zabbix
4.1.1、加载zabbix的软件库
在线安装zabbix的软件库
[root@localhost ~]# rpm -Uvh https://repo.zabbix.com/zabbix/7.0/alma/9/x86_64/zabbix-release-6.0-2.el9.noarch.rpm
4.1.2、离线安装zabbix的软件库
[root@NAME-3 ~]# rpm -ivh /home/zabbix-release-6.0-5.el8.noarch.rpm
4.1.3、安装zabbix-agent2
在线安装zabbix-agent2
[root@localhost ~]# yum install -y zabbix-agent2
4.1.4、离线安装zabbix-agent2
[root@NAME-3 ~]# rpm -ivh /home/zabbix-agent2/*.rpm
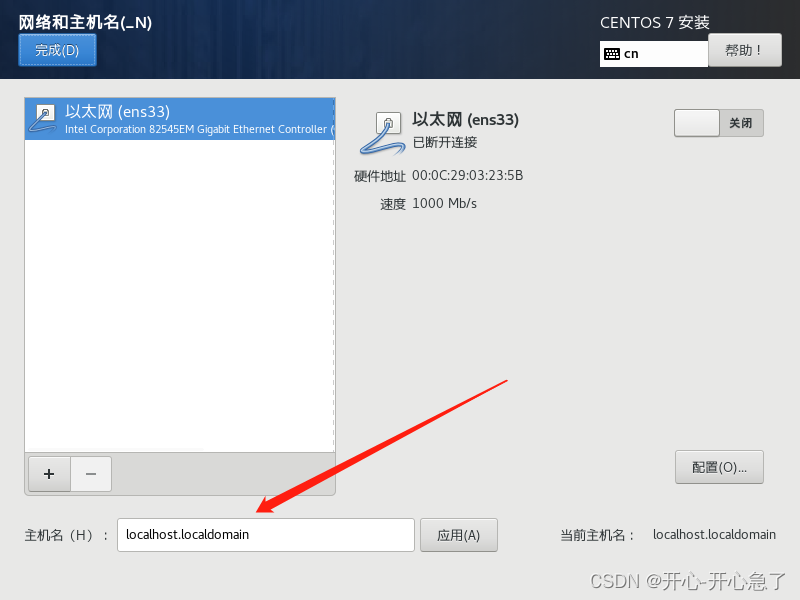
4.1.5、更换主机名
[root@bogon ~]# hostnamectl set-hostname NAME-1 更改的主机名,重启系统后生效
建议在安装系统时修改
4.1.6、查看主机名
[root@name-1 ~]# hostname
name-1
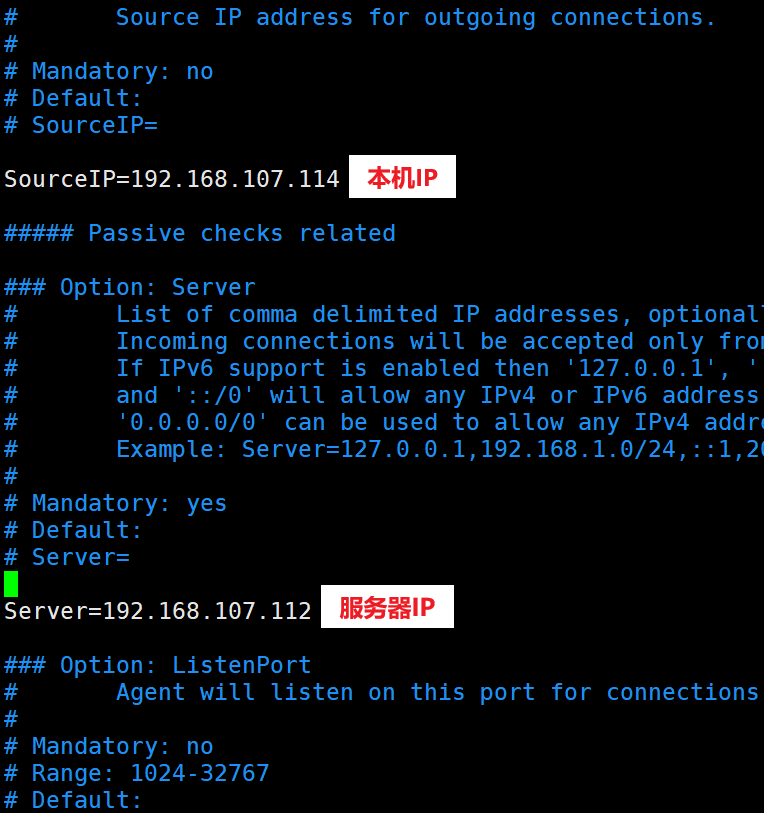
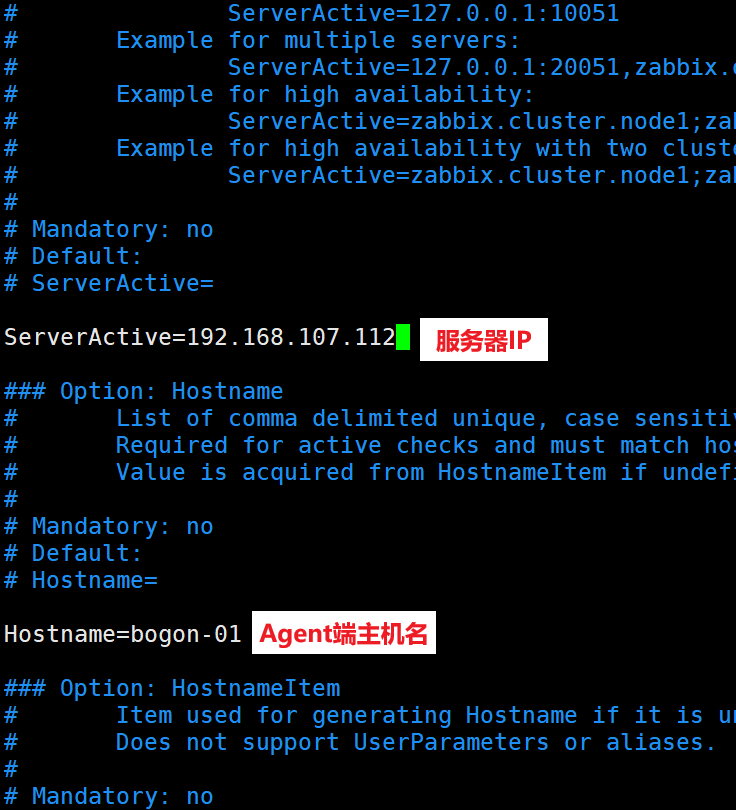
4.1.7、修改agent配置文件
[root@localhost ~]# vim /etc/zabbix/zabbix_agent2.conf
4.2、启动agent
4.2.1、启动zabbix-agent2
离线安装验证插件
[root@localhost ~]# rpm -ivh /home/zabbix-get-6.0.32-release1.el8.x86_64.rpm
在线安装验证插件
[root@localhost ~]# yum install -y zabbix-get
启动zabbix-agent2
[root@localhost ~]# systemctl start zabbix-agent2
[root@localhost ~]# systemctl enable zabbix-agent2
重启zabbix-agent2
[root@bogon ~]# service zabbix-agent2 restart
4.2.2、服务端验证
[root@localhost /]# zabbix_get -s '192.168.216.141' -p 10050 -k 'agent.ping'
1
[root@localhost /]# zabbix_get -s '192.168.216.141' -p 10050 -k 'agent.hostname'
name-1
更多推荐
 11
11 0
0- 0


 已为社区贡献4条内容

所有评论(0)