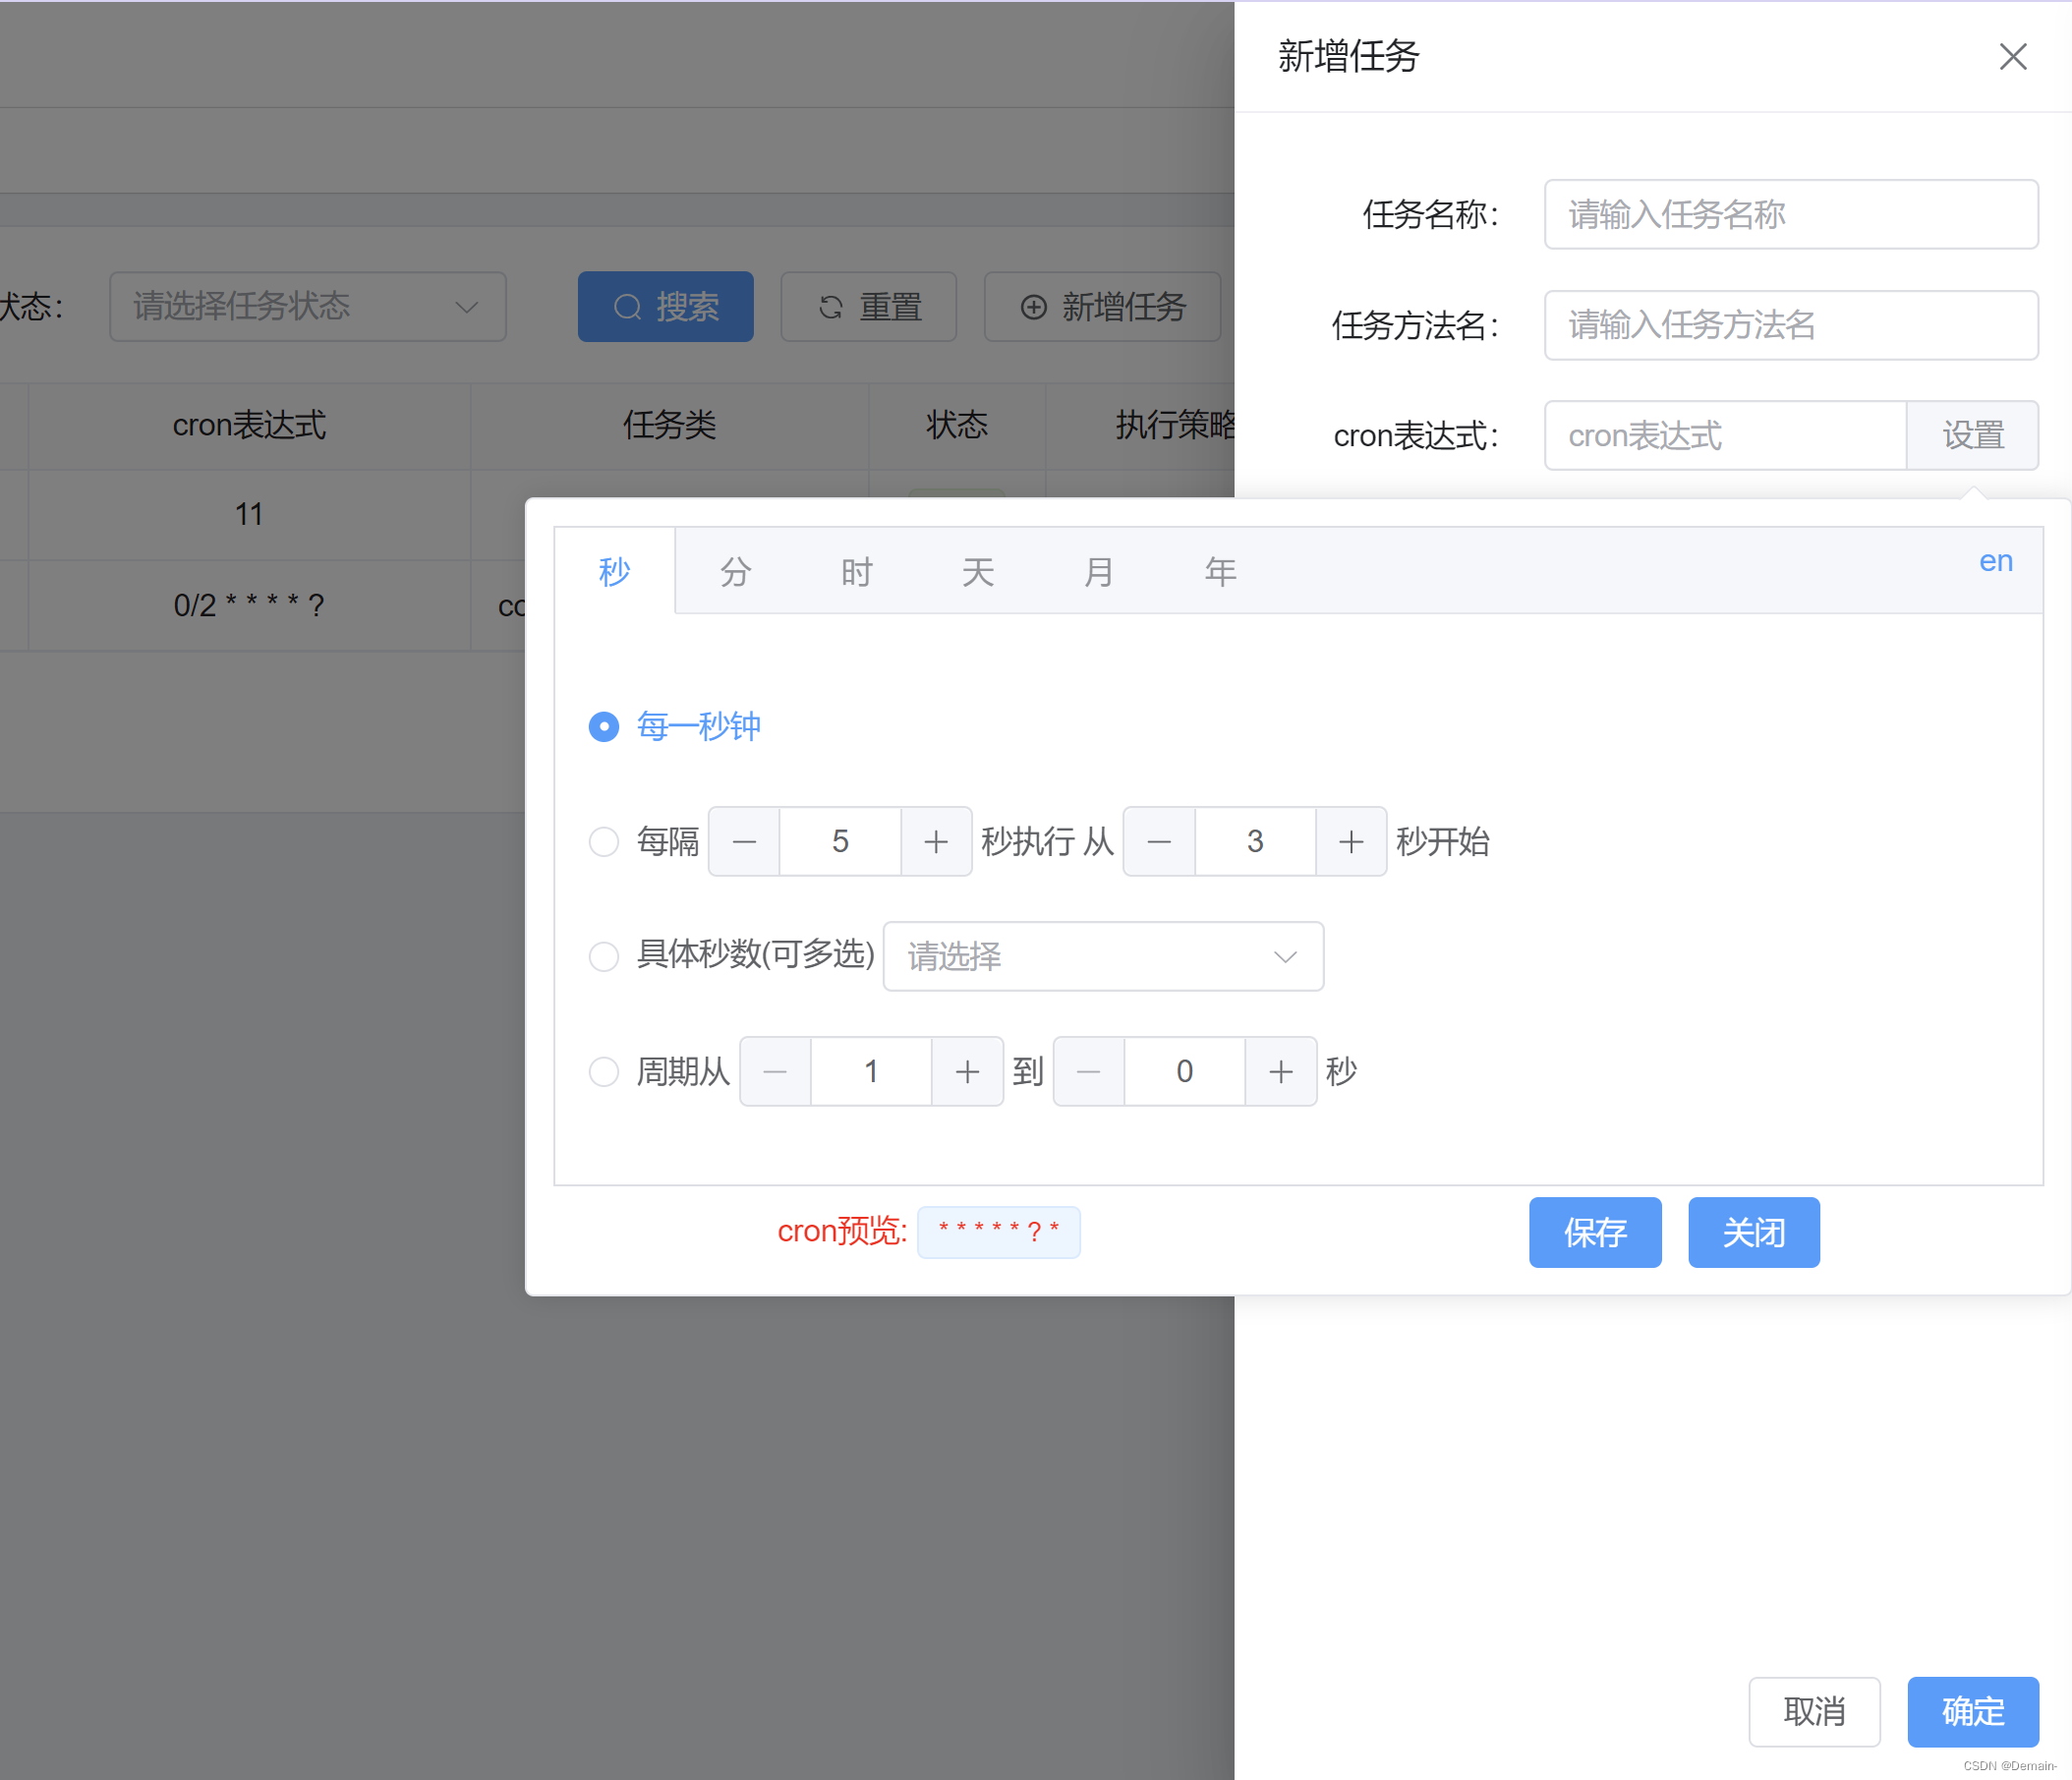
VUE3+TS和Element-plus实现的Cron表达式组件no-vue3-cron
VUE3+TS和Element-plus实现的Cron表达式组件no-vue3-cron。
·
项目地址
安装方式 :
pnpm install no-vue3-cron && npm install no-vue3-cron引入方式:
//当前使用的页面引入
import { noVue3Cron } from 'no-vue3-cron'
import 'no-vue3-cron/lib/noVue3Cron.css' // 引入样式
示例:
<template>
  <div class="cron">
    <h1>no-vue3-cron</h1>
    <el-input v-model="state.cron" placeholder="cron表达式...">
      <template #append>
        <el-popover v-model:visible="state.cronPopover" width="700px" trigger="manual">
            <noVue3Cron
                :cron-value="state.cron"
                @change="changeCron"
                @close="state.cronPopover=false"
                max-height="400px"
                i18n="cn"
            ></noVue3Cron>
            <template #reference>
                <el-button @click="state.cronPopover = !state.cronPopover">设置</el-button>
            </template>
        </el-popover>
      </template>
    </el-input>
  </div>
</template>

<script>
import { reactive,defineComponent } from 'vue'
import { noVue3Cron } from 'no-vue3-cron'
import 'no-vue3-cron/lib/noVue3Cron.css'
export default defineComponent ({
  name: "App",
  setup(){
      const state = reactive({
          cronPopover: false,
          cron: ''
      })
      const changeCron = (val) => {
          if(typeof(val) !== 'string') return false
          state.cron = val
      }

      return {
          state,
          changeCron,
      }
  }
});
</script>

<style lang="scss" scoped>
.cron {
  width: 700px;
  margin: 0 auto;
  margin-top: 100px;
  h1 {
    font-size: 50px;
    text-align: center;
  }
}
</style>
效果:

更多推荐
 已为社区贡献1条内容


所有评论(0)