
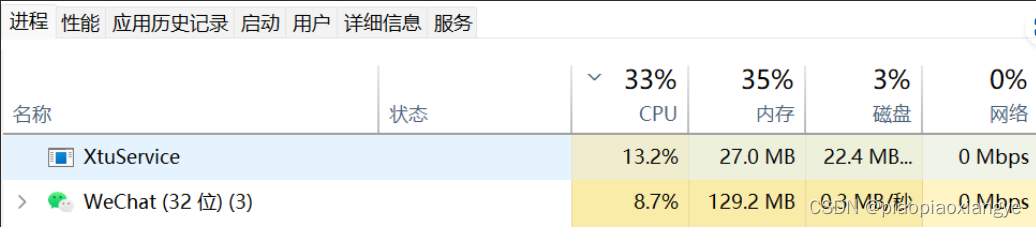
XtuService占用CPU过大且对磁盘读写保持几十兆
XtuService占用CPU过大,可通过删除其log文件解决。
任务管理器中可见Xtuservice的占用情况:
该进程路径为:C:\Windows\SysWOW64\XtuService.exe
解决办法:
删除C:\ProgramData\Intel\Intel Extreme Tuning Utility\Logs 中的所有log文件。
删除时出现弹窗如下,点击继续: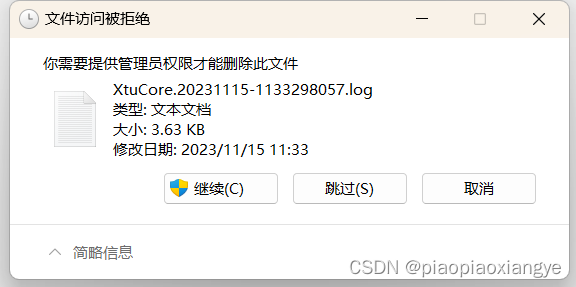
接着又出现弹窗如下:
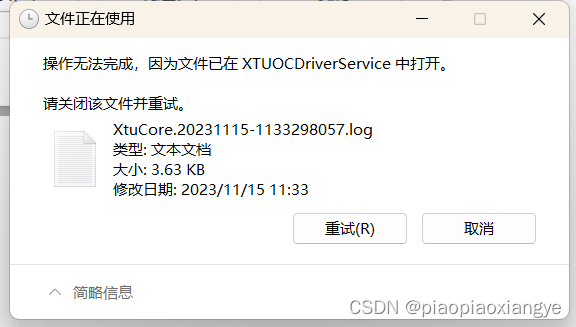
此时只需在任务管理器中右键XtuService点击“结束任务(E)”, 紧接着点击上图的重试即可开始删除。由于log文件过多,可能需要持续几分钟。
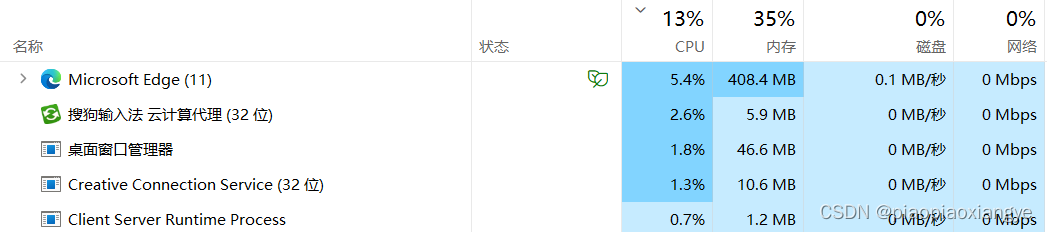
然后就清爽了:
原因解释:我自己的log文件自2023.7月-2023.11月累计100多万条,共计24G。那么在XtuService下次写入新的log文件时需要查询历史log文件,遍历的过程比较耗时。
XtuService本身是无害的,是Intel处理器的超频工具,我更新了最新版也没有解决问题。有网友说卸载了可能会有不良后果,所以还是谨慎卸载。
其他尝试的办法:有网友说 可能是软件冲突,驱动过旧等导致的:我在任务栏中的下三角中查看到有windows警告,发现有Alibaladin64.sys插件冲突,尝试卸载该插件时差点把系统搞崩,还是没解决。运行Window内存诊断无效;进行系统病毒查杀无效。
询问ChatGPT4回答如下,我更新了旧软件,卸载了不用的软件没有解决问题:
The XtuService.exe process in Windows, which is related to the Intel Extreme Tuning Utility (Intel XTU), can sometimes cause high CPU and memory usage. This issue can occur due to various reasons such as software conflicts, outdated drivers, or problems within the XTU application itself. Here are some steps you can take to resolve this issue:
Update Intel XTU and Drivers:
-
Ensure that you have the latest version of Intel XTU installed. You can download it from the official Intel website.
-
Update your system drivers, especially the CPU and chipset drivers, as outdated drivers can cause compatibility issues with XTU.
Check for Software Conflicts:
-
Other software that monitors or manages system performance (like other overclocking tools) may conflict with Intel XTU. Try disabling or uninstalling other performance tuning software to see if it resolves the issue.
Run System Maintenance:
-
Perform a system maintenance check by using built-in Windows utilities like Disk Cleanup and Disk Defragmenter.
-
Run a virus scan to ensure that your system is not affected by malware, which could cause excessive CPU and memory usage.
Modify XTU Settings:
-
Open Intel XTU and adjust settings that might be causing high system resource usage. For instance, if you have an aggressive overclocking profile, try setting it to a more conservative level.
Disable XTU Service:
-
If you are not using the Intel XTU for overclocking or monitoring, you can disable the XtuService. To do this, open the Task Manager, go to the 'Services' tab, find XtuService, right-click on it and select 'Stop'.
-
Alternatively, you can disable the service from the Services app (services.msc in Run dialog). Find the Intel Extreme Tuning Utility service and change its startup type to 'Disabled'.
Use System Restore:
-
If the problem started occurring recently, using System Restore to revert your system to a state before the issue began might help.
Reinstall or Remove Intel XTU:
-
If none of the above steps work, consider reinstalling Intel XTU. Uninstall it first from the Control Panel, restart your computer, and then install the latest version.
-
If you don’t need Intel XTU, you can remove it entirely from your system.
Check for Windows Updates:
-
Ensure that your Windows 11 is up to date with the latest updates and patches, which can resolve known bugs and compatibility issues.
If the issue persists after trying these steps, it could indicate a more complex problem with your system, and you might need to consult with a professional or reach out to Intel's support for further assistance.

旨在为数千万中国开发者提供一个无缝且高效的云端环境,以支持学习、使用和贡献开源项目。
更多推荐


 1
1 0
0- 0


 已为社区贡献1条内容

所有评论(0)