
【教程】使用vuepress构建静态文档网站,并部署到github上
【教程】使用vuepress构建静态文档网站,并部署到github上
官网
构建项目
我们跟着官网的教程先构建一个demo
这里我把 vuepress-starter 这个项目名称换成了 howtolive
- 创建并进入一个新目录
mkdir howtolive && cd howtolive
- 使用你喜欢的包管理器进行初始化
yarn init
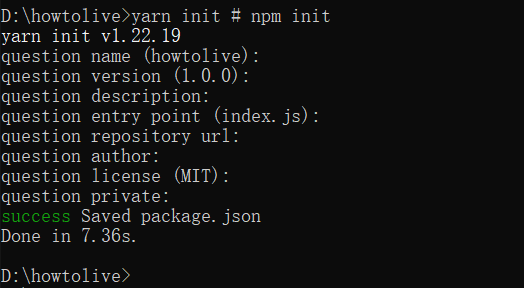
这里的问题可以一路回车
- 将 VuePress 安装为本地依赖
我们已经不再推荐全局安装 VuePress
yarn add -D vuepress
注意:如果你的现有项目依赖了 webpack 3.x,我们推荐使用 Yarn (opens new window)而不是 npm 来安装 VuePress。因为在这种情形下,npm 会生成错误的依赖树。
注意: 不要在后面添加:# npm install -D vuepress
- 创建你的第一篇文档
mkdir docs && echo '# Hello VuePress' > docs/README.md
- 在
package.json中添加一些 scripts(opens new window)
这一步骤是可选的,但我们推荐你完成它。在下文中,我们会默认这些 scripts 已经被添加。
{
	"scripts": {
        "docs:dev": "vuepress dev docs",
        "docs:build": "vuepress build docs"
    }
}
如下图所示

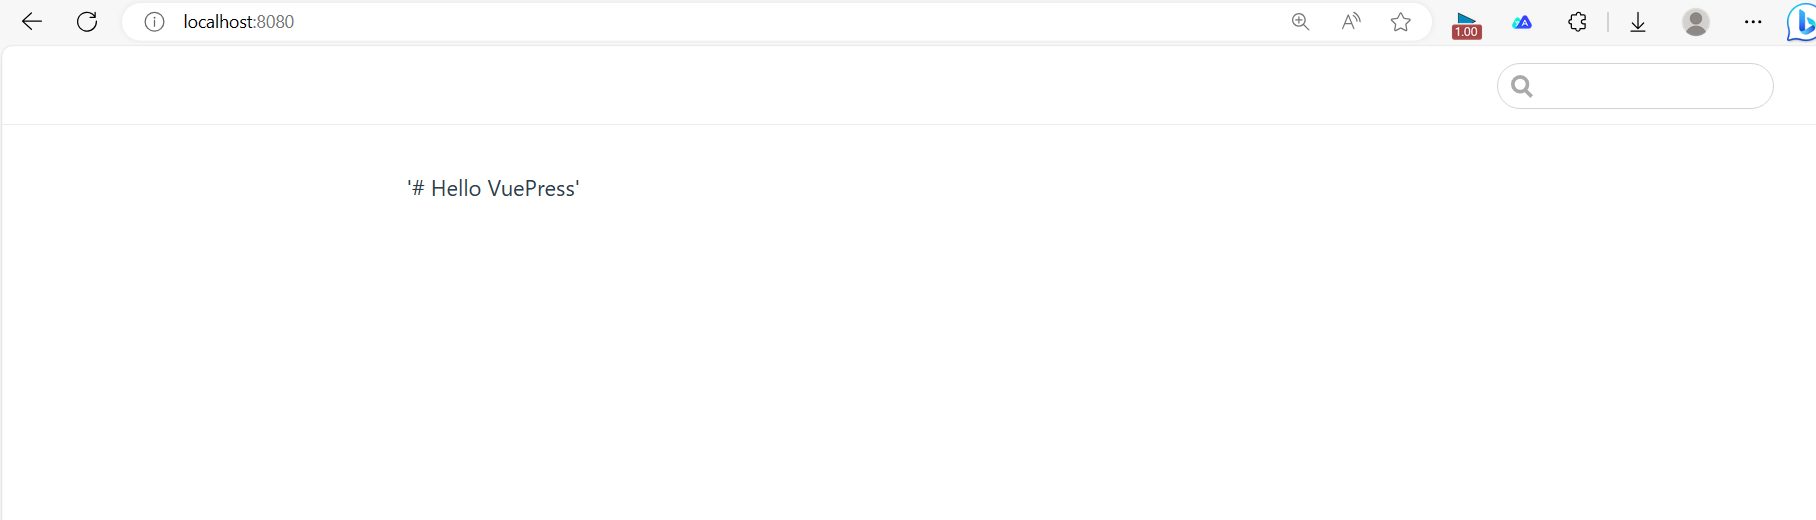
- 在本地启动服务器
yarn docs:dev
VuePress 会在 http://localhost:8080 (opens new window)启动一个热重载的开发服务器。
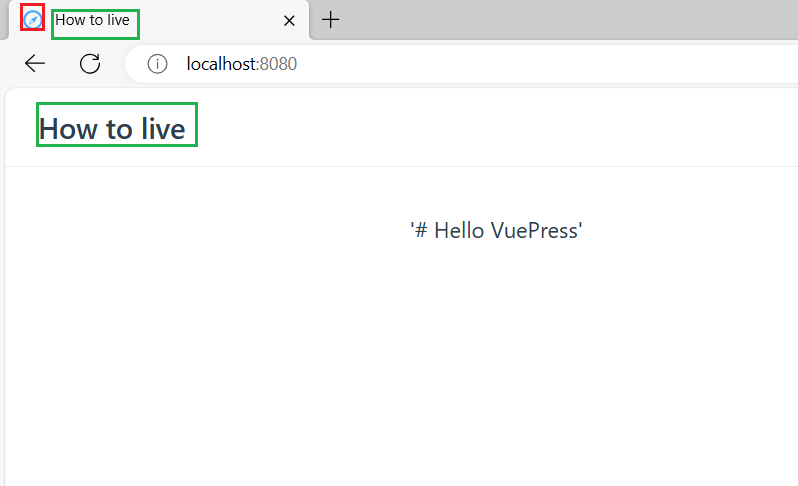
项目启动之后就是这样
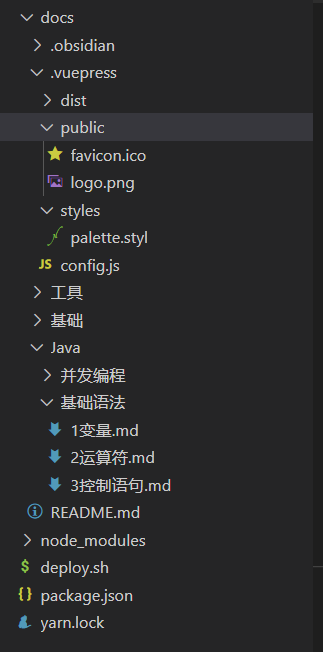
目录结构
VuePress 遵循 “约定优于配置” 的原则,推荐的目录结构如下:
.
├── docs
│ ├── .vuepress (可选的)
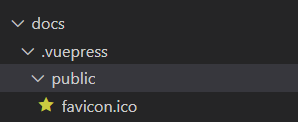
│ │ ├── public (存放网站图标等信息)
│ │ ├── styles
│ │ │ └── palette.styl (网站自定义样式)
│ │ └── config.js (路由,图标等的配置文件)
│ │
│ ├── README.md
│ ├── guide
│ │ └── README.md (具体文章博客)
│
└── package.json
如下图所示
配置网站标题和图标
配置文件
如果没有任何配置,这个网站将会是非常局限的,用户也无法在你的网站上自由导航。为了更好地自定义你的网站,让我们首先在你的文档目录下创建一个 .vuepress 目录,所有 VuePress 相关的文件都将会被放在这里。你的项目结构可能是这样:
.
├─ docs
│  ├─ README.md
│  └─ .vuepress
│     └─ config.js
└─ package.json
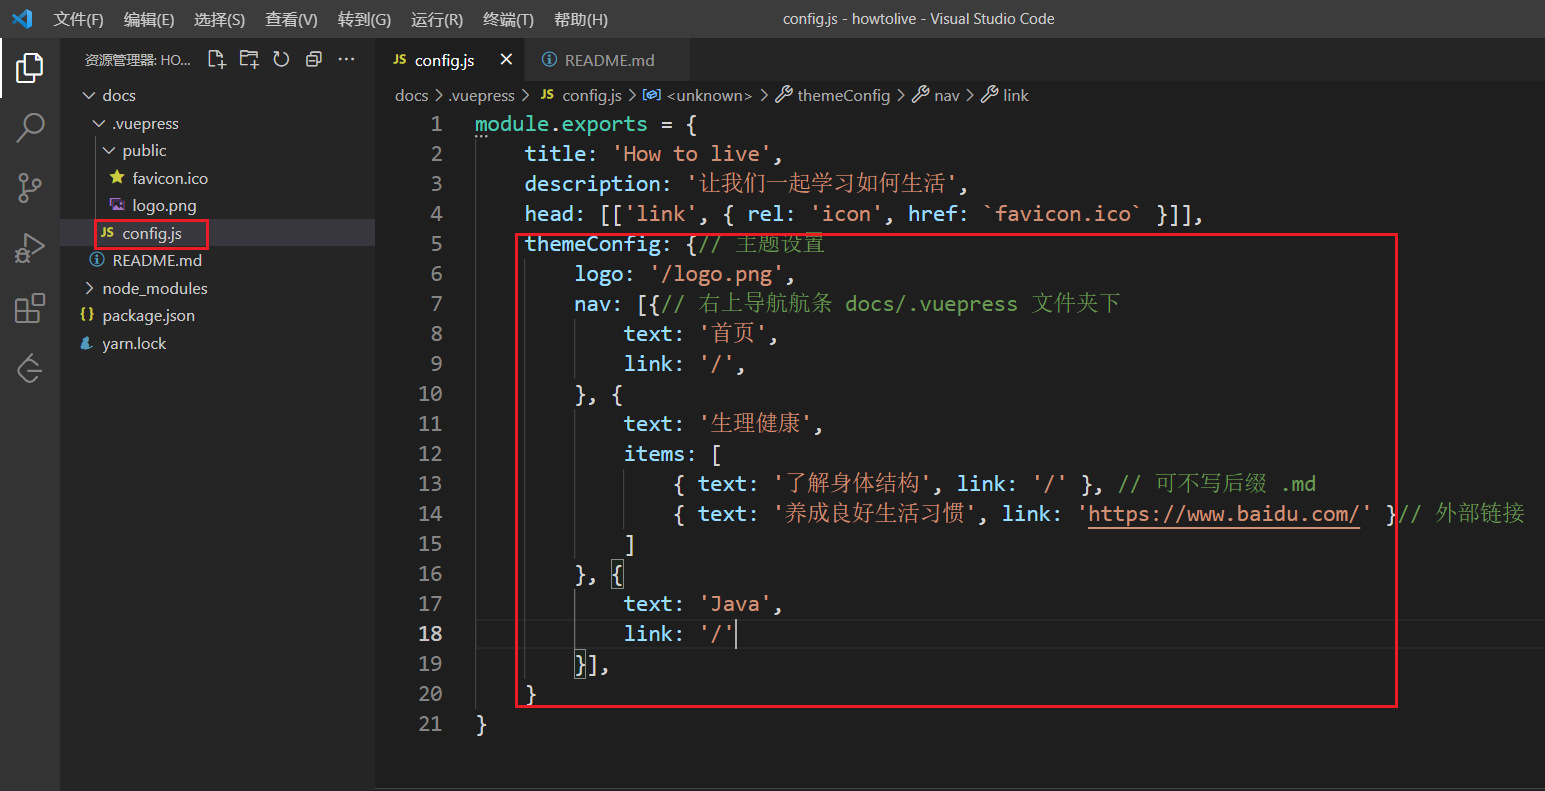
一个 VuePress 网站必要的配置文件是 .vuepress/config.js,它应该导出一个 JavaScript 对象:
module.exports = {

    title: 'How to live',
    description: '让我们一起学习如何生活',
    head: [['link', { rel: 'icon', href: `favicon.ico` }]],

}
把ico放在public下面
项目启动之后,如下之后:
默认主题配置
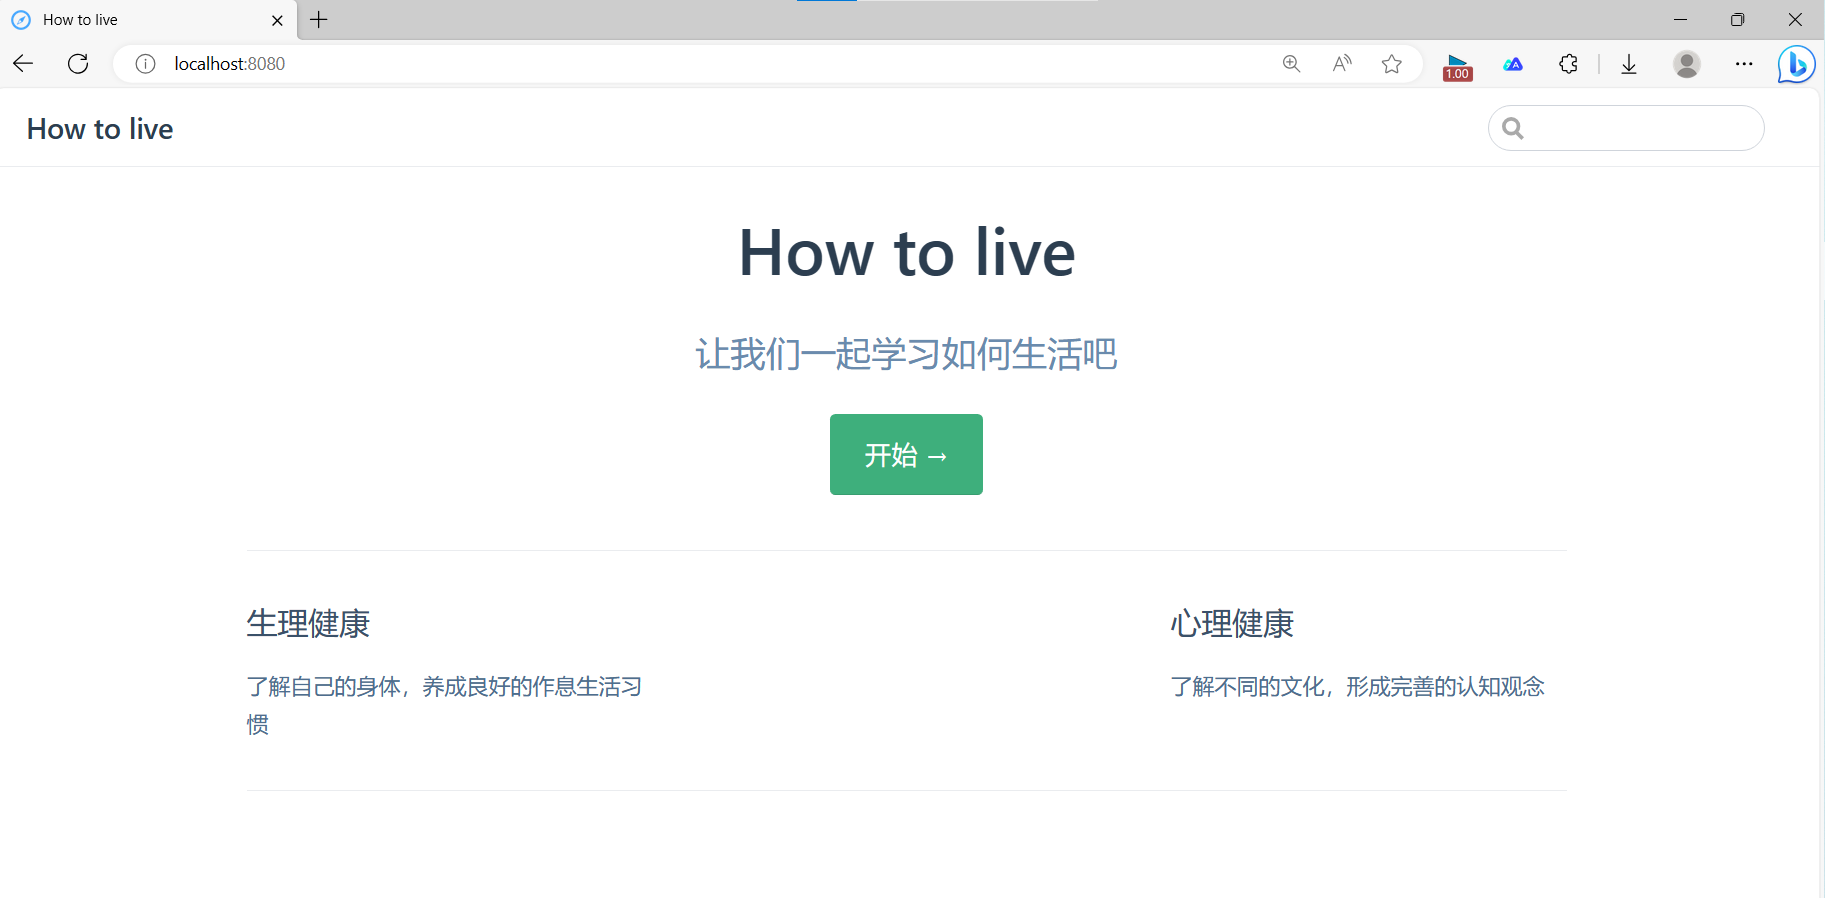
首页
---

home: true

heroText: How to live

tagline: 让我们一起学习如何生活吧

actionText: 开始 →

actionLink: /

features:

- title: 生理健康

  details: 了解自己的身体,养成良好的作息生活习惯

- title: 心理健康

  details: 了解不同的文化,形成完善的认知观念

---
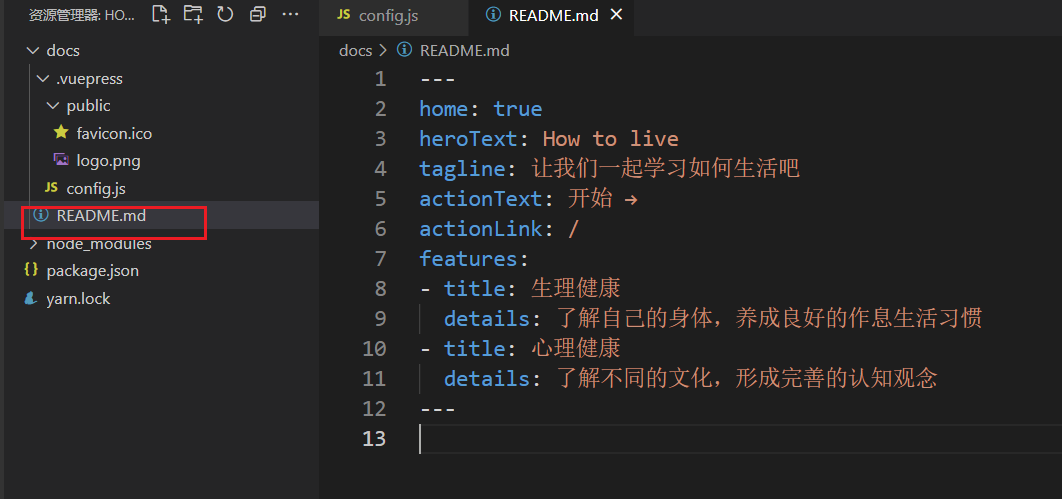
注意需要重新编译后,才会看到效果
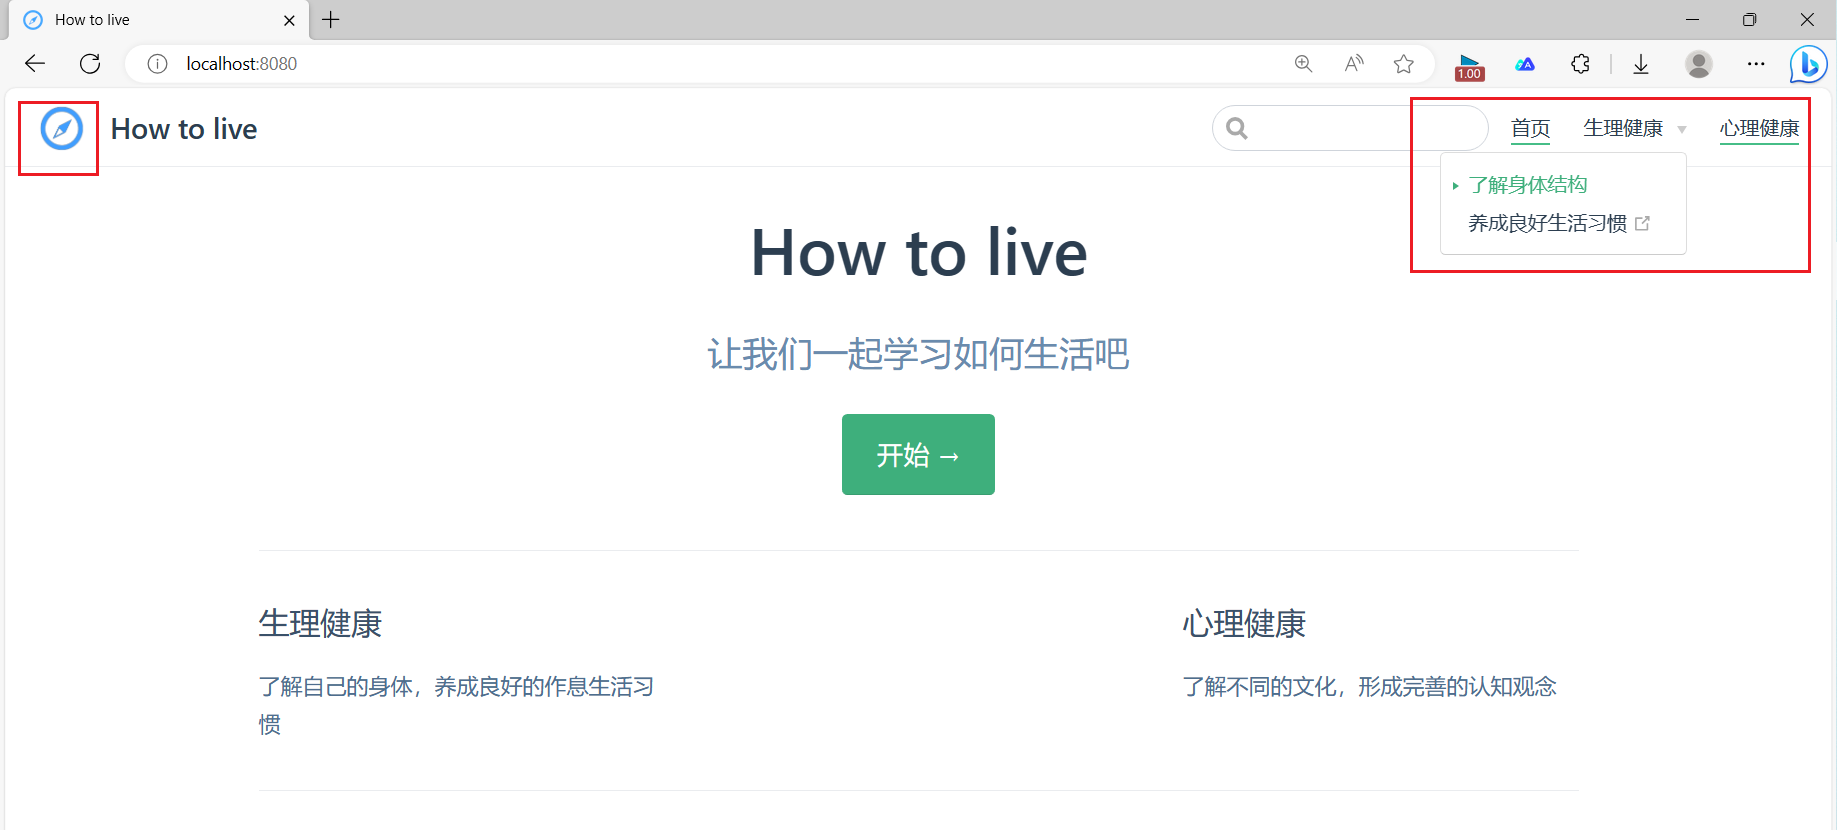
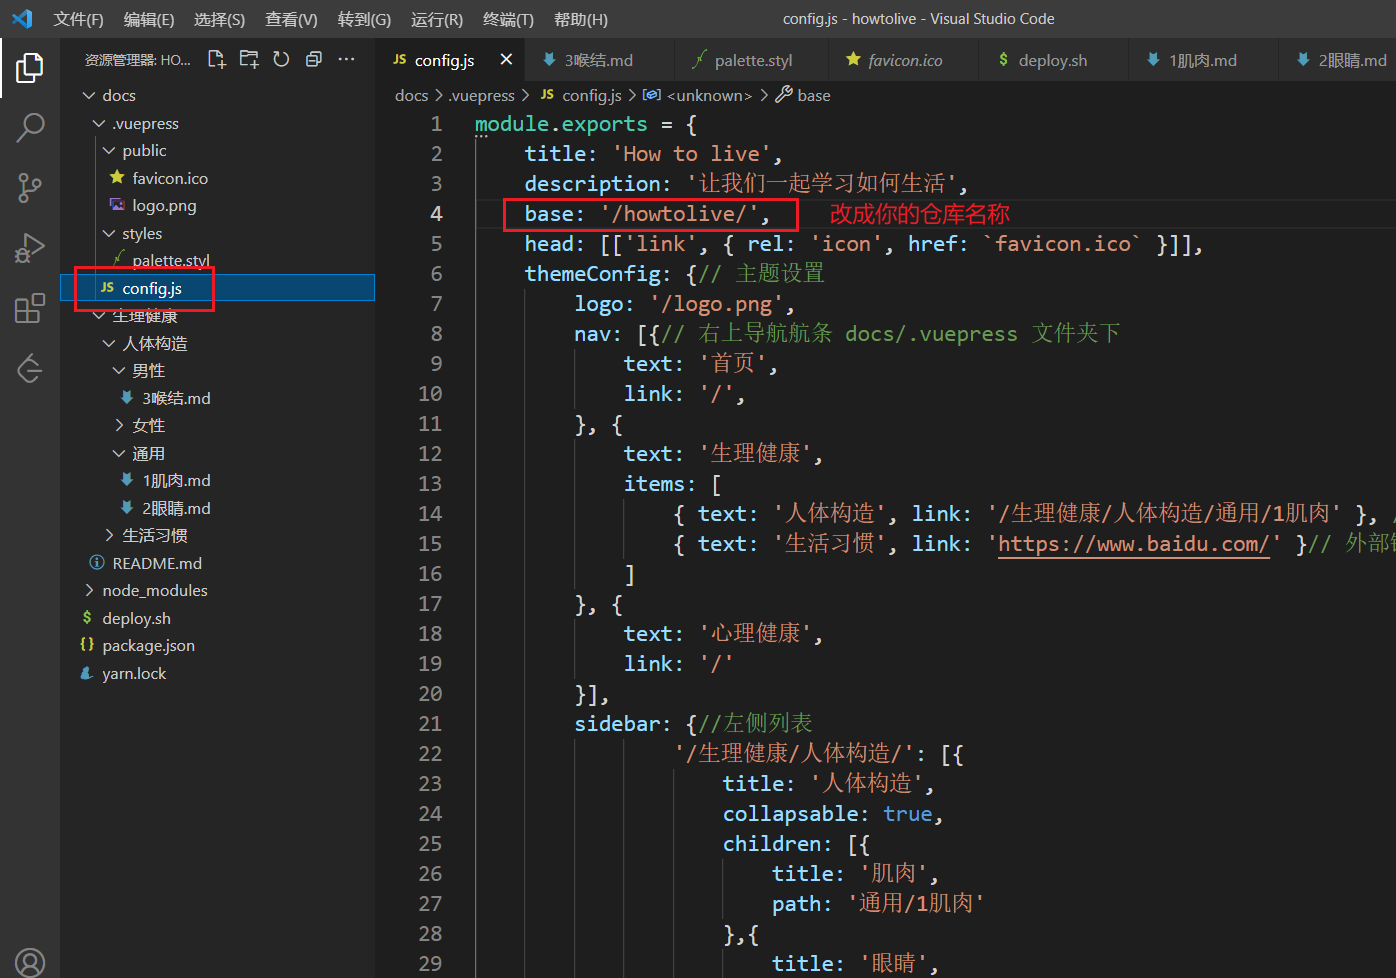
导航栏
在config.js中配置
    themeConfig: {// 主题设置
        logo: '/logo.png',
        nav: [{// 右上导航航条 docs/.vuepress 文件夹下
            text: '首页',
            link: '/',
        }, {
            text: '生理健康',
            items: [
                { text: '了解身体结构', link: '/' }, // 可不写后缀 .md
                { text: '养成良好生活习惯', link: 'https://www.baidu.com/' }// 外部链接
            ]
        }, {
            text: '心理健康',
            link: '/'
        }],
    }
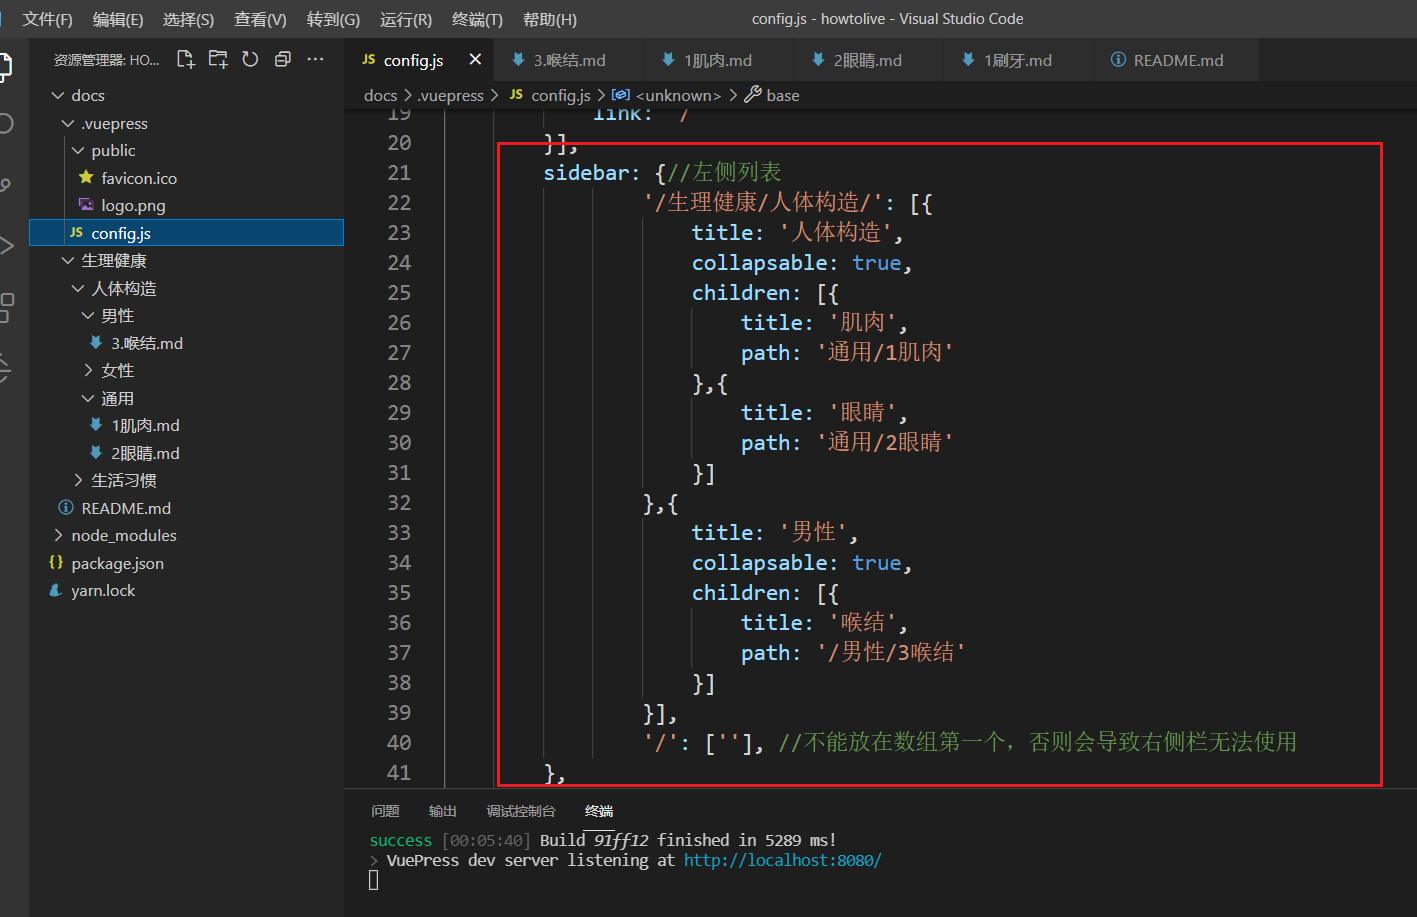
侧边栏
themeConfig: {// 主题设置
logo: '/logo.png',
nav: [{// 右上导航航条 docs/.vuepress 文件夹下
text: '首页',
link: '/',
}, {
text: '生理健康',
items: [
{ text: '人体构造', link: '/生理健康/人体构造/通用/1肌肉' }, // 可不写后缀 .md
{ text: '生活习惯', link: 'https://www.baidu.com/' }// 外部链接
]
}, {
text: '心理健康',
link: '/'
}],
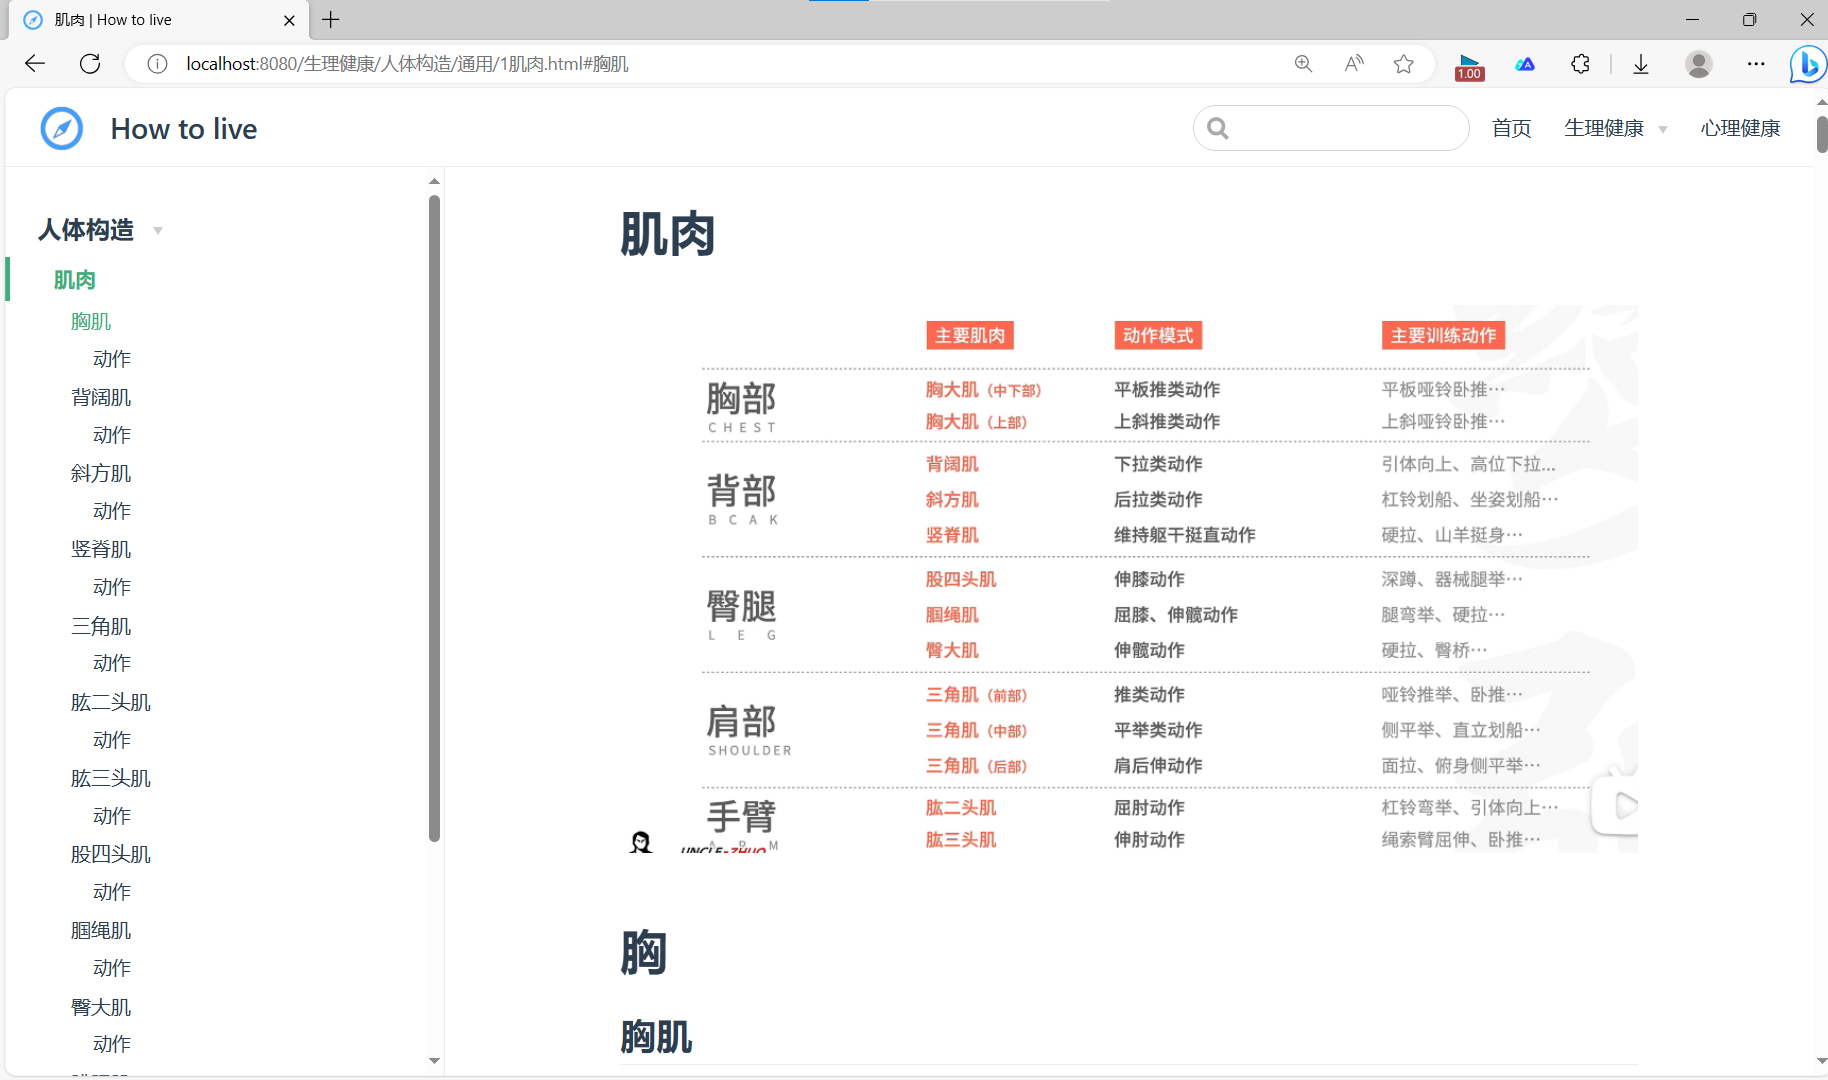
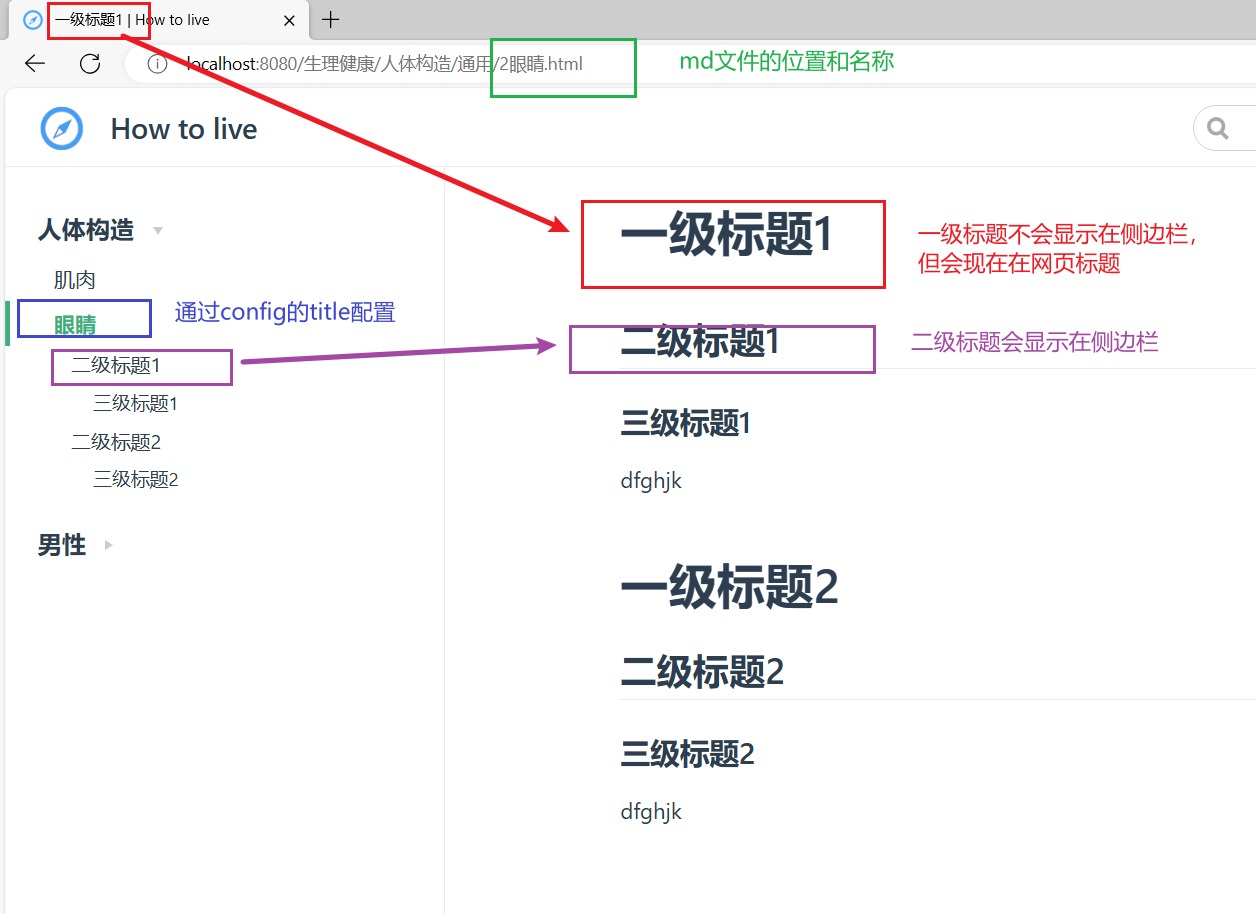
sidebar: {//左侧列表
'/生理健康/人体构造/': [{
title: '人体构造',
collapsable: true,
children: [{
title: '肌肉',
path: '通用/1肌肉'
},{
title: '眼睛',
path: '通用/2眼睛'
}]
},{
title: '男性',
collapsable: true,
children: [{
title: '喉结',
path: '/男性/3喉结'
}]
}],
'/': [''], //不能放在数组第一个,否则会导致右侧栏无法使用
},
// 左侧列表展开级数,默认是 1
sidebarDepth: 2,
}
自定义样式
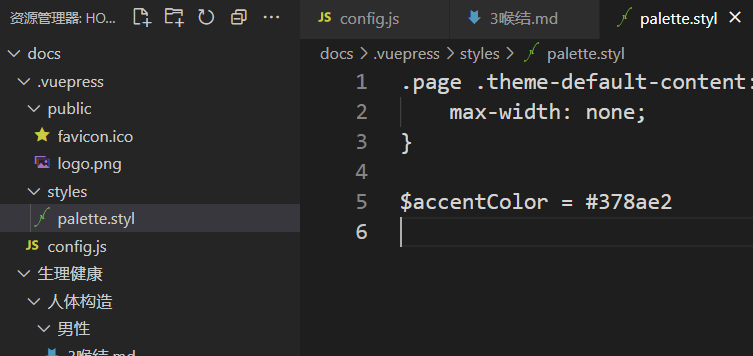
改变主题颜色
$accentColor = #378ae2
改变文章两侧空白宽度
.page .theme-default-content:not(.custom){
    max-width: none;
}
部署到github
在根目录下建一个depoy.sh
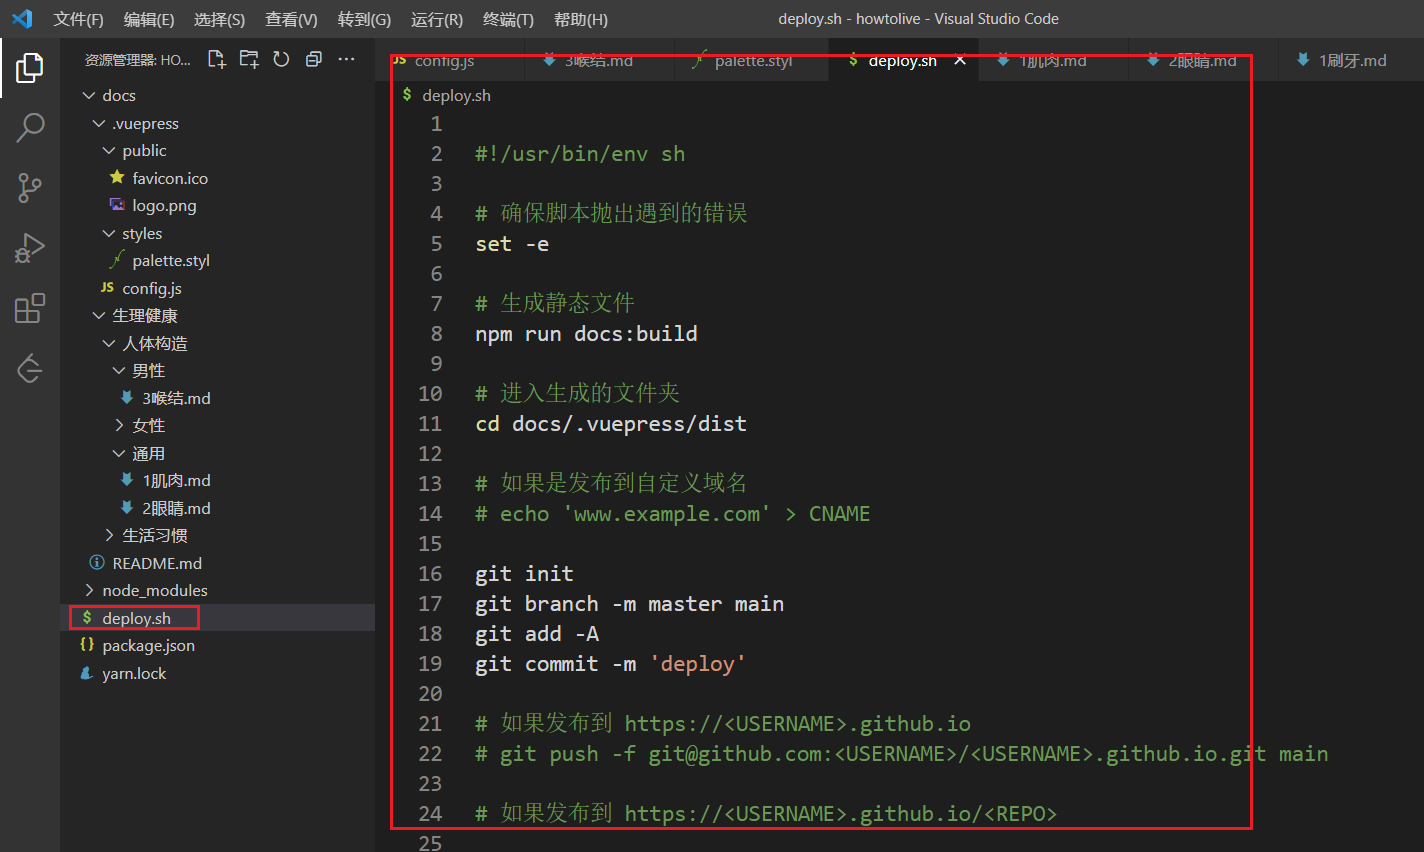
#!/usr/bin/env sh

# 确保脚本抛出遇到的错误
set -e

# 生成静态文件
npm run docs:build

# 进入生成的文件夹
cd docs/.vuepress/dist

# 如果是发布到自定义域名
# echo 'www.example.com' > CNAME

git init
git branch -m master main
git add -A
git commit -m 'deploy'

# 如果发布到 https://<USERNAME>.github.io
# git push -f git@github.com:<USERNAME>/<USERNAME>.github.io.git main

# 如果发布到 https://<USERNAME>.github.io/<REPO>

git push -f git@github.com:ni'de.git main

cd -
config.js也要修改
然后双击deploy.sh运行
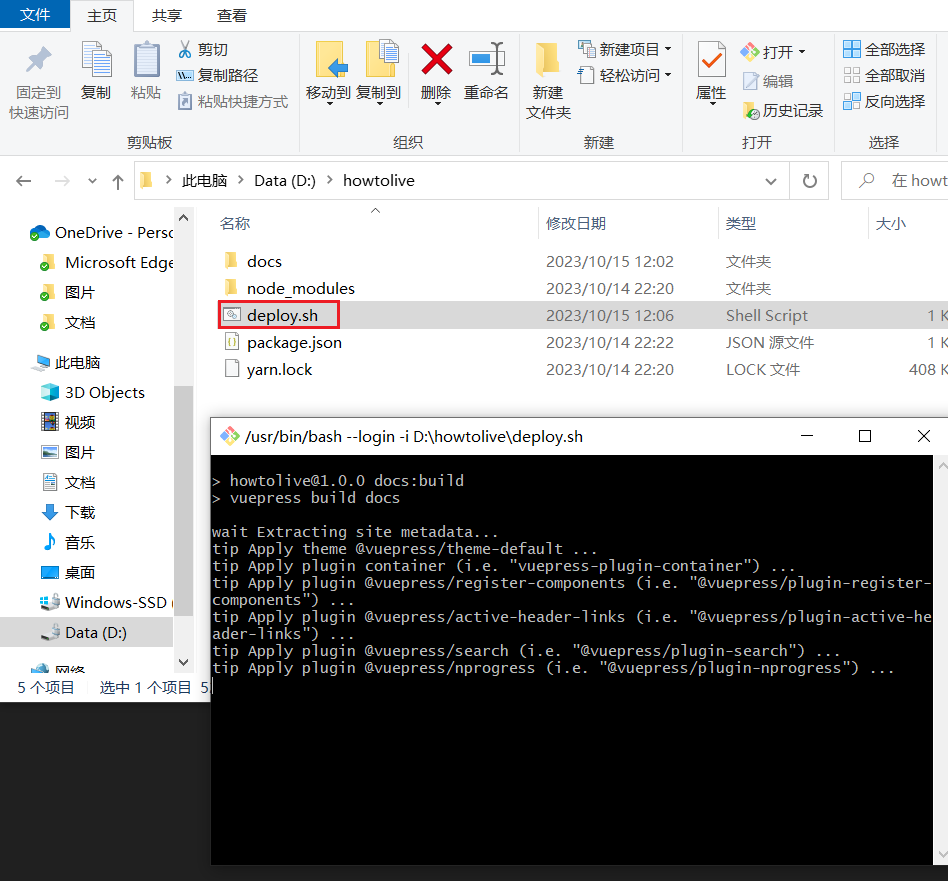
或者在gitbash中打开
然后dist目录下生成打包好的项目,并同步到gihub

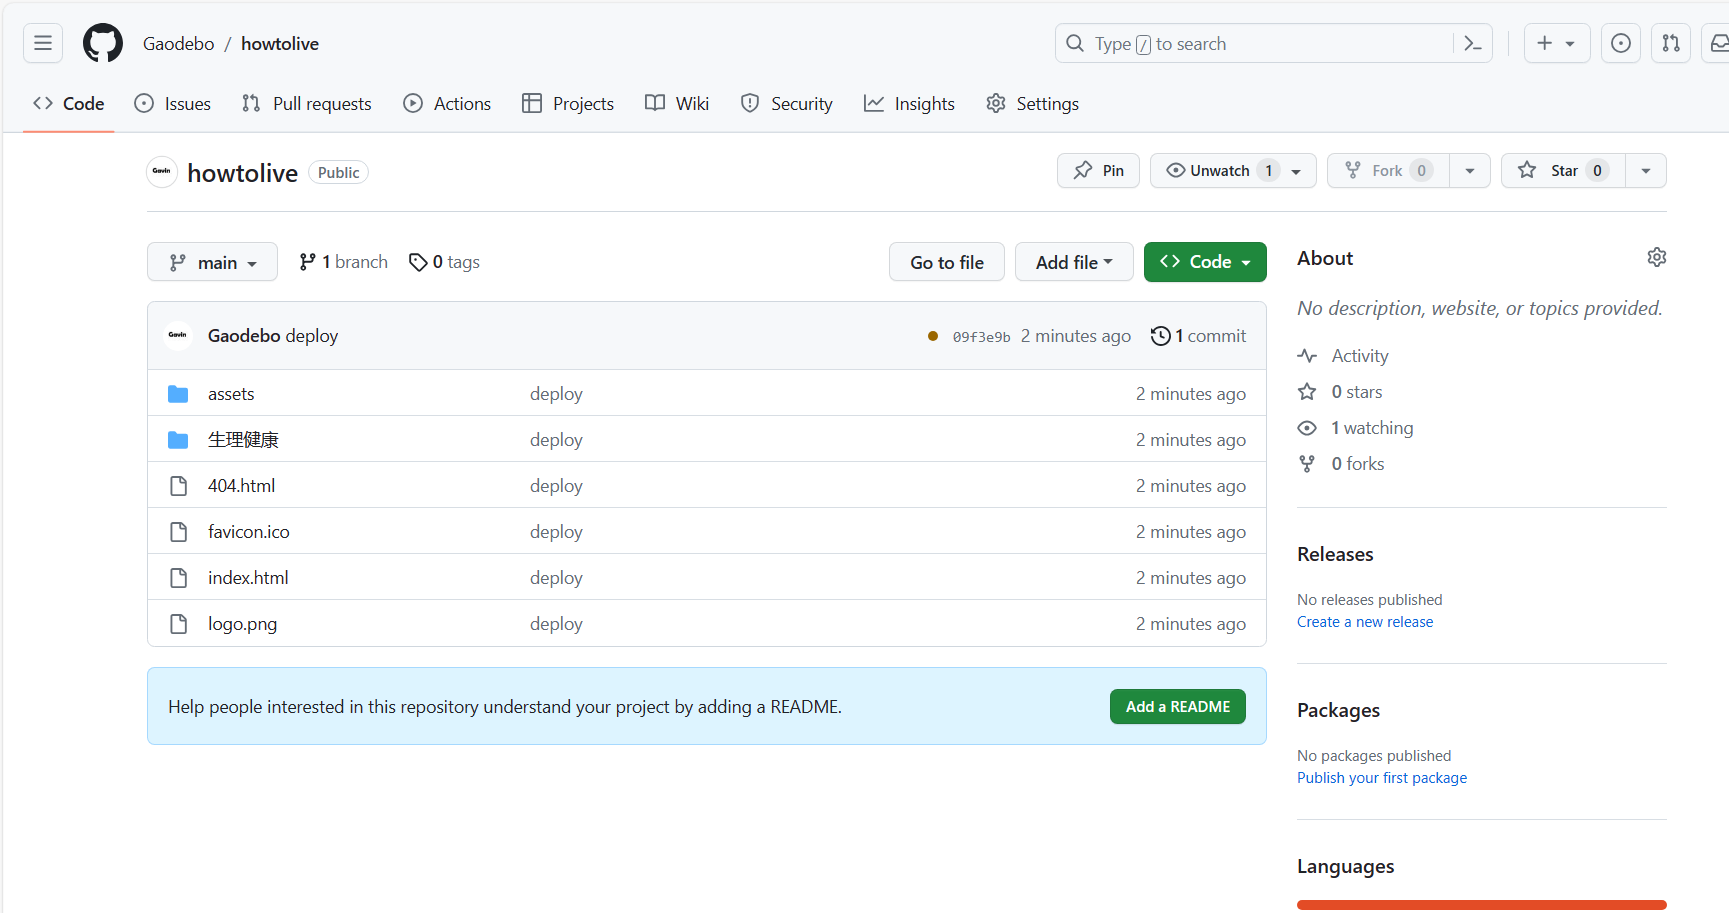
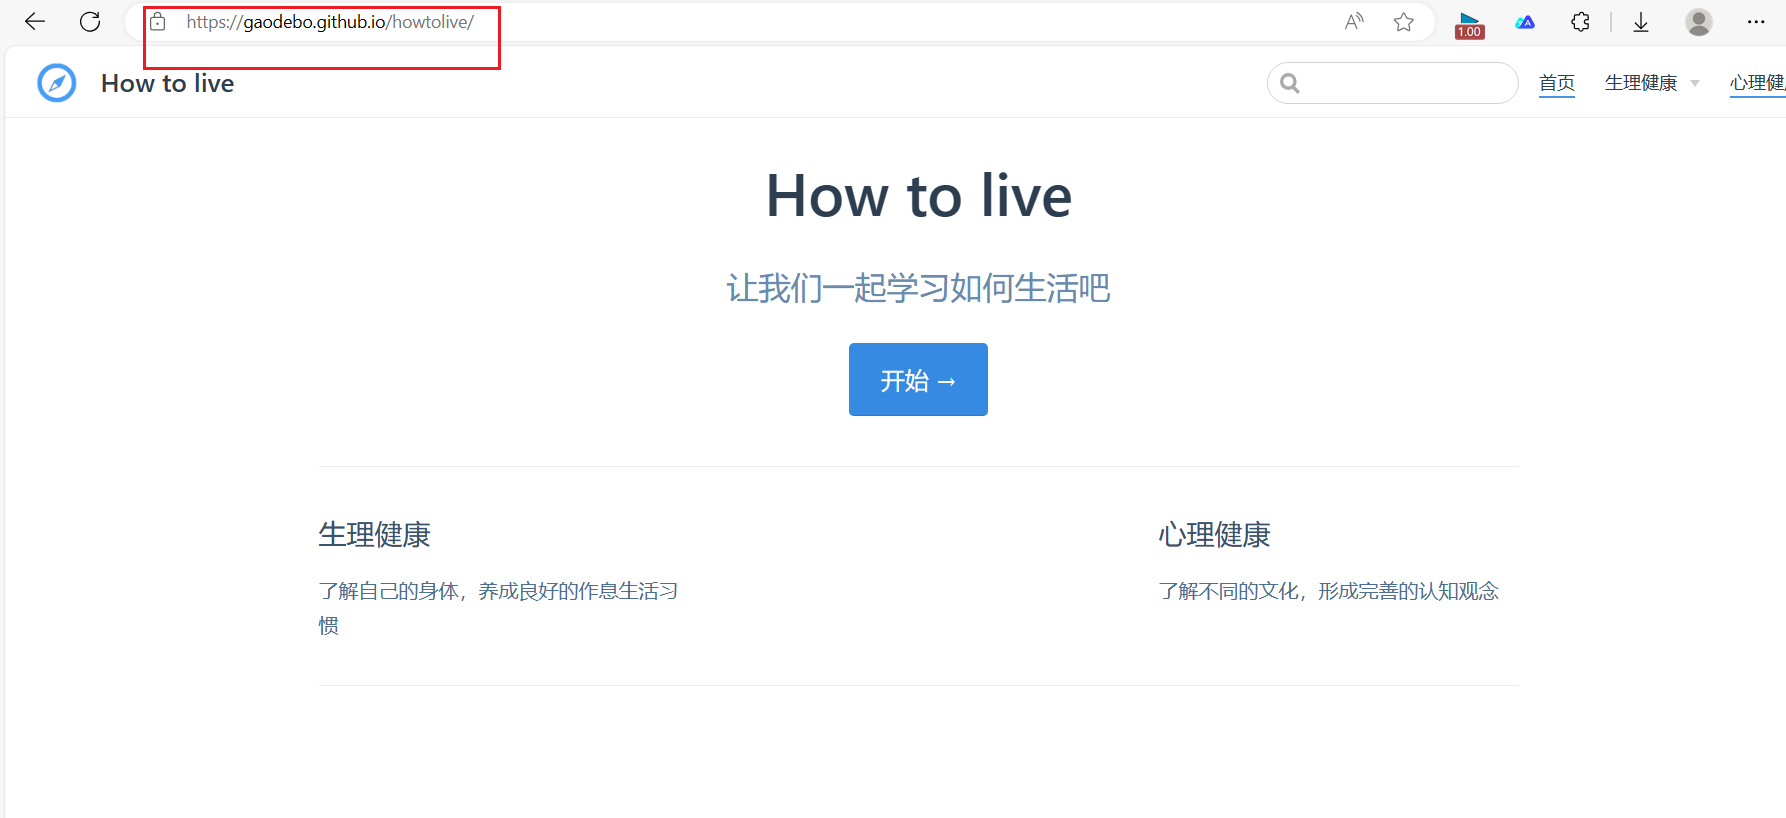
配置github
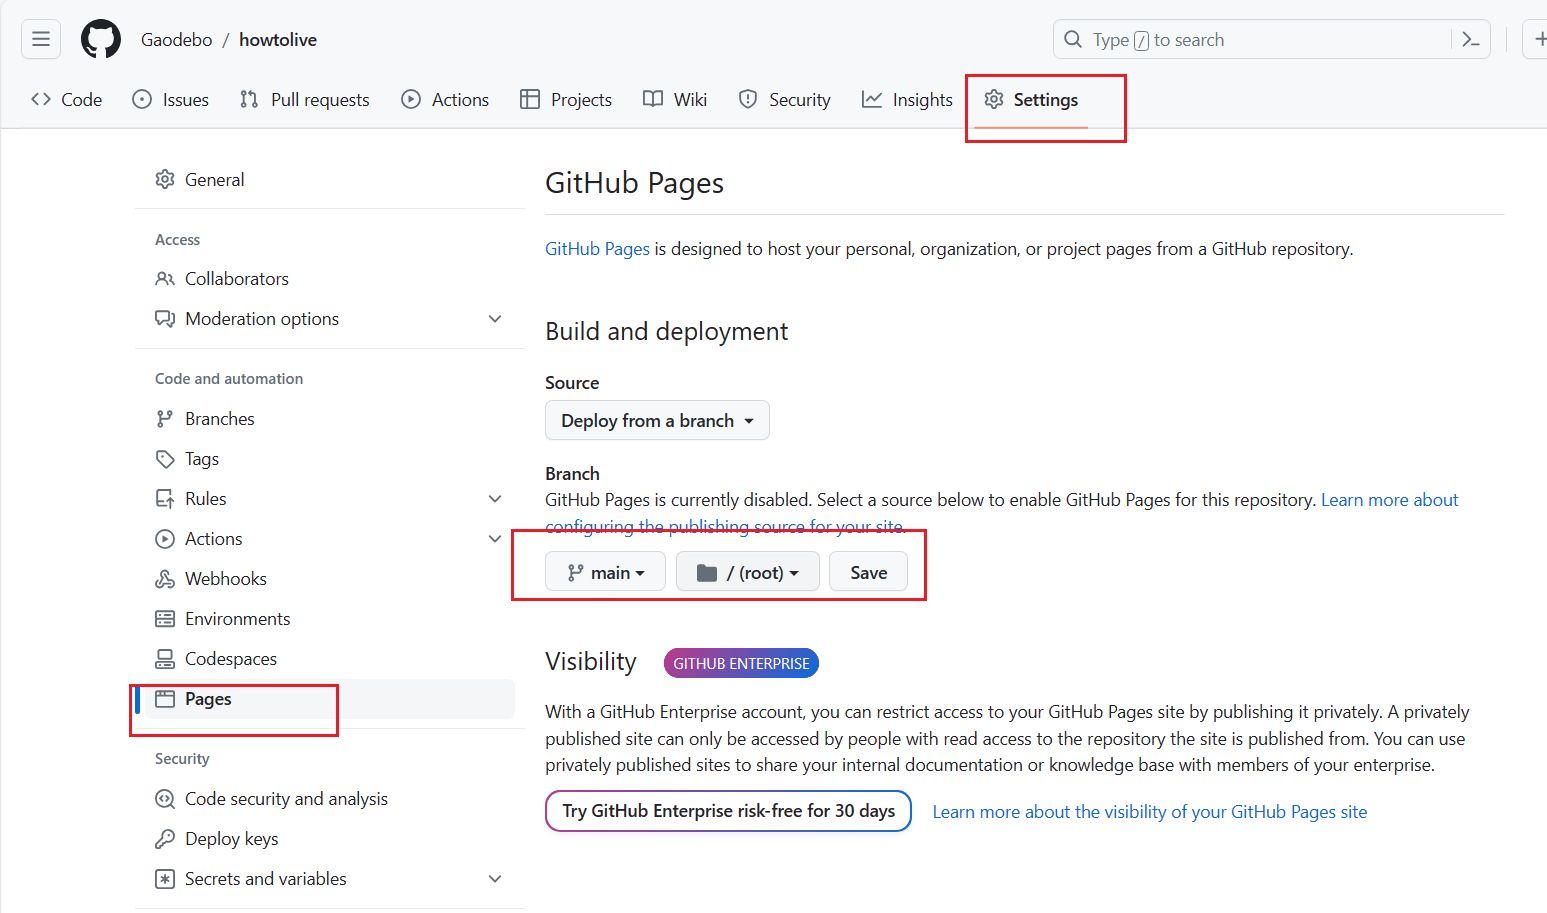
然后就可以通过github来访问静态网站了

旨在为数千万中国开发者提供一个无缝且高效的云端环境,以支持学习、使用和贡献开源项目。
更多推荐


 2
2 0
0- 0


 已为社区贡献3条内容

所有评论(0)