
使用Hugo+Github从0开始免费搭建个人博客
以win11为例1.注册git账号:https://github.com/并记住用户名和密码鼠标右键显示Git Bash Here就表示安装Git成功了。3.设置本地git用户是否已经登录生成密钥将其中Your Name替换为用户名,邮箱替换为自己注册时的邮箱如图所示,密钥已经给我们生成到文件下了。打开该目录下的文件,用记事本打开并复制这个密钥。4.去GitHub上验证登录github ->进入设
环境搭建
一.安装git
以win11为例
1.注册git账号:https://github.com/并记住用户名和密码
2.下载地址:Git - Downloads (git-scm.com)鼠标右键显示Git Bash Here就表示安装Git成功了。

3.设置本地git用户
git config --global user.name "Your Name"
git config --global user.email "邮箱"
是否已经登录
git config user.name
生成密钥
ssh-keygen -t rsa -C "邮箱"
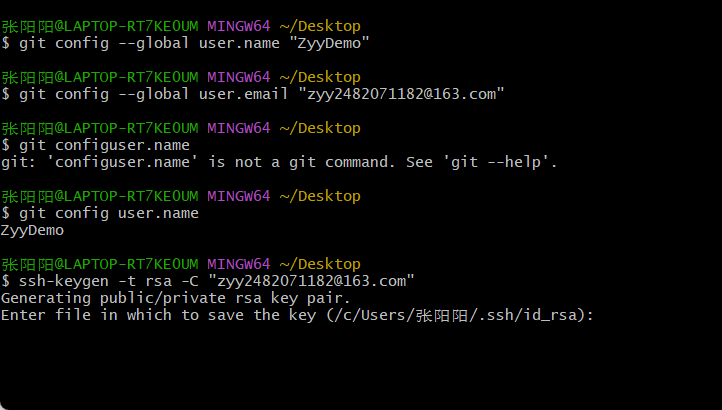
将其中Your Name替换为用户名,邮箱替换为自己注册时的邮箱
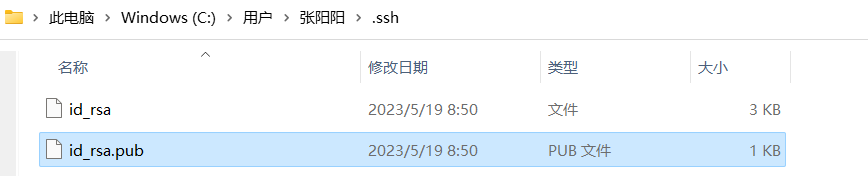
如图所示,密钥已经给我们生成到C:/Users/UserName/.shh/id_rsa文件下了。
打开该目录下的id_rsa.pub文件,用记事本打开并复制这个密钥。
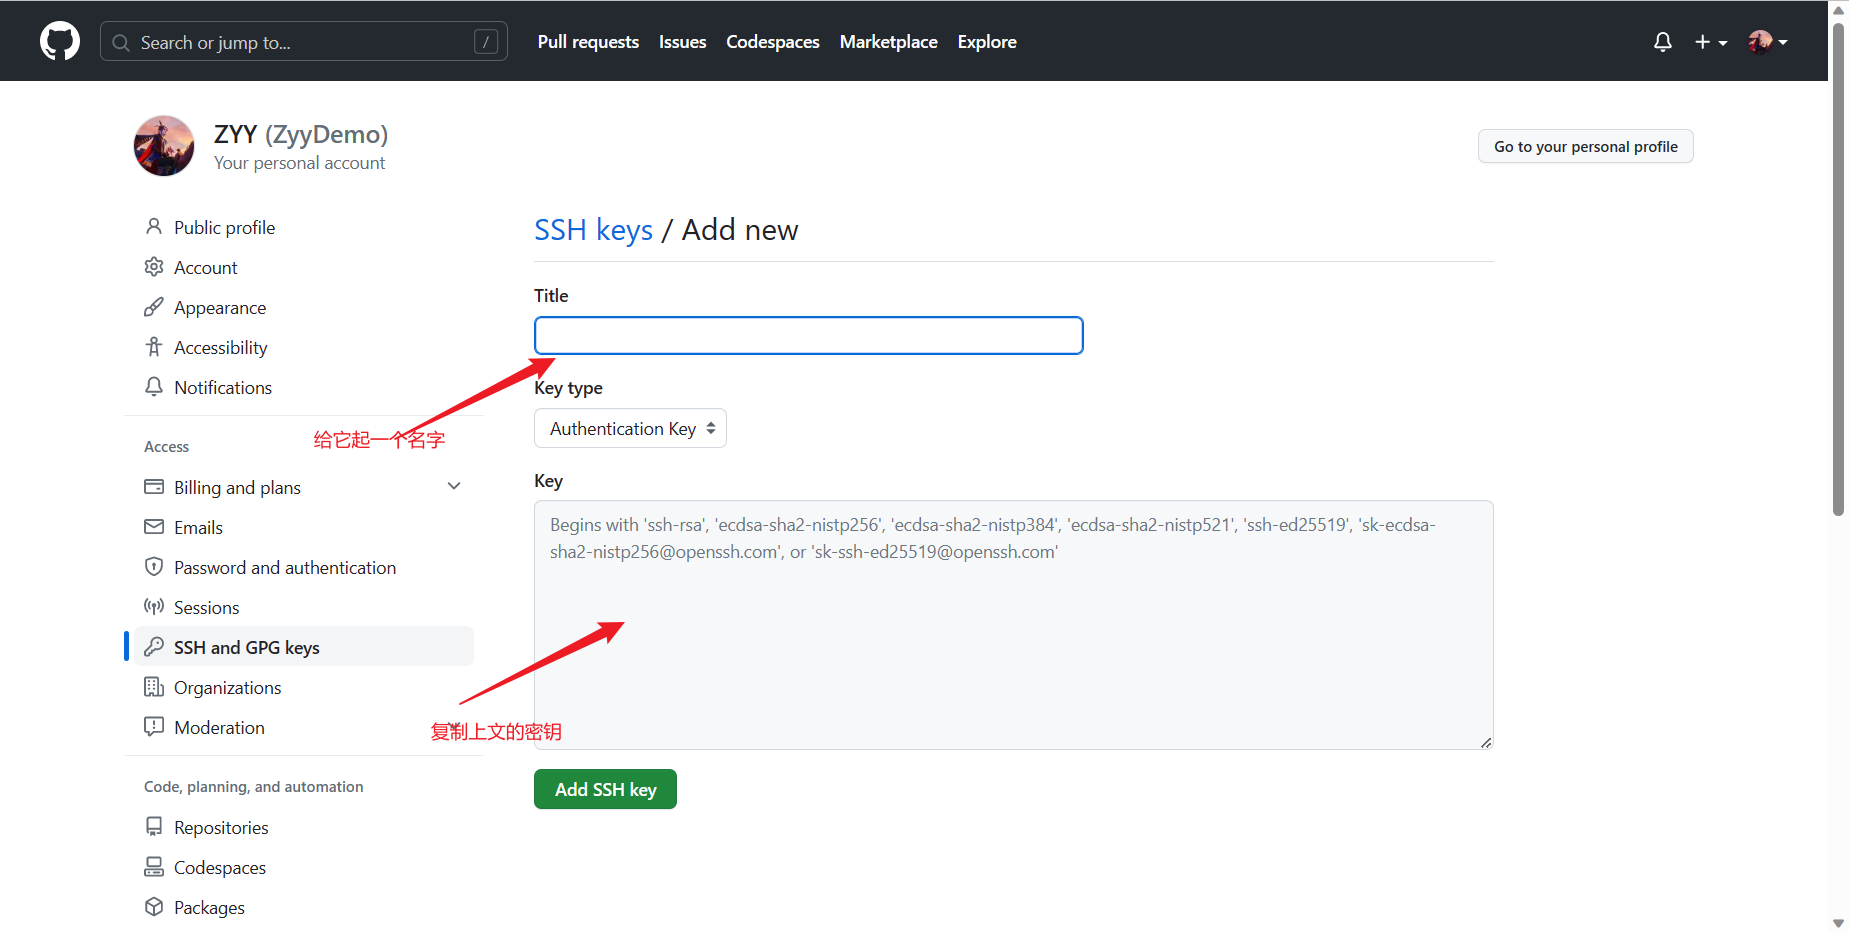
4.去GitHub上验证
登录github ->进入设置->SSH and GPG key ->新建密钥,把上面文件里的内容全部复制粘贴进去即可。
在Git Bash里输入ssh -T git@github.com ,成功的话会出现
You’ve successfully authenticated, but GitHub does not provide shell access.。
二.安装choco
Chocolatey是Windows平台上的包管理器,通过它可以集中安装、管理、更新各种各样的软件。
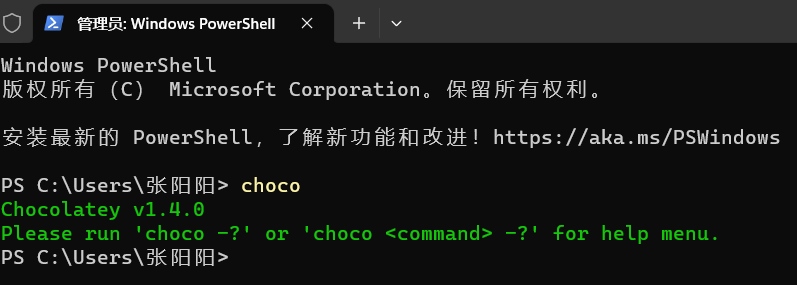
打开Windows PowerShell,用管理员登录,如图所示


运行下面代码:
Set-ExecutionPolicy Bypass -Scope Process -Force; iex ((New-Object System.Net.WebClient).DownloadString('https://chocolatey.org/install.ps1'))
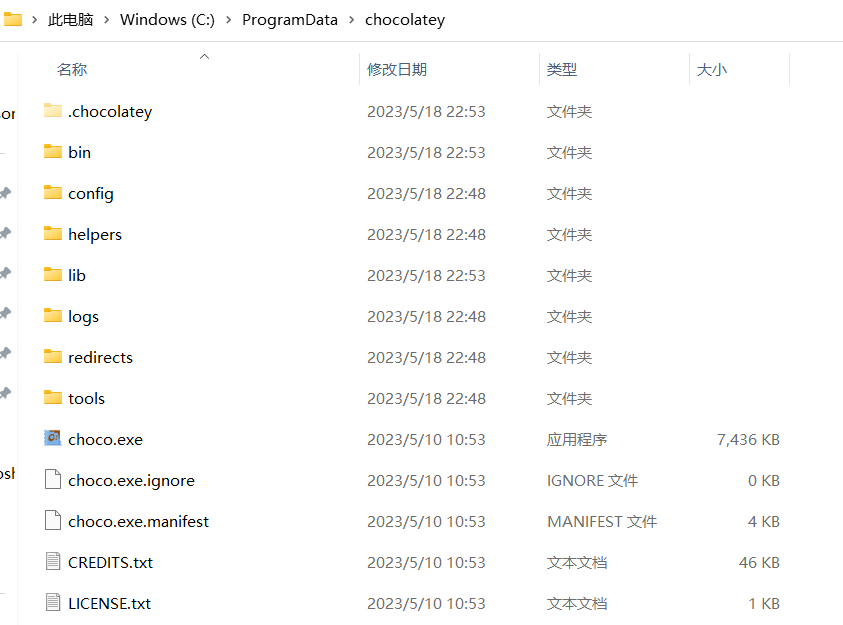
查看版本号判断是否安装成功或生成C:\ProgramData\chocolatey目录(这个目录是隐藏的)
choco
三.安装hugo
在Windows PowerShell中运行以下命令
choco install hugo -confirm

验证是否成功
hugo version

四.安装Typora
下载安装即可,非常简单
链接:https://pan.baidu.com/s/1r_EN-E80K11_UsZd5s5Ltw?pwd=gw4r
提取码:gw4r
安装Typora的目的是编写md文件,当然也可以用vscode等。
到这里环境就搭建好了
使用Hugo创建博客
一.创建博客
使用hugo new site 命令创建博客:
# 博客项目的名字为myblog
hugo new site myblog

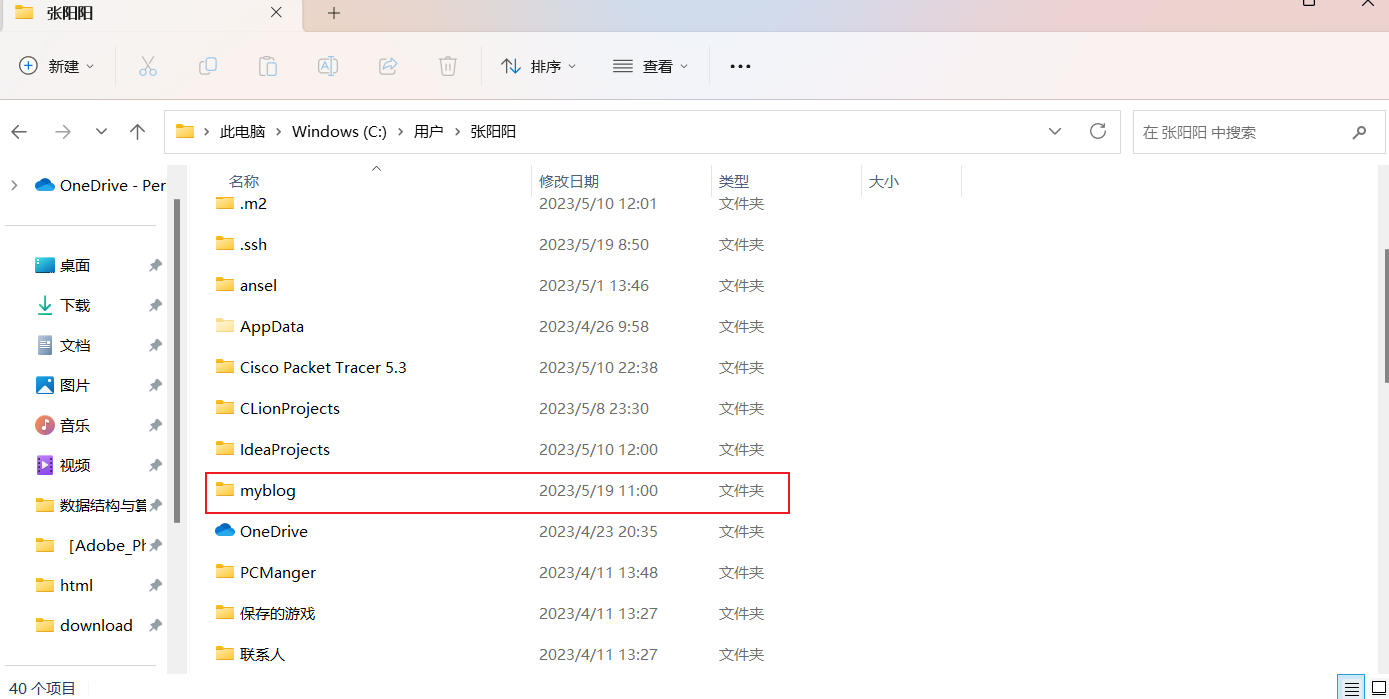
可以看到在C:/Users/UsersName/下生成了myblog文件,也就是我们的博客文件。
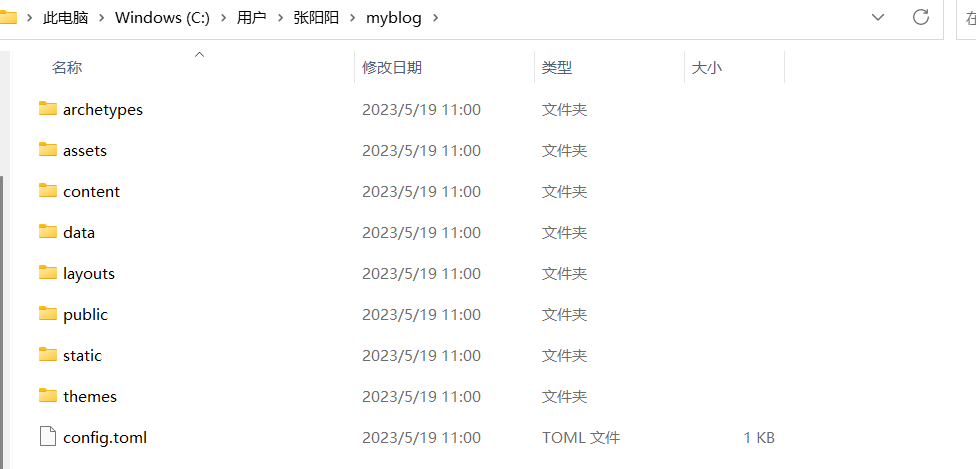
这是myblog文件目录,其中content存放我们写的博客,themes存放我们以后下载的主题,static存放图片等。
├── archetypes
│   └── default.md
├── config.toml         # 博客站点的配置文件
├── content             # 博客文章所在目录
├── data
├── layouts             # 网站布局
├── static              # 一些静态内容
└── themes              # 博客主题
二.下载主题
我们要运行我们的博客,必须要有主题才行。
主题下载网站:Complete List | Hugo Themes (gohugo.io)
选择一款自己喜欢的主题

进入页面后,他会告诉我们如何下载和使用
1.下载主题
要切换到我们博客根目录下使用命令
cd myblog
git submodule add https://github.com/theNewDynamic/gohugo-theme-ananke.git themes/ananke

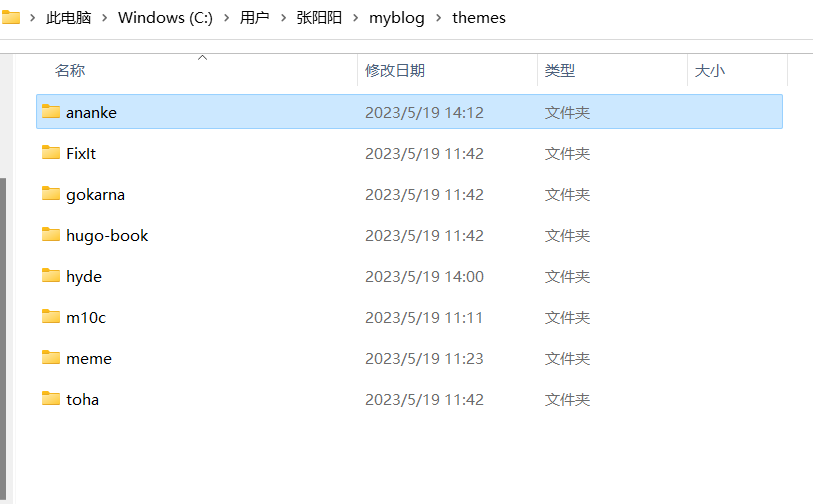
此时我们的themes目录下已经有了我们下载的主题
在C:\Users\UserName\myblog目录下用记事本打开并修改config配置文件
baseurl = "localhost" # 发布网址这里暂时填本地地址,以后修改为github的地址

languageCode = "ja" #语言

title = "ZYY博客"#标题

author = "zhyyang"#作者
theme="ananke" #主题名称要写,不然不好发布,这里填自己下载的主题名
2.在本地启动博客
hugo server -t ananke --buildDrafts
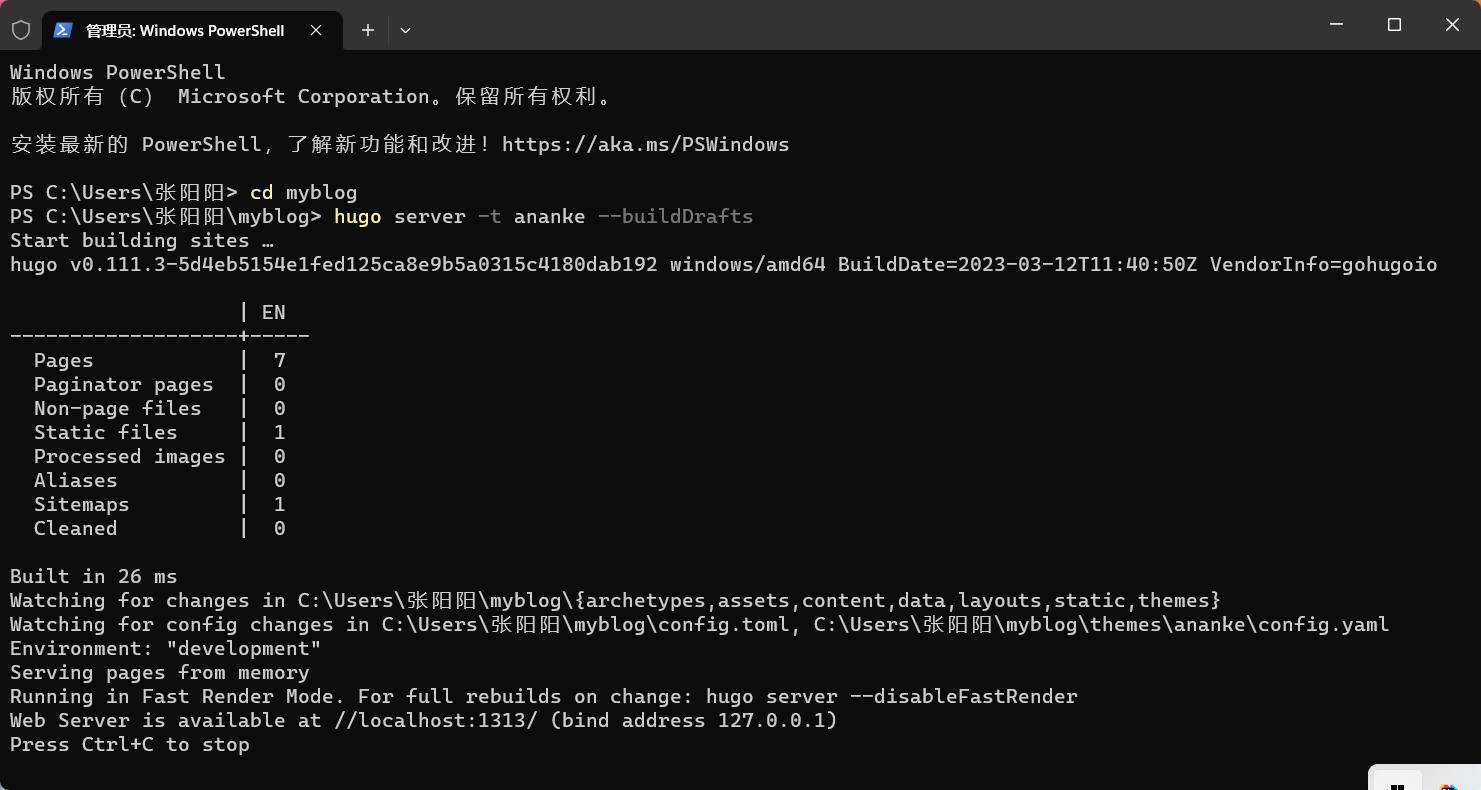
然后在浏览器输入
http://localhost:1313/
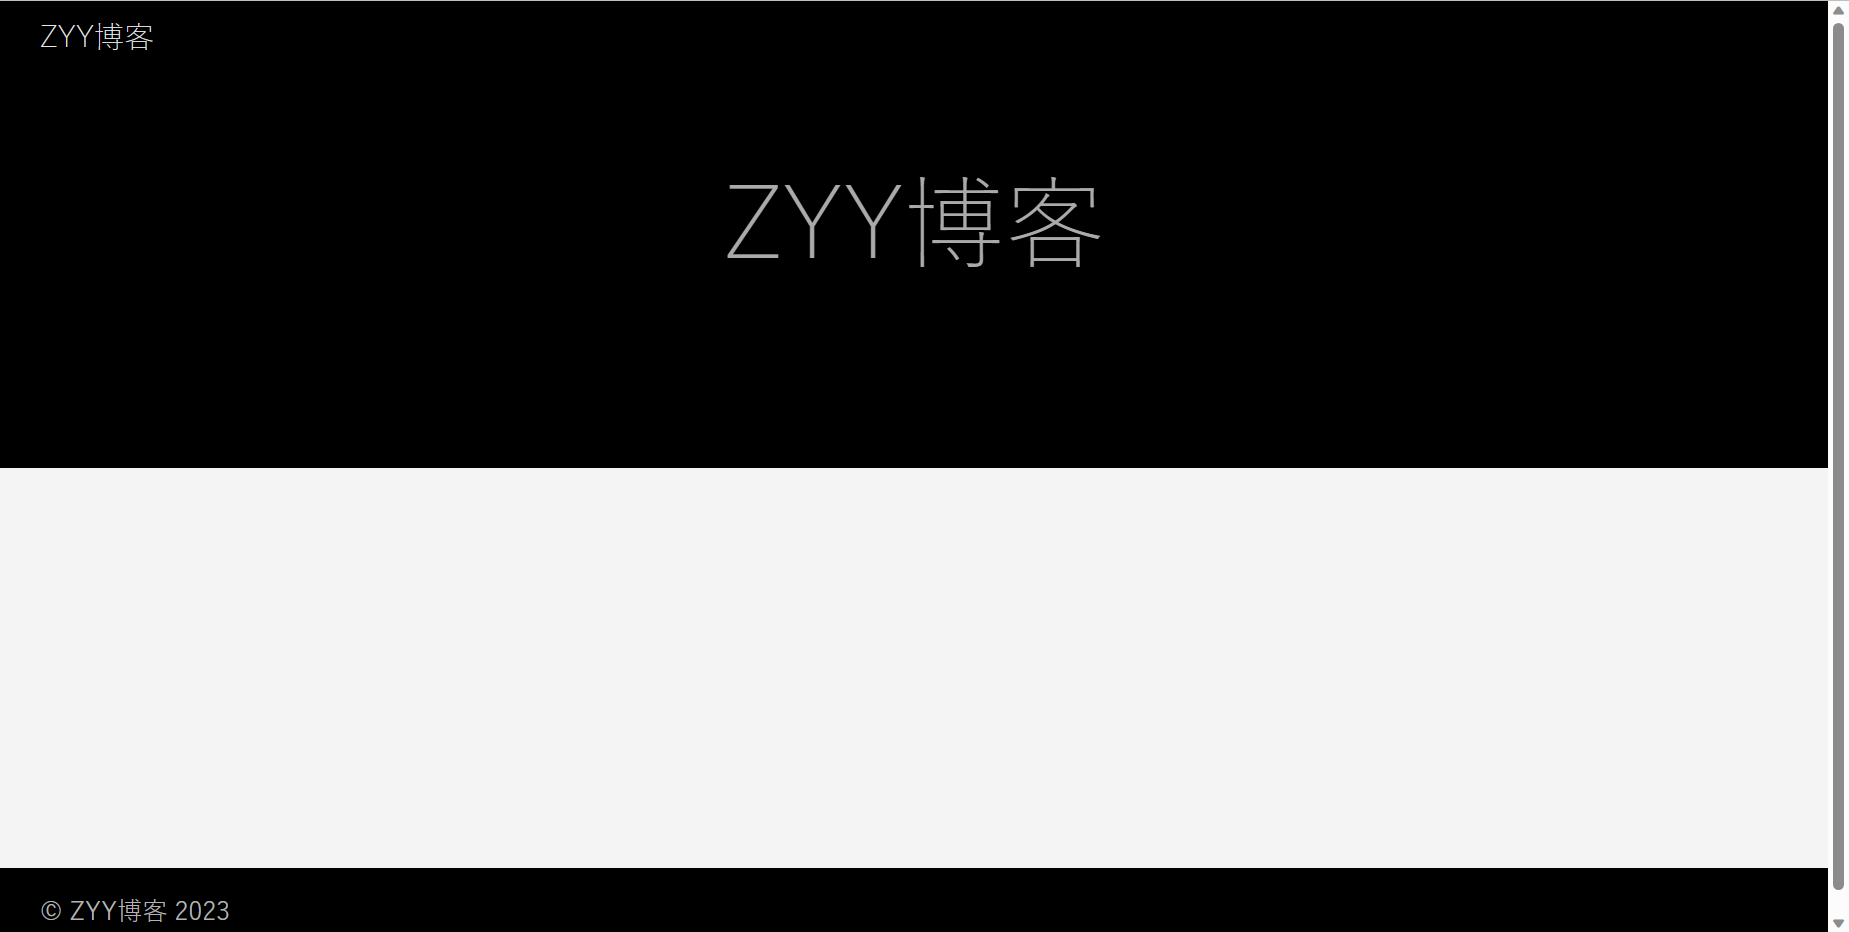
能打开网页即可(关闭服务器 Ctrl+c)。
二.实际写一篇文章
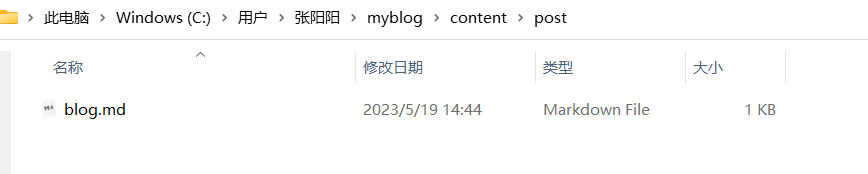
hugo new post/blog.md

可以看到C:\Users\UserName\myblog\content\post目录下生成了我们的md文件,我们通过编写md格式的文件来当我们的博客
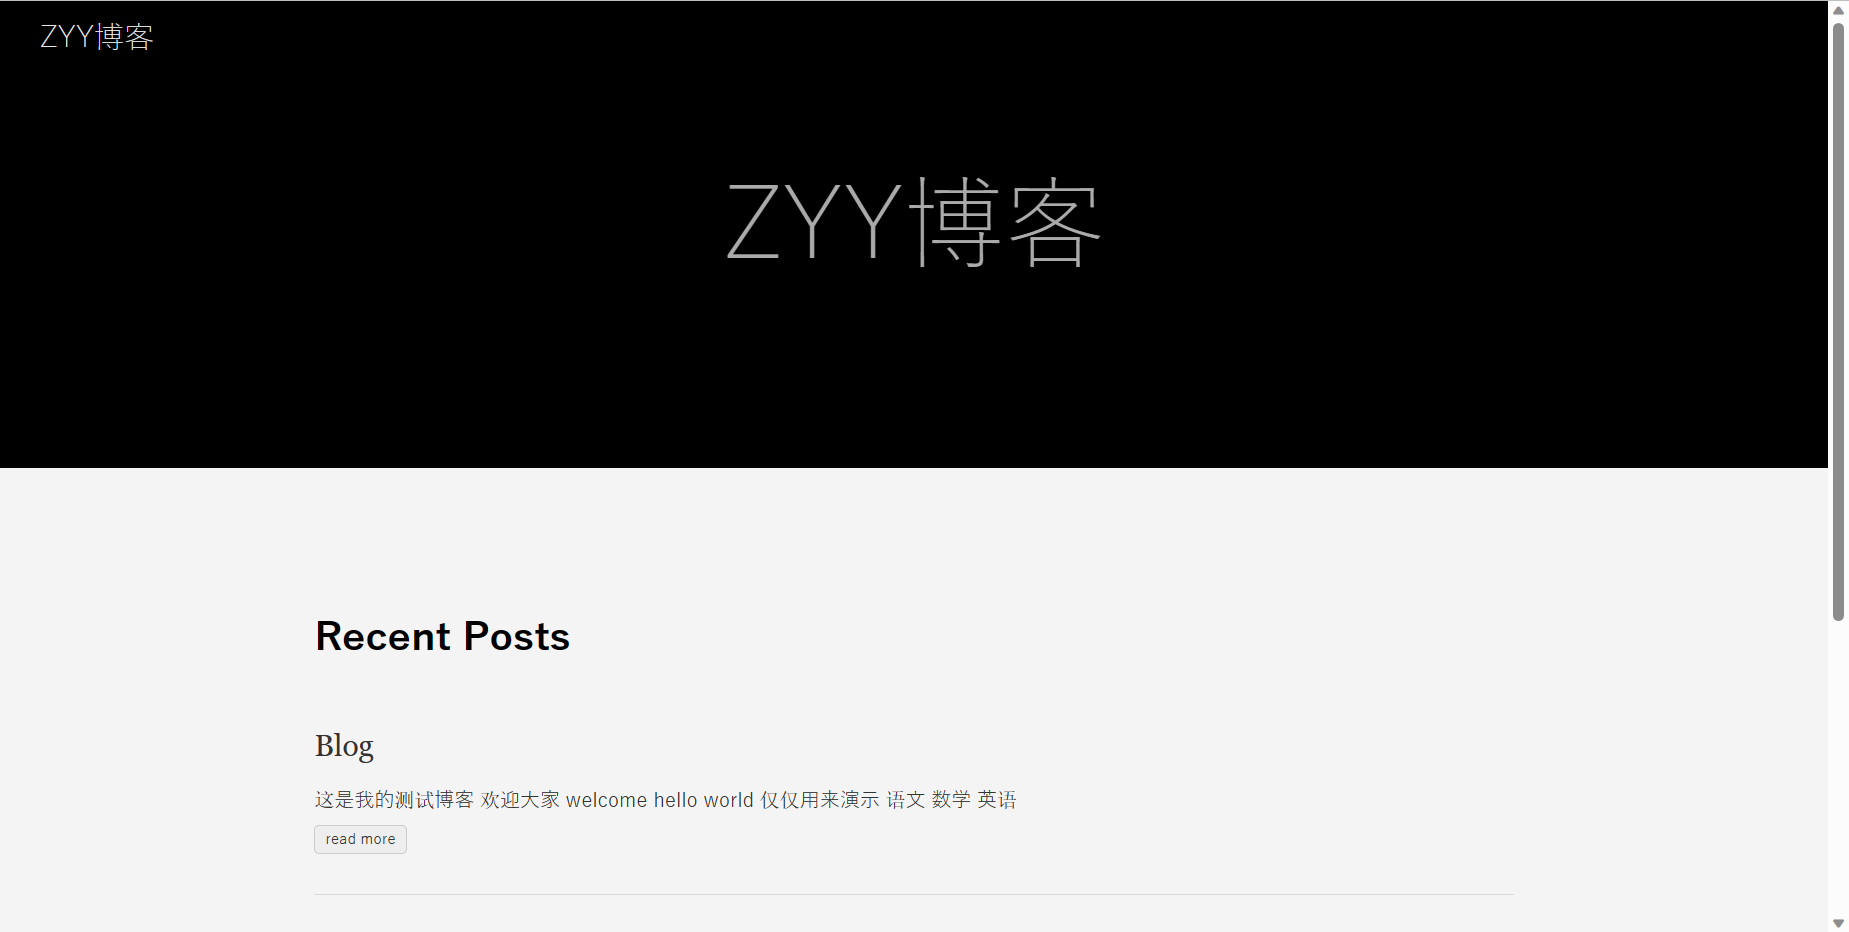
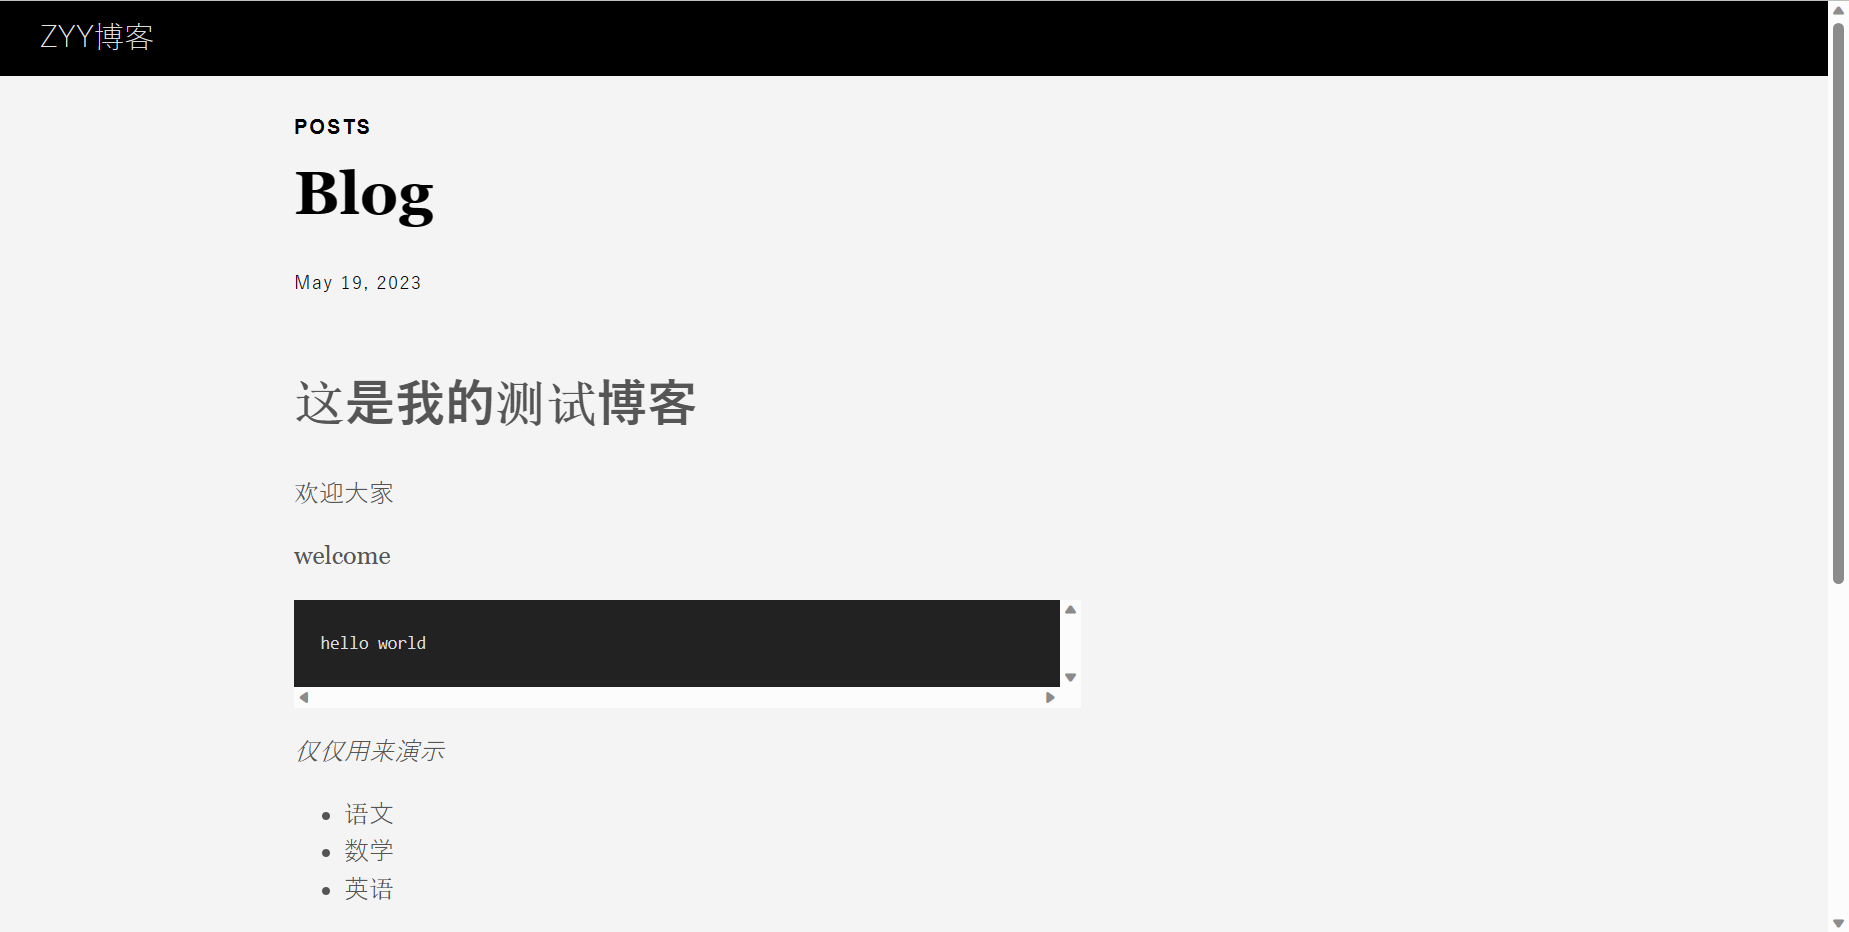
用Typora打开这个文件,随便输入点内容。然后在重启服务器即可看到:
三.将个人博客部署到服务器
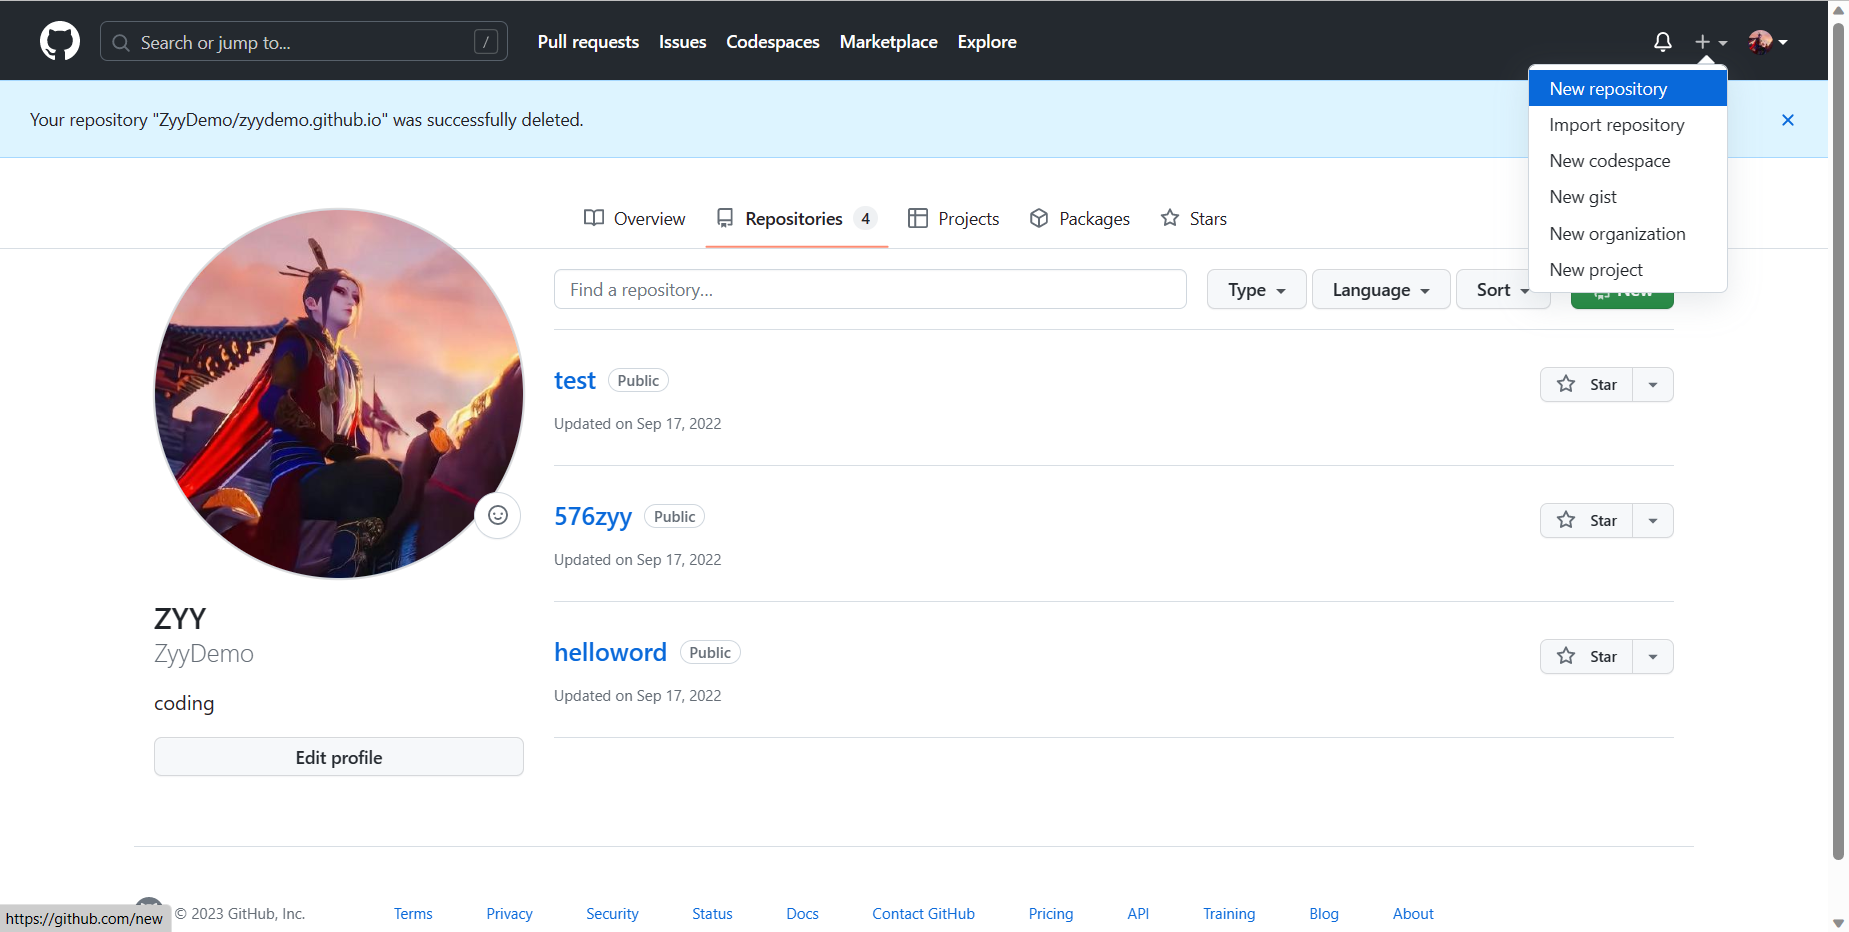
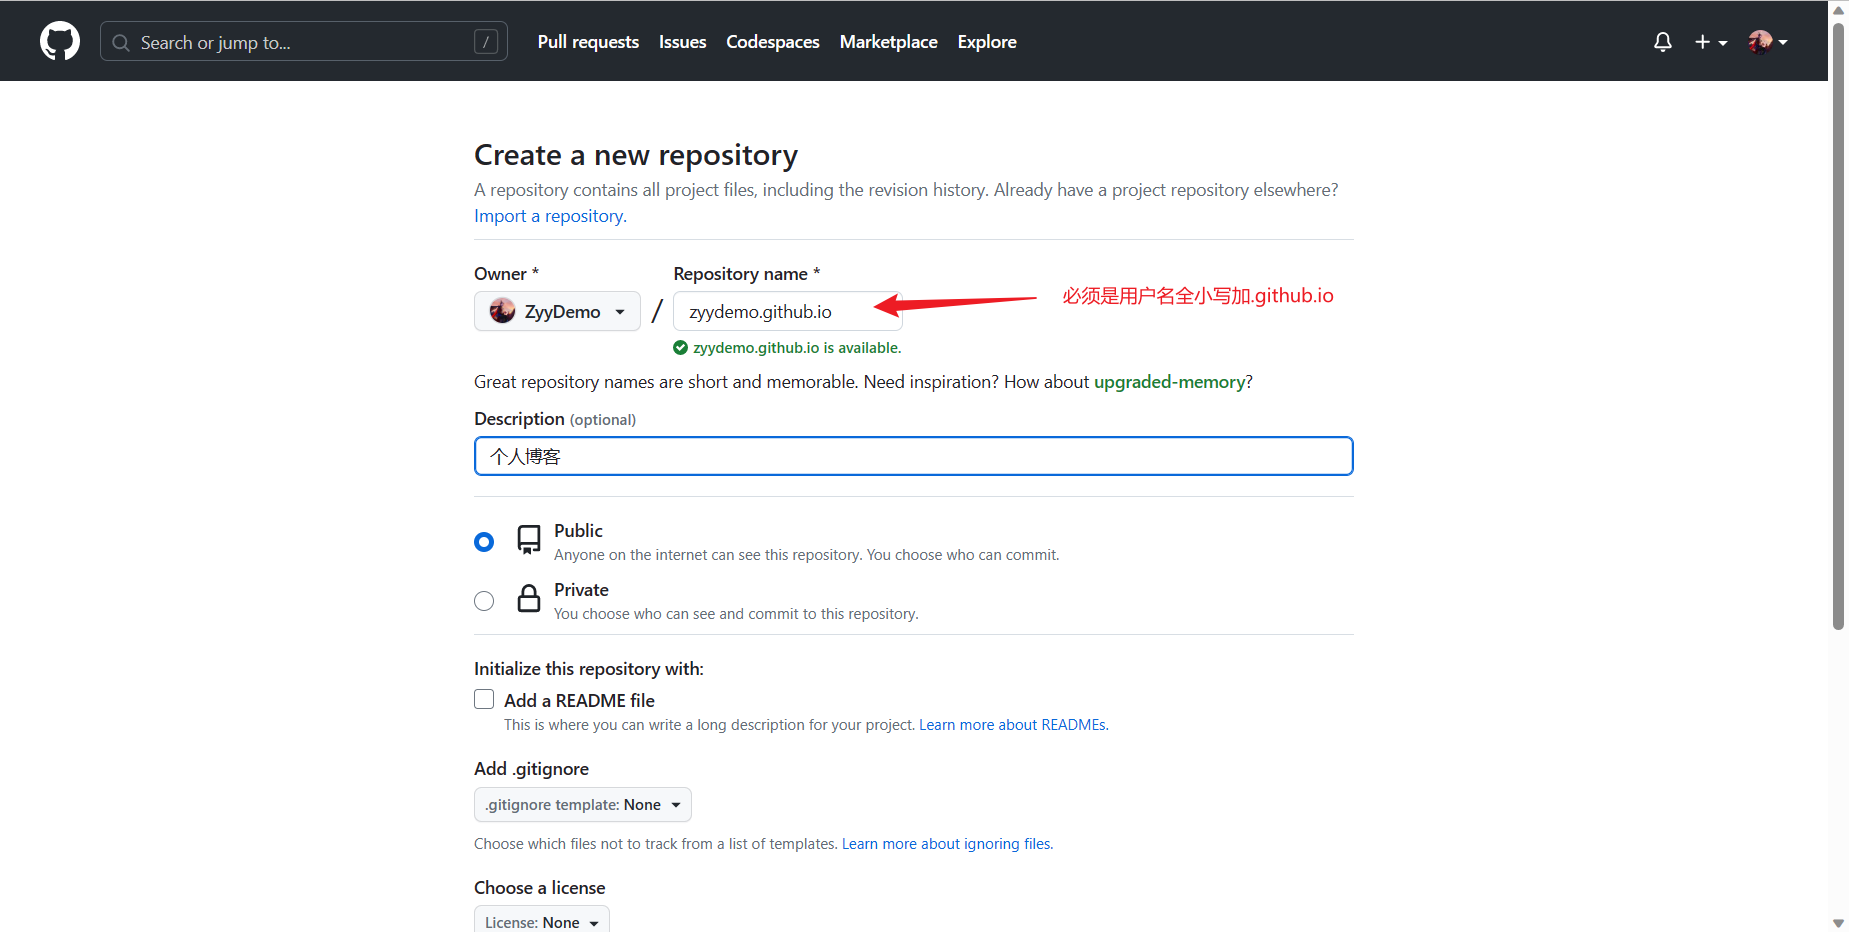
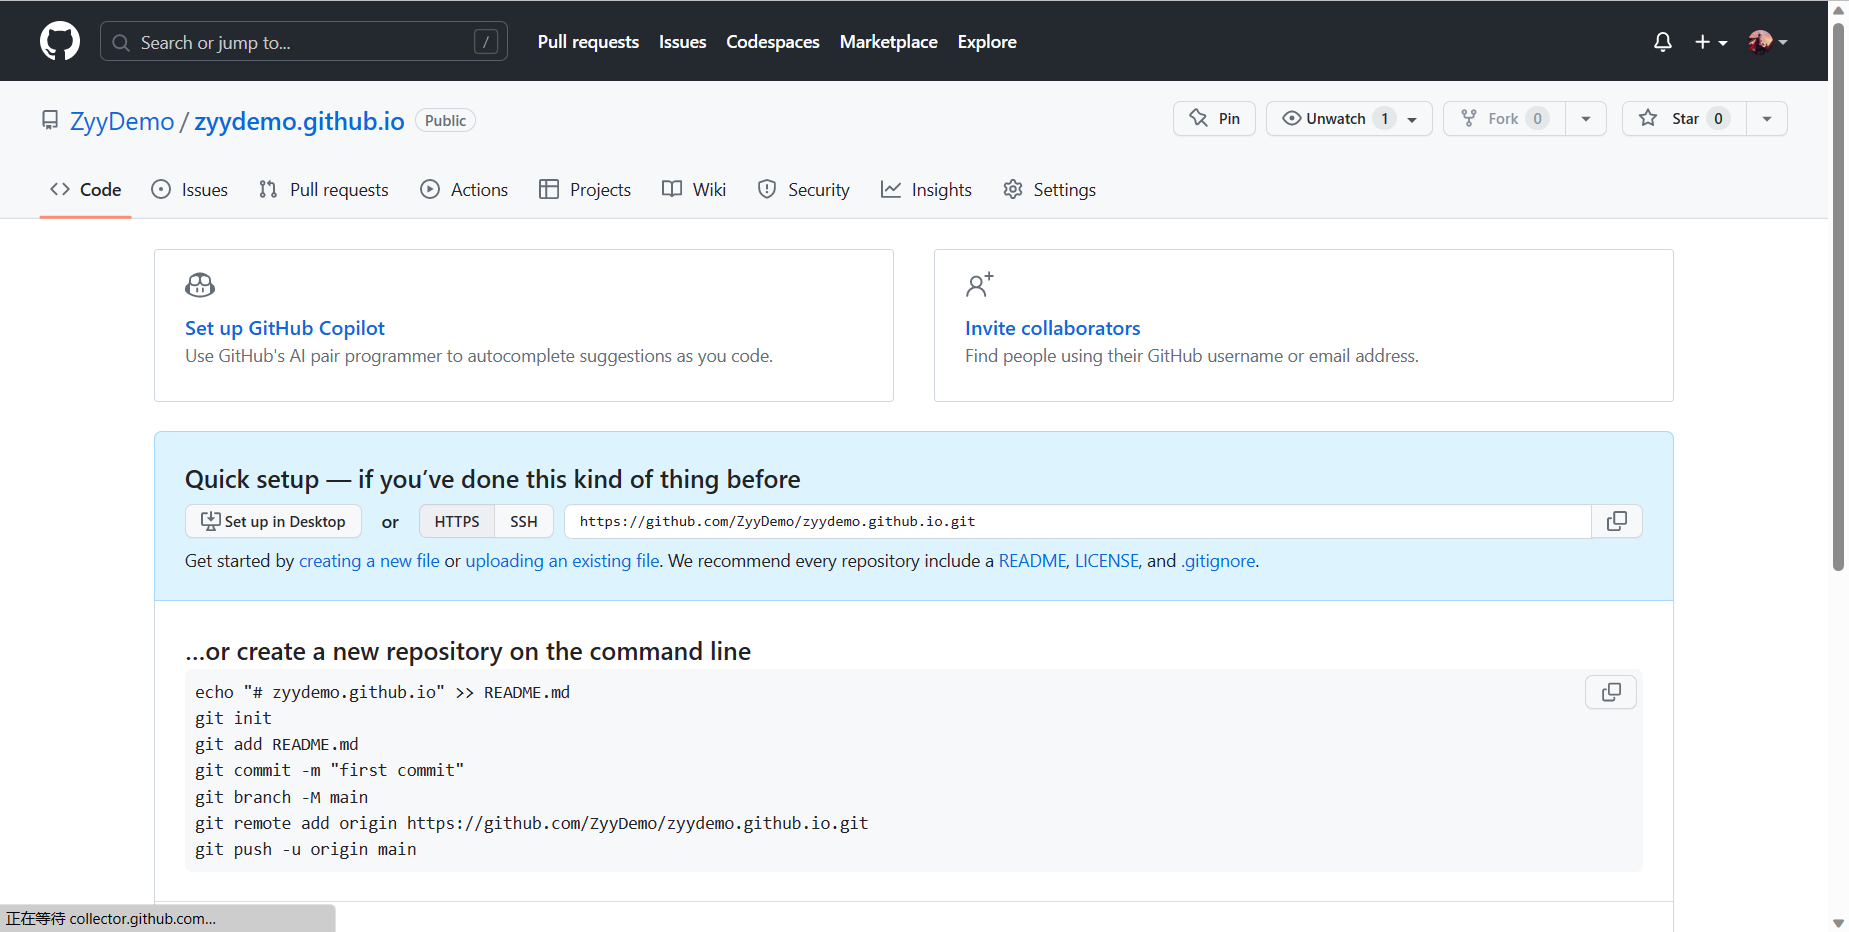
在github上新建一个仓库
注意!!!
注意!!!
注意!!!
从此刻开始要将zyydemo.github,io换成自己的仓库名
hugo --theme=ananke --baseUrl="https://zyydemo.github.io/" --buildDrafts
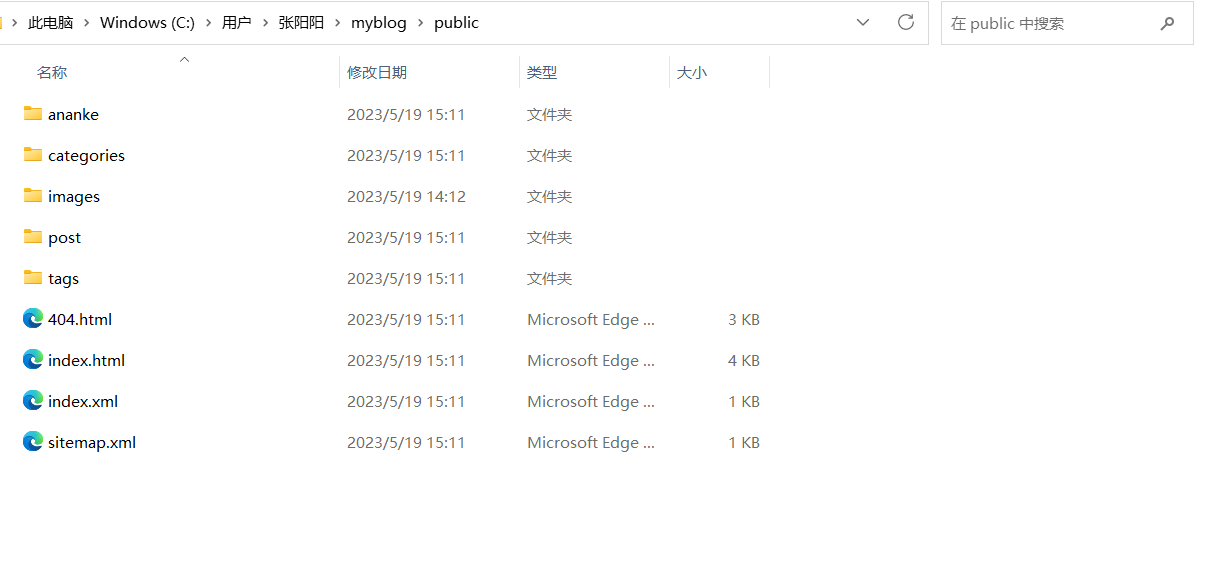
此时目录下出现了public文件
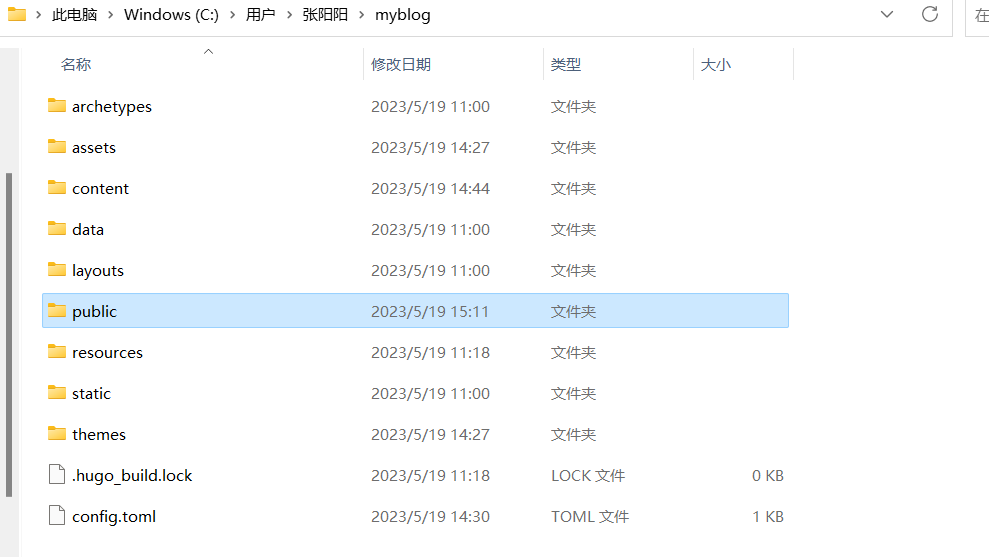
这就是以后我们的页面目录
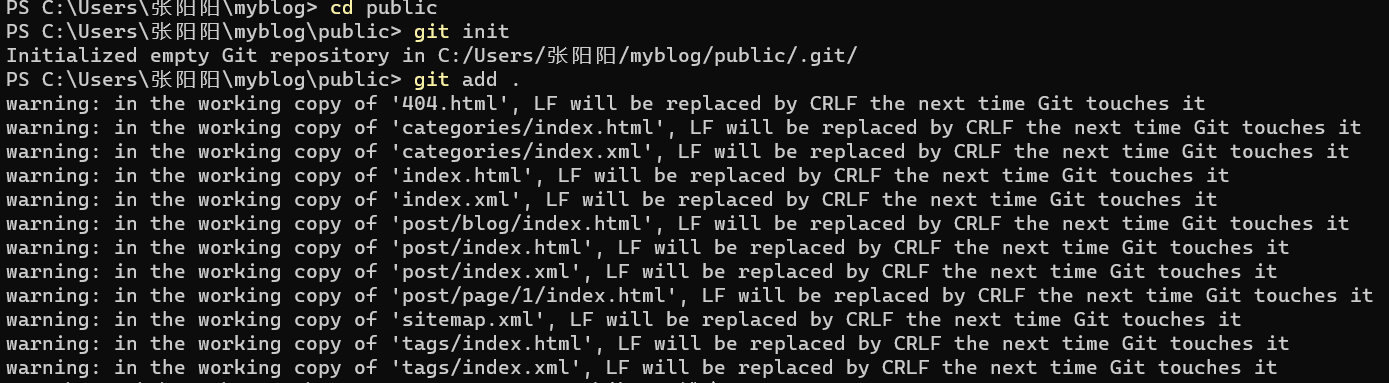
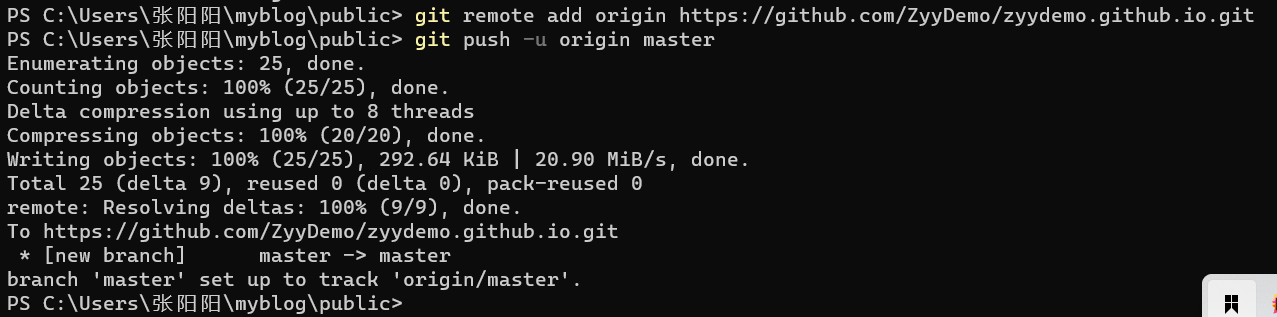
cd public
git add .
git commit -m"我的hugo博客"
git remote add origin https://github.com/ZyyDemo/zyydemo.github.io.git
git push -u origin master
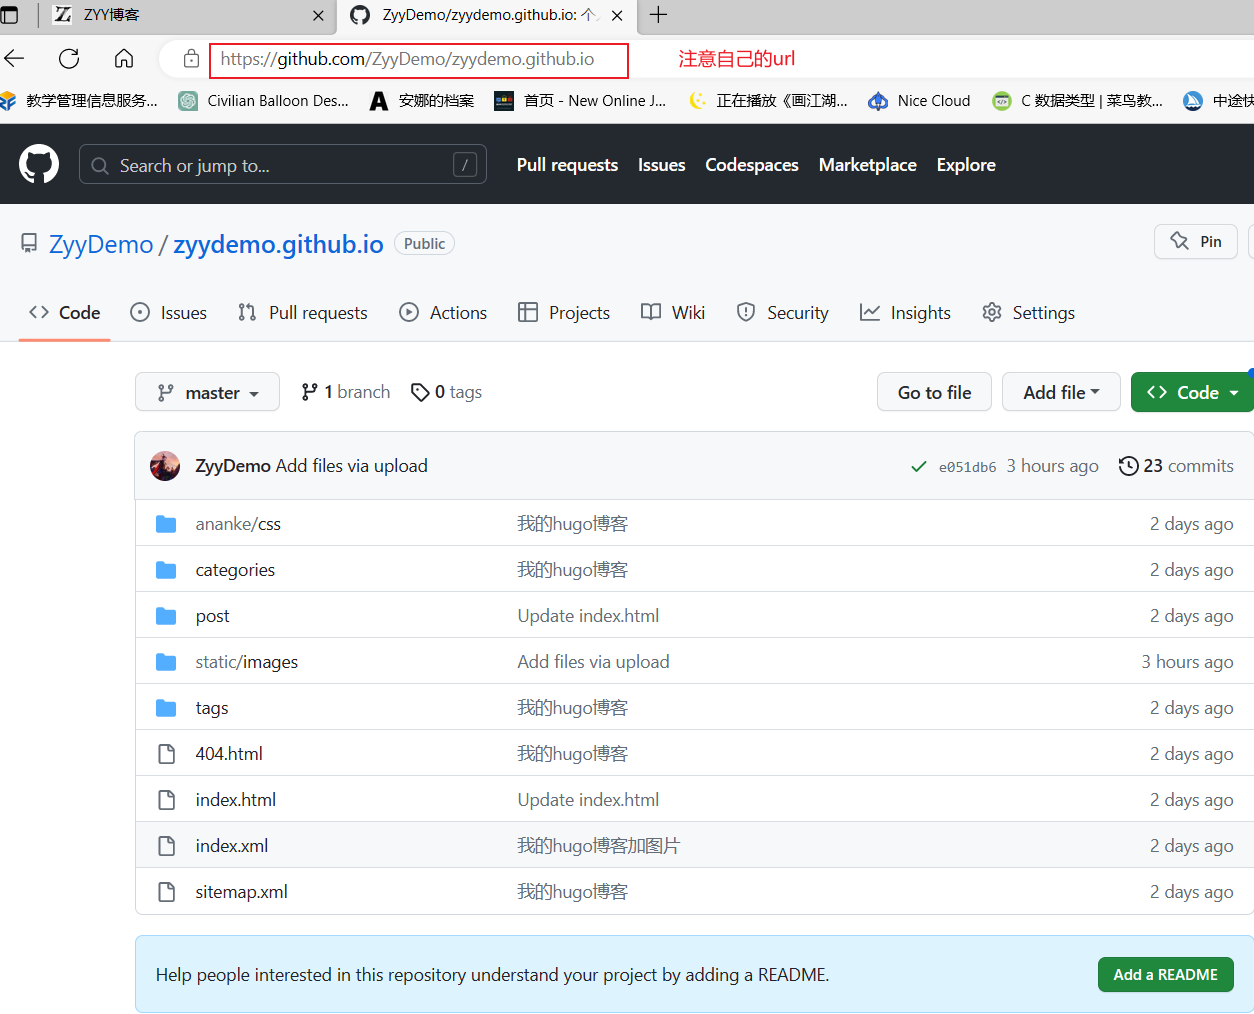
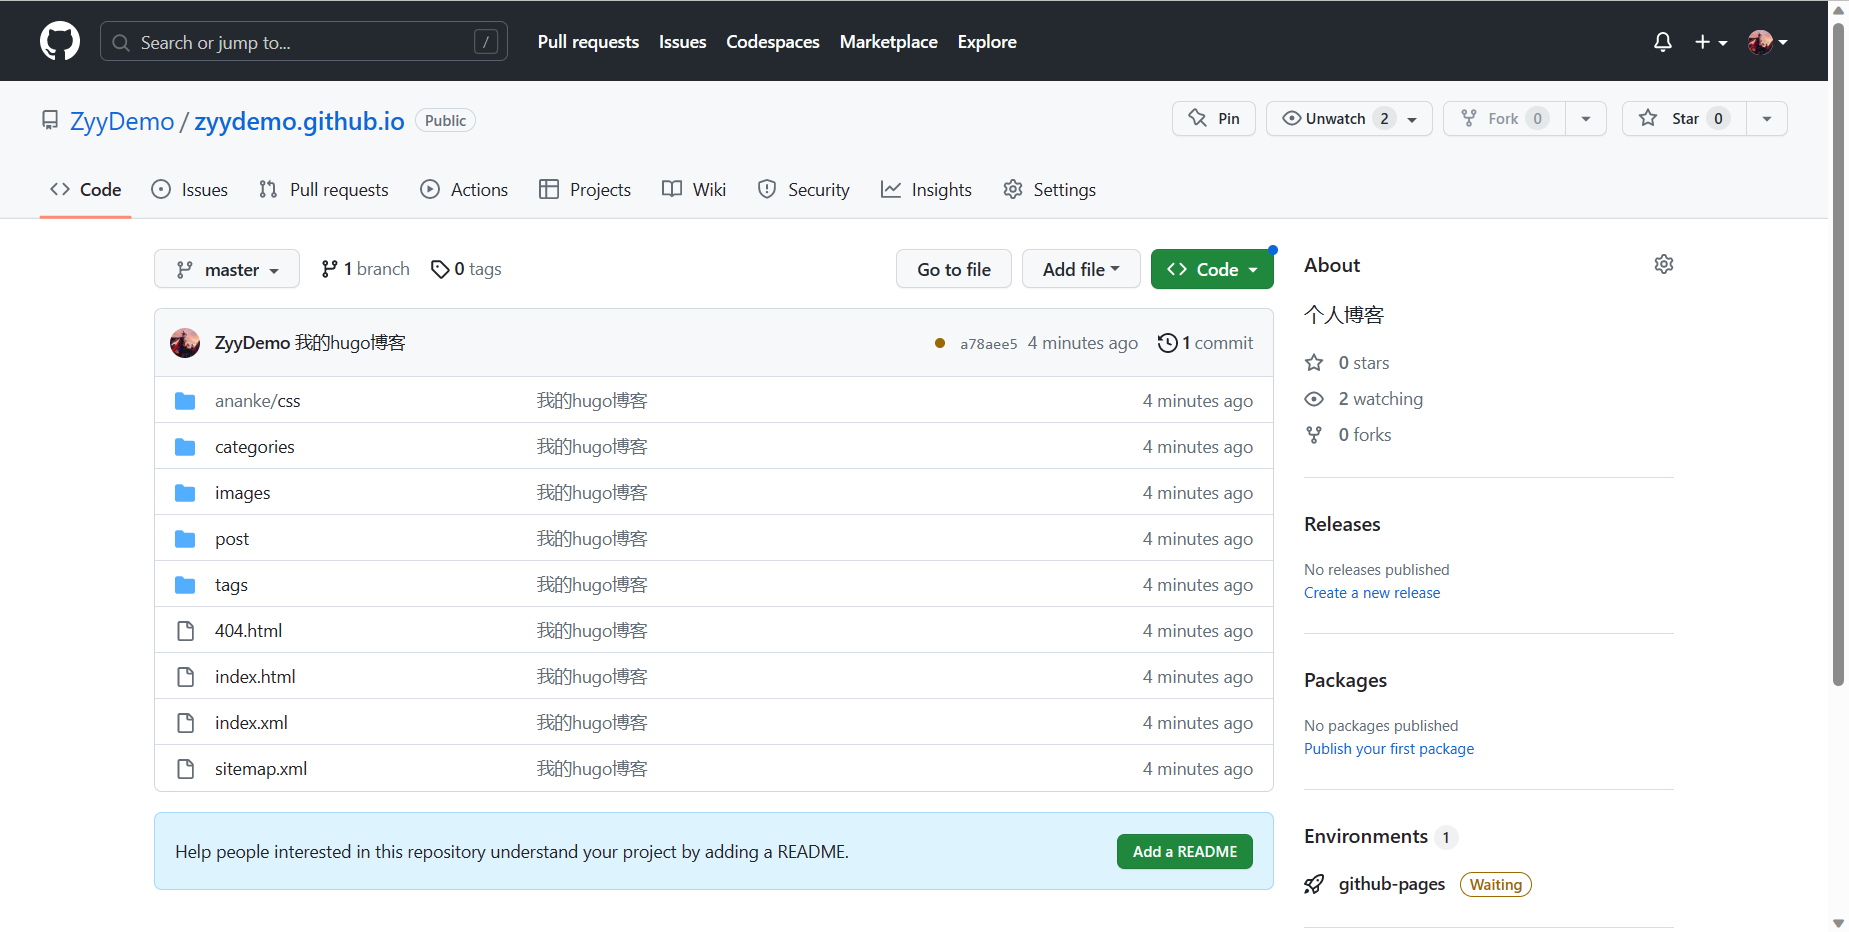
可以看到github上创建的仓库上已经有了我们的文件
浏览器访问
https://zyydemo.github.io/
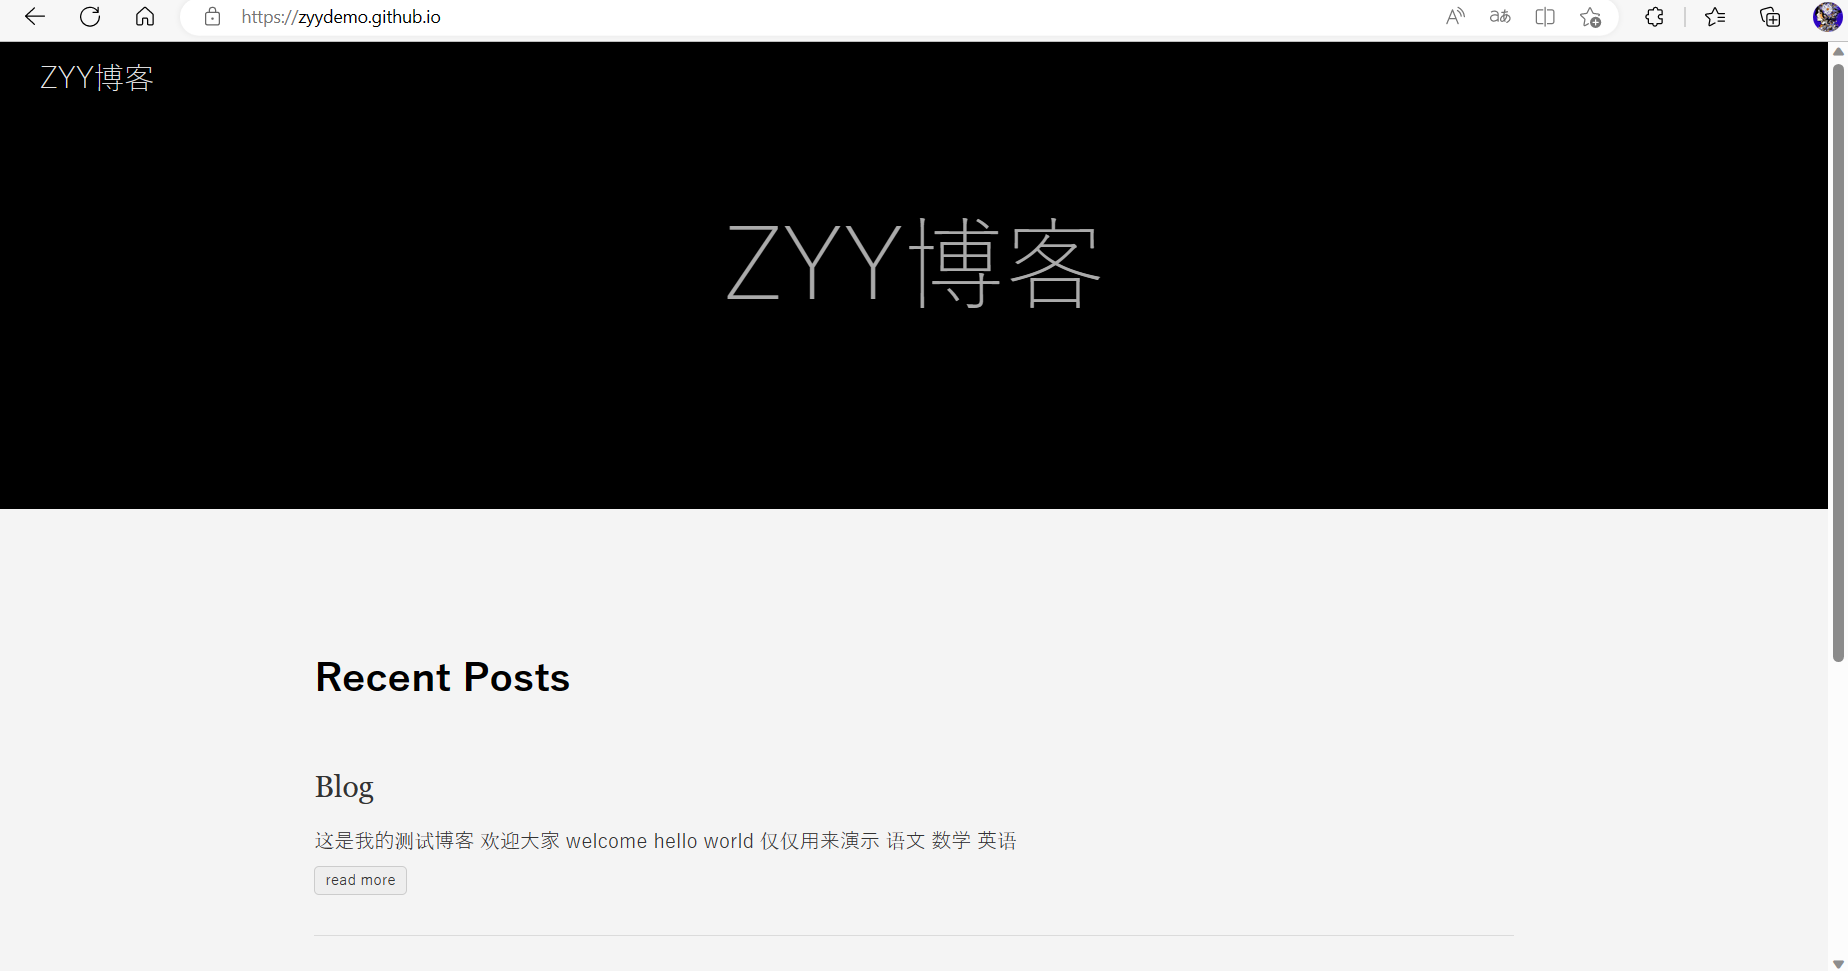
大功告成!!!
若想使用hexo搭建博客请访问[这里](使用hexo+GitHub搭建个人博客 | Code Chronicle (zhyyang926.top))

旨在为数千万中国开发者提供一个无缝且高效的云端环境,以支持学习、使用和贡献开源项目。
更多推荐


 4
4 0
0- 0


 已为社区贡献1条内容

所有评论(0)