
C+++libtorch1.7(release版本)+pytorch1.7+cuda10.1+opencv4.7.0实现YOLOv5模型调用
C+++libtorch1.7(release版本)+pytorch1.7+cuda10.1+opencv4.7.0实现YOLOv5模型调用1、libtorch与opencv配置主要参考库文件名称,如果觉得太麻烦,那么可以把库目录中的以.lib为后缀名的文件名全部添加上去。(1)项目>>>属性>>>VC++目录,分别在包含目录和库目录中添加自己libtorch包的include文件路径和lib文件
C+++libtorch1.7(release版本)+pytorch1.7+cuda10.1+opencv4.7.0实现YOLOv5模型调用
1、libtorch与opencv配置主要参考:
(1)https://zhuanlan.zhihu.com/p/513571175
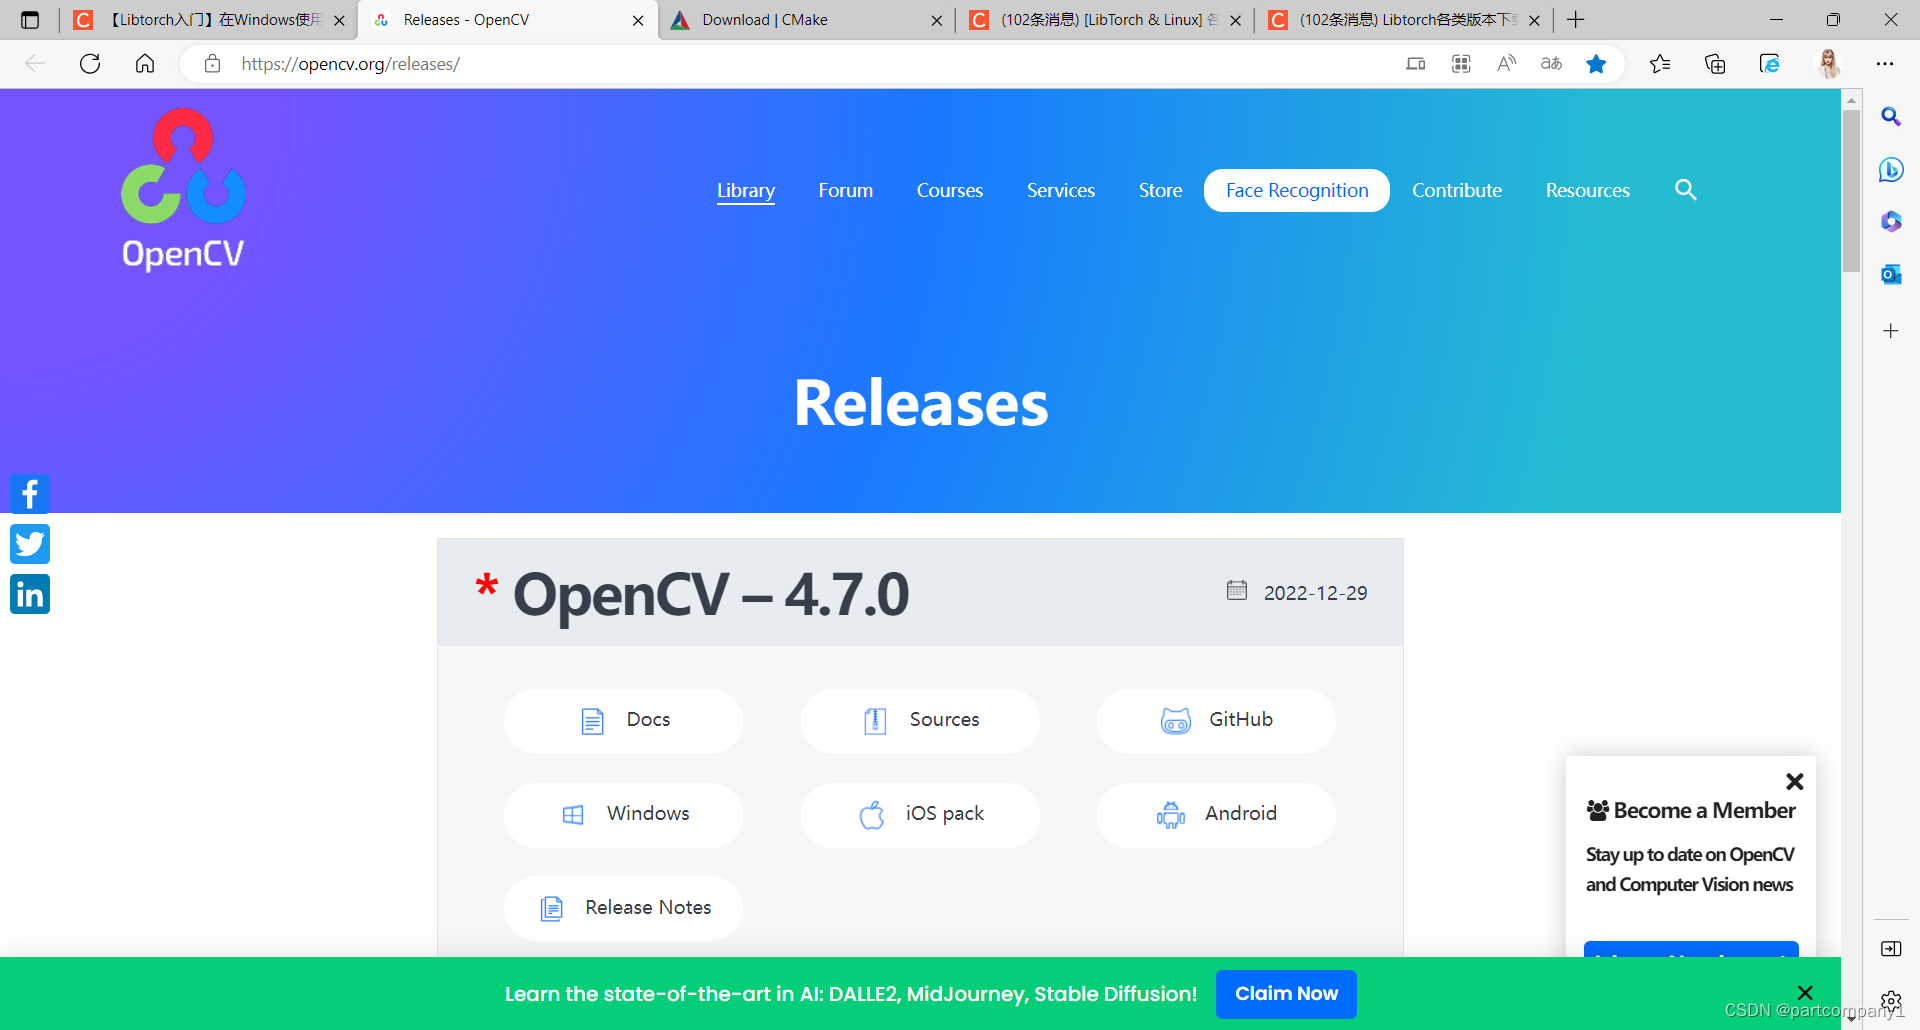
(2)官网地址:https://opencv.org/releases/blog.csdnimg.cn/cd85285bff894261b8785229107ba99e.png)
下载后安装
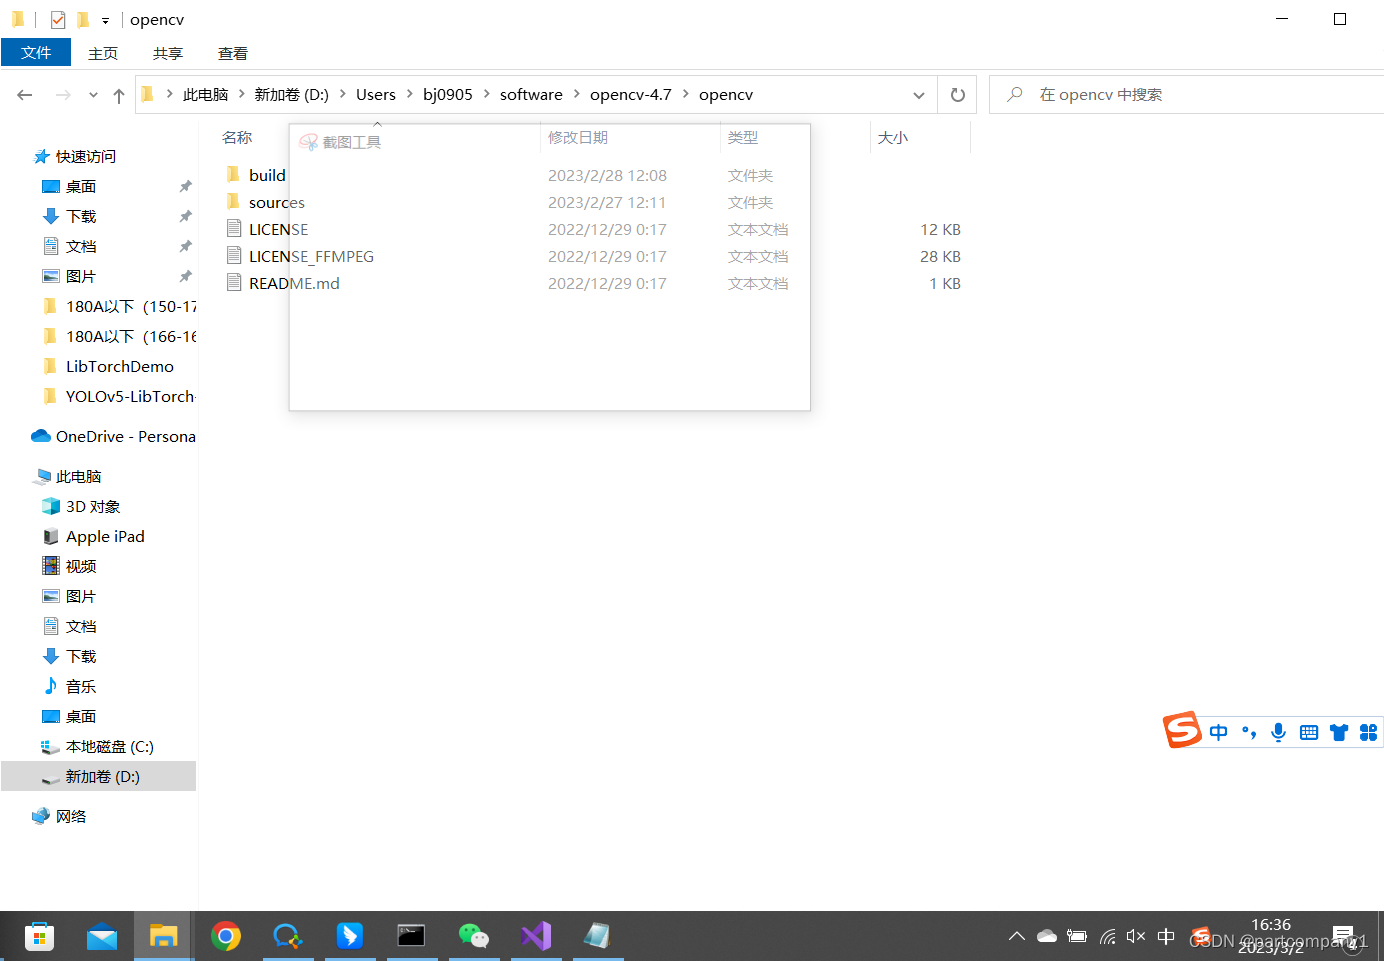
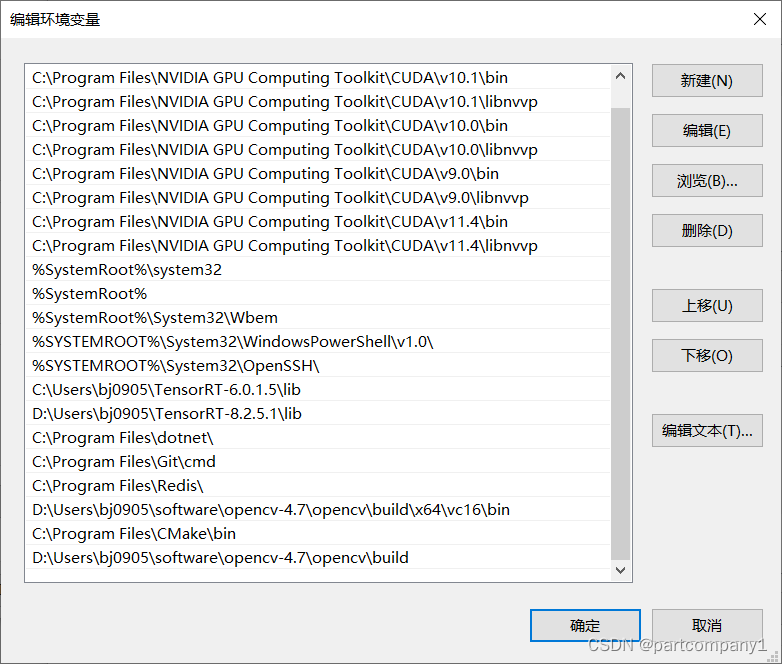
配置环境变量
下载Libtorch:Libtorch版本要与pytorch版本严格对应
Windows下:
Libtorch 1.0.0
cpu-release: https://download.pytorch.org/libtorch/cpu/libtorch-win-shared-with-deps-1.0.0.zip
cu100-release: https://download.pytorch.org/libtorch/cu100/libtorch-win-shared-with-deps-1.0.0.zip
1.0没有debug的版本,从1.1开始有
Libtorch 1.1.0
cpu-debug: https://download.pytorch.org/libtorch/cpu/libtorch-win-shared-with-deps-debug-1.1.0.zip
cpu-release: https://download.pytorch.org/libtorch/cpu/libtorch-win-shared-with-deps-1.1.0.zip
cu100-debug: https://download.pytorch.org/libtorch/cu100/libtorch-win-shared-with-deps-debug-1.1.0.zip
cu100-release: https://download.pytorch.org/libtorch/cu100/libtorch-win-shared-with-deps-1.1.0.zip
Libtorch 1.1.0 —— 1.5.0:
按照1.1.0的格式来,只需要修改最后的几个数字或对应的CUDA的版本
Libtorch 1.6.0
cpu-debug:https://download.pytorch.org/libtorch/cpu/libtorch-win-shared-with-deps-debug-1.6.0%2Bcpu.zip
cpu-release:https://download.pytorch.org/libtorch/cpu/libtorch-win-shared-with-deps-1.6.0%2Bcpu.zip
cu101-debug: https://download.pytorch.org/libtorch/cu101/libtorch-win-shared-with-deps-debug-1.6.0%2Bcu101.zip
cu101-release: https://download.pytorch.org/libtorch/cu101/libtorch-win-shared-with-deps-1.6.0%2Bcu101.zip
cu102-debug: https://download.pytorch.org/libtorch/cu102/libtorch-win-shared-with-deps-debug-1.6.0.zip
cu102-release: https://download.pytorch.org/libtorch/cu102/libtorch-win-shared-with-deps-1.6.0.zip
Libtorch 1.7.0
cpu-debug:https://download.pytorch.org/libtorch/cpu/libtorch-win-shared-with-deps-debug-1.7.0%2Bcpu.zip
cpu-release:https://download.pytorch.org/libtorch/cpu/libtorch-win-shared-with-deps-1.7.0%2Bcpu.zip
cu101-debug: https://download.pytorch.org/libtorch/cu101/libtorch-win-shared-with-deps-debug-1.7.0%2Bcu101.zip
cu101-release: https://download.pytorch.org/libtorch/cu101/libtorch-win-shared-with-deps-1.7.0%2Bcu101.zip
cu102-debug:https://download.pytorch.org/libtorch/cu102/libtorch-win-shared-with-deps-debug-1.7.0.zip
cu102-debug:https://download.pytorch.org/libtorch/cu102/libtorch-win-shared-with-deps-1.7.0.zip
Libtorch 1.8.0
cpu-debug:https://download.pytorch.org/libtorch/cpu/libtorch-win-shared-with-deps-debug-1.8.0%2Bcpu.zip
cpu-release:https://download.pytorch.org/libtorch/cpu/libtorch-win-shared-with-deps-1.8.0%2Bcpu.zip
cu102-debug: https://download.pytorch.org/libtorch/cu102/libtorch-win-shared-with-deps-debug-1.8.0.zip
cu102-release: https://download.pytorch.org/libtorch/cu102/libtorch-win-shared-with-deps-1.8.0.zip
Libtorch 1.9.0
cpu-debug:https://download.pytorch.org/libtorch/cpu/libtorch-win-shared-with-deps-debug-1.9.0%2Bcpu.zip
cpu-release:https://download.pytorch.org/libtorch/cpu/libtorch-win-shared-with-deps-1.9.0%2Bcpu.zip
cu102-debug:https://download.pytorch.org/libtorch/cu102/libtorch-win-shared-with-deps-debug-1.9.0%2Bcu102.zip
cu102-release:https://download.pytorch.org/libtorch/cu102/libtorch-win-shared-with-deps-1.9.0%2Bcu102.zip
libtorch 1.10.0
cpu-debug:https://download.pytorch.org/libtorch/cpu/libtorch-win-shared-with-deps-debug-1.10.0%2Bcpu.zip
cpu-release:https://download.pytorch.org/libtorch/cpu/libtorch-win-shared-with-deps-1.10.0%2Bcpu.zip
cu102-debug: https://download.pytorch.org/libtorch/cu102/libtorch-win-shared-with-deps-debug-1.10.0%2Bcu102.zip
cu102-release: https://download.pytorch.org/libtorch/cu102/libtorch-win-shared-with-deps-1.10.0%2Bcu102.zip
libtorch 1.11.0
cpu-debug:https://download.pytorch.org/libtorch/cpu/libtorch-win-shared-with-deps-debug-1.11.0%2Bcpu.zip
cpu-release:https://download.pytorch.org/libtorch/cpu/libtorch-win-shared-with-deps-1.11.0%2Bcpu.zip
cu113-debug: https://download.pytorch.org/libtorch/cu113/libtorch-win-shared-with-deps-debug-1.11.0%2Bcu113.zip
cu113-release: https://download.pytorch.org/libtorch/cu113/libtorch-win-shared-with-deps-1.11.0%2Bcu113.zip
libtorch 1.12.0
cpu-release:https://download.pytorch.org/libtorch/cpu/libtorch-win-shared-with-deps-1.12.0%2Bcpu.zip
cpu-debug:https://download.pytorch.org/libtorch/cpu/libtorch-win-shared-with-deps-debug-1.12.0%2Bcpu.zip
cu113-debug: https://download.pytorch.org/libtorch/cu113/libtorch-win-shared-with-deps-debug-1.12.0%2Bcu113.zip
cu113-release: https://download.pytorch.org/libtorch/cu113/libtorch-win-shared-with-deps-1.12.0%2Bcu113.zip
cu116-debug: https://download.pytorch.org/libtorch/cu116/libtorch-win-shared-with-deps-debug-1.12.0%2Bcu116.zip
cu116-release: https://download.pytorch.org/libtorch/cu116/libtorch-win-shared-with-deps-1.12.0%2Bcu116.zip
libtorch 1.13.0
cpu-release:https://download.pytorch.org/libtorch/cpu/libtorch-win-shared-with-deps-1.13.0%2Bcpu.zip
cpu-debug:https://download.pytorch.org/libtorch/cpu/libtorch-win-shared-with-deps-debug-1.13.0%2Bcpu.zip
cu116-debug: https://download.pytorch.org/libtorch/cu116/libtorch-win-shared-with-deps-debug-1.13.0%2Bcu116.zip
cu116-release: https://download.pytorch.org/libtorch/cu116/libtorch-win-shared-with-deps-1.13.0%2Bcu116.zip
cu117-debug: https://download.pytorch.org/libtorch/cu117/libtorch-win-shared-with-deps-debug-1.13.0%2Bcu117.zip
cu117-release: https://download.pytorch.org/libtorch/cu117/libtorch-win-shared-with-deps-1.13.0%2Bcu117.zip
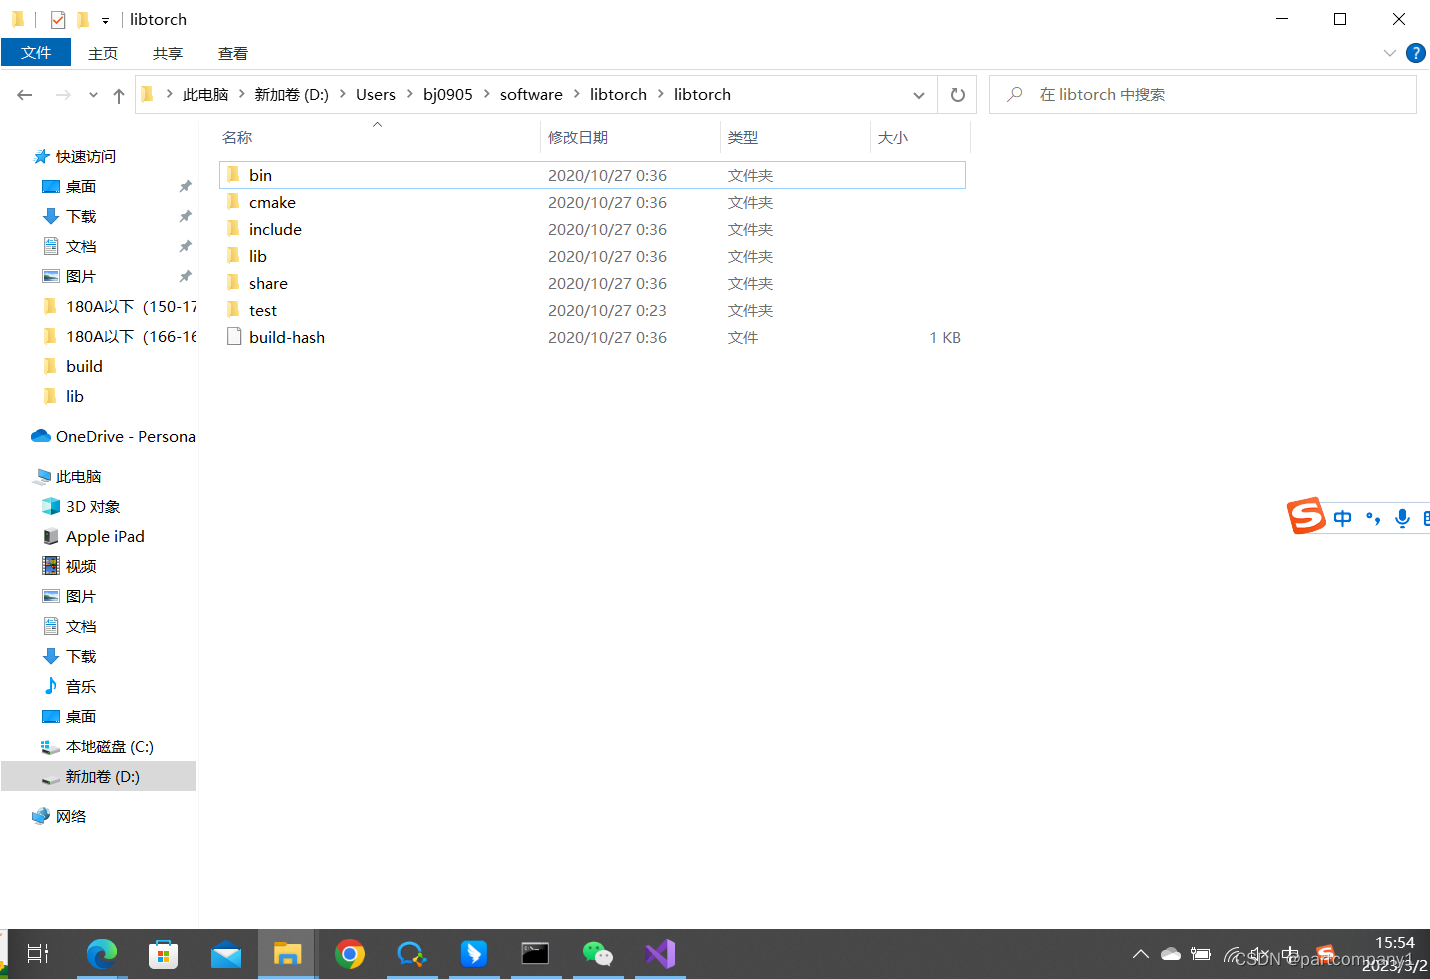
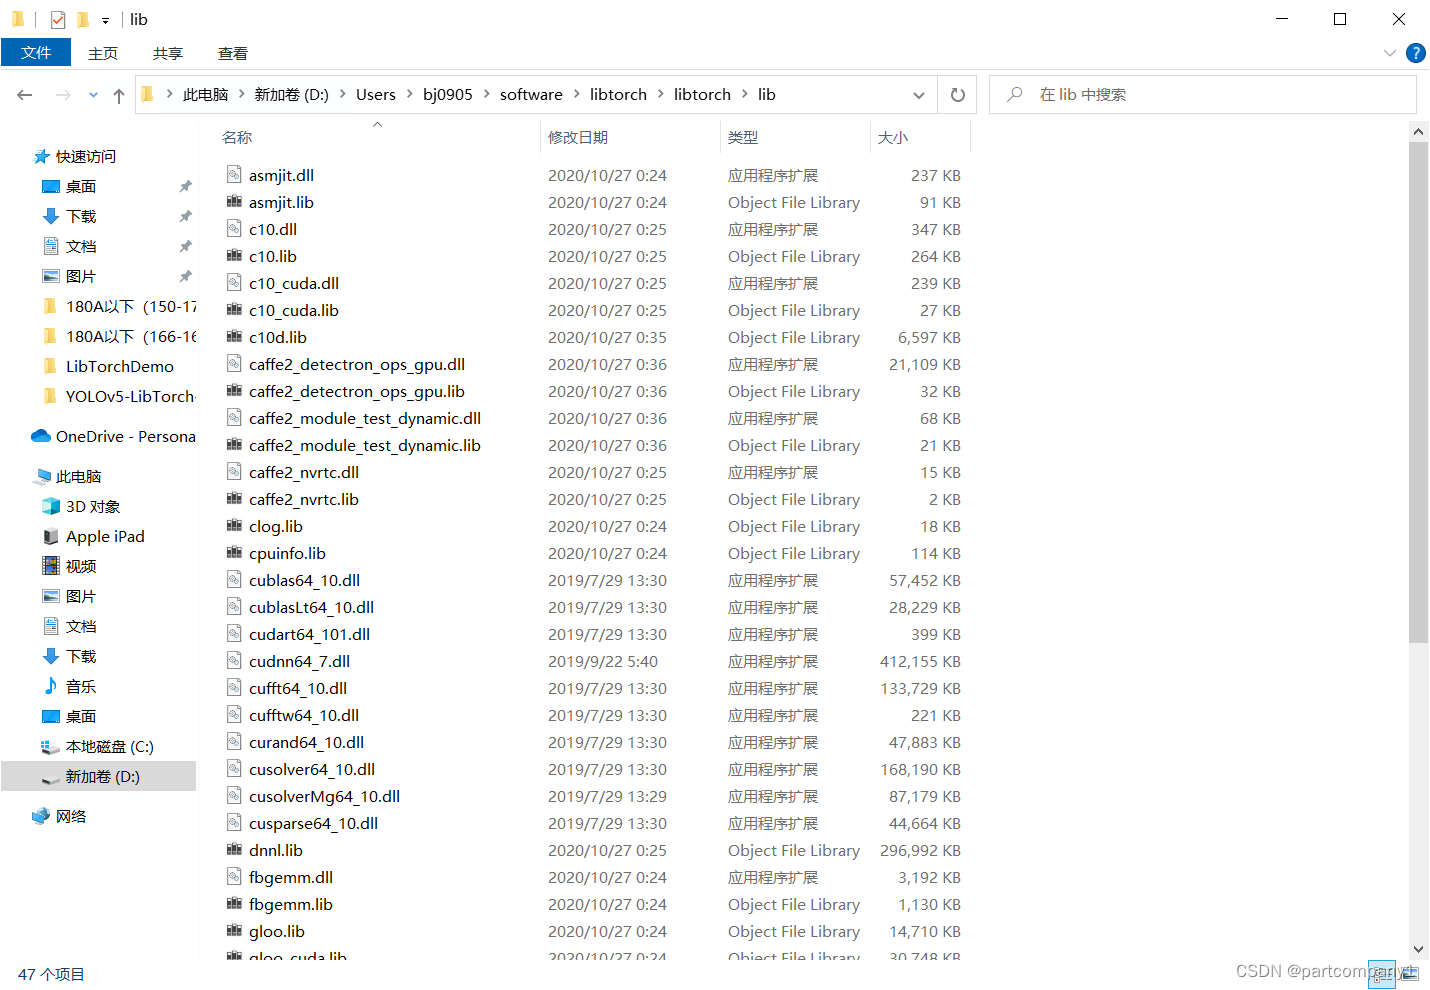
解压到本地:
2、配置VS项目属性(opencv和libtorch):
新建一个项目(所建为控制台应用程序):
项目配置改为 Release x64环境。
打开如下设置:
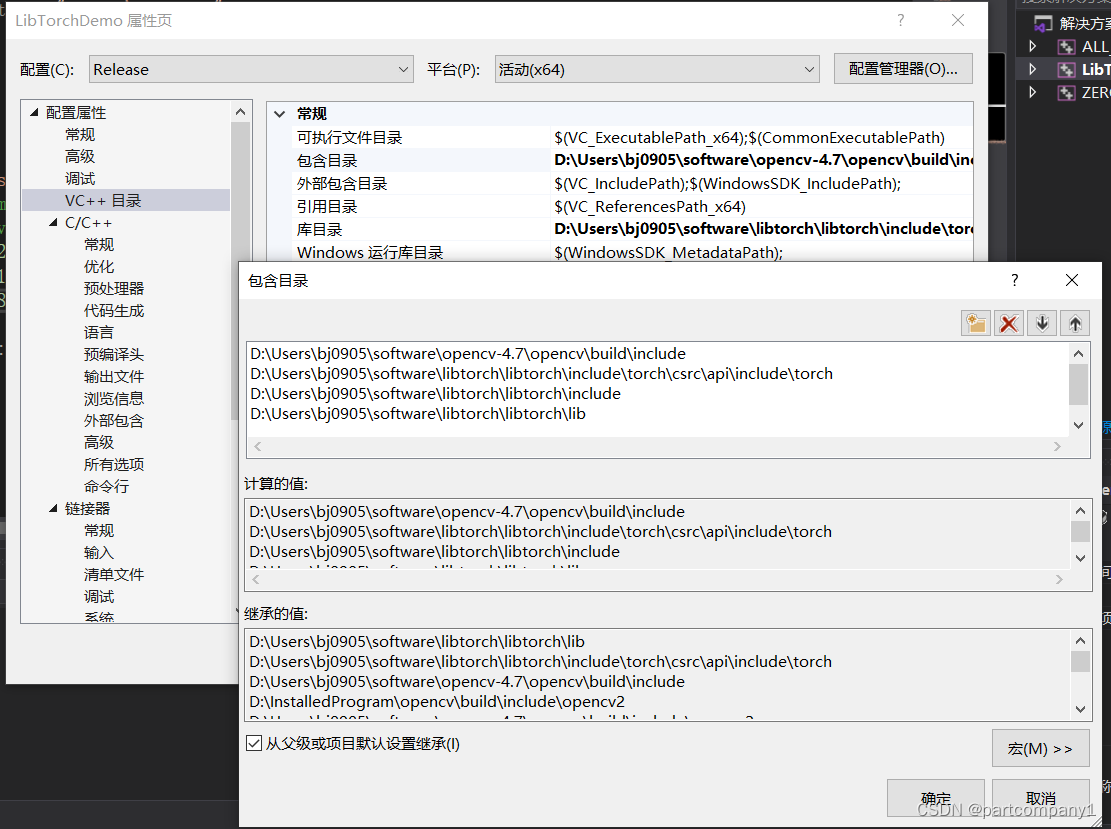
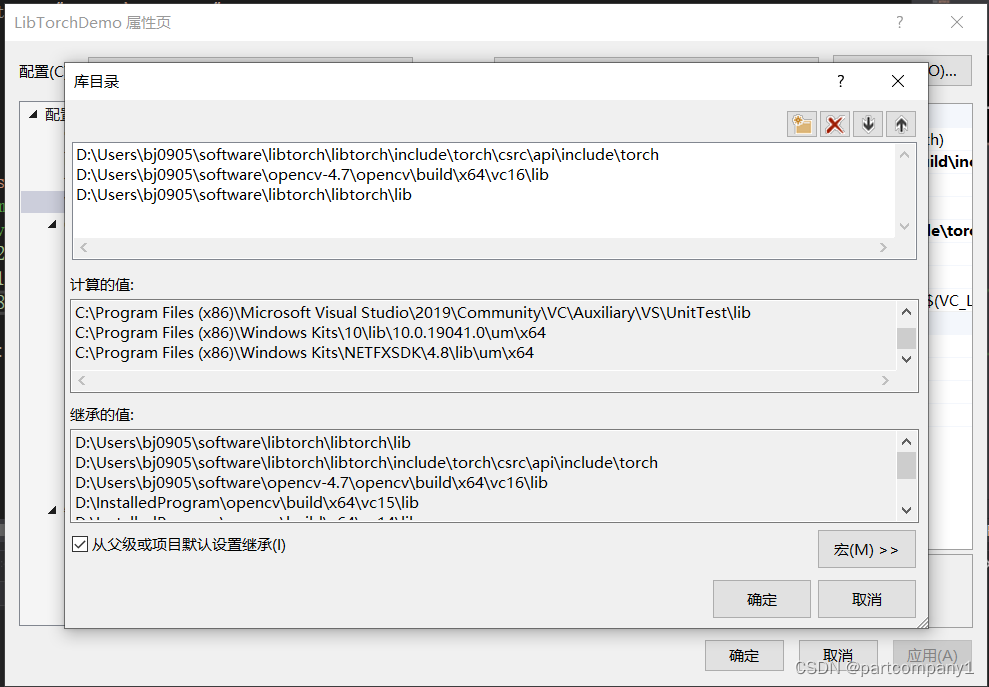
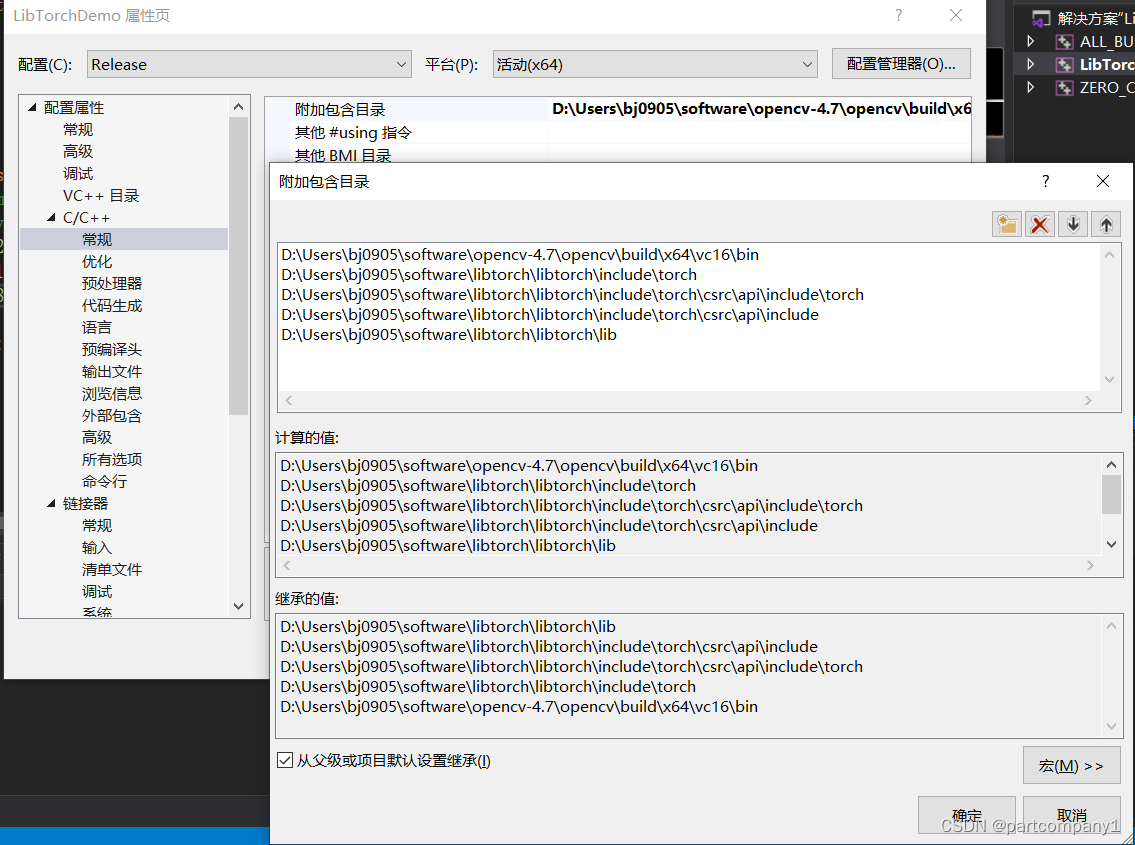
(1)项目>>>属性>>>VC++目录,分别在包含目录和库目录中添加自己libtorch包的include文件路径和lib文件路径。
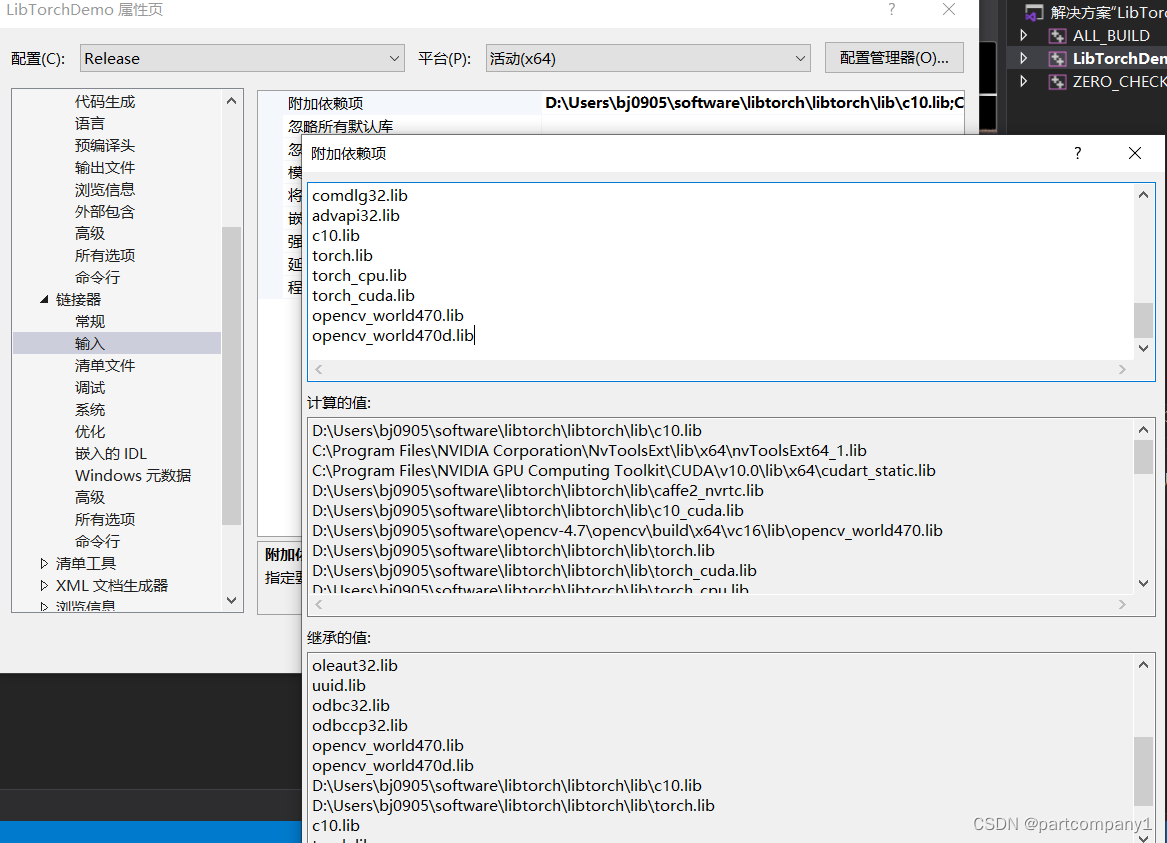
(2)项目>>>属性>>>链接器>>>输入,在附加依赖项中添加需要的库文件名称,如果觉得太麻烦,那么可以把库目录中的以.lib为后缀名的文件名全部添加上去。
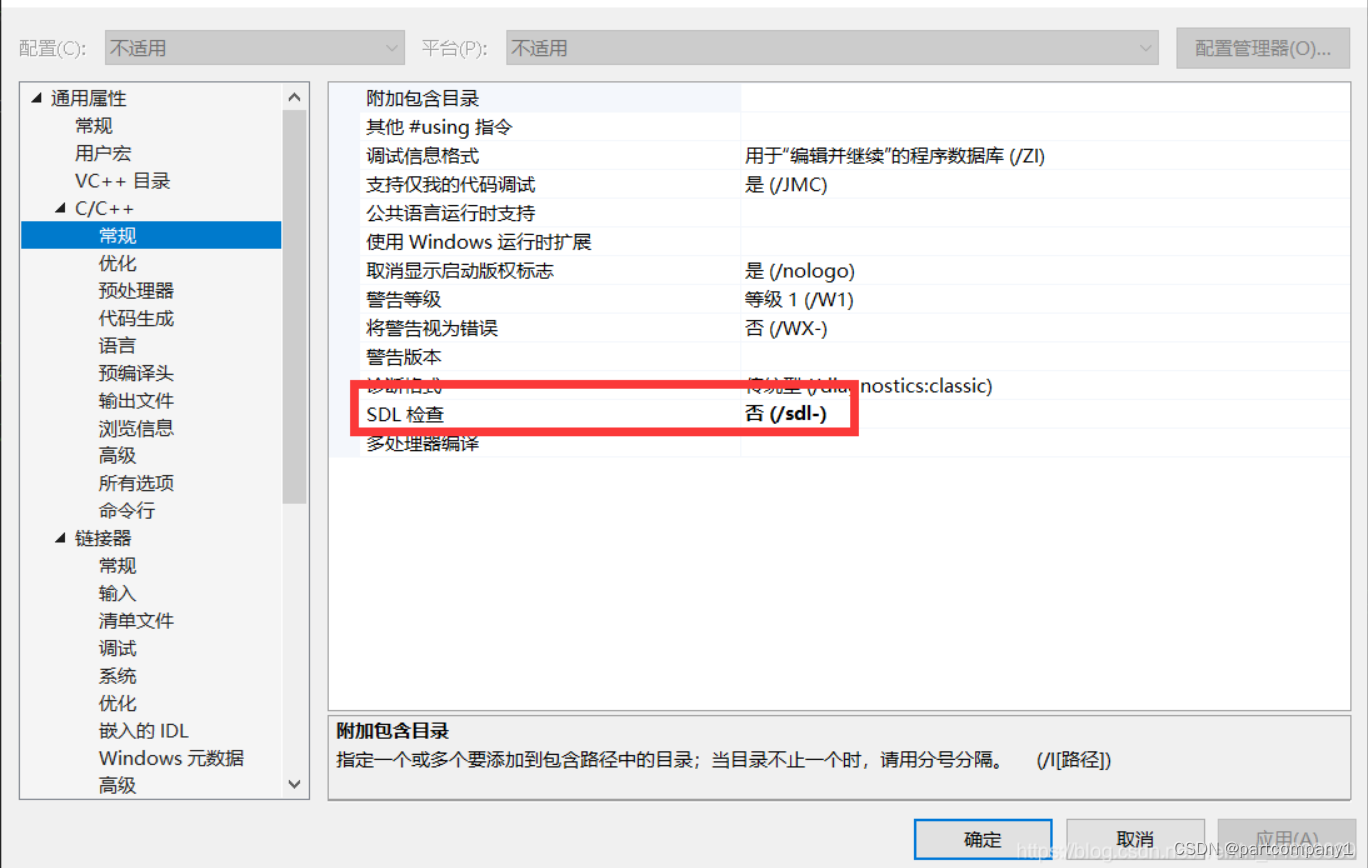
(3)项目>>>Project2属性>>>C/C++,进行两个改动:第一,“常规”目标栏中的“SDL检查”改为“否”;第二,“语言”目标栏中的“符合模式”改为“否”。否则会报错:“std”: 不明确的符号。
3、测试
使用如下代码:
选择releaseX64

#include <torch/script.h>
#include <torch/torch.h>
#include <iostream>
#include <memory>

int main(int argc, const char* argv[]) {

	std::cout << "cuda::is_available():" << torch::cuda::is_available() << std::endl;
	torch::DeviceType device_type = at::kCPU; // 定义设备类型
	if (torch::cuda::is_available())
		device_type = at::kCUDA;
}
4、YOLOv5推理:
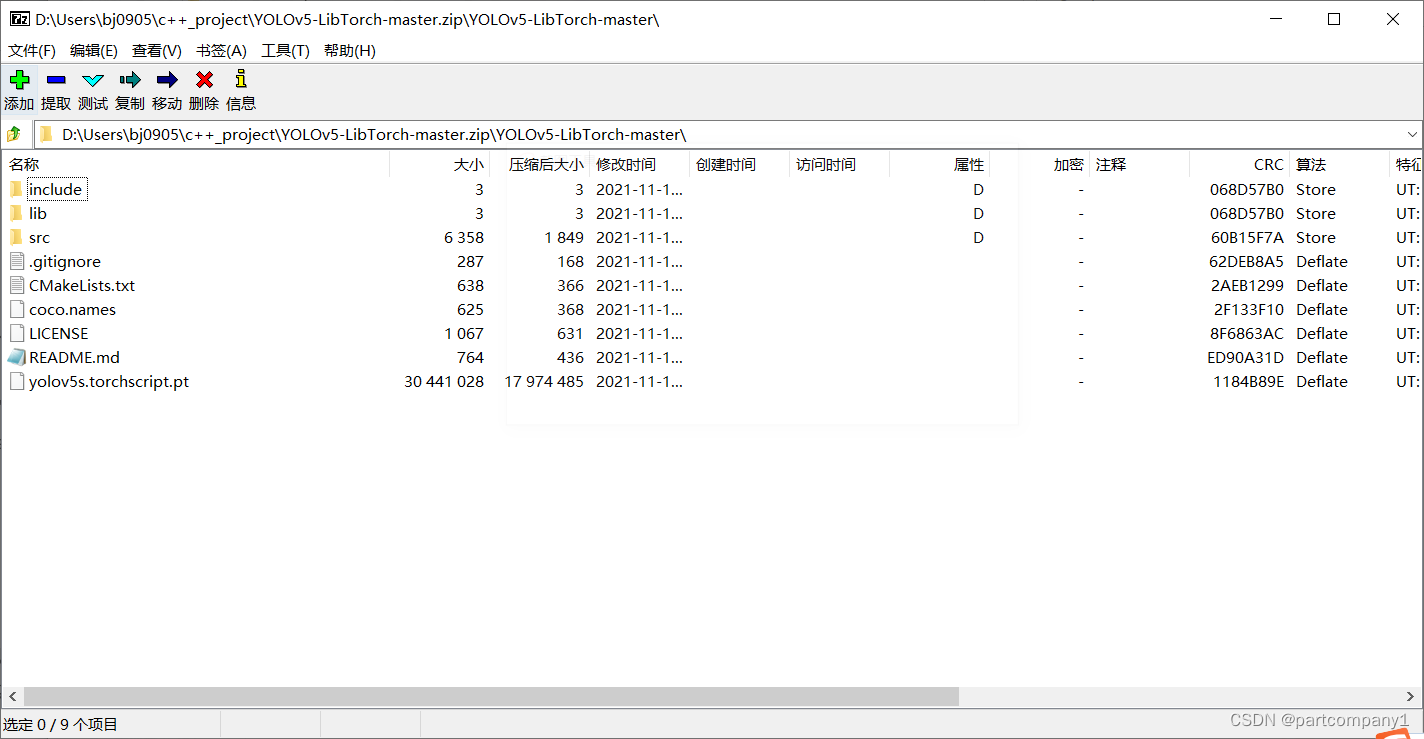
源码地址:https://github.com/Nebula4869/YOLOv5-LibTorch
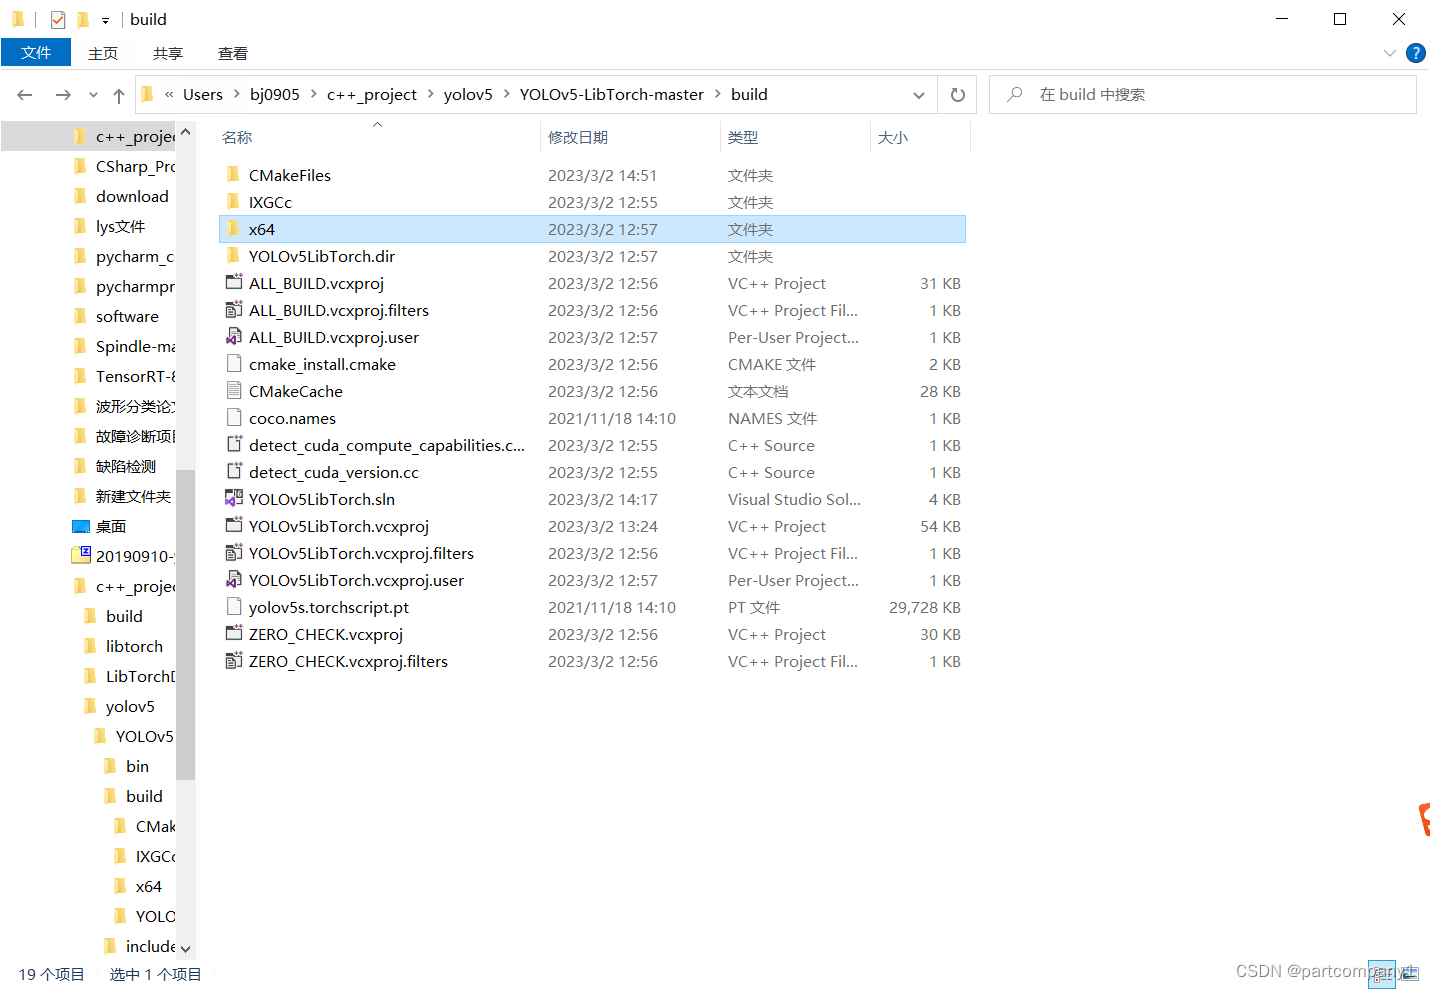
下载后解压,并创建build文件夹:
对CMakeLists进行更改
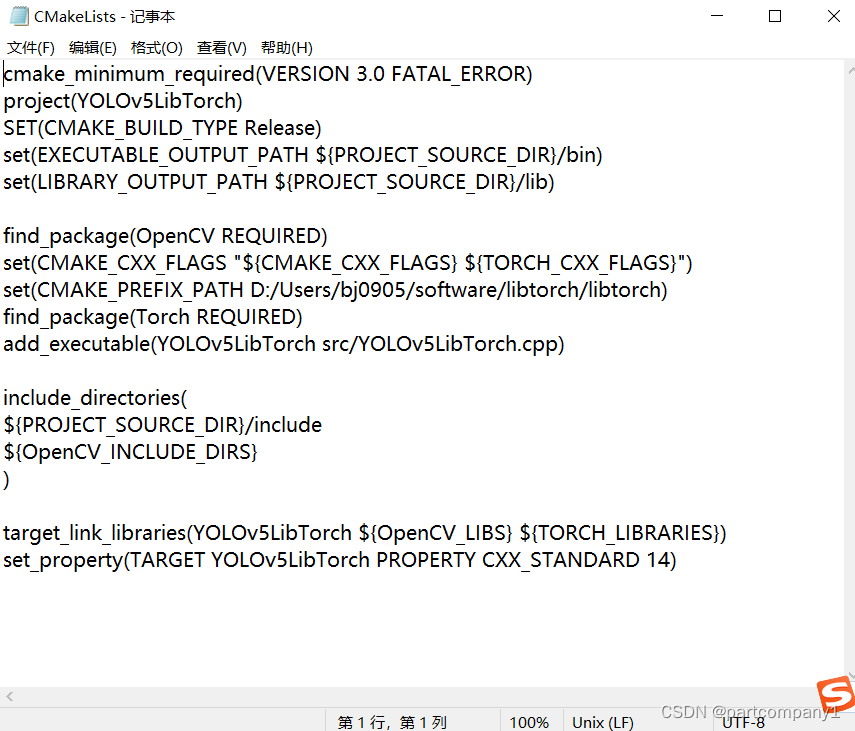
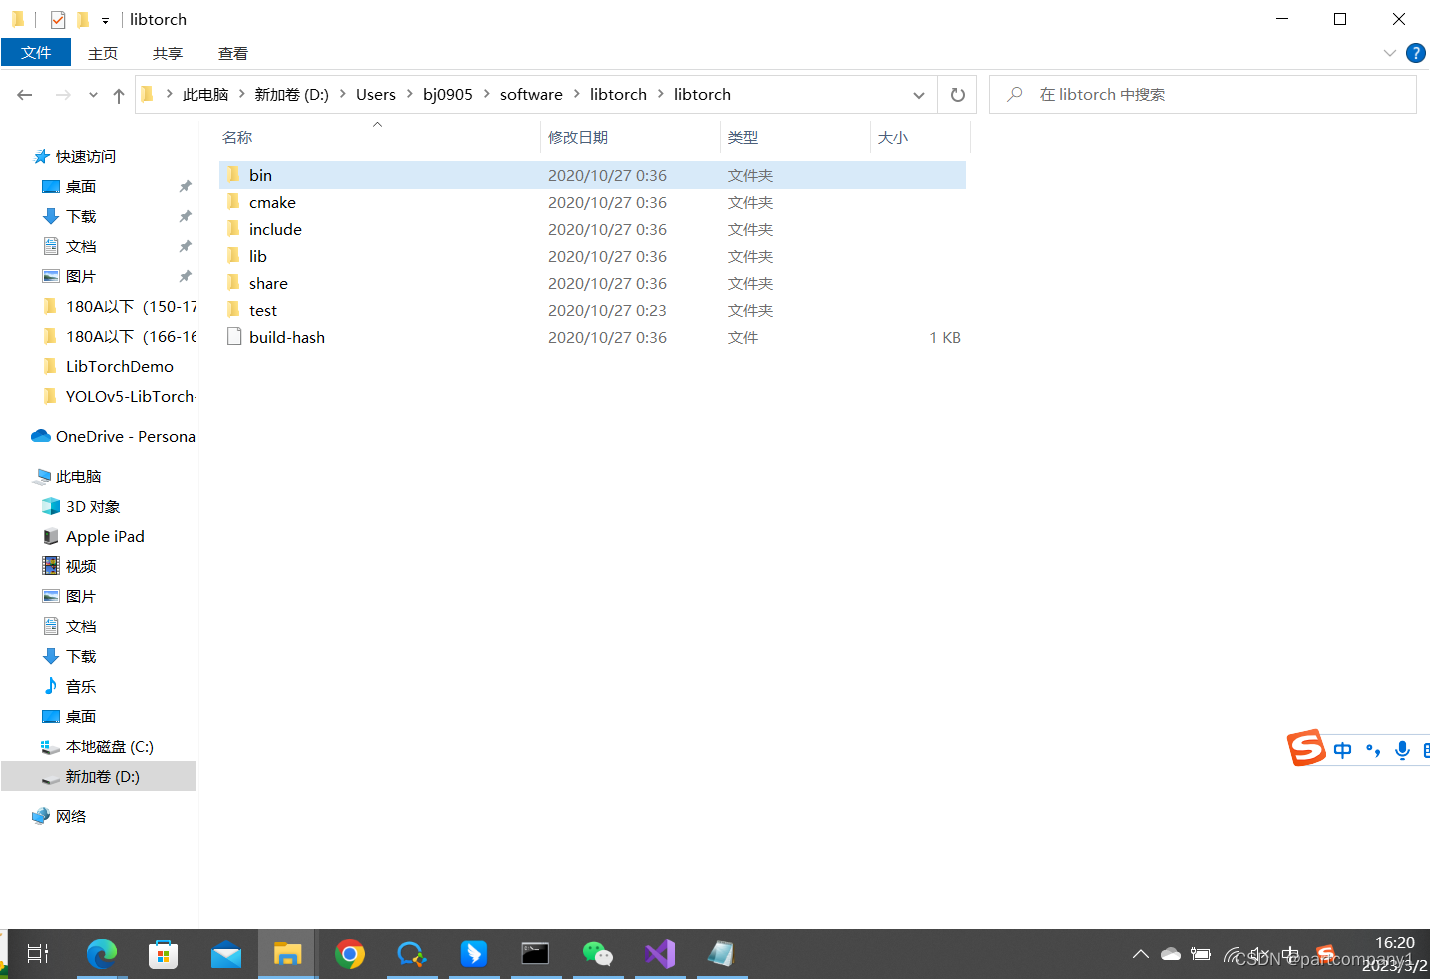
将set(CMAKE_PREFIX_PATH后面路径更改成自己的libtorch路径
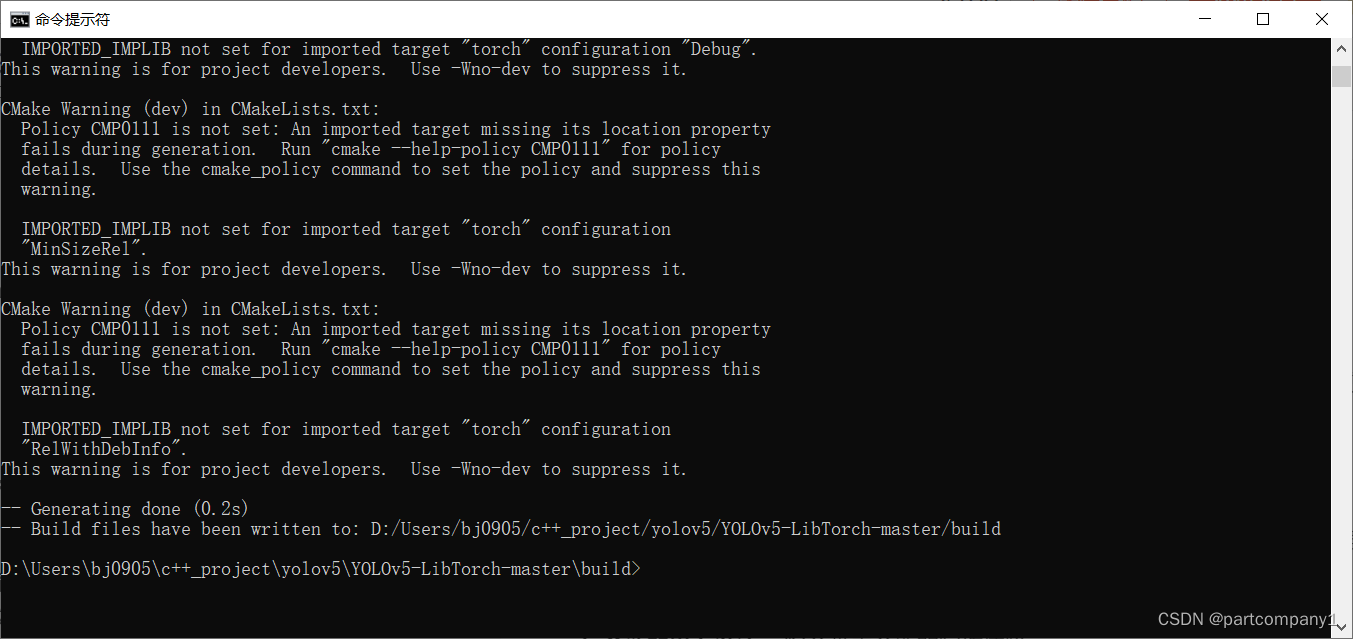
在build文件夹中打开cmd,运行:
cmake ..
此时要安装cmake这个软件:https://cmake.org/download/
编译成功界面:
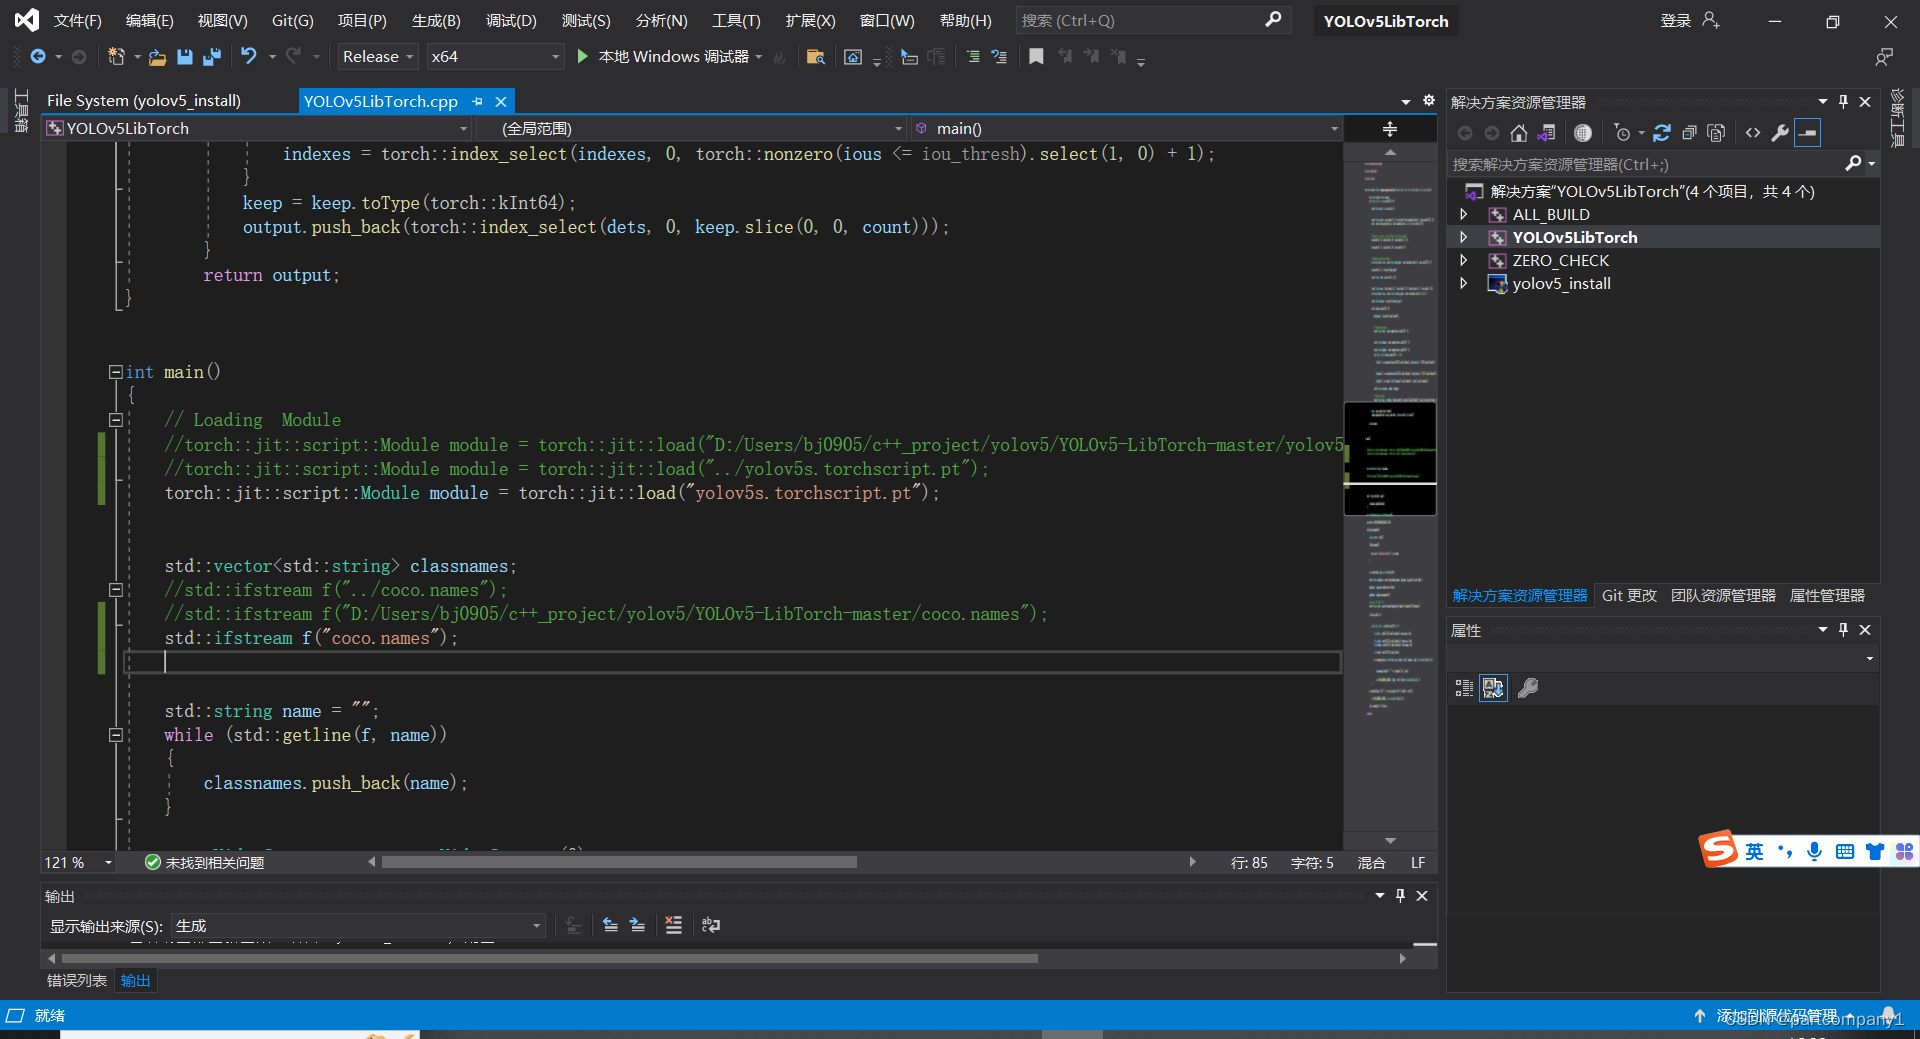
接着在vs2019中打开编译好的build文件中的工程进行执行:
执行成功后可以再下面文件夹生成exe文件:
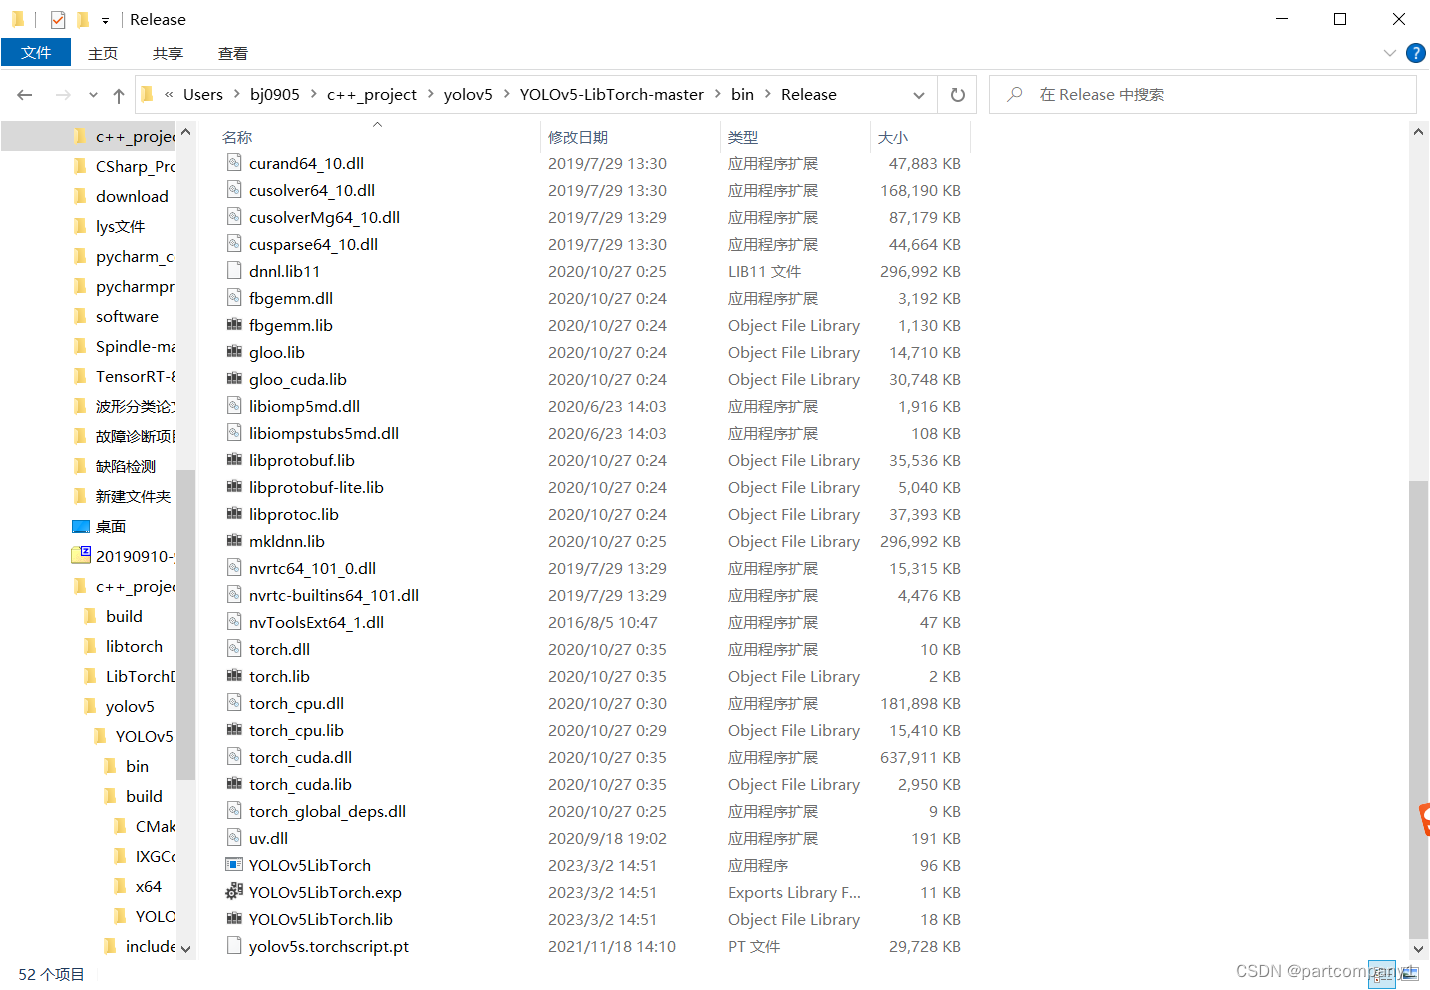
若执行过程中提示缺少DLL或者lib文件,则可以把libtorch下的相关文件添加在.exe同级文件夹中。
至此完成。之后会讲一下如何对此工程进行打包。

旨在为数千万中国开发者提供一个无缝且高效的云端环境,以支持学习、使用和贡献开源项目。
更多推荐


 5
5 0
0- 0


 已为社区贡献1条内容

所有评论(0)