
创建一个vue3项目
创建一个vue3项目
一、环境准备
1、安装 node.js
下载地址:Node.js
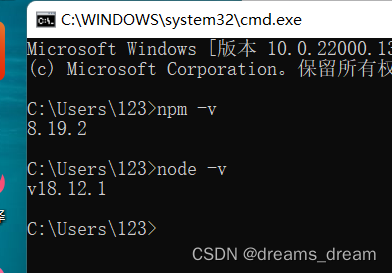
2、检查是否安装成功:输出版本号说明安装成功
注意:如果已经安装,未显示,可能是环境变量没配置
二、搭建 vue 环境
1、全局安装脚手架 vue-cli
在命令行输入:
npm install vue-cli -g (vue-lcli2)
npm install -g @vue/cli (vue-cli3)

报错:
1,遇到这样的错误 果断 切换成 淘宝的镜像源 就行,切换后再次下载。
npm config set registry https://registry.npm.taobao.org
2,npm install命令失败,提示 Cannot read properties of null (reading 'package')。
解决方案:清除缓存npm cache clear --force 之后再重新安装依赖 npm install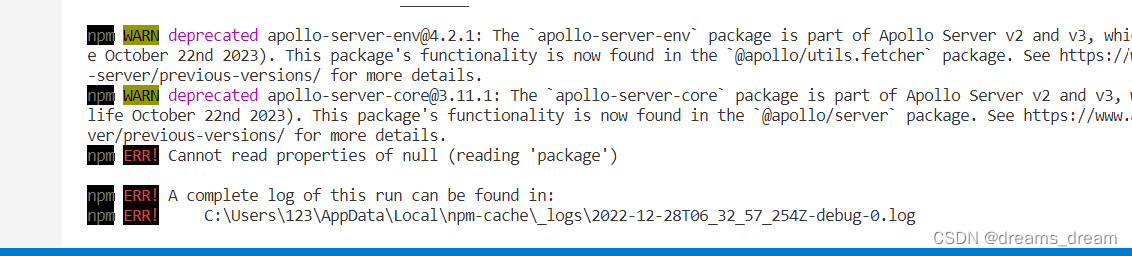
2、检查是否安装成功:输出版本号说明安装成功
C:\Users\123>vue --version
@vue/cli 5.0.8

C:\Users\123>vue -V
@vue/cli 5.0.8
报错:

解决方法:
1,下载
npm install -g vue2,先输入npm config list
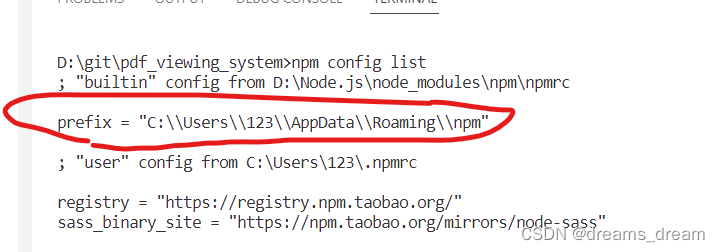
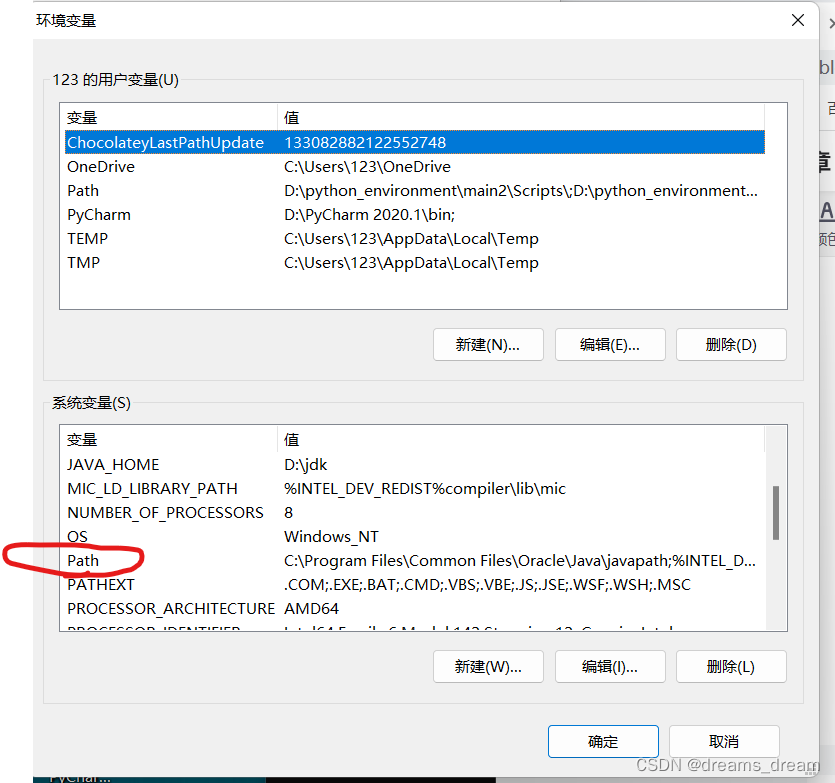
3,配置环境变量
此电脑-》属性-》高级系统设置-》环境变量

三、创建 vue 项目
vue-cli3创建项目,vue create 项目名
输入命令:vue create vue3-pdf-project
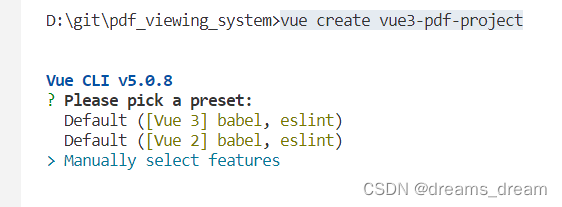

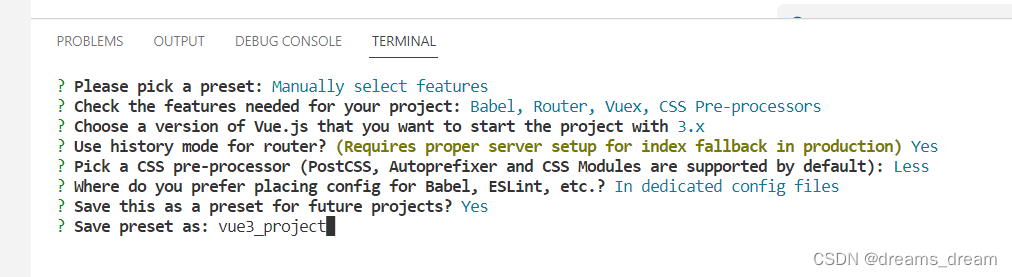
注意:需要什么自己可以酌情选择
四、配置Element plus
1,文档地址
一个 Vue 3 UI 框架 | Element Plus (element-plus.org)
2,下载安装
npm install element-plus --save3,完整引入
// main.js
import { createApp } from 'vue'
import App from './App.vue'
import router from './router'
import store from './store'
import ElementPlus from 'element-plus'
import 'element-plus/dist/index.css'
const app = createApp(App)

app.use(ElementPlus).use(store).use(router).mount('#app')
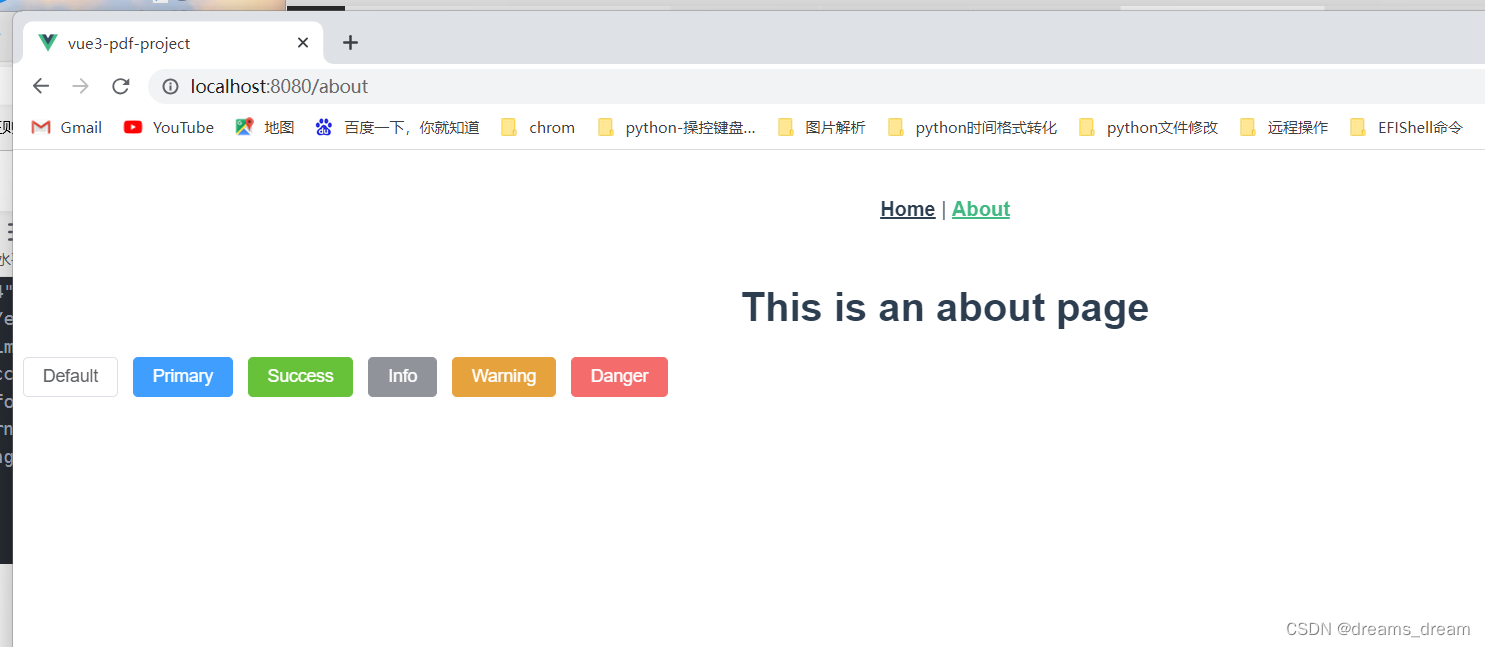
4,测试
AboutView.vue
<template>
  <div class="about">
    <h1>This is an about page</h1>
     <el-row class="mb-4">
    <el-button>Default</el-button>
    <el-button type="primary">Primary</el-button>
    <el-button type="success">Success</el-button>
    <el-button type="info">Info</el-button>
    <el-button type="warning">Warning</el-button>
    <el-button type="danger">Danger</el-button>
  </el-row>
  </div>
</template>
npm run serve运行
五、一个简单windows部署案例
完成前后端代码
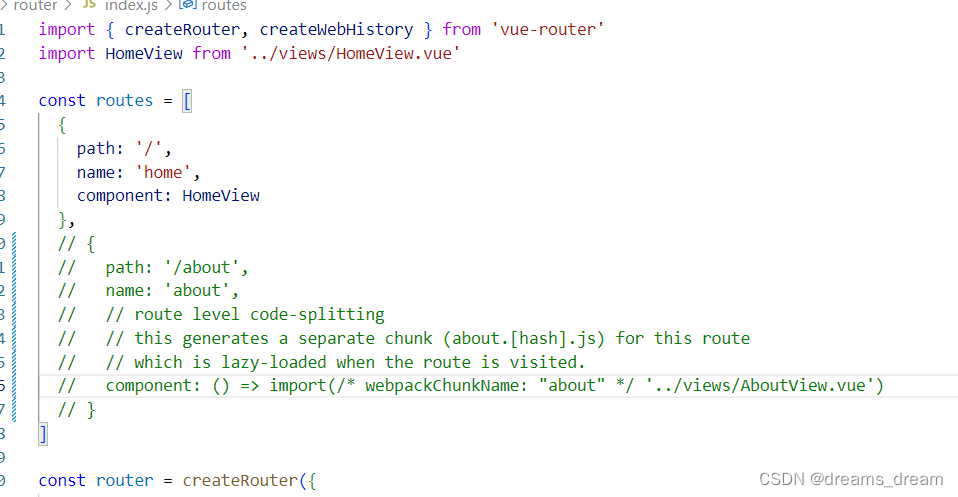
删除AboutView.vue
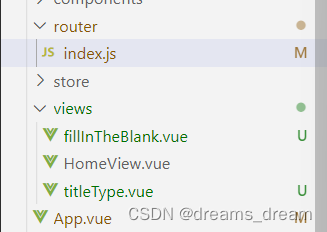
修改App.vue和index.js

下载axios
npm Install axios
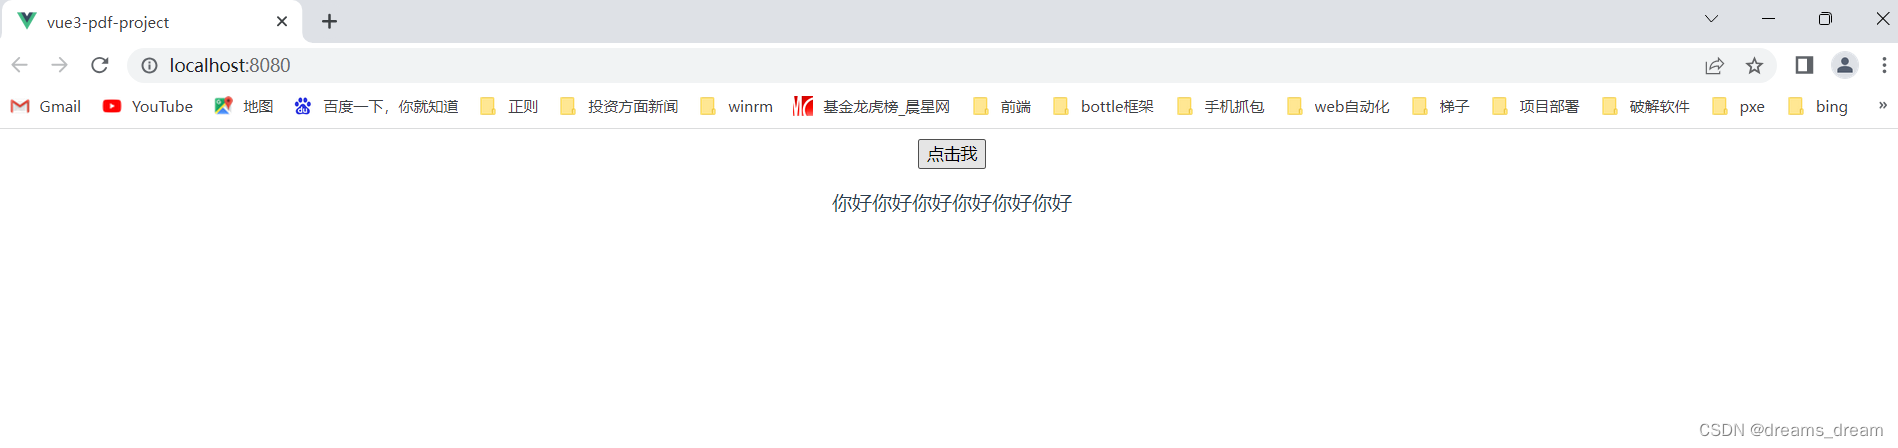
修改HomeView.vue
<template>
  <div id="app">
    <button @click="getWord">点击我</button>
    <p>{{ word }}</p>
  </div>
</template>

<script>
import axios from 'axios';

export default {
  data() {
    return {
      word: ''
    }
  },
  methods: {
    async getWord() {
      const response = await axios.get('http://localhost:5000/get_word');
      this.word = response.data.word;
    }
  }
}
</script>
执行
npm run serve
后端
main.py
from flask import Flask, jsonify
from flask_cors import CORS

app = Flask(__name__)
CORS(app)

@app.route('/get_word')
def get_word():
    return jsonify({'word': '你好'})

if __name__ == '__main__':
    app.run(port=5000, threaded=True)
运行
python main.py

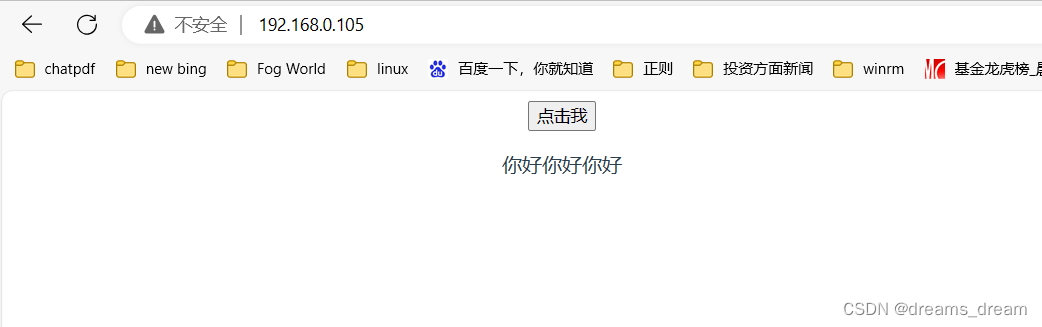
前端使用按钮查看是否正常
nginx部署前端,后端直接命令框运行
nginx下载
解压后找到目录下的conf;修改nginx.conf
#user  nobody;
worker_processes  1;

#error_log  logs/error.log;
#error_log  logs/error.log  notice;
#error_log  logs/error.log  info;

#pid        logs/nginx.pid;


events {
    worker_connections  1024;
}


http {
    include       mime.types;
    default_type  application/octet-stream;

    #log_format  main  '$remote_addr - $remote_user [$time_local] "$request" '
    #                  '$status $body_bytes_sent "$http_referer" '
    #                  '"$http_user_agent" "$http_x_forwarded_for"';

    #access_log  logs/access.log  main;

    sendfile        on;
    #tcp_nopush     on;

    #keepalive_timeout  0;
    keepalive_timeout  65;

    #gzip  on;

    server {
        listen       80;
        server_name  localhost;

        #charset koi8-r;

        #access_log  logs/host.access.log  main;


	location /api {
	#需要代理访问的后端服务器地址
	proxy_pass http://0.0.0.0:5000/;
          rewrite "^/api/(.*)$" /$1 break;
        }

        location / {
            root   html\\dist;
            index  index.html index.htm;
	  try_files $uri $uri/ /index.html;
        }

        #error_page  404              /404.html;

        # redirect server error pages to the static page /50x.html
        #
        error_page   500 502 503 504  /50x.html;
        location = /50x.html {
            root   html;
        }

        # proxy the PHP scripts to Apache listening on 127.0.0.1:80
        #
        #location ~ \.php$ {
        #    proxy_pass   http://127.0.0.1;
        #}

        # pass the PHP scripts to FastCGI server listening on 127.0.0.1:9000
        #
        #location ~ \.php$ {
        #    root           html;
        #    fastcgi_pass   127.0.0.1:9000;
        #    fastcgi_index  index.php;
        #    fastcgi_param  SCRIPT_FILENAME  /scripts$fastcgi_script_name;
        #    include        fastcgi_params;
        #}

        # deny access to .htaccess files, if Apache's document root
        # concurs with nginx's one
        #
        #location ~ /\.ht {
        #    deny  all;
        #}
    }


    # another virtual host using mix of IP-, name-, and port-based configuration
    #
    #server {
    #    listen       8000;
    #    listen       somename:8080;
    #    server_name  somename  alias  another.alias;

    #    location / {
    #        root   html;
    #        index  index.html index.htm;
    #    }
    #}


    # HTTPS server
    #
    #server {
    #    listen       443 ssl;
    #    server_name  localhost;

    #    ssl_certificate      cert.pem;
    #    ssl_certificate_key  cert.key;

    #    ssl_session_cache    shared:SSL:1m;
    #    ssl_session_timeout  5m;

    #    ssl_ciphers  HIGH:!aNULL:!MD5;
    #    ssl_prefer_server_ciphers  on;

    #    location / {
    #        root   html;
    #        index  index.html index.htm;
    #    }
    #}

}
修改前后端运行ip,端口,接口前面加上给api,
由于
location /api {
#需要代理访问的后端服务器地址
proxy_pass http://0.0.0.0:5000/;
rewrite "^/api/(.*)$" /$1 break; #这一行设置了匹配的接口是以api开头的
}
所以接口前面加了个/api
查看当前电脑ip地址
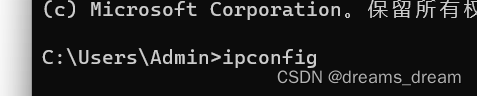
我当前是192.168.0.105
后端修改,然后运行

前端修改HomeView.vue
<template>
  <div id="app">
    <button @click="getWord">点击我</button>
    <p>{{ word }}</p>
  </div>
</template>

<script>
import axios from 'axios';

export default {
  data() {
    return {
      word: ''
    }
  },
  methods: {
    async getWord() {
      const response = await axios.get('http://192.168.0.105:5000/api/get_word');
      this.word += response.data.word;
    }
  }
}
</script>
注意修改后的ip和端口
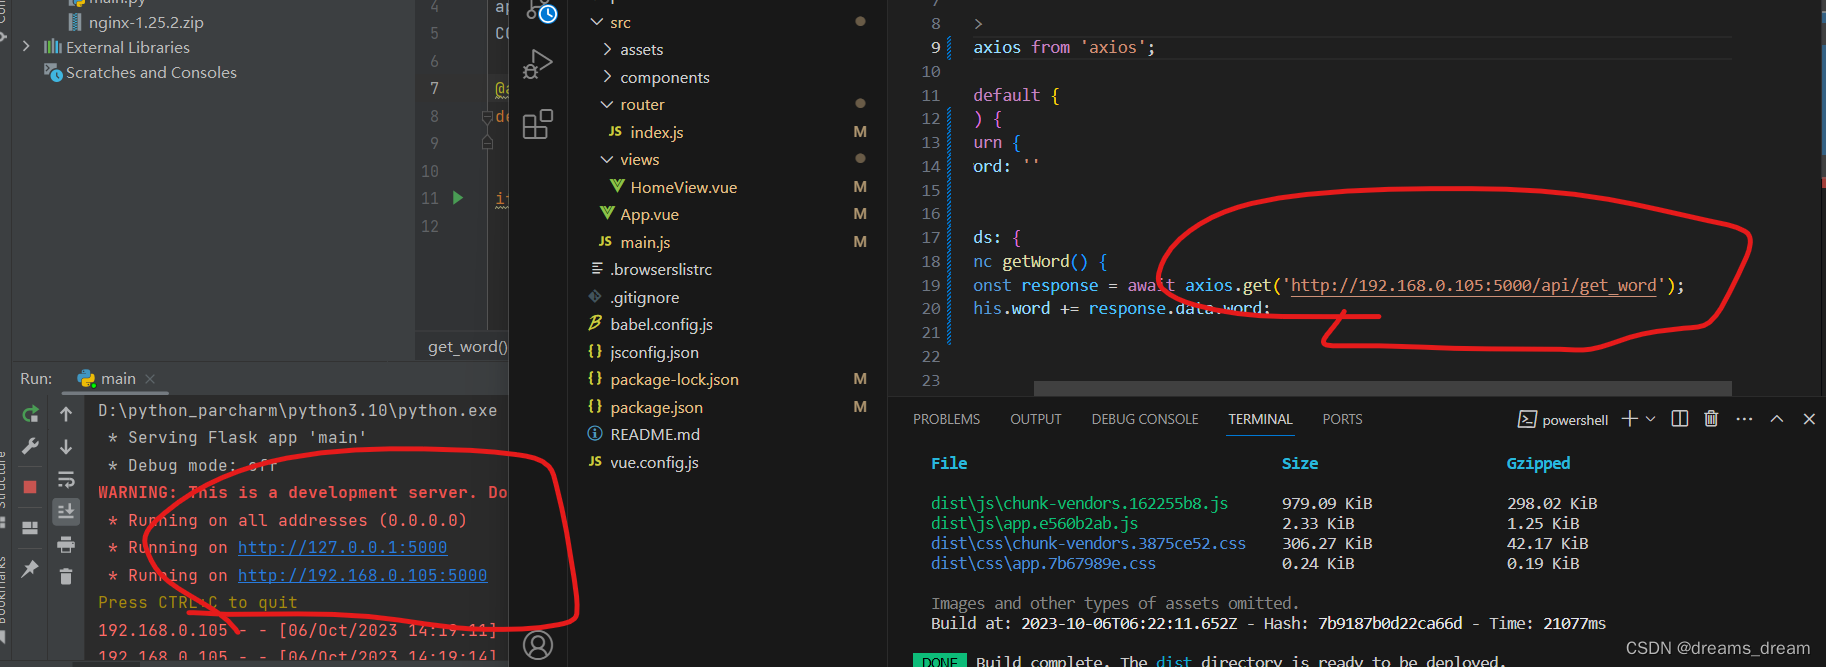
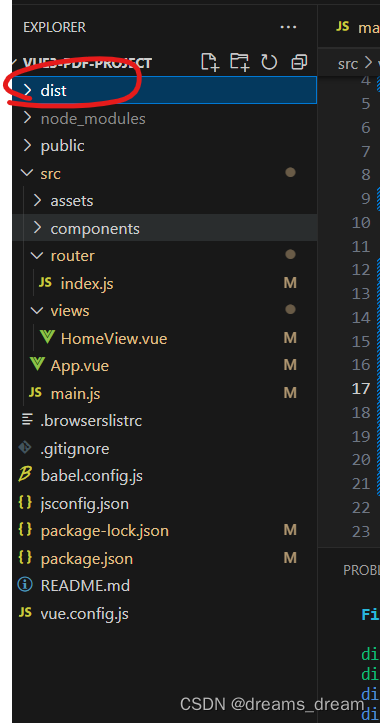
前端进行打包
npm run build

将打包生成的dist放入直接解压好的文件夹目录下的html里面
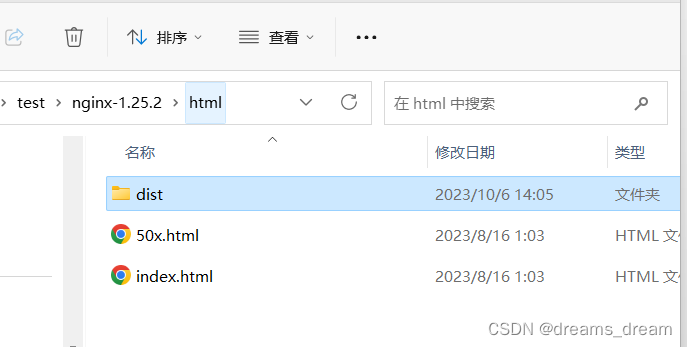
使用nginx -t 检查配置文件是否正常,然后运行
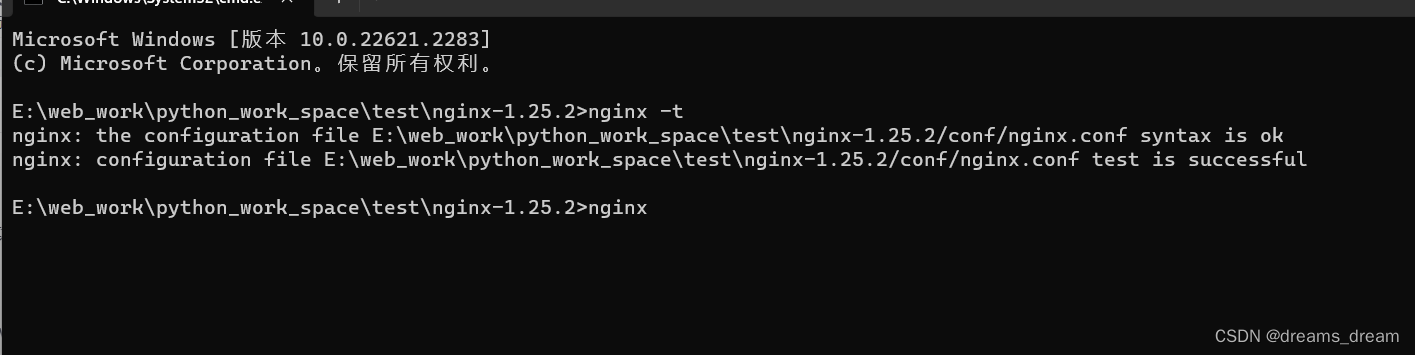
运行后访问
192.168.0.105:80

旨在为数千万中国开发者提供一个无缝且高效的云端环境,以支持学习、使用和贡献开源项目。
更多推荐


 1
1 0
0- 0


 已为社区贡献1条内容

所有评论(0)