【uni-app】菜菜的我xie了一个电池电量组件
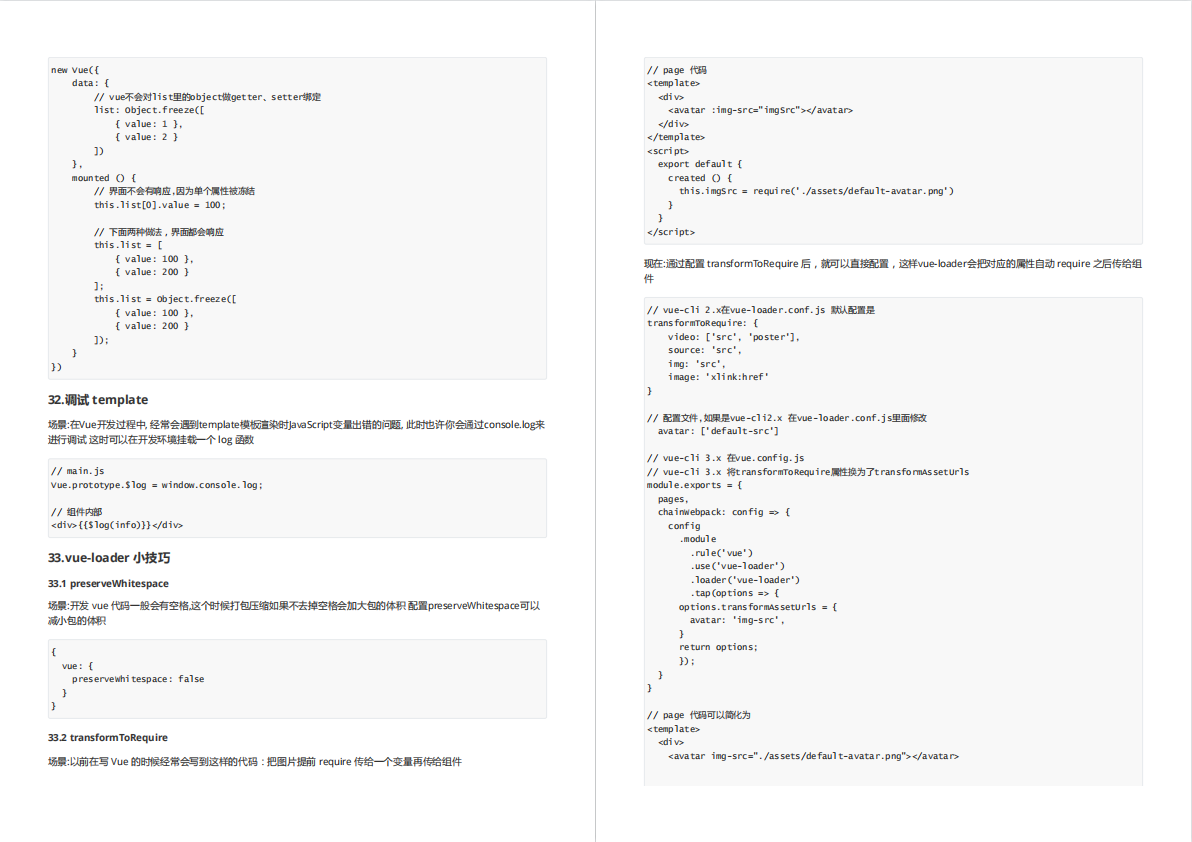
最近找到一个VUE的文档,它将VUE的各个知识点进行了总结,整理成了《Vue 开发必须知道的36个技巧》。内容比较详实,对各个知识点的讲解也十分到位。1 可以设置电量 电量多少会有不同的显示 调用方法设置即。
·
最近在用uni-app开发app项目。因为首页需要有个电池电量按钮来显示硬件设备的剩余电量。为了保证开发进度,所以直接就在插件市场拉了个插件直接使用了。
这种组件还是挺少的,所以样式只能说是勉勉强强。
但是客户不管呢,让改第一次看着不行,又改了两次。最后要求这个电量图标非得要跟设计图上的一模一样。 😔 不气不气,给他写一个就完事呗。
最终的效果
2 可以设置电池的主颜色,调用方法设置即可
3 可以设置电池是否为充电状态,调用方法设置即可
使用方法
页面中直接使用组件,因为遵循了插件开发规则,所以可以不用引入 注册。
 <div style="margin-top:20px;">
				<liiy-battery ref="power1"></liiy-battery>
			</div>
			<div style="margin-top:20px;">
				<liiy-battery ref="power2"></liiy-battery>
			</div>
			<div style="margin-top:20px;">
				<liiy-battery ref="power3"></liiy-battery>
			</div>
			<div style="margin-top:20px;">
				<liiy-battery ref="power4"></liiy-battery>
			</div>
			<div style="margin-top:20px;">
				<liiy-battery ref="power"></liiy-battery>
			</div>
然后再调用相应的方法,对样式进行修改即可。
 this.$nextTick(()=>{
				//设置电量
				this.$refs.power1.setPower(10)
				this.$refs.power2.setPower(40)
				this.$refs.power3.setPower(70)
				this.$refs.power4.setPower(100)
				//设置充电状态
				this.$refs.power.setShan(true)
				//修改颜色
				this.$refs.power.setColor('#FFCE00')
			})
具体代码
项目目录components下新建目录liiy-battery/liiy-battery.vue
<template>
	<view class="b_con" :style="bStyle">
		<view class="b_ele" :style="{'border-color':this.bColor}">
			<view v-if="bElement>=10" :style="{'background-color':this.bColor}" class="b_ele_item" style="width:16%;border-radius: 4rpx 0 0 4rpx;"></view>
			<view v-if="bElement>=40" :style="{'background-color':this.bColor}" class="b_ele_item"></view>
			<view v-if="bElement>=70" :style="{'background-color':this.bColor}" class="b_ele_item"></view>
			<view v-if="bElement>=100" :style="{'background-color':this.bColor}" class="b_ele_item" style="border-radius: 0 4rpx 4rpx 0;border-right:0"></view>
			<view class="b_shan" v-if="bShan">
				<image src="./shan.png" style="width:14rpx;height:24rpx;"></image>
			</view>
		</view>
		<view class="b_tou" :style="{'background-color':this.bColor}"></view>
	</view>
</template>

<script> export default {
		name:"LiiyBattery",
		data() {
			return {
				bStyle:{width:this.width, height:this.height},
				bColor:'#999999',
				bElement:100,
				bShan:false,
			};
		},
		methods:{
			//修改电量
			setPower(e){
				this.bElement = e
			},
			setColor(color){
				this.bColor = color;
			},
			setShan(shan){
				this.bShan = shan;
			}
		},
		props:{
			width:{
				 type: String,
				 required: false,
				 default: '58rpx'
			},
			height:{
				 type: String,
				 required: false,
				 default: '32rpx'
			}
		},
	} </script>

<style lang="scss" scoped> .b_shan{
		position: absolute;
		width: 100%;
		height:100%;
		display: flex;
		justify-content: center;
		align-items: center;
	}
	.b_ele_item{
		width: 28%;
		height: 100%;
		border-right: 2rpx solid #ffffff;
		box-sizing: border-box;
	}
	.b_con{
		display: inline-flex;
		align-items: center;
	}
	.b_ele{
		border-radius: 6rpx;
		width:93%;
		height:100%;
		border:3rpx solid;
		box-sizing: border-box;
		padding:1rpx;
		display: flex;
		position: relative;
	}
	.b_tou{
		width: 7%;
		height:16rpx;
		border-radius:0 8rpx 8rpx 0 ;
	} </style>
电池就是个框,里面还手写了四块电量,根据电量数值不同显示不同的块。电池头,身体部分都是直接用圆角实现的。没什么技术难度哈。
最后
最近找到一个VUE的文档,它将VUE的各个知识点进行了总结,整理成了《Vue 开发必须知道的36个技巧》。内容比较详实,对各个知识点的讲解也十分到位。


有需要的小伙伴,可以点击下方卡片领取,无偿分享
更多推荐
 已为社区贡献5条内容


所有评论(0)