
【gitbook电子书最新教程】
推荐使用node Version10.21.0的版本来搭建gitbook来使用,但是由于我们还会用到node的其他版本,所以我们可以安装一个nvm工具,来管理我们的node版本。需要注意md文件不会保存图片文件,只会保存本地图片文件的绝对路径,我们需要把图片保存至目录下,使用相对路径,才可以在电子书中显示出图片来!会出现乱码现象,切换版本的命令需要管理员权限,所有需要打开管理员权限的终端窗口使用u
Gitbook2022教程
GitBook 是用来创建一个现代化的文档工具。比如经常被用编写系统文档、API 文档、数据库文档等。要使用 GitBook 必须安装 nodejs,以便能够使用 npm 来安装 gitbook。其次还能导出 pdf、epub、mobi 等格式文件。
gitbook已经不在维护,所以现在很多新手使用gitbook的时候会遇到很多问题。
安装node.js
安装node之前需要先安装一下nvm,安装nvm需要把现有的node版本全部卸载!!!
gitbook目前只支持比较老版本的node.js,如果使用最新版的node.js,通常安装gitbook-cli时都会报错。
推荐使用node Version10.21.0的版本来搭建gitbook来使用,但是由于我们还会用到node的其他版本,所以我们可以安装一个nvm工具,来管理我们的node版本。
NVM版本控制工具
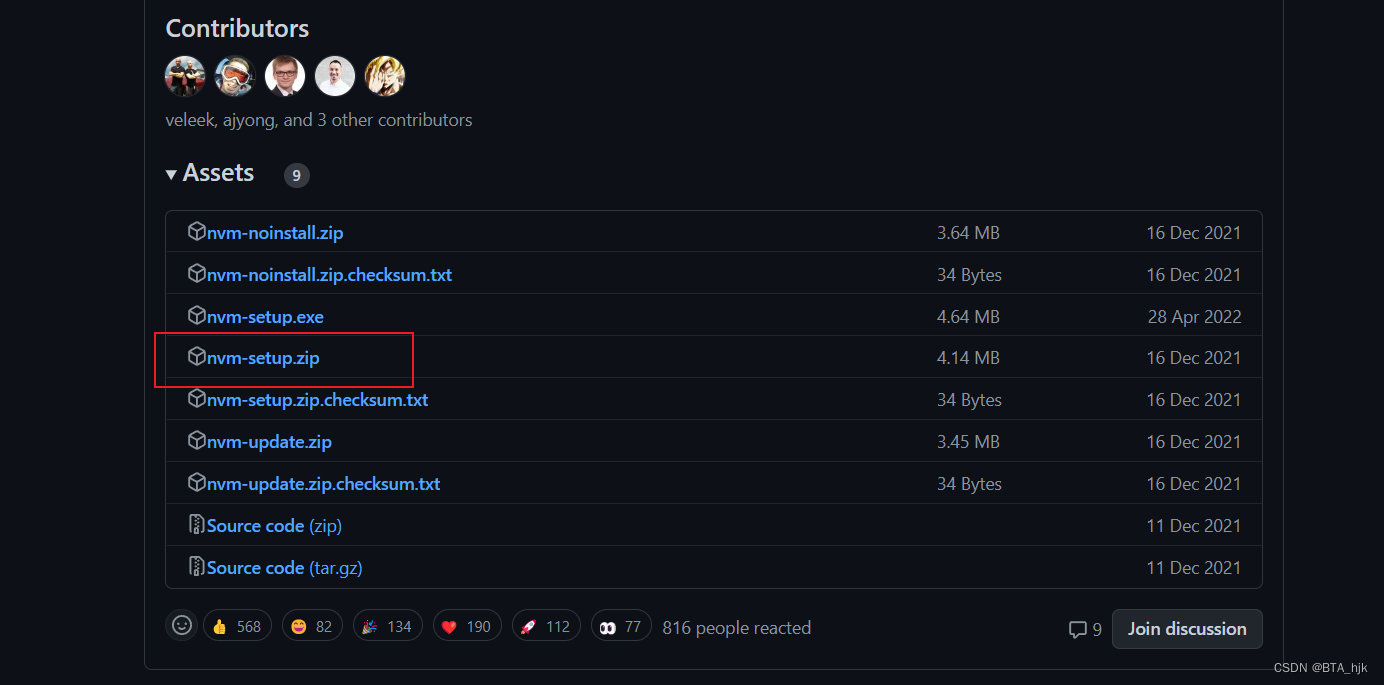
NVM工具安装地址:https://github.com/coreybutler/nvm-windows/releases
打开地址,下拉网页如图:
下载安装时需要注意
首先先在C盘外的盘符下创建一个tools文件夹,然后再tools文件夹内再分别建一个nvm和node的文件夹,
然后安装nvm时,把安装路径改到刚创建的tools文件夹下的nvm下安装即可。
然后再还要指定一下刚创建的node的路径,直接下一步安装即可。
如果觉得下载太慢,可以配置一下镜像源,配置方法就是再安装好的nvm目录下找setting.txt文件添加如下代码:
arch: 64proxy:
node_mirror: https://npm.taobao.org/mirrors/node/
npm_mirror: https://npm.taobao.org/mirrors/npm/
使用nvm的命令
打开终端使用nvm 命令即可查看nvm所有的命令使用说明
Running version 1.1.9.

Usage:

  nvm arch                     : Show if node is running in 32 or 64 bit mode.
  nvm current                  : Display active version.
  nvm install <version> [arch] : The version can be a specific version, "latest" for the latest current version, or "lts" for the
                                 most recent LTS version. Optionally specify whether to install the 32 or 64 bit version (defaults
                                 to system arch). Set [arch] to "all" to install 32 AND 64 bit versions.
                                 Add --insecure to the end of this command to bypass SSL validation of the remote download server.
  nvm list [available]         : List the node.js installations. Type "available" at the end to see what can be installed. Aliased as ls.
  nvm on                       : Enable node.js version management.
  nvm off                      : Disable node.js version management.
  nvm proxy [url]              : Set a proxy to use for downloads. Leave [url] blank to see the current proxy.
                                 Set [url] to "none" to remove the proxy.
  nvm node_mirror [url]        : Set the node mirror. Defaults to https://nodejs.org/dist/. Leave [url] blank to use default url.
  nvm npm_mirror [url]         : Set the npm mirror. Defaults to https://github.com/npm/cli/archive/. Leave [url] blank to default url.
  nvm uninstall <version>      : The version must be a specific version.
  nvm use [version] [arch]     : Switch to use the specified version. Optionally use "latest", "lts", or "newest".
                                 "newest" is the latest installed version. Optionally specify 32/64bit architecture.
                                 nvm use <arch> will continue using the selected version, but switch to 32/64 bit mode.
  nvm root [path]              : Set the directory where nvm should store different versions of node.js.
                                 If <path> is not set, the current root will be displayed.
  nvm version                  : Displays the current running version of nvm for Windows. Aliased as v.
常用命令有nvm list
C:\Users\Hu>nvm list

    16.18.0
  * 10.21.0 (Currently using 64-bit executable)
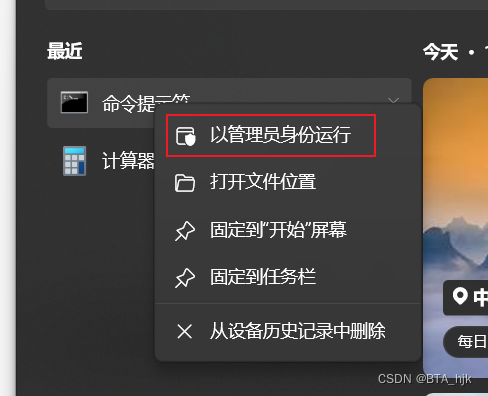
特别注意使用nvm use v版本号时

会出现乱码现象,切换版本的命令需要管理员权限,所有需要打开管理员权限的终端窗口使用use命令才可以生效
这样我们就可以自由切换版本啦!!!
安装node
安装了nvm后,就可以用nvm install node版本号命令安装node版本了
nvm install v版本号
安装node和nvm后接下来安装gitbook-cli
使用node V10.21.0版本的终端运行
npm i gitbook-cli -g
即可安装gitbook脚手架
环境准备好后
需要下载一个Markdown语法的编辑器
推荐安装 Typora
学习一下语法和HTML类似
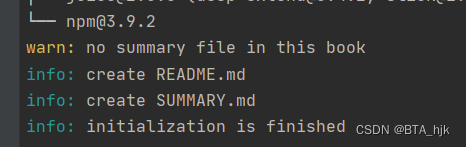
准备一个文件夹,用VScode打开或者其他编辑器软件打开,打开终端运行如下命令

会在你打开的文件夹下自动生成两个md文件
README.md简介,在其中我插入了一张图片
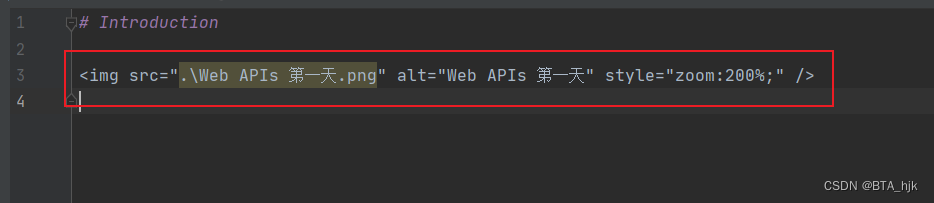
需要注意md文件不会保存图片文件,只会保存本地图片文件的绝对路径,我们需要把图片保存至目录下,使用相对路径,才可以在电子书中显示出图片来!!!
Summer.md目录文件

需要按照以上格式分开章节目录,并在每个章节指定一个md文件的相对路径
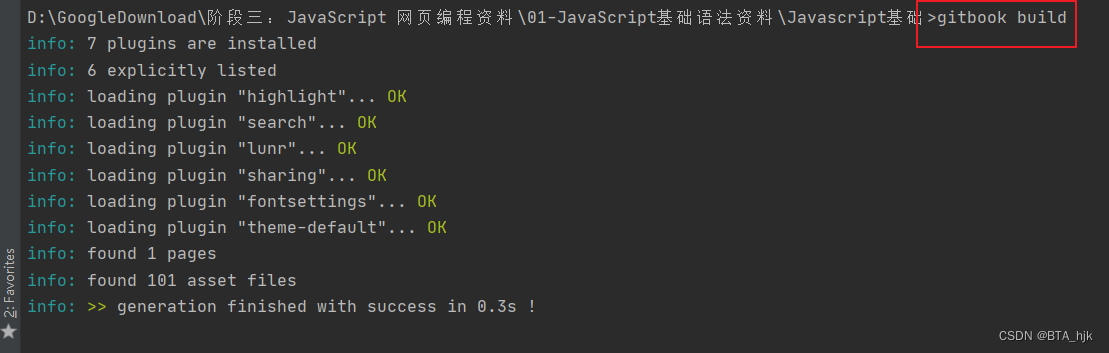
运行gitbook build命令可以构建网页文件
运行gitbook serve命令可以自动运行本地环境查看电子书生成效果
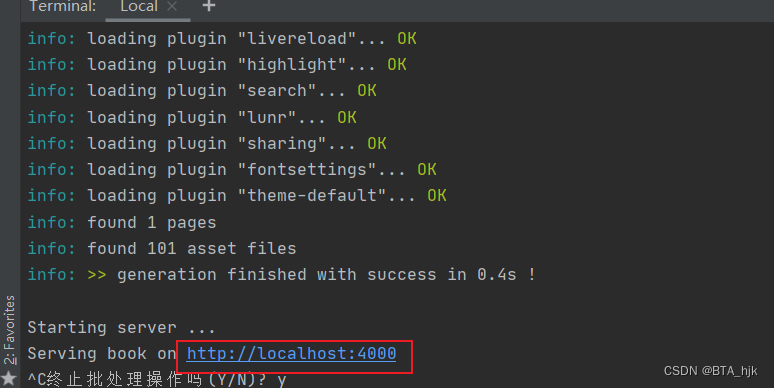
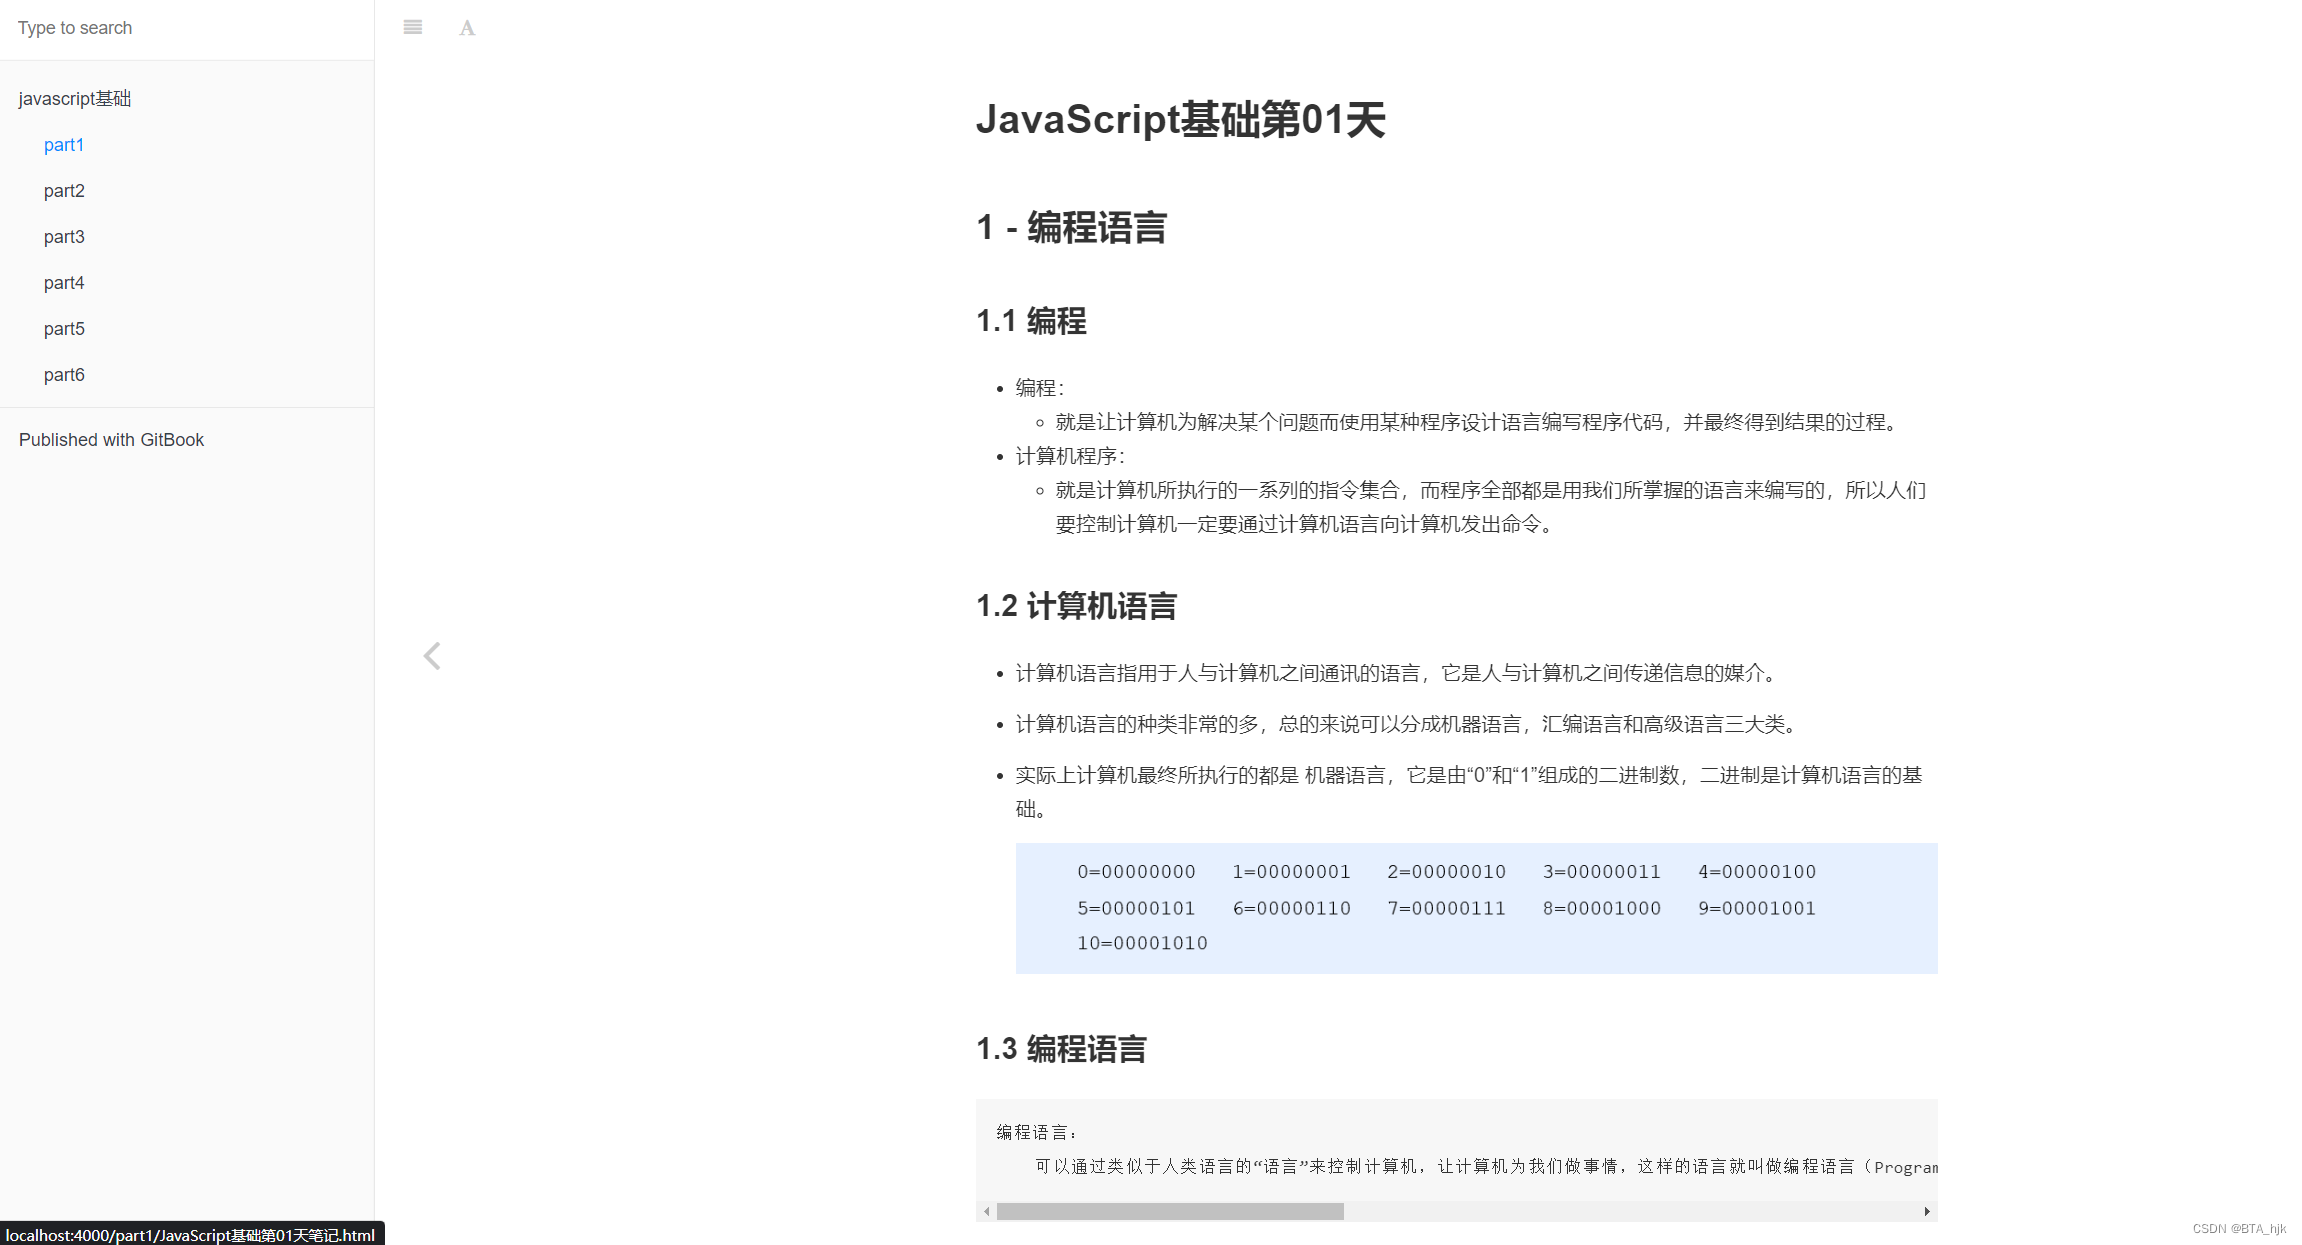
点击本地链接即可跳转至默认浏览器打开,效果如图
gitbook有大量的插件,丰富电子书的样式效果。
插件安装
npm i gitbook-plugins-插件名
安装完插件后还需要做配置文件package.json
添加插件到电子书,在package.json中添加如下插件名,插件名前带-表明移除默认插件
"plugins": [
    "search",
    "highlight",
    "sharing",
    "font-settings",
    "livereload",
    ...
]
配置插件效果
{
    "plugins": [
        "theme-hqbook"
    ],
    "variables": {
        "themeHqbook":{
            "nav":[
                {
                    "url": "https://blog.csdn.net/ming_97y",
                    "target": "_blank",
                    "name": "Blog"
                },
                // { ... }
            ]
        },
    },
    "pluginsConfig": {
        "theme-hqbook":{
            "favicon": "./favicon.ico",
            "logo":"./logo.png",
            "search-placeholder":"输入关键字搜索",
			"copyButtons": true,
			"copyLines": true,
			"dragSplitter": true,
            "hide-elements": [
                ".summary .gitbook-link"
            ],
            "flexible-linkcard": {
                "title": "flexible-linkcard",
                "hrefUrl": "https://github.com/HaoqiangChen/gitbook-plugin-flexible-linkcard",
                "target": "_blank",
                "imgSrc": "./book/logo.png",
                "imgClass": "rect"
            }
        }
    }
}
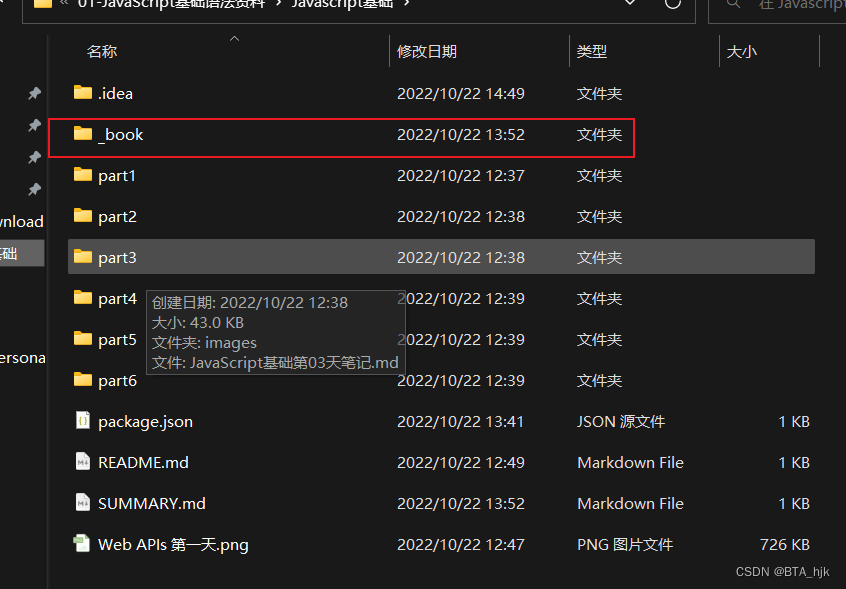
保存在用gitbook serve命令查看效果,内容编写好后运行该命令最终的文件在该文件下
将此文件打包放至服务器配置Nginx
打开云服务器Xshell
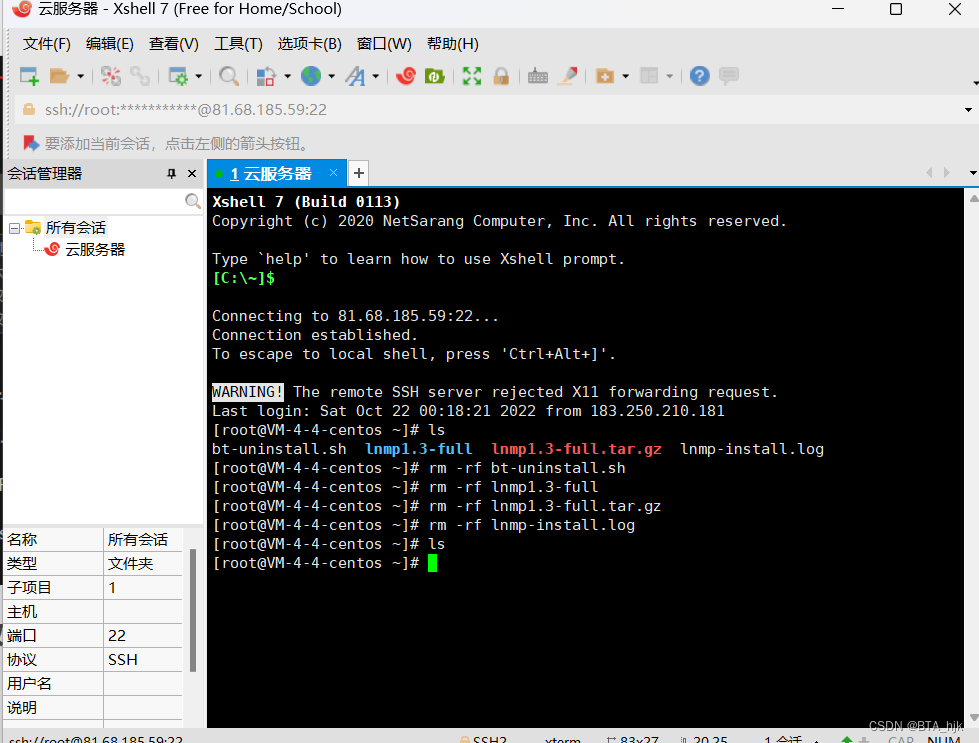
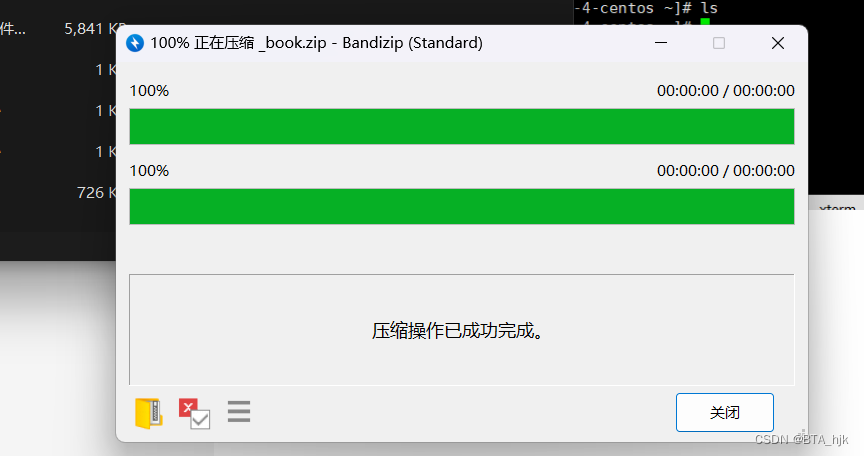
打包_book文件
在Xshell根目录下创建目录存放这个文件
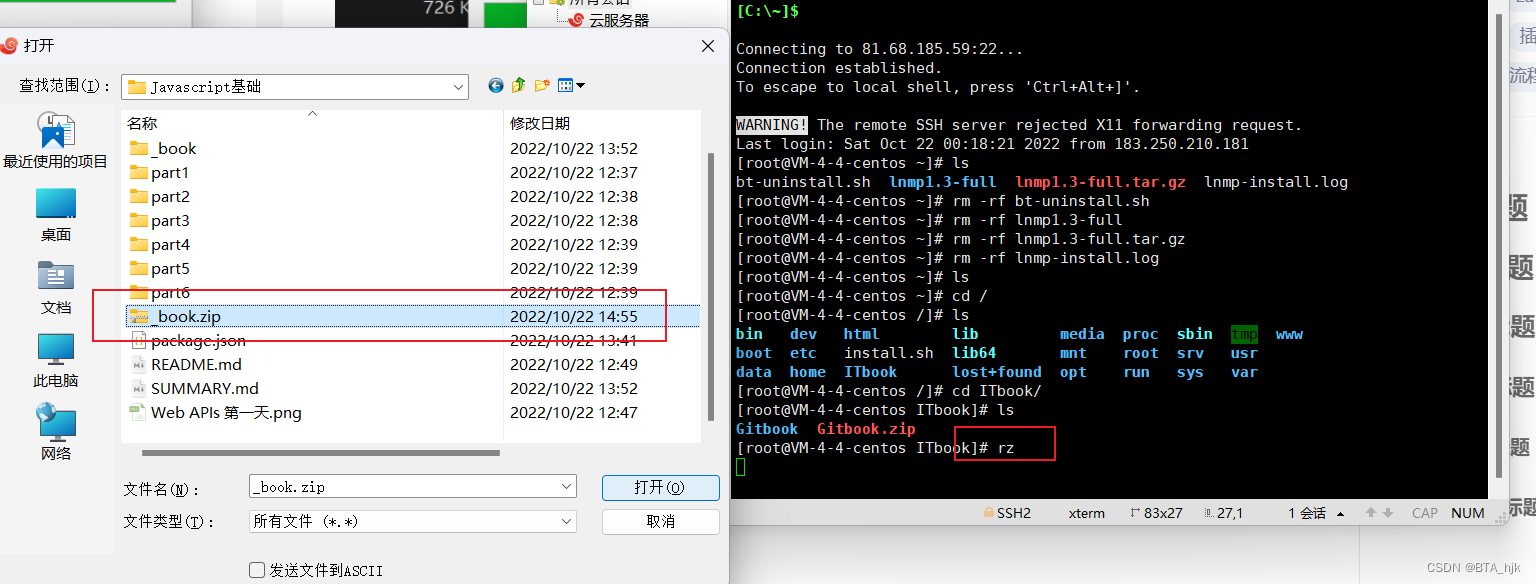
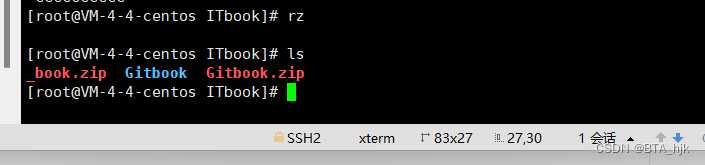
运行rz命令选中打包的文件上传到服务器上,并运行unzip -x 命令解压该文件
传输成功,ls查看文件
解压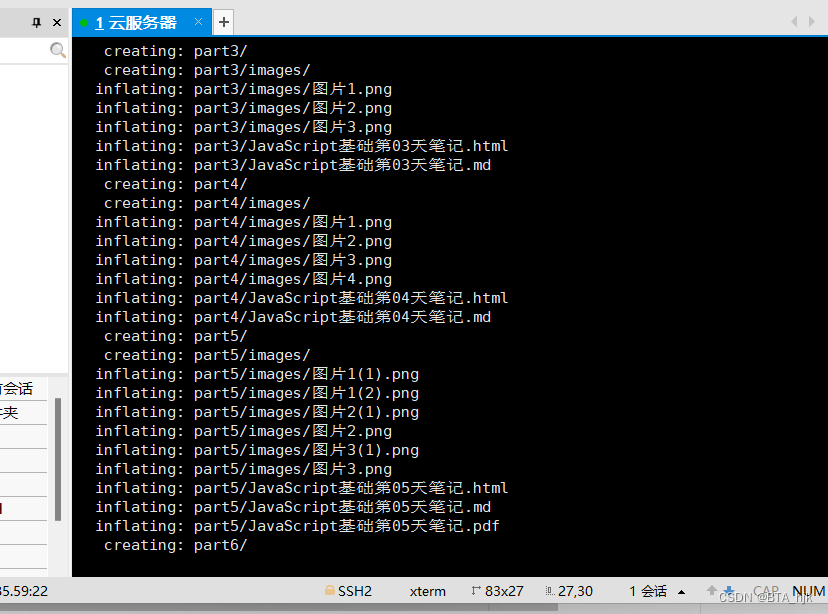
到nginx配置文件目录下
cd /etc/nginx/conf.d/
vim default.conf 编辑

还是在开一个端口吧
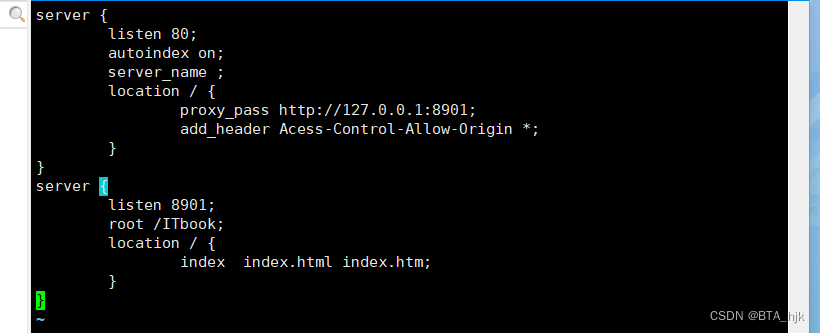
vim gitbook.conf
详细配置如下
接下来去开启8901端口
[root@VM-4-4-centos conf.d]# systemctl start FirewallD
Failed to start FirewallD.service: Unit not found.
[root@VM-4-4-centos conf.d]# systemctl start firewalld
[root@VM-4-4-centos conf.d]# firewall-cmd --zone=public --add-port=8901/tcp --permanent
success
[root@VM-4-4-centos conf.d]# firewall-cmd --add-port=8901/tcp
success
[root@VM-4-4-centos conf.d]# firewall-cmd --reload
success
[root@VM-4-4-centos conf.d]# ^C
[root@VM-4-4-centos conf.d]#
检查配置有误

修改后再次检查重启Nginx服务
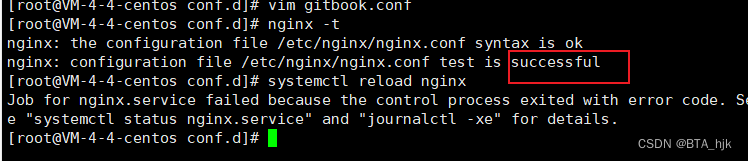
完成!!!

瓜分20万奖金 获得内推名额 丰厚实物奖励 易参与易上手
更多推荐

 1
1 0
0- 0


 已为社区贡献1条内容

所有评论(0)