【uniapp】uniapp开发app项目实现在线预览pdf文件
1.需要从网上下载一份的文件放到自己的项目中2.除了文件,其他文件可以新建一个文件夹,统一放到该目录下,然后将文件夹放到项目的目录下,也单独的放到目录下,最终如下图所示:3.要实现pdf预览,需要用到的api,新建一个文件,写上如下代码:4.点击某个pdf文件,跳转到刚刚新建的文件中,且需要携带url参数跳转,会根据url后的参数获取到的数据,生成pdf并渲染到页面中,如下所示:.........
·
最终效果:

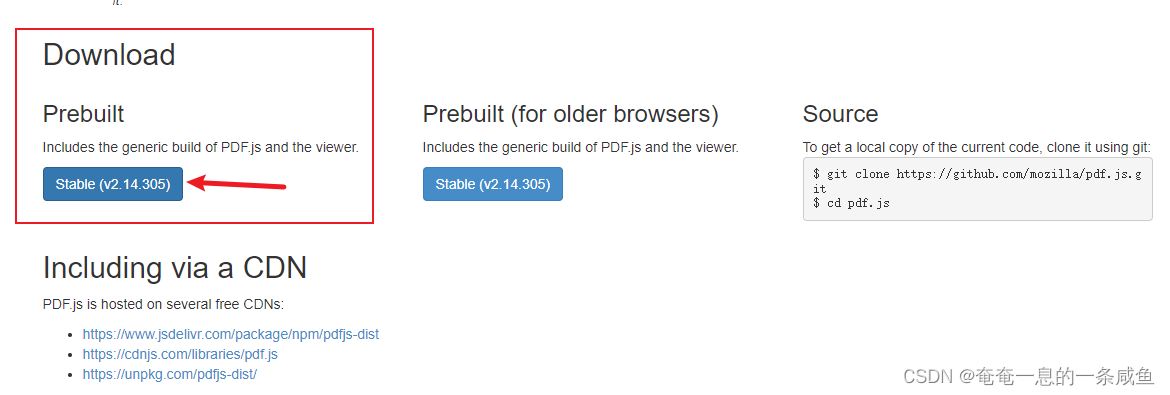
1.需要先从网上下载一份pdf.js的文件
地址:http://mozilla.github.io/pdf.js/getting_started/
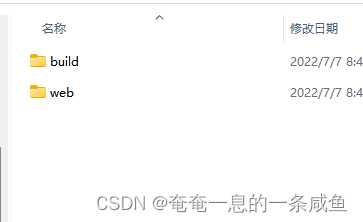
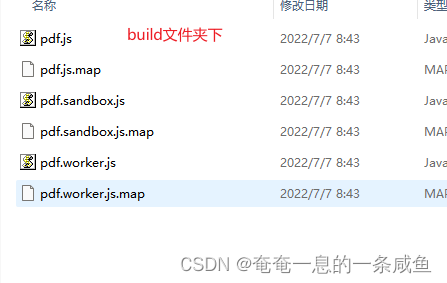
2.可以在uniapp项目中和pages目录平级新建一个hybrid文件夹,把下载好的pdf.js文件全部放到里面,主要是利用了web文件夹下的viewer.html文件

3.要实现pdf预览,需要用到uniapp的一个api:web-view,因此需要新建一个.vue文件,该文件就写到pages目录下任意位置即可,写上如下代码:
<template>
  <view style="width: 100%; height: 90vh;">
    <view class="">
      <web-view :src="allUrl"></web-view>
    </view>
  </view>
</template>

<script>
  export default {
    data() {
      return {
        allUrl: '',
        viewerUrl: '/hybrid/html/web/viewer.html', // 就是我们web目录下的viewer.html文件路径,注意路径不要错了
      }
    },
    onLoad(params) {
      // encodeURIComponent 函数可把字符串作为 URI 组件进行编码。decodeURIComponent解码
      // 这里的 params.fileUrl 是另一个组件进入到该组件时通过 navigateTo 传进来的pdf文件路径
      let fileUrl = encodeURIComponent(decodeURIComponent(params.fileUrl));
      // 下面的路径合起来其实是:'/hybrid/html/web/viewer.html?file=' + 线上pdf路径
      this.allUrl = this.viewerUrl + '?file=' + fileUrl
    }
  }
</script>
4.该文件就是上面步骤说的,跳转时携带了pdf文件路径的文件:
seeVideo(item) {
    if (item.subjectType === '文件') {
      // pdf文件预览
      // item.videos 是线上的pdf文件路径,这里的线上pdf路径,是用的阿里云服务器地址+pdf文件名
      // '&type=' + this.trainType 是路径跳转时携带多参数的写法,在pdfview组件中的onLoad函数中通过参数能取到fileUrl和type
      uni.navigateTo({
         url: "/pages/videoExercises/pdfview?fileUrl=" + encodeURIComponent(item.videos) + '&type=' + this.trainType
      })
    } else {
      // ......
    }
}
**注意事项:**以上步骤完成后,需要在web/viewer.js文件中,搜索一下not match,注释掉,否则在真机上无法成功预览pdf文件,如下代码:
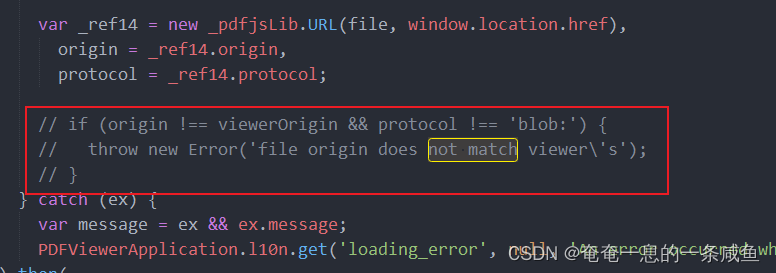
然后在真机上调试就可以成功预览pdf文件了
说明,如果在浏览器上模拟app项目,会出现跨域的报错提示,这个是正常的,不用理会

为开发者提供学习成长、分享交流、生态实践、资源工具等服务,帮助开发者快速成长。
更多推荐


 1
1 0
0- 0


 已为社区贡献9条内容

所有评论(0)