IntelliJ IDEA2020-自定义配置和缓存位置以及数据迁移
1 数据转移步骤1.1 config配置位置C:\Users\xxx\AppData\Roaming\JetBrains例如:C:\Users\Administrator\AppData\Roaming\JetBrains1231.2 syste...
例如:C:\Users\Administrator\AppData\Roaming\JetBrains
- 1
- 2
- 3

1.2 system配置位置
C:\Users\用户名\AppData\Local\JetBrains
例如:C:\Users\Administrator\AppData\Local\JetBrains
- 1
- 2
- 3

1.3 迁移数据
1.3.1新建迁移目录
xxx\.IntelliJIdea
例如:D:/.IntelliJIdea
- 1
- 2
目录下新建config和system文件夹

1.3.2 迁移config
以迁移IntelliJIdea2020.3版本为例,将C:\Users\Administrator\AppData\Roaming\JetBrains\IntelliJIdea2020.3的所有文件拷贝到D:/.IntelliJIdea/config文件夹下面
1.3.3 迁移 system
以迁移IntelliJIdea2020.3版本为例,将C:\Users\Administrator\AppData\Local\JetBrains\IntelliJIdea2020.3的所有文件拷贝到D:/.IntelliJIdea/system 文件夹下面
2 修改配置文件
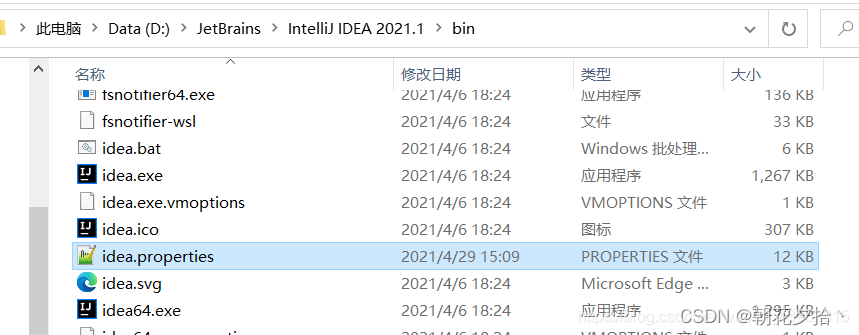
配置文件为:IDEA安装目录下的bin文件夹,找到该文件夹下的idea.properties
#---------------------------------------------------------------------
# Uncomment this option if you want to customize path to IDE config folder. Make sure you're using forward slashes.
#---------------------------------------------------------------------
# idea.config.path=${user.home}/.IntelliJIdea/config
idea.config.path=D:/.IntelliJIdea/config
#---------------------------------------------------------------------
# Uncomment this option if you want to customize path to IDE system folder. Make sure you're using forward slashes.
#---------------------------------------------------------------------
# idea.system.path=${user.home}/.IntelliJIdea/system
idea.system.path=D:/.IntelliJIdea/.IntelliJIdea/system
- 1
- 2
- 3
- 4
- 5
- 6
- 7
- 8
- 9
- 10
3 重启IDEA
重启IDEA
4 相关信息
前言 在windows上安装完IDEA,默认的缓存和插件目录是系统盘C盘。随着时间推移,C盘占用会增大,影响电脑性能,需要修改默认目录。修改目录
找到自己的IDEA安装目录,进入bin目录,打开idea.properties

修改如图所示以下4项文件的目录

注意: idea.plugins.path 和 idea.log.path 必须去掉注释或重新设置,否则启动idea后会有提示:It seems you’re using ‘idea.config.xxx’ property to specify the location of the settings directory.
保存文件,重启idea生效。


注意
.IntelliJIdea目录不能在idea的根目录内。我这里的安装目录是D:\JetBrains\IntelliJ IDEA 2021.1\,因此设置为D:\JetBrains.IntelliJIdea\是正常的。
更多推荐
 已为社区贡献1条内容


所有评论(0)