
win7环境下配置visual studio code远程调试centos7环境c项目
一.安装ssh(1)远程centos安装ssh:yum install openssh-serversystemctl start sshd.servicesystemctl enable sshd.service(2)本地win7安装opensshgit下载windows环境openssh,https://github.com/PowerShell/Win32-OpenSSH/releases,
一.安装ssh
(1)远程centos安装ssh:
yum install openssh-server
systemctl start sshd.service
systemctl enable sshd.service
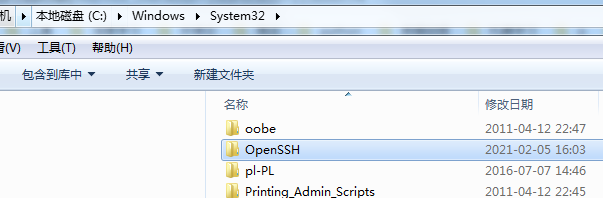
(2)本地win7安装openssh
git下载windows环境openssh,https://github.com/PowerShell/Win32-OpenSSH/releases,解压后安装至C:\Windows\System32目录下,命名为OPENSSH
二.vscode安装插件
安装Remote-SSH和Remote Development

三.Remote-SSH设置
登陆的时候自动打开命令行窗口,通过ctrl+shift+p打开设置Remote-SSH-Settings,设置Remote.SSH:Show Login Terminal为true


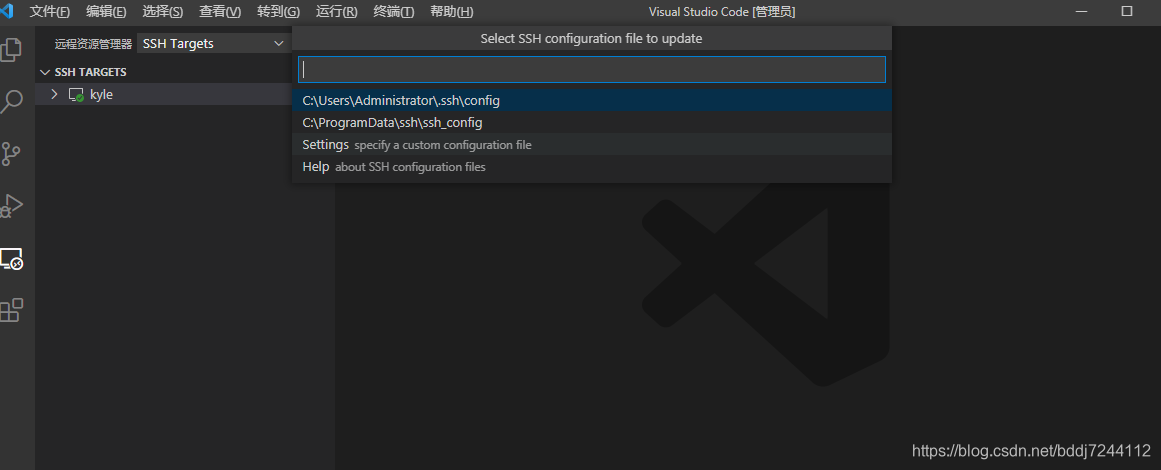
四.添加远程centos主机
通过ctrl+shift+p打开设置Remote-SSH:Connect to Host→Add New SSH Host→C:\Users\Administrator.ssh\config
其中Hostname为远程主机ip,User为用户名
成功后在远程资源管理器中会多出一台配置好的机器,右键,Connect to Host in Current Window,
连接主机,输入密码,登录成功。
连接公共后,在文件→打开文件夹中可以打开远程主机的文件


5.安装c环境
为远程主机安装c/c++插件,注意要选择安装至远程主机。
登录远程主机,安装gdb和gcc:
yum -y install gdb
yum -y install gcc

6.测试helloword程序
在远程主机中建立hello.c程序:
// An highlighted block
#include <stdio.h>
int main(){
    printf("hello ");
    usleep(1000);
	printf("world");
	return 0;
}
建立makefile
// An highlighted block
hello:hello.o
	gcc hello.o -o hello             #按照makefile 语法,前面的不是空格,而是tab键,否则构建会失败
hello.o:hello.c
	gcc -c -g -o hello.o hello.c    #按照makefile 语法,前面的不是空格,而是tab键,否则构建会失败
clean:
	rm -f *.o                        #按照makefile 语法,前面的不是空格,而是tab键,否则构建会失败
配置lanuch.json
// An highlighted block
{
    // 使用 IntelliSense 了解相关属性。
    // 悬停以查看现有属性的描述。
    // 欲了解更多信息,请访问: https://go.microsoft.com/fwlink/?linkid=830387
    "version": "0.2.0",
    "configurations": [
        {
            "name": "(gdb) 启动",
            "type": "cppdbg",
            "request": "launch",
            "program": "${workspaceFolder}/${fileBasenameNoExtension}",
            "args": [],
            "stopAtEntry": false,
            "cwd": "${workspaceFolder}",
            "environment": [],
            "MIMode": "gdb",
            "preLaunchTask": "build",
            "externalConsole": false,
            "setupCommands": [
                {
                    "description": "为 gdb 启用整齐打印",
                    "text": "-enable-pretty-printing",
                    "ignoreFailures": true
                }
            ]
        }
    ]
}
配置tasks.json
// An highlighted block
{
    // See https://go.microsoft.com/fwlink/?LinkId=733558
    // for the documentation about the tasks.json format
    "version": "2.0.0",
    "reveal": "always",
    "tasks": [
        {
            "args": ["-f", "makefile"],
            "label":"build",
            "type": "shell",
            "command": "make"
        }
    ]
}
运行→启动调试,调试成功。


瓜分20万奖金 获得内推名额 丰厚实物奖励 易参与易上手
更多推荐

 0
0 0
0- 0


 已为社区贡献1条内容

所有评论(0)