Introduction to creating Flask Web Application
Flask is a Python Web Framework. It is a popular light weight WSGI (Web Server Gateway Interface) web application framework. Flask is supported from Python 3.7 version.
This article is divided in two sections. First section covers installation and setup of Flask. Second section covers sample web application.
Getting started with Flask
1. Installing Flask using Anaconda -
Anaconda can be downloaded from here. Once Anaconda has been installed it can be verified by typing following command in the Command Prompt/Terminal.
conda
This helps in knowing if Anaconda has been successfully involved.
To work on a python project it is a good way to create a virtual environment for the work. Before creating a virtual environment, the existing virtual environments can be accessed using the following command -
conda env list
The output of the command shows the existing virtual environments.
To create a virtual environment type -
conda create -n envname python=3.9 anaconda
Note that envname is a unique virtual environment name that can be provided. Python version can also be specified, above example shows the version to be 3.9.
Once the virtual environment is ready, activate the virtual environment by typing -
source activate envname
Flask can be installed by typing the command mentioned below -
conda install -n envname flask
2. Installing Flask using pip -
Virtual environments can be created in terminal before installing python from pip.
Firstly navigate to the location where the virtual environment needs to be created. Then using the following commands create a virtual environment -
mkdir projectName
cd projectName
python3 -m venv venv
Once the virtual environment is created activate it by typing -
.\venv\Scripts\activate
The activate.bat batch file in Scripts folder helps in activating the virtual environment.
Now that the virtual environment is active, install Flask -
pip install Flask
Flask has been successfully installed. The second part of this article walks through the steps of creating Hello World! using Flask.
Create "Hello, World!" web application using Flask
Flask web applications receive HTTP requests and send HTTP responses to server. We start by creating a main.py file which has a simple route to homepage of the web application. Write the following code in main.py file -
from flask import Flask

app = Flask(__name__)

@app.route("/")
def hello_world():
    return "Hello, World!"

if __name__ == "__main__":
    app.run(port=5000, debug=True)
Flask(__name__) represents the current file in the web application. app instance handles web requests. The HTTP web request is handled in @app.route("/"). The method which uses the @app decorator returns the response to the Web application. In the above code the incoming request is handled for the homepage/main page of the app denoted by "/". "Hello, World!" is returned as HTTP response to the server.
app.run() starts the web application. The run method allows to set port and debug options. In the above example port is set to port=5000. Debug=True denotes that the debugger mode is on when the Flask Web App runs.
To run the Web app open the Terminal/Command prompt and type -
python main.py
You can expect following output on your terminal when the Flask app starts -
  * Serving Flask app 'main'
 * Debug mode: on
WARNING: This is a development server. Do not use it in a production deployment. Use a production WSGI server instead.
 * Running on http://127.0.0.1:5000
Press CTRL+C to quit
 * Restarting with stat
 * Debugger is active!
 * Debugger PIN: 432-460-081

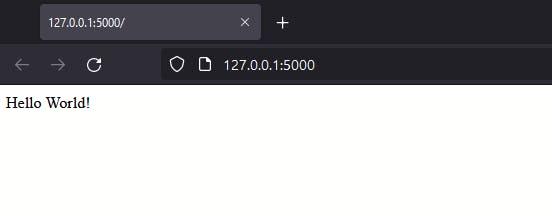
The web application can be checked in the browser by typing http://127.0.0.1:5000 in the address bar.
The code is starter code from the PyCharm IDE Flask Project.
In upcoming articles, I will walk through the process of developing a Flask App for Machine learning project. Stay tuned. Thank you for reading.

Python社区为您提供最前沿的新闻资讯和知识内容
更多推荐

 0
0 0
0- 0


 已为社区贡献126445条内容

所有评论(0)