In this article we are going to create a web application using SvelteKit and MongoDB.
You are going to need Node.js (version 16) to follow this tutorial.
Step 1: Create a MongoDB database
To get started, we are going to create MongoDB database using MongoDB Atlas. If you already have a database, you can skip this step.
We will use a free-tier MongoDB for this tutorial. First, head to the MongoDB Atlas website and log in. You will need to create an organization within MongoDB Atlas.

Once you created an organization, you will create a project within your organization.

Next, you will create a database in your project.
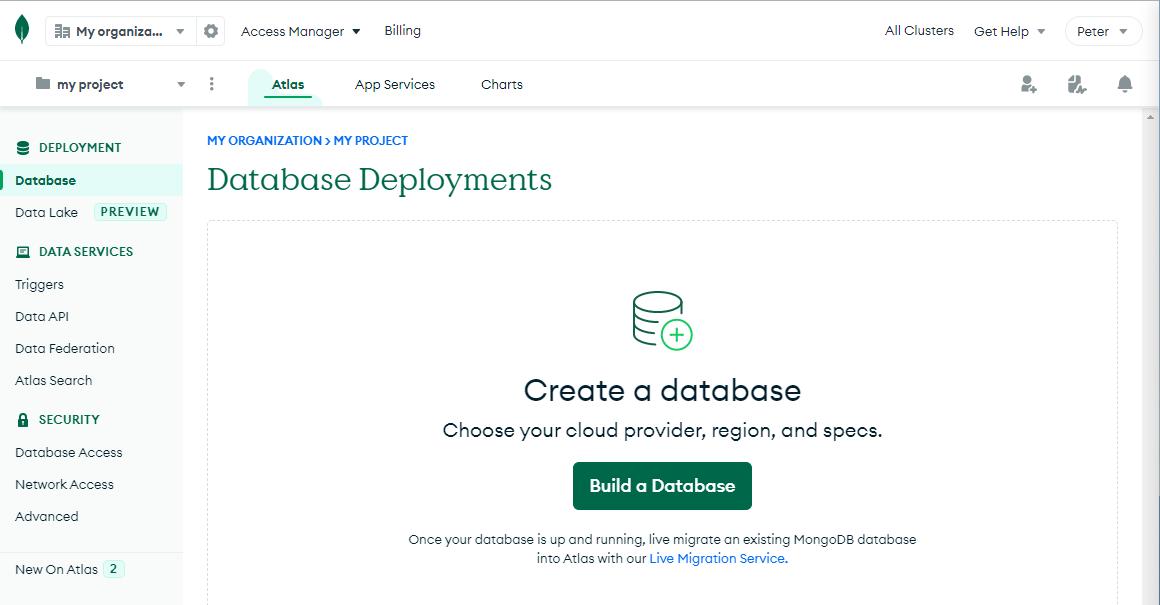
- Pick a Shared Cluster
- Choose either AWS / Google Cloud / Azure as the deployment platform.
- Pick a region for your database
- Select M0 Sandbox for your cluster tier.
- Pick a cluster name, for example “dev-cluster”
Once you created your cluster, you will need to go through some security settings. For this tutorial, pick the username and password authentication. Select a username and password and save them somewhere.
Pick “My Local Environment” for the connection type. In the IP access list, either enter your public IP or whitelist every IP by typing in 0.0.0.0/0.
Your database will take a while to be created. When it’s available, go to your Collections.
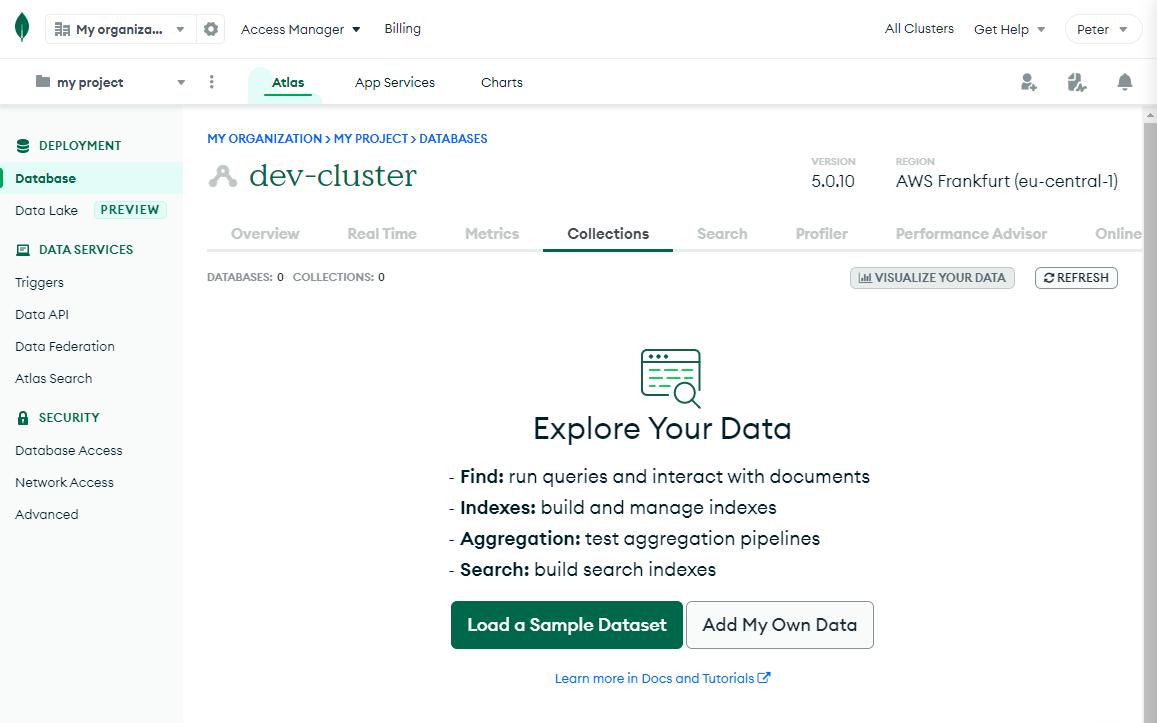
We will create a car dealership database.
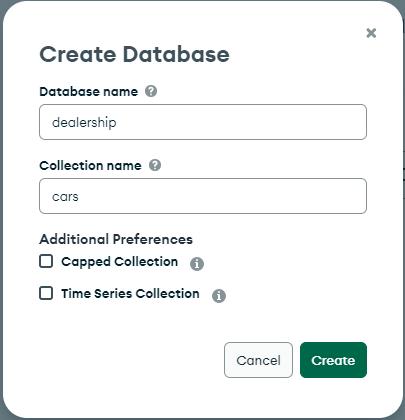
Create a few documents by clicking the “Insert Document” button.
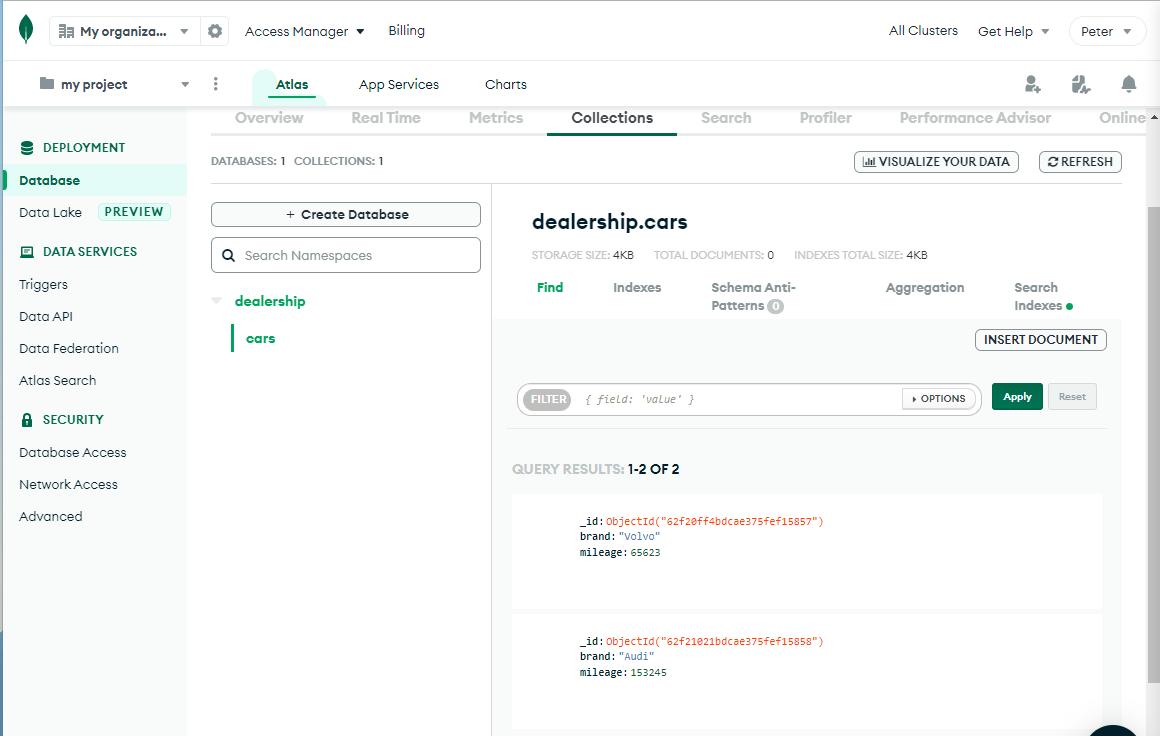
dealership.cars collection.
To connect to your new database, you will need an URI. Return to the Overview page an click “Connect”.

Select “Connect your application” and copy the resulting URI. Replace the username and password by the ones you created. Save this URI.
Step 2: Create a svelte-kit app
We will generate a barebones svelte-kit app using npm. In your terminal, type:
npm create svelte@latest my-app
This command will guide you through the setup of your svelte-kit app. For this tutorial, we are choosing the following options:

You might need to run npm install or yarnto install your dependencies. Use yarn dev to start the development server.
In the main route (src/routes/index.svelte), we will add a link to browse cars in our dealership.
<!-- src/routes/index.svelte --><section>
  <a href="/cars">Browse cars</a>
</section>
This link will take us to the /cars page, which should show a 404 error page for now.
To define a new route, create a .svelte file in the src/routes directory. We will add the cars.svelte file.
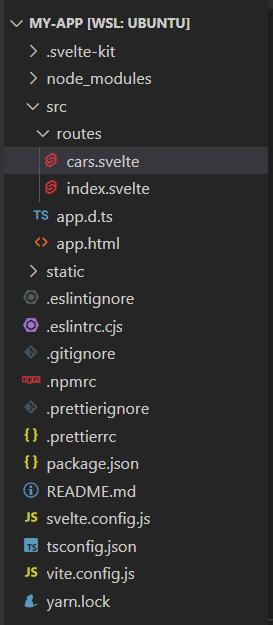
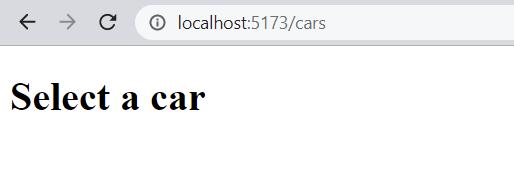
Add something to the new cars.svelte and it will be displayed when you click the link on the index page.
<!-- src/routes/cars.svelte --><h1>Select a car</h1>
Next, we will connect to our MongoDB database and fetch the list of cars in the cars collection.
Step 3: Connect to MongoDB from svelte-kit
The database connection will be created and stored on the server. The connection will be reused across multiple requests and clients. The data will be rendered using SSR on the /cars page.
First, install the MongoDB client for Node.js:
yarn add mongodb or npm install mongodb
To create the database connection, create a new file called src/lib/db.ts and add the following code:
import { MongoClient } from "mongodb"
import { DB_URI } from '$env/static/private';const client = new MongoClient(DB_URI)await client.connect()export default client.db('dealership') // select database
You will need to add your database URI into your environment by creating an .env file in the root project directory.
DB_URI=mongodb+srv://
<username>:<password>@<yourcluster>.<yourid>.mongodb.net/?retryWrites=true&w=majority
Step 4: Fetch the cars collection on page load
In your cars.svelte file, add the following code to display the list of cars fetched from the database:
<script lang="ts">
  export let cars: any[]
</script><h1>Select a car</h1>
<ul>
  {#each cars as car}
    <li>
      <h3>{car.brand}</h3>
      <p>{car.mileage}</p>
    </li>
  {/each}
</ul>
This should crash your dev server, because the cars server-side prop is not yet defined.
To fetch data for a route, create a file with the same name as the route, but with the .ts file extension. In our case, we will create the cars.ts file.
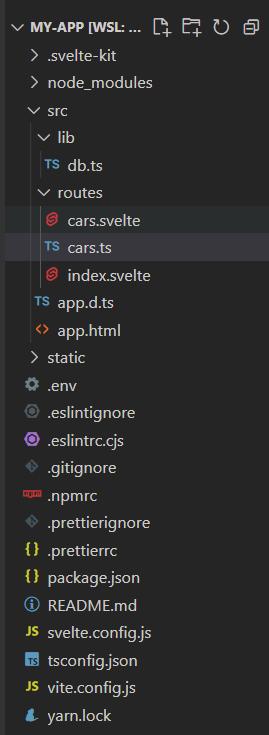
In the cars.ts file, we can define an API for the cars resource. We will only create a GET request, which will tell svelte-kit what data to fetch along with the page load.
Add the following code to the cars.ts file:
import db from "$lib/db"export async function GET() {
  const cars = await db.collection('cars').find().toArray()  return {
    status: 200,
    body: { cars }
  }
}
With this setup, svelte-kit will first fetch data from MongoDB and then load the page with the data inserted as a server-side prop.
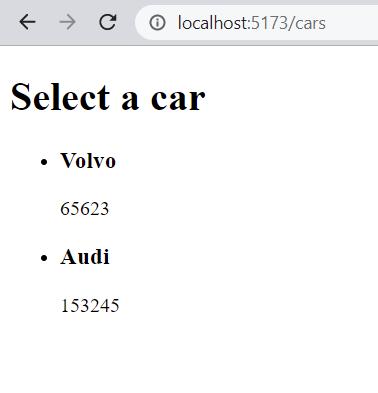
Open localhost:5173/cars and you should see a list of documents you inserted into your database:
Similarly, you can create a POST function, that will add documents into your database.
To learn more about svelte-kit and their awesome features, visit their detailed documentation.


 已为社区贡献32862条内容

所有评论(0)