

A short guide to mounting files into a Kubernetes Deployment using ConfigMaps.
Requirements
- Ready to use Kubernetes setup (e.g., a local one)
- kubectl installed
What you will learn
In this tutorial, you will learn how to deploy a simple NGINX container to Kubernetes and use the ConfigMap resource to inject an HTML page into the container that will overwrite the default index.html provided by NGINX.
As usual, I have prepared a GitHub repository for you to see the finished code base and follow the steps described in this article.
Abszissex/medium-k8s-cf-mount-file
You can't perform that action at this time. You signed in with another tab or window. You signed out in another tab or…
github.com
General Setup
/
|- deployment.yaml
|- configmap.yaml
At the end of this example, there will be two YAML files. The deployment.yaml defining the NGINX Deployment and the configmap.yaml defining the ConfigMap that contains the custom HTML page.
But let's get there step-by-step.
NGINX Deployment
First, we define the NGINX deployment and verify it works as expected.
As you can see, we use the nginx:1.21.6-alpine Docker image and expose the port 80. Port 80 is the default port NGINX is running.
You can now apply the Deployment to the Kubernetes cluster by using kubectl apply -f deployment.yaml.

Verify the NGINX Deployment
To verify that the creation of the Deployment worked as intended, let's get all the running resources on the cluster via kubectl get all -l name=nginx. In the below image, you can see how one replica of the NGINX Pod was started and is ready and the NGINX Deployment and ReplicaSet resource.
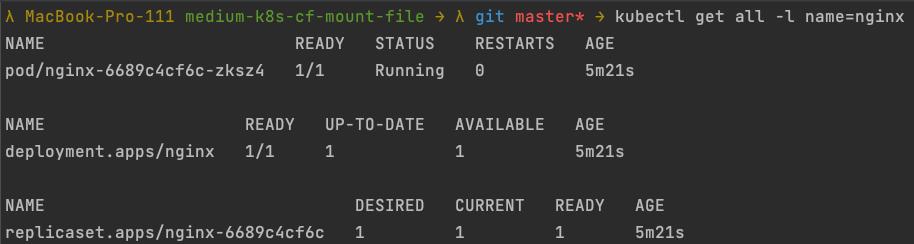
The above -l name=nginx filters the output of the get all command by all resources that have the name label defined to be nginx. If you haven't named everything in your Deployment YAML file nginx it might print a different output.
When you are unsure, you can always fall back to kubectl get all without the label filtering and get all running Kubernetes resources in the default namespace.
Accessing the NGINX Deployment
To verify that the Pod is ready and works, we can forward the port of our resource to our local machine. You can use Port forwarding via kubectl on different resources. So you could either directly forward the port from the Pod, forward the whole Deployment, or forward on a Service resource (which we don't use in this example).
For this showcase, I decided to go with the forwarding on the Deployment level.
Using the command kubectl port-forward deployment/nginx 8080:80 will forward the port 80 of the Deployment to the local machine on port 8080. The general syntax of the command is like the following:
kubectl port-forward RESOURCE_TYPE/RESOURCE_NAME LOCAL_PORT/RESOURCE_PORT

Using the port-forwarding command, the terminal is blocked, and the port-forwarding will be available if you don't stop the process.
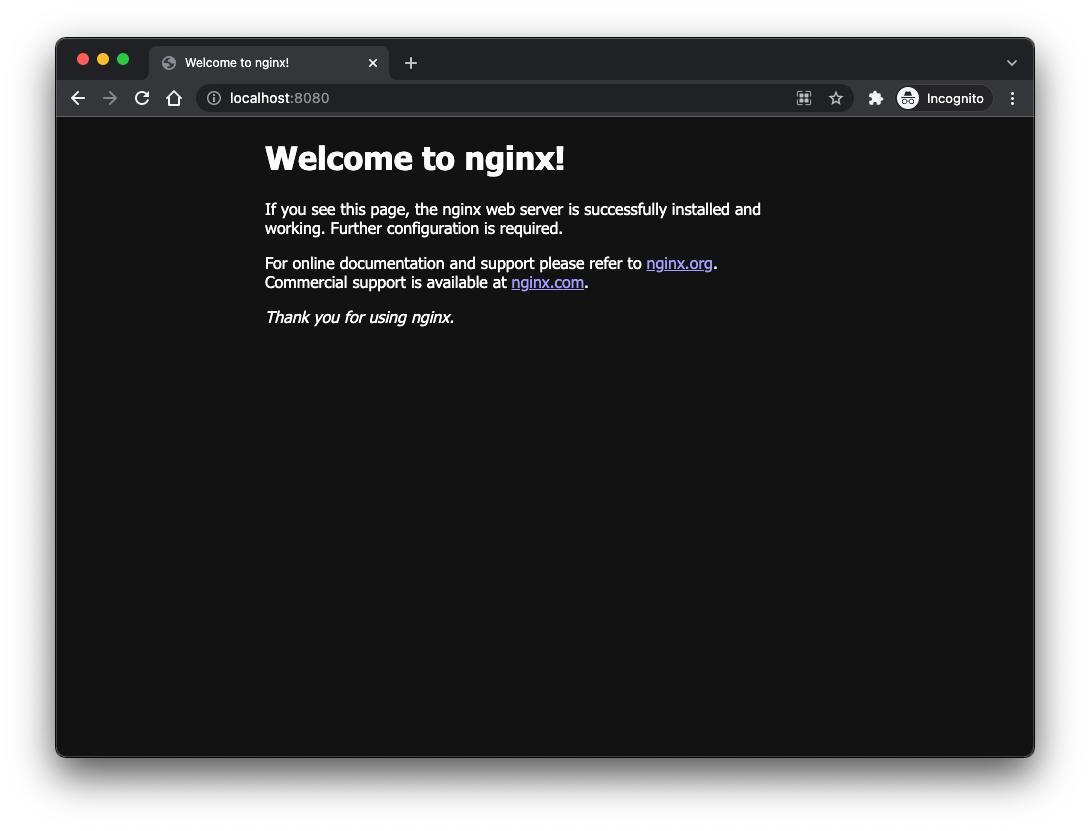
To finally verify that the NGINX Pod is working as expected, open the browser and navigate to localhost:8080. If everything worked fine, you should see the default index.html located in the NGINX Docker image.
Creating the ConfigMap
ConfigMaps in Kubernetes are, as the name suggests, used for providing configurations in a key-value approach, e.g., environment variables for services and making them accessible for Deployments and other Resources.
But besides referencing the ConfigMaps and only extracting its values and pushing it into environment variables, ConfigMaps can also be mounted as a volume.
In the following code snippet, you can see the ConfigMap definition we will use.
In the data section, we define our arbitrary key file-from-cfgmap and assign a value to it. The value is a multi-line string indicated via the pipe operator |. The string consists of the HTML content we want to inject in our Deployment to overwrite the default HTML file from the NGINX Docker container.
Mounting the ConfigMap in the Deployment
Now that the ConfigMap is defined, it needs to be mounted in the Deployment configuration. We will extend the Deployment file from the start of this article. I marked the part that I added with a comment in the following code snippet. The part above the comment is the same as before.
Let's go over it step-by-step, but let's start the volumes section at the bottom. In the volumes section, we define the possible volumes and how we want to name them. In this case, we create one new volume with the name mnt that we can use to reference the volume later. Also, we define that the volume content should be based on a ConfigMap with the name nginx-cfmap, pointing to the metadata.name property of the configmap.yaml we defined.
After defining the volume, we can mount it into the containers by using the volumeMounts section. The name of the volumeMounts entry we define has to be the same name as the one we described in the volumes section → mnt. With the mountPath we define where Kubernetes should put the content we mount. In this case, it's /usr/share/nginx/html/index.html. This is the location of the default index.html NGINX is serving. Last but not least, we define the subPath to be file-from-cfgmap. Since we are mounting a ConfigMap, we have to specify the name of the key inside the ConfigMap for which we want to get the value. The volumeMounts.subPath in the Deployment needs to be equal to data[subPath] of the ConfigMap.
Putting it together
Now that the ConfigMap and the Deployment are defined and ready to use, we can apply both changes/creations via kubectl apply -f . , in case both files are in your directory, or instead of the . using the individual file names.

It might take a few seconds for the NGINX containers to restart.
Next, we can start the port-forwarding again via kubectl port-forward deployment/nginx 8080:80 and verify the results in the browser.
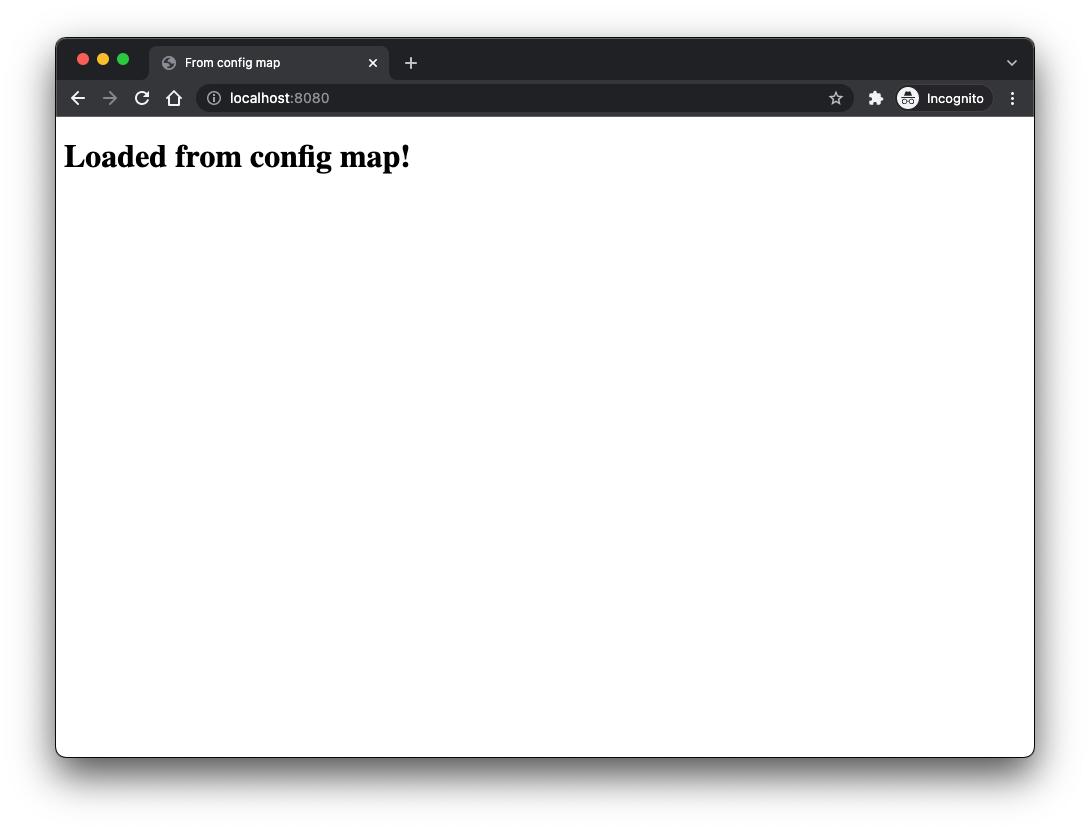
And it worked! 😊
Side Note
Please keep in mind that when you change the content of the ConfigMap and apply the new ConfigMap to your cluster, it won't affect your already running NGINX Pods.
The reason here is that the Pods mount the content of the ConfigMap once they start. Afterward, changes to the ConfigMap don't affect the Pods anymore.
If you don't want to make changes to your Deployment to trigger a restart of your pods to fetch the new ConfigMap content, which you absolutely shouldn't, you can easily restart the containers via the kubectl rollout command.
For example, to restart the Pod of the NGINX deployment from this tutorial, you can use:
kubectl rollout restart deployment/nginx
Summary
In this short tutorial, you should have learned how to inject values from ConfigMaps as volumes into your Deployments to (over-)write files used by your applications.
Do you want to get in touch?
If you want to contact me, please hit me up on LinkedIn.
Join Medium with my referral link — Pascal Zwikirsch
As a Medium member, a portion of your membership fee goes to writers you read, and you get full access to every story…
mr-pascal.medium.com


 已为社区贡献20439条内容

所有评论(0)