

In this article, I want to share with you how to deploy a lambda function using the GitHub action and Serverless framework.
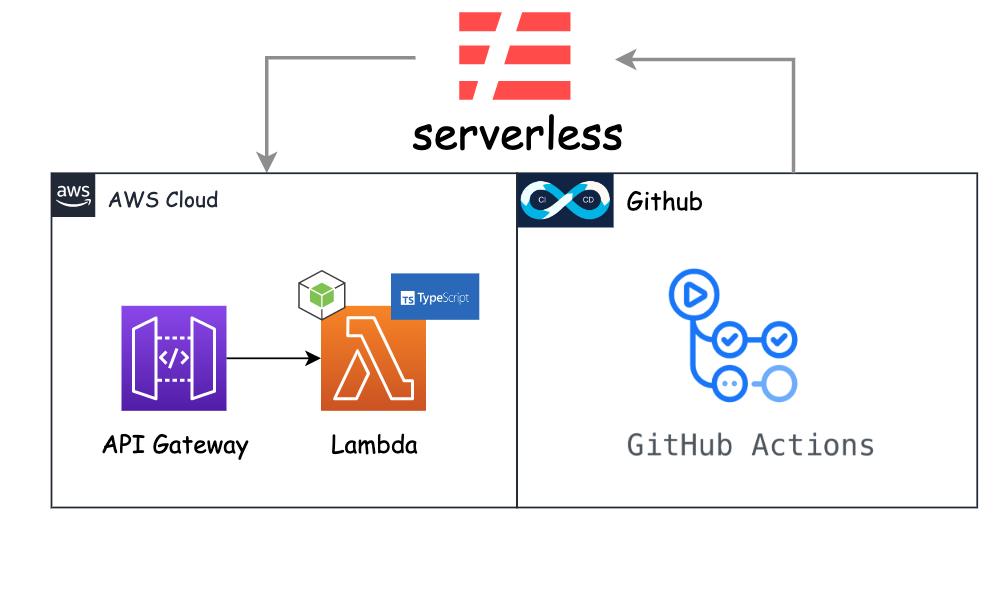
Checkout the Github Repository: https://github.com/kobee-tech-stack/github-action-nodejs-serverless at review all steps below to understand about our repository
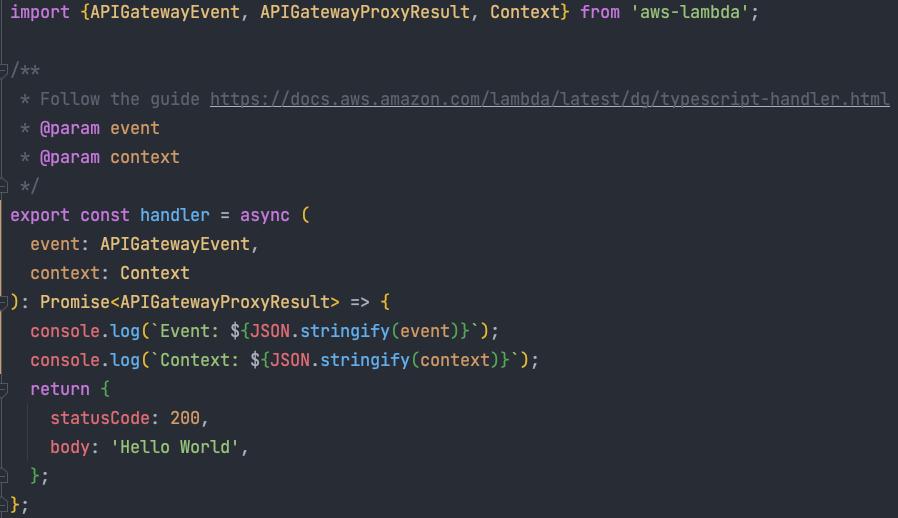
Step 1: Create a lambda handler
Firstly, we will create a simple rest API hello world lambda as below. This is a simple lambda that returns a hello world message.
Step 2: Create a serverless config file to deploy the lambda
After we created the rest lambda handler we need to create a serverless.ymlfile at the root folder to deploy our lambda to AWS
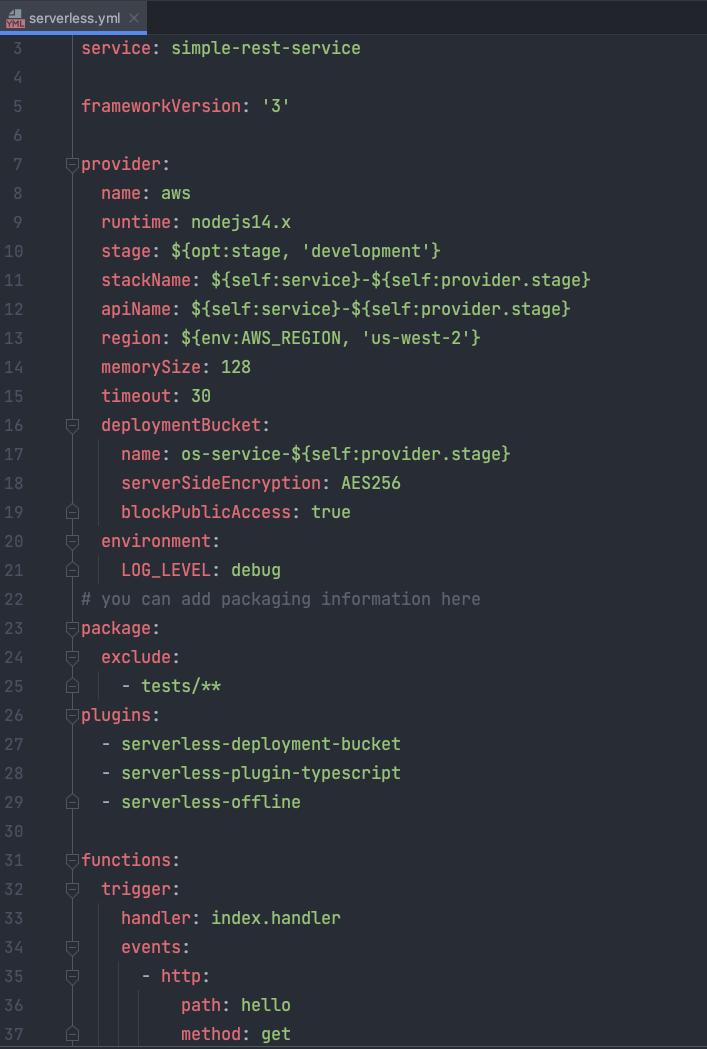
Overall the lambda we just create a new function trigger with the path is hello to execute our lambda and some configuration below
- Memory 128 MB
- Timeout 30 seconds
- S3 Deployment bucket is private
- Some environment for our Lamba (example : LOG_LEVEL is debug )
- An HTTP Rest event path: ${domain}/${stage}/hello
Step 3: Verify the lambda at local
We have a plugin serverless-offline support for our dev can run the lambda locally without deploying it to AWS Cloud
in the package.json just add a simple script
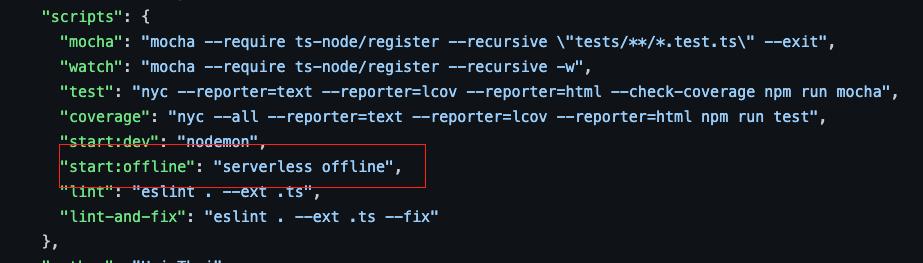
run the script npm run start:offline

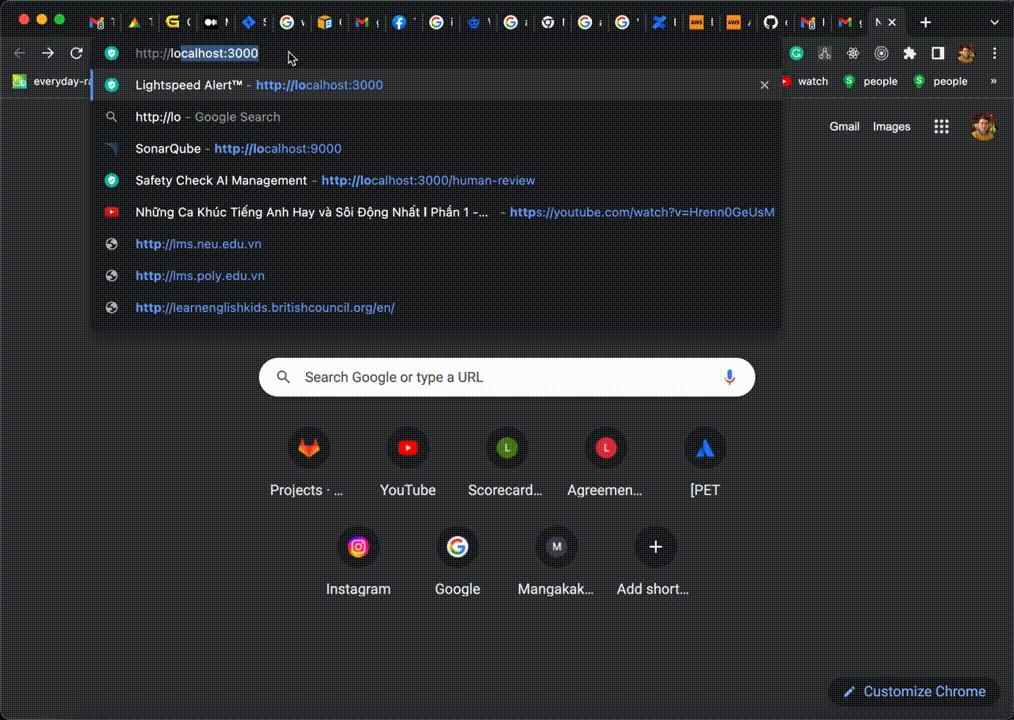
Trigger the URL http://localhost:3000/development/hello
It’s done for our lambda and our expectation is the lambda should be deployed to AWS Cloud without error.
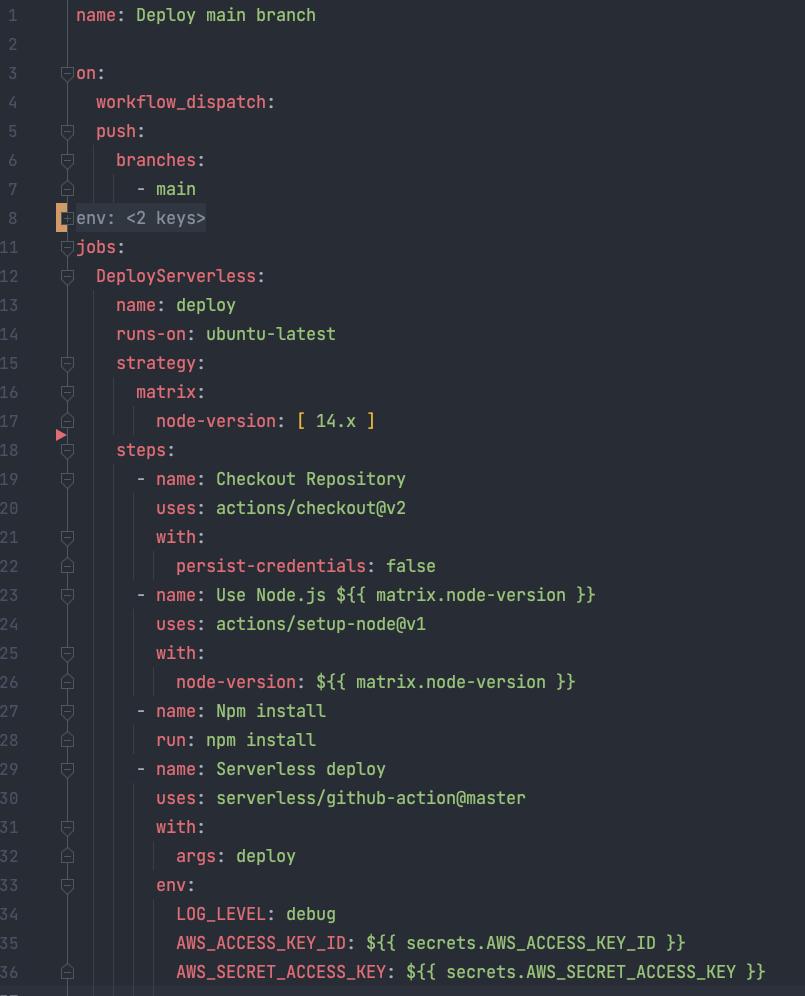
Step 4: Create a Github action workflow to deploy our lambda to AWS Cloud
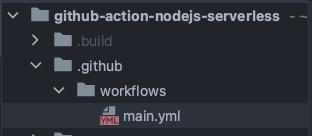
So now at the root folder, we will create a file main.ym below the folder .github/workflows folder
More detail about workflow action syntax: https://docs.github.com/en/actions/using-workflows/workflow-syntax-for-github-actions
Overall the main.yml file
- Should trigger the jobs when a new code pushed to
main branch - Run on a container ubuntu-latest and node version installed 14.x
- Checkout the repository
- run npm install to download dependencies necessary for our project
- deploy the lambda with serverless GitHub action
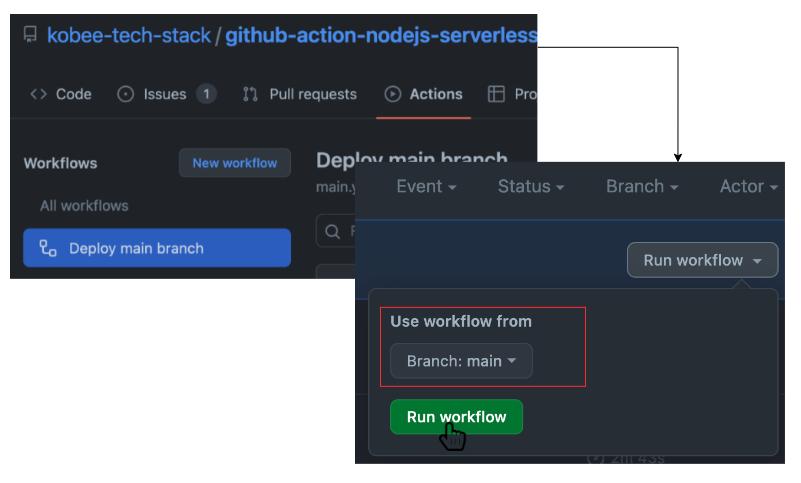
Expectations for this step when we go to our repository and go to the Actions the tab you should see your workflow and you can trigger the job
The expectation is your workflow should run with error (exception)

× Stack simple-rest-service-development failed to deploy (16s)Environment: linux, node 16.16.0, ...Docs: docs.serverless.comSupport: forum.serverless.comBugs: github.com/serverless/serverless/issuesError:AWS provider credentials not found. Learn how to set up AWS provider credentials in our docs here: <http://slss.io/aws-creds-setup>.
The problem is the Serverless framework needs access to your cloud provider account so you need to create and set up an AWS Account for the deployment.
Step 5: Create an IAM User and Access Key
Take a look at this guide to create an IAM User and Access Key: https://www.serverless.com/framework/docs/providers/aws/guide/credentials/
Permission AWS Account used to deploy the lambda with the serverless framework
- IAMFullAccess: Provides full access to IAM.
- AmazonS3FullAccess: Provides full access to all buckets.
- AmazonAPIGatewayInvokeFullAccess: Provides full access to invoke APIs in Amazon API Gateway.
- CloudWatchFullAccess: Provides full access to CloudWatch.
- AmazonAPIGatewayAdministrator: Provides full access to create/edit/delete APIs in Amazon API Gateway.
- AWSCloudFormationFullAccess: Provides full access to AWS CloudFormation.
- AWSLambda_FullAccess: Grants full access to AWS Lambda service, AWS Lambda console features, and other related AWS services.
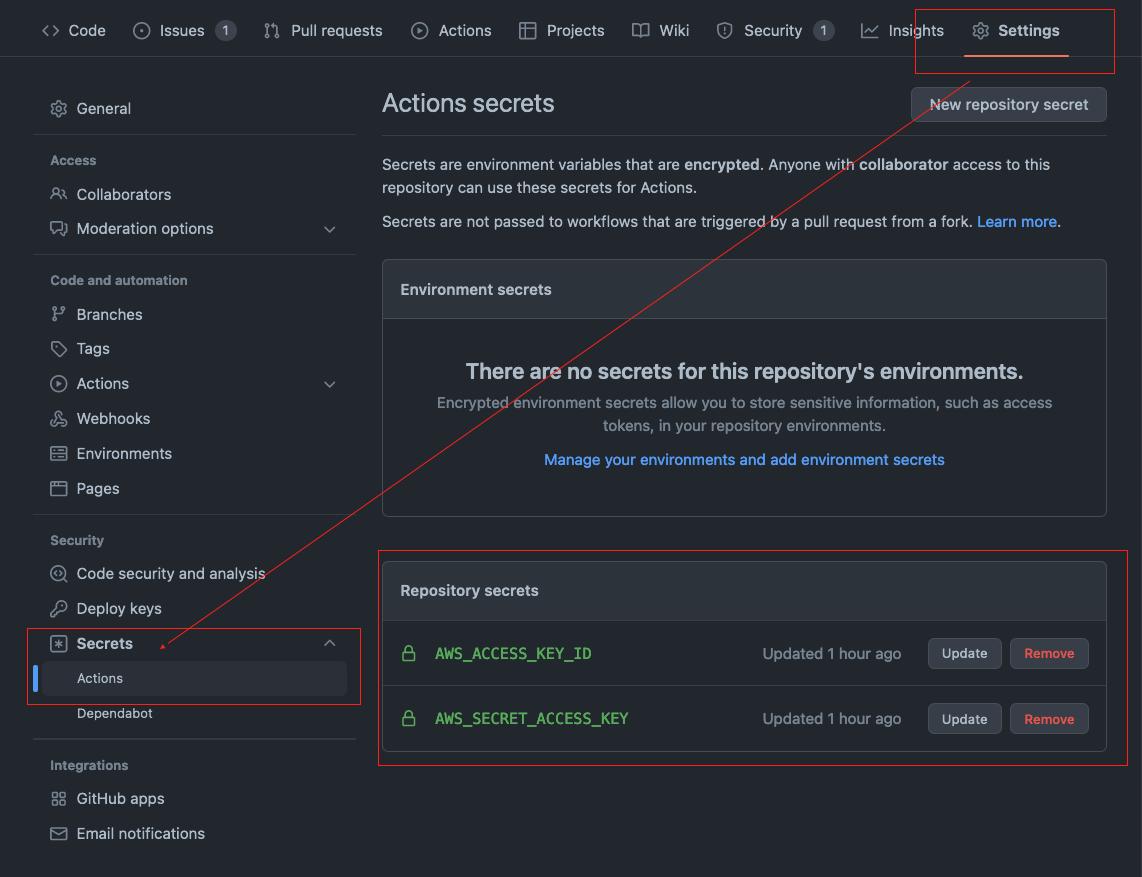
Step 6: Link AWS Account to Github Repository and deploy the lambda to AWS Cloud
After AWS Account is created — Link your AWS Account Access Key ( created in step 5) to the Github repository. Go to the GitHub -> Setting and add the AWS Account Keys below the secrets section
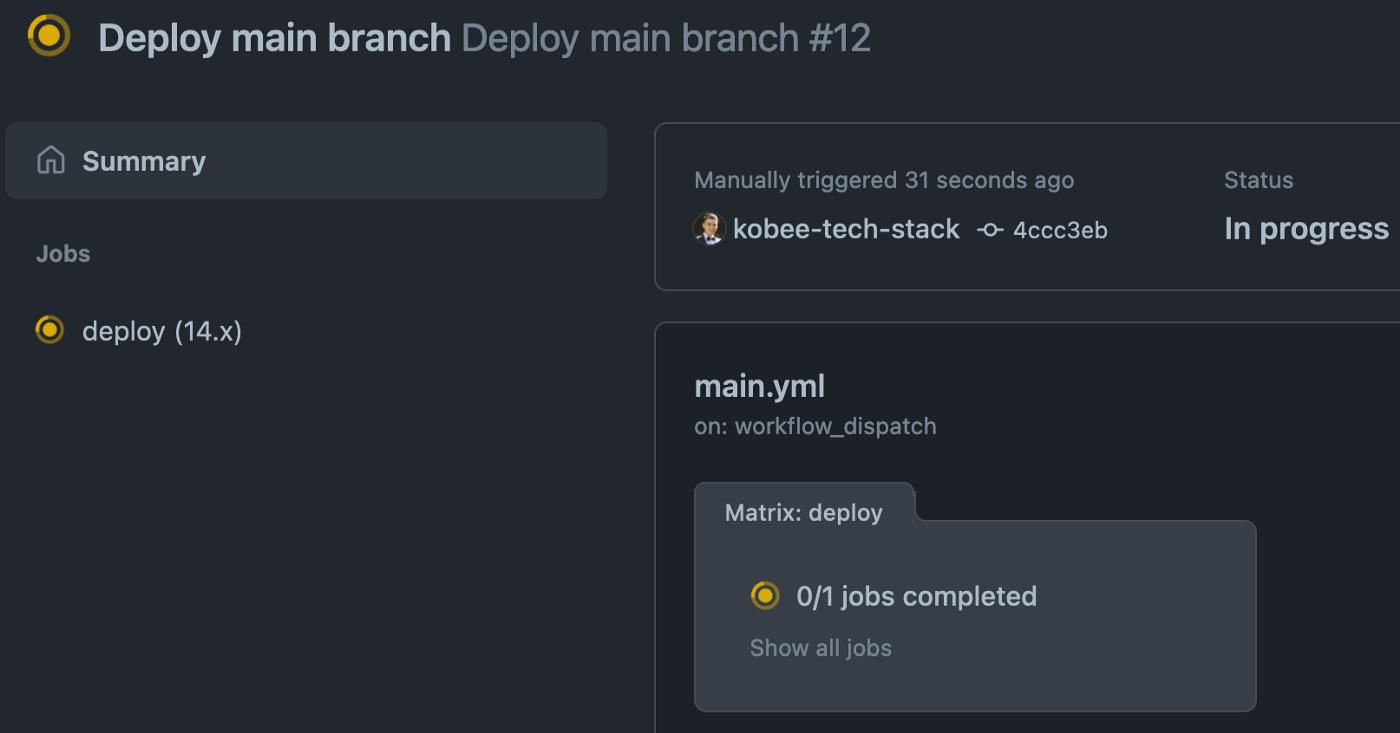
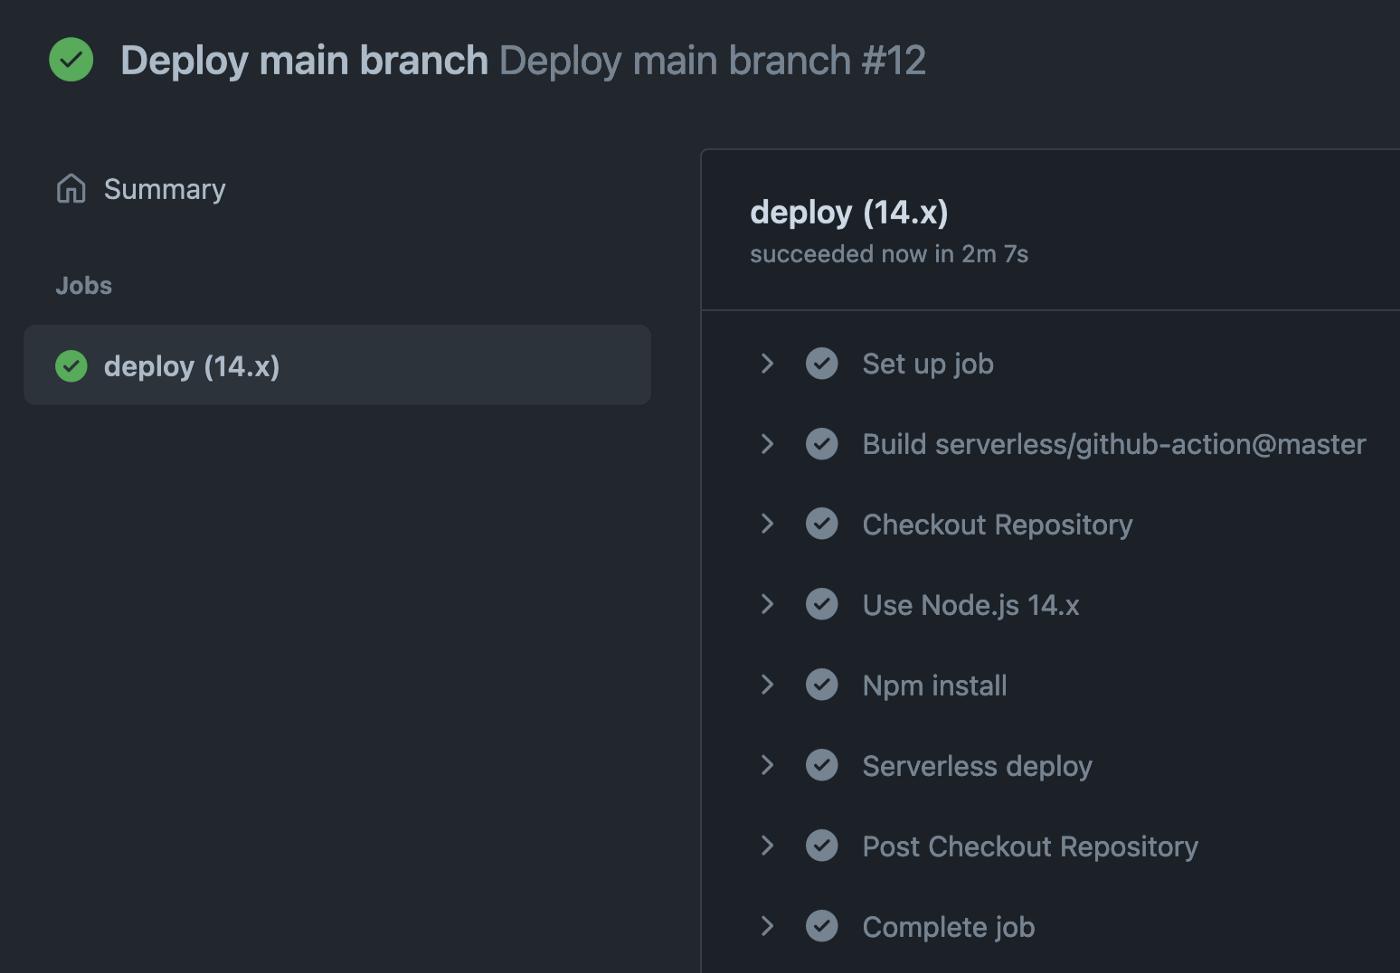
Try to commit a new code to themain branch or manually trigger the job again. Go to the Actions tab and review the deployment.

Step 7: Log in to the AWS console and review the deployment
After the job run was successfully we can go to the AWS Console and double-check our lambda
Move to lambda functions ( with our region your config in the serverless yml)
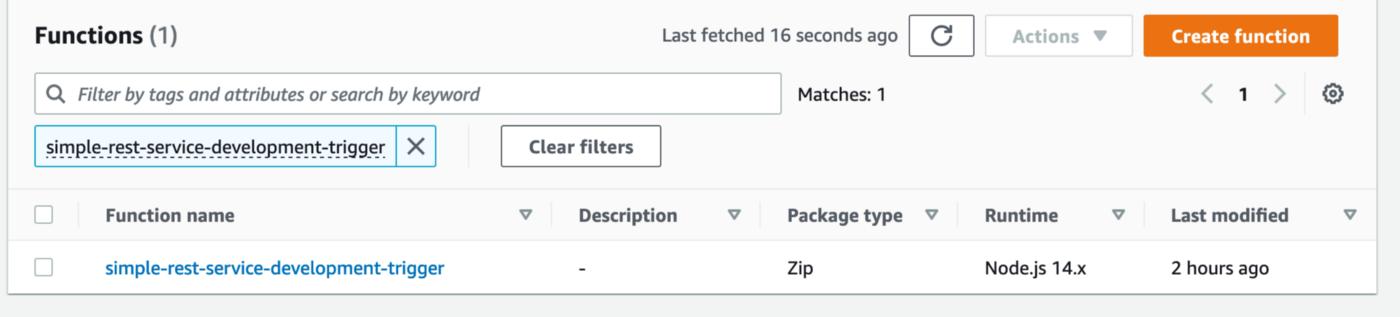
Open the function name to view detail of the function
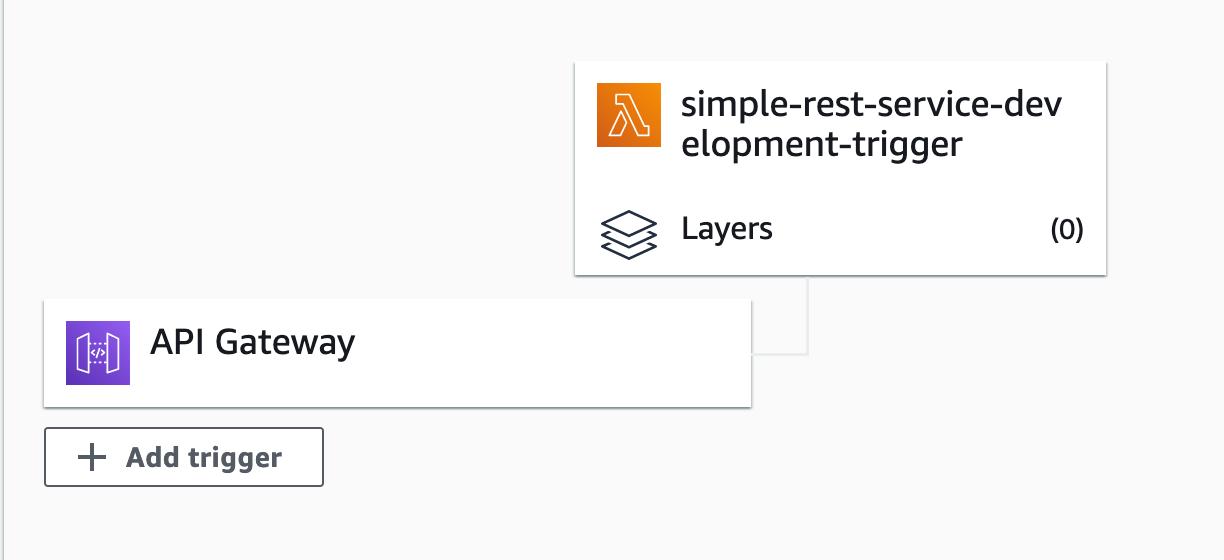
Click on the API Gateway detail info or our rest api
API Gateway: simple-rest-service-developmentarn:....API endpoint: https://xyz.execute-api.us-west-2.amazonaws.com/development/hello
Resource path: /hello
Service principal: apigateway.amazonaws.com
Stage: development
Access the link https://xyz.execute-api.us-west-2.amazonaws.com/development/hello to view your result

Hopefully, the guideline is useful for someone. For the next topic, I’ll build a new workflow on how to deploy a Fargate to AWS Cloud.


 已为社区贡献13058条内容

所有评论(0)