


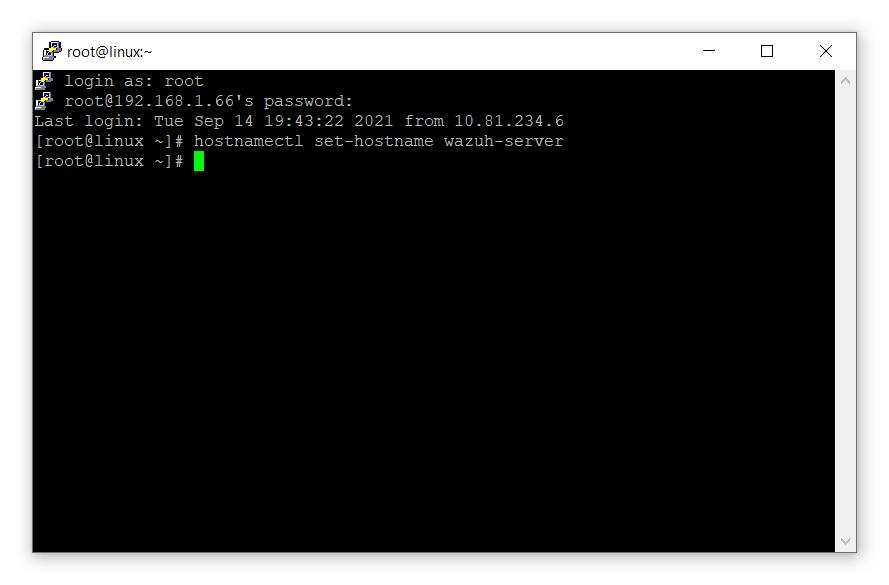
- First of all change hostname
# hostnamectl set-hostname wazuh-server
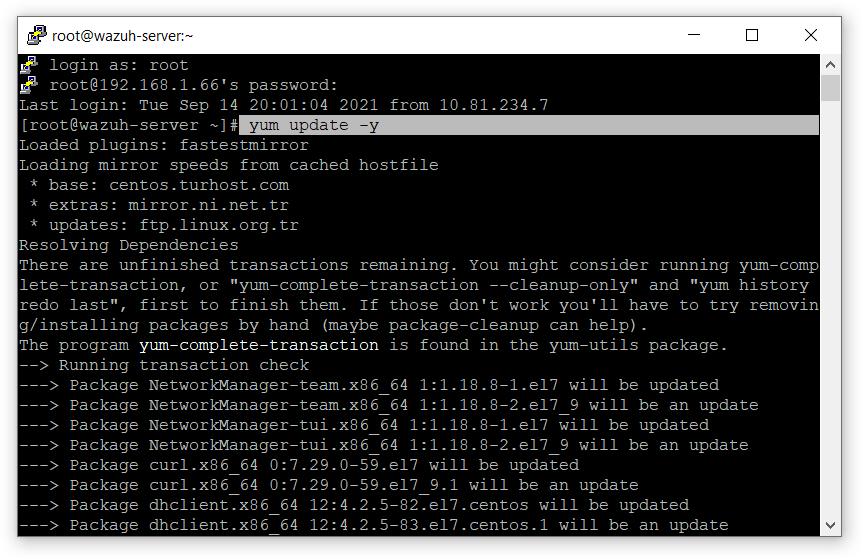
- Let’s update the packages.
# yum update -y
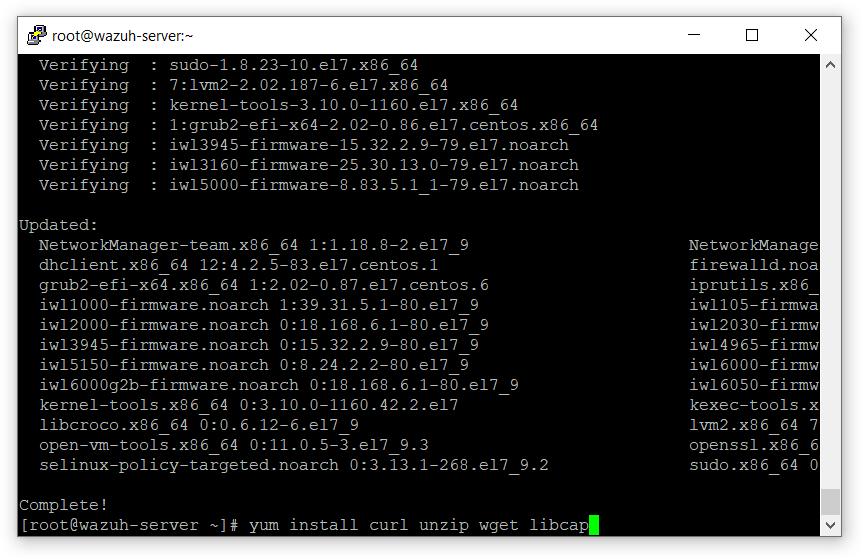
- Install the necessary packages for the installation.
# yum install curl unzip wget libcap
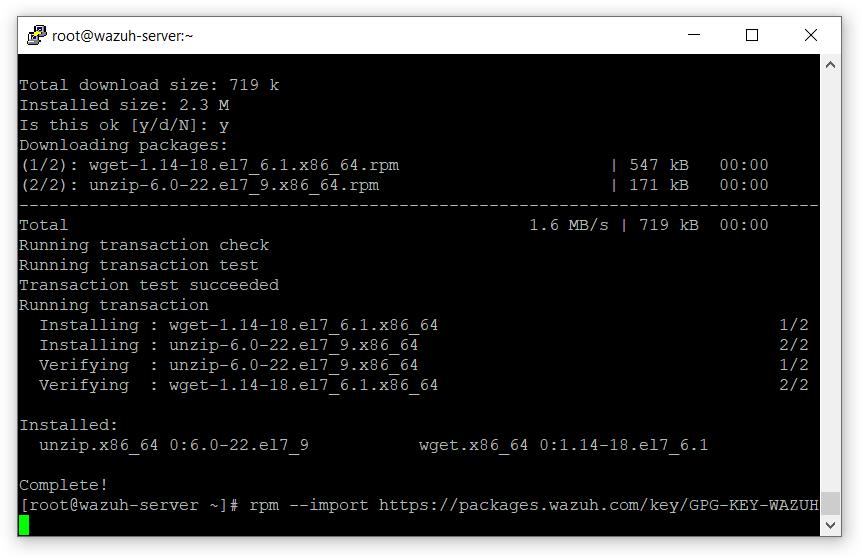
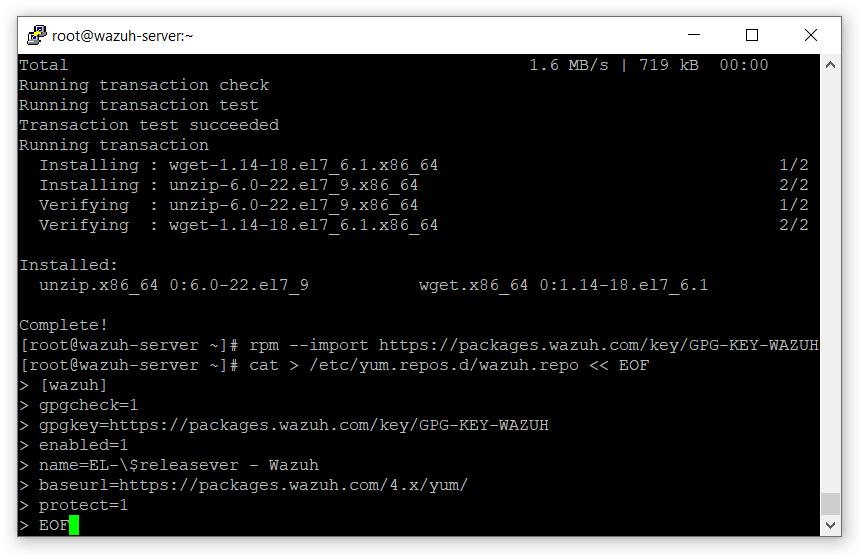
- Import the GPG key
# rpm --import https://packages.wazuh.com/key/GPG-KEY-WAZUH
- Add the repository
# cat > /etc/yum.repos.d/wazuh.repo << EOF
[wazuh]
gpgcheck=1
gpgkey=https://packages.wazuh.com/key/GPG-KEY-WAZUH
enabled=1
name=EL-\$releasever - Wazuh
baseurl=https://packages.wazuh.com/4.x/yum/
protect=1
EOF
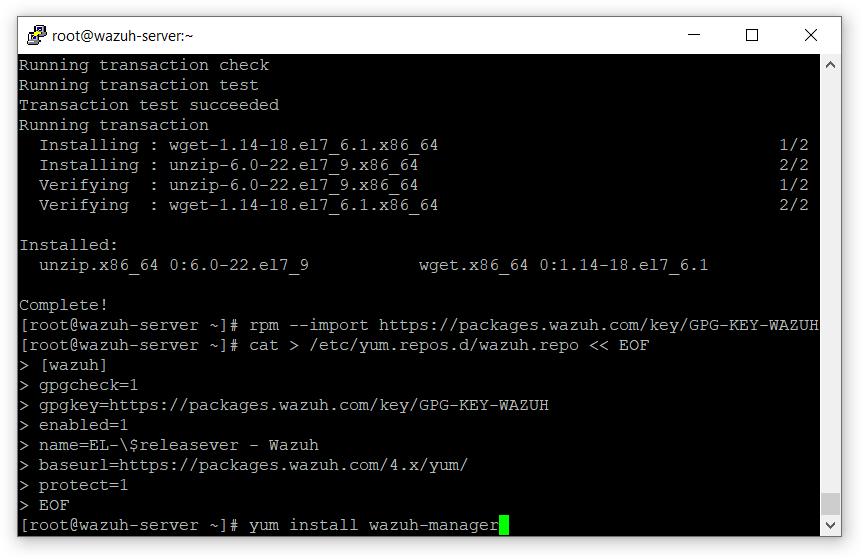
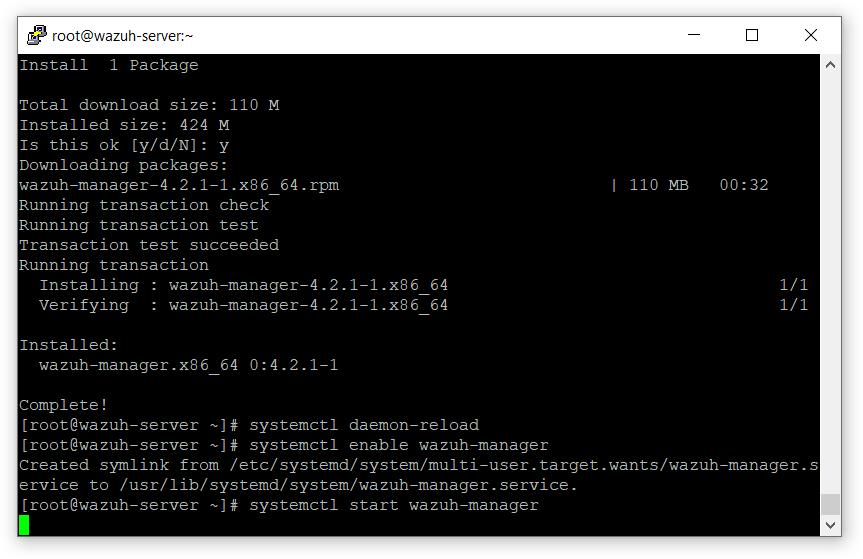
Install the Wazuh manager
# yum install wazuh-manager
- start wazuh-manager
# systemctl daemon-reload
# systemctl enable wazuh-manager
# systemctl start wazuh-manager
Run the following command to check if the Wazuh manager status
# systemctl status wazuh-manager
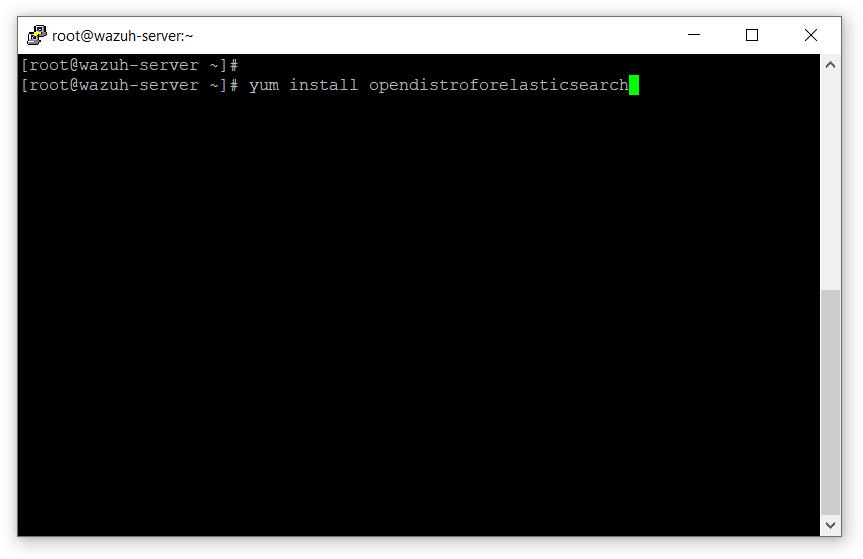
Installing Elasticsearch
- Install opendistroforelasticsearch
# yum install opendistroforelasticsearch
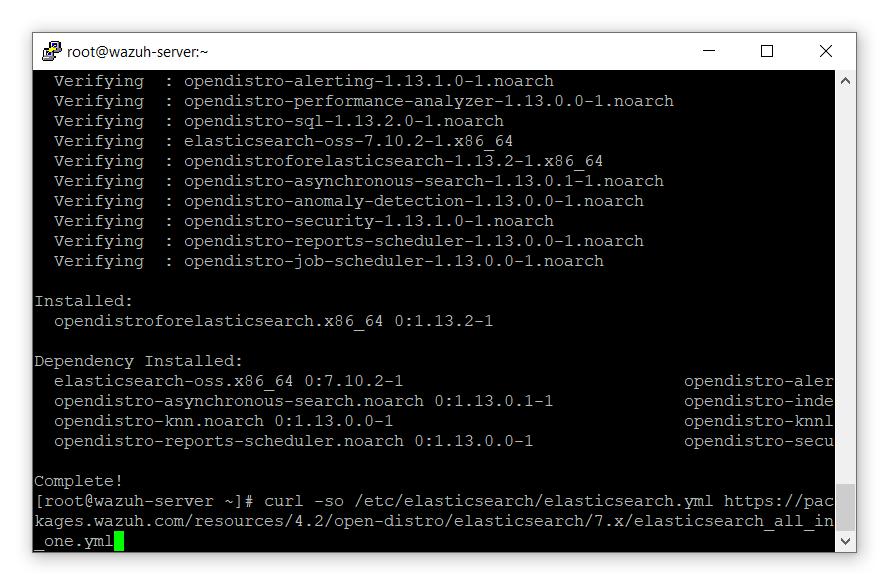
- Configuring Elasticsearch
# curl -so /etc/elasticsearch/elasticsearch.yml https://packages.wazuh.com/resources/4.2/open-distro/elasticsearch/7.x/elasticsearch_all_in_one.yml
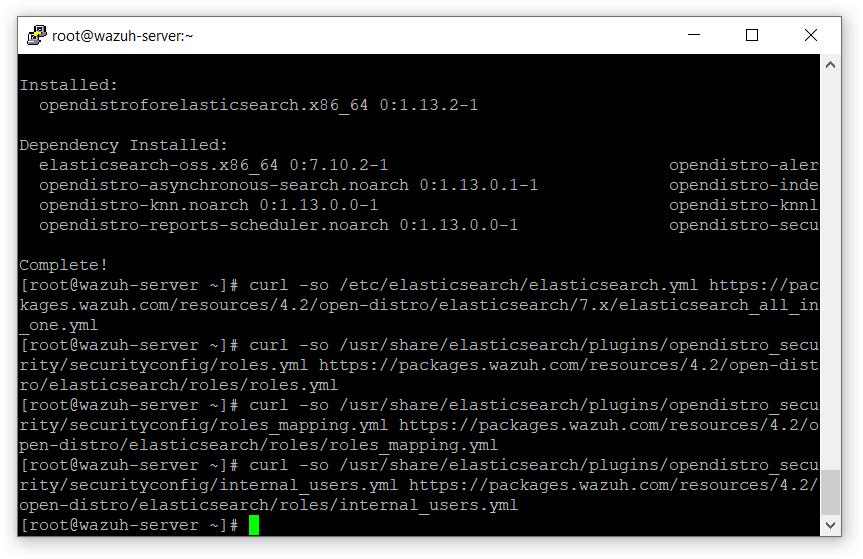
- Run the following commands to add the Wazuh users
# curl -so /usr/share/elasticsearch/plugins/opendistro_security/securityconfig/roles.yml https://packages.wazuh.com/resources/4.2/open-distro/elasticsearch/roles/roles.yml
# curl -so /usr/share/elasticsearch/plugins/opendistro_security/securityconfig/roles_mapping.yml https://packages.wazuh.com/resources/4.2/open-distro/elasticsearch/roles/roles_mapping.yml
# curl -so /usr/share/elasticsearch/plugins/opendistro_security/securityconfig/internal_users.yml https://packages.wazuh.com/resources/4.2/open-distro/elasticsearch/roles/internal_users.yml
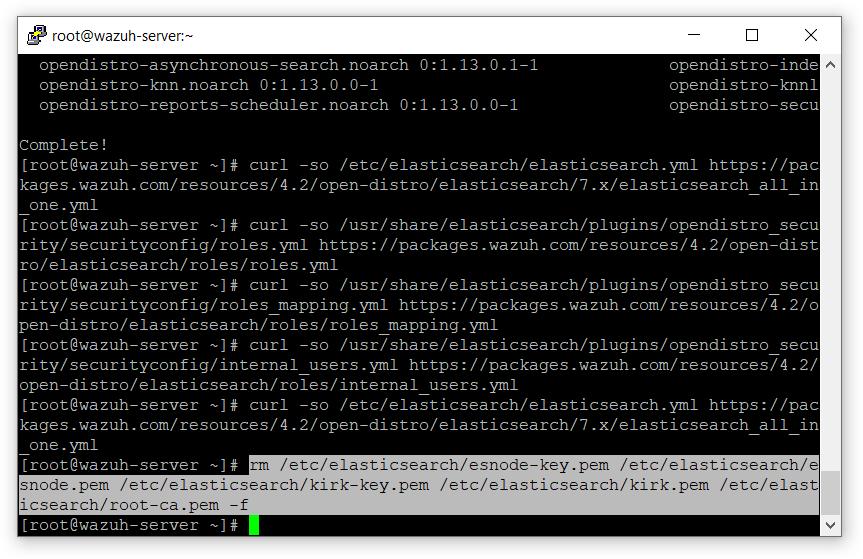
- Remove the demo certificates:
# rm /etc/elasticsearch/esnode-key.pem /etc/elasticsearch/esnode.pem /etc/elasticsearch/kirk-key.pem /etc/elasticsearch/kirk.pem /etc/elasticsearch/root-ca.pem -f
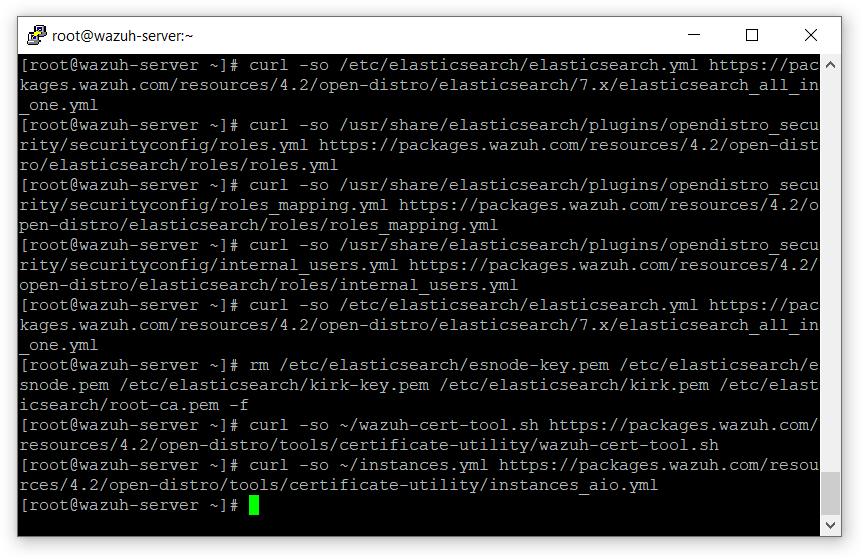
- Download the wazuh-cert-tool.sh
# curl -so ~/wazuh-cert-tool.sh https://packages.wazuh.com/resources/4.2/open-distro/tools/certificate-utility/wazuh-cert-tool.sh
# curl -so ~/instances.yml https://packages.wazuh.com/resources/4.2/open-distro/tools/certificate-utility/instances_aio.yml
- sh. /wazuh-cert-tool.sh
# bash ~/wazuh-cert-tool.sh

- Move Elasticsearch file
# mkdir /etc/elasticsearch/certs/
# mv ~/certs/elasticsearch* /etc/elasticsearch/certs/
# mv ~/certs/admin* /etc/elasticsearch/certs/
# cp ~/certs/root-ca* /etc/elasticsearch/certs/

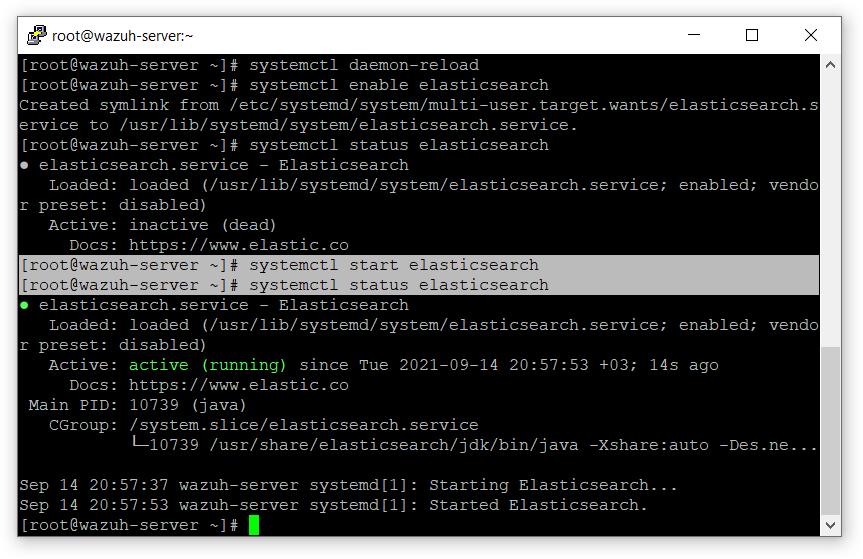
- start elasticsearch
# systemctl daemon-reload
# systemctl enable elasticsearch
# systemctl start elasticsearch
- Run the Elasticsearch scripts
# export JAVA_HOME=/usr/share/elasticsearch/jdk/ && /usr/share/elasticsearch/plugins/opendistro_security/tools/securityadmin.sh -cd /usr/share/elasticsearch/plugins/opendistro_security/securityconfig/ -nhnv -cacert /etc/elasticsearch/certs/root-ca.pem -cert /etc/elasticsearch/certs/admin.pem -key /etc/elasticsearch/certs/admin-key.pem

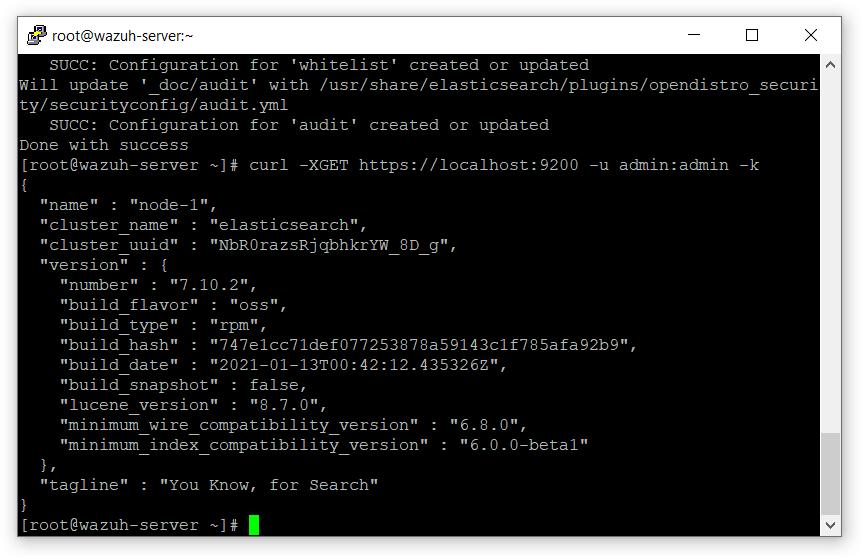
- Run the following command
# curl -XGET https://localhost:9200 -u admin:admin -k
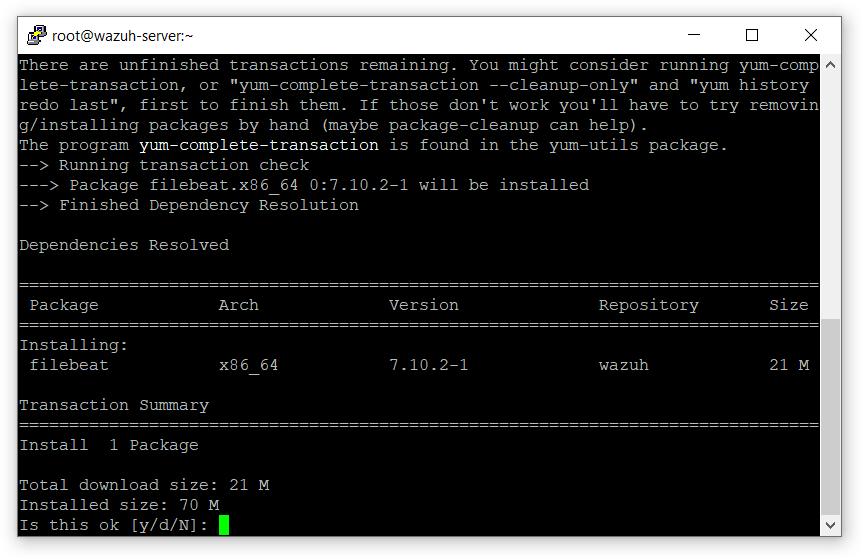
Installing Filebeat
- Install the Filebeat package
# yum install filebeat
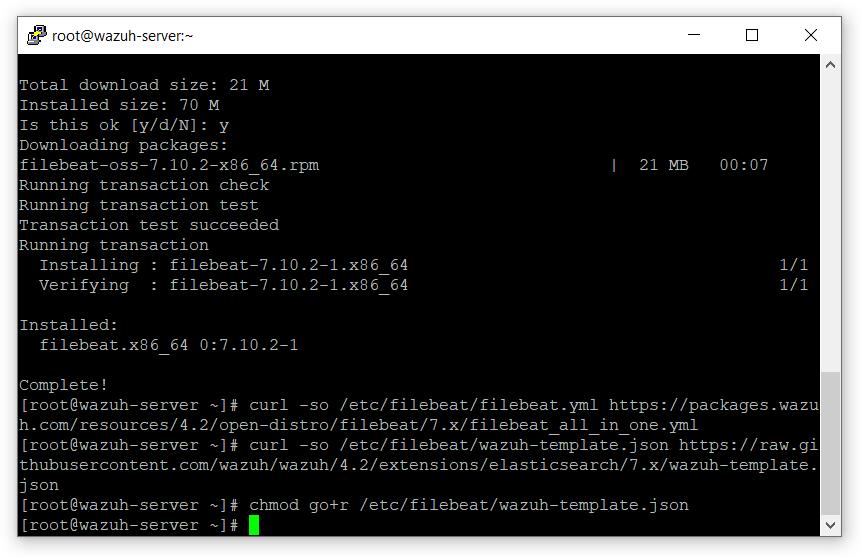
- Run the following command
# curl -so /etc/filebeat/filebeat.yml https://packages.wazuh.com/resources/4.2/open-distro/filebeat/7.x/filebeat_all_in_one.yml

- Download the alerts template for Elasticsearch
# curl -so /etc/filebeat/wazuh-template.json https://raw.githubusercontent.com/wazuh/wazuh/4.2/extensions/elasticsearch/7.x/wazuh-template.json
# chmod go+r /etc/filebeat/wazuh-template.json
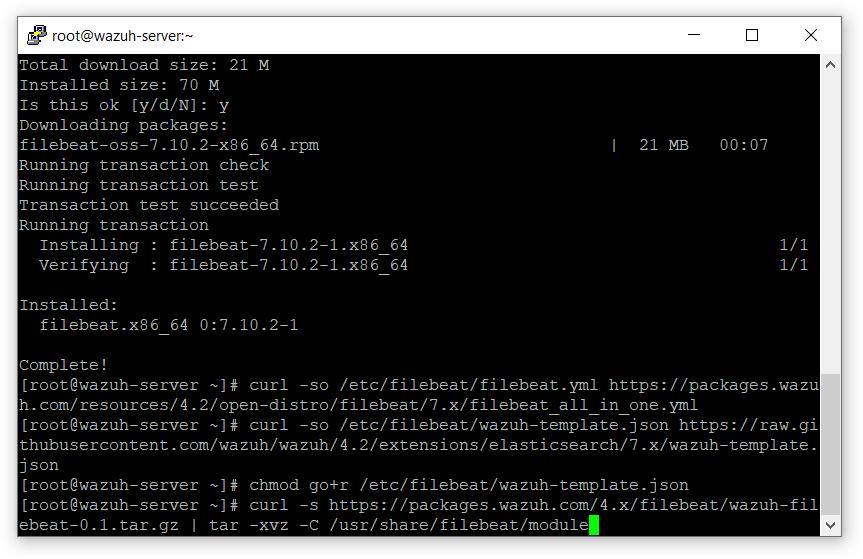
- Run the following command
# curl -s https://packages.wazuh.com/4.x/filebeat/wazuh-filebeat-0.1.tar.gz | tar -xvz -C /usr/share/filebeat/module
- Copy the Elasticsearch certificate
# mkdir /etc/filebeat/certs
# cp ~/certs/root-ca.pem /etc/filebeat/certs/
# mv ~/certs/filebeat* /etc/filebeat/certs/
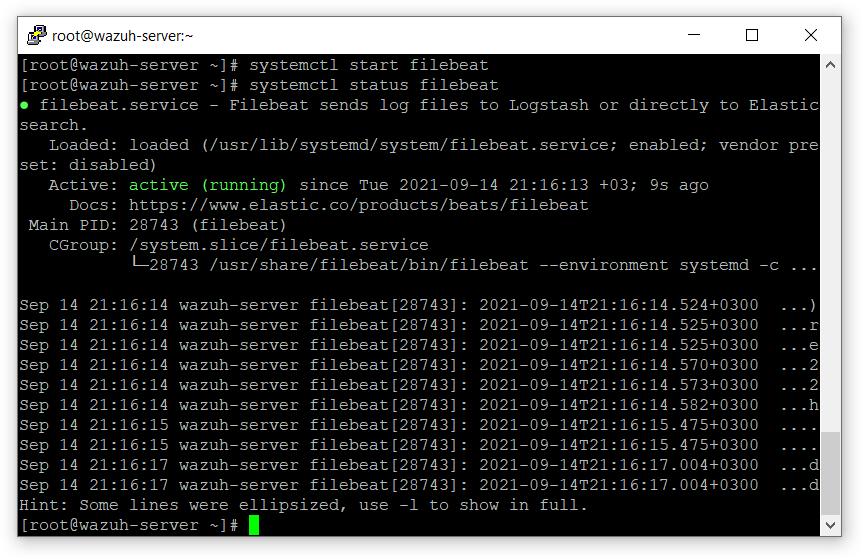
- Start service filebear
# systemctl daemon-reload
# systemctl enable filebeat
# systemctl start filebeat
- Start service filebear
# systemctl daemon-reload
# systemctl enable filebeat
# systemctl start filebeat
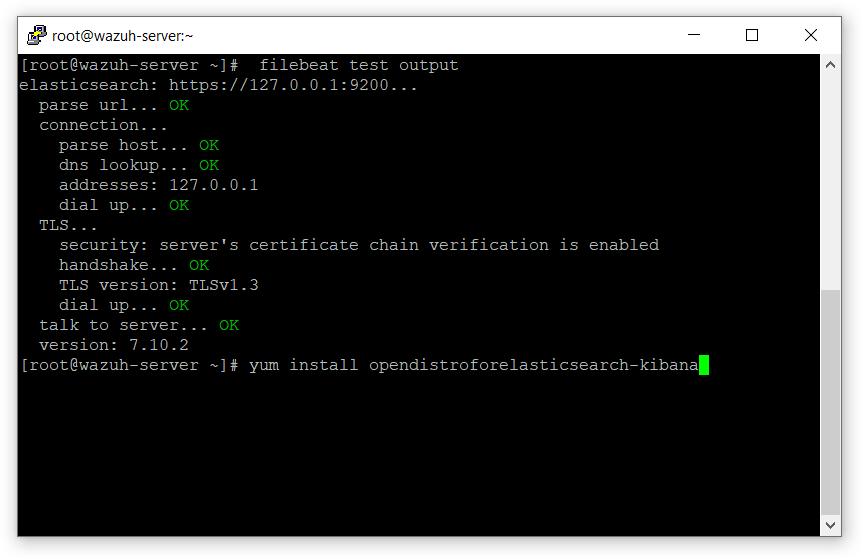
- test output
# filebeat test output

Installing Kibana
- Install the Kibana package
# yum install opendistroforelasticsearch-kibana
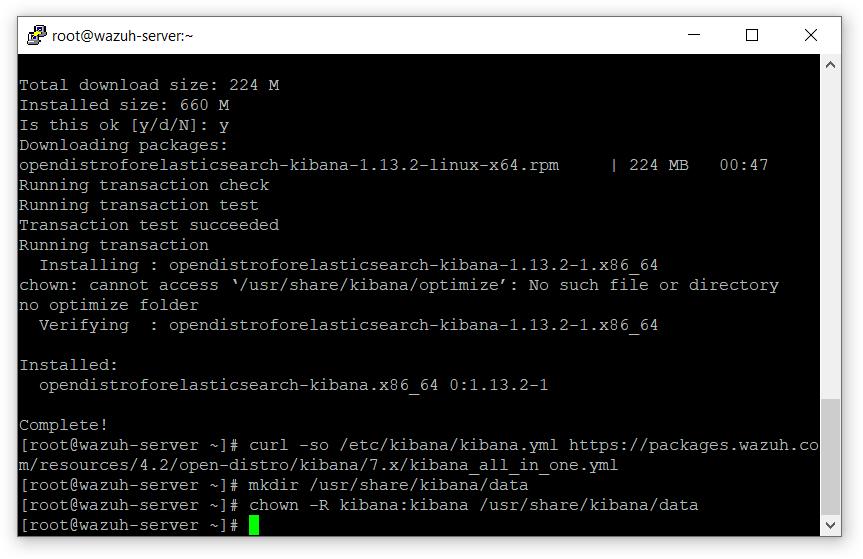
- Create the directory
# mkdir /usr/share/kibana/data
# chown -R kibana:kibana /usr/share/kibana/data
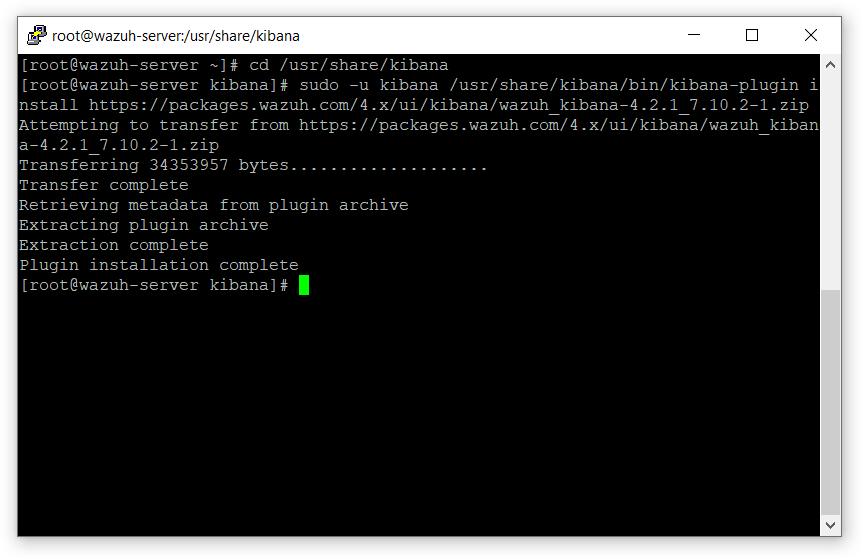
- Install the Wazuh Kibana plugin
# cd /usr/share/kibana
# sudo -u kibana /usr/share/kibana/bin/kibana-plugin install https://packages.wazuh.com/4.x/ui/kibana/wazuh_kibana-4.2.1_7.10.2-1.zip
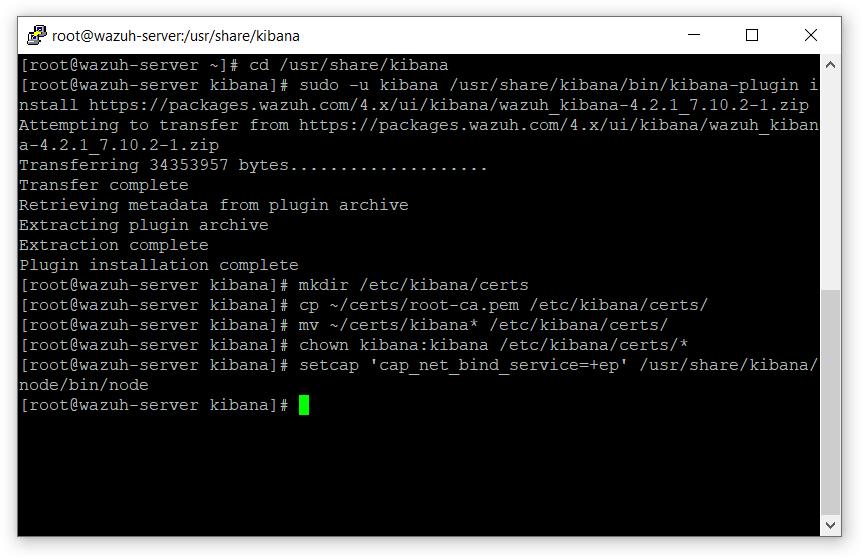
- Run the following command
# mkdir /etc/kibana/certs
# cp ~/certs/root-ca.pem /etc/kibana/certs/
# mv ~/certs/kibana* /etc/kibana/certs/
# chown kibana:kibana /etc/kibana/certs/*
# setcap 'cap_net_bind_service=+ep' /usr/share/kibana/node/bin/node
- start kibana service
# systemctl daemon-reload
# systemctl enable kibana
# systemctl start kibana

- Run the following command
#  firewall-cmd --add-service=https --permanent
#  systemctl restart firewalld
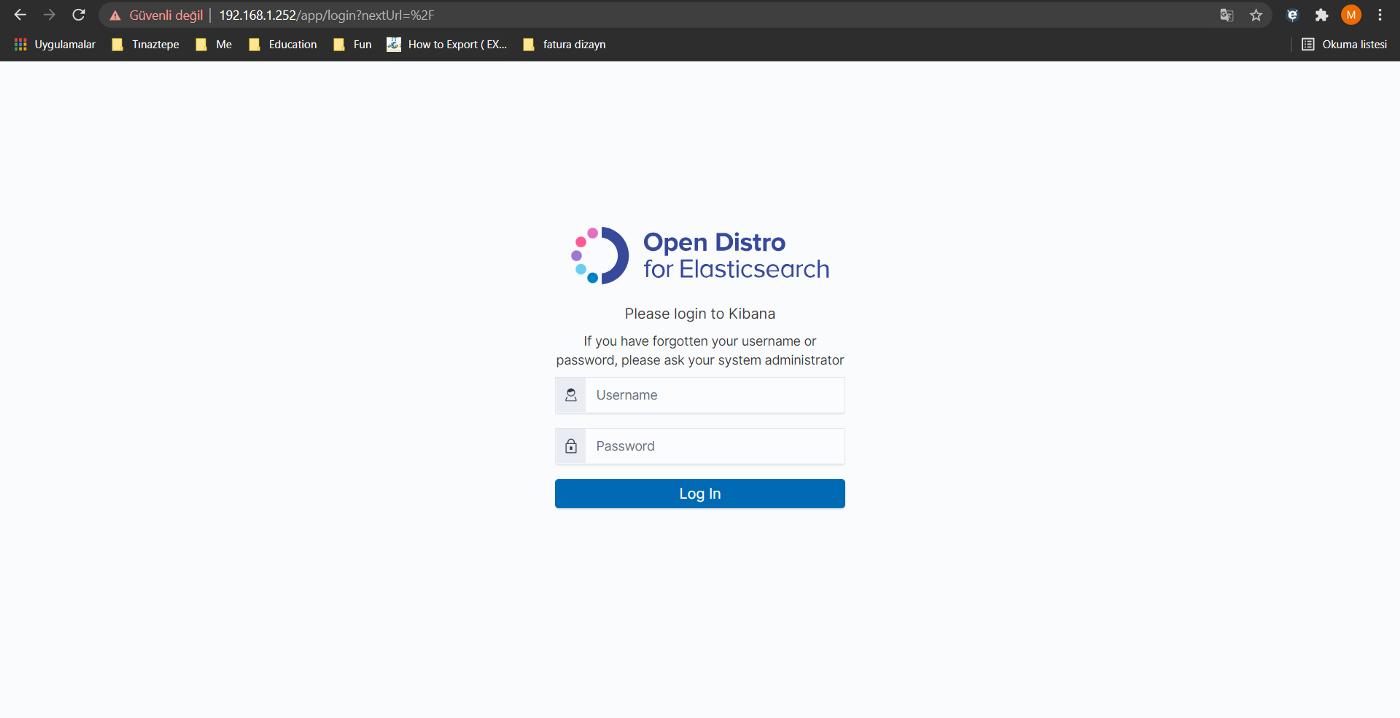
- Ready for web login
- The following ports must be opened for agents to communicate.
# sudo firewall-cmd — zone=public — add-port=1515/tcp — permanent# sudo firewall-cmd — zone=public — add-port=1514/tcp — permanent# sudo firewall-cmd — zone=public — add-port=1514/udp — permanent# sudo firewall-cmd — zone=public — add-port=514/udp — permanent# firewall-cmd — reload
Deploy new agent for windows
- Wazuh server address add localhost IP and than copy command
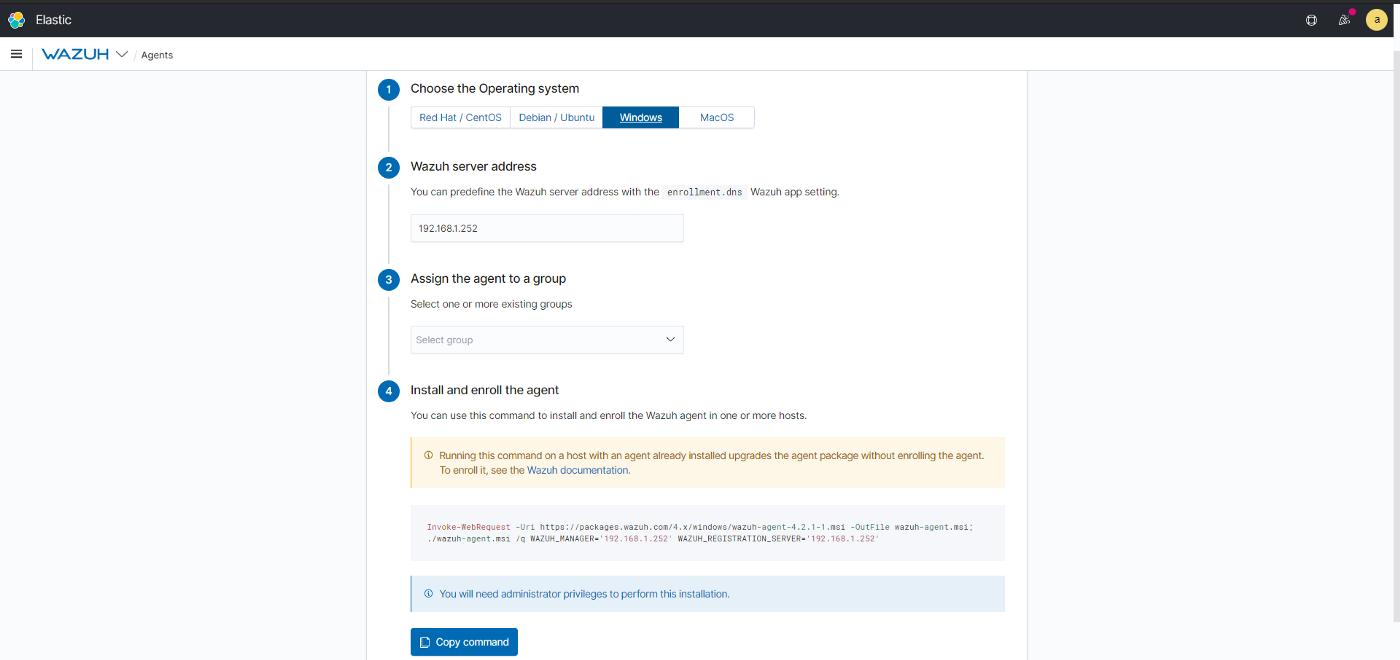
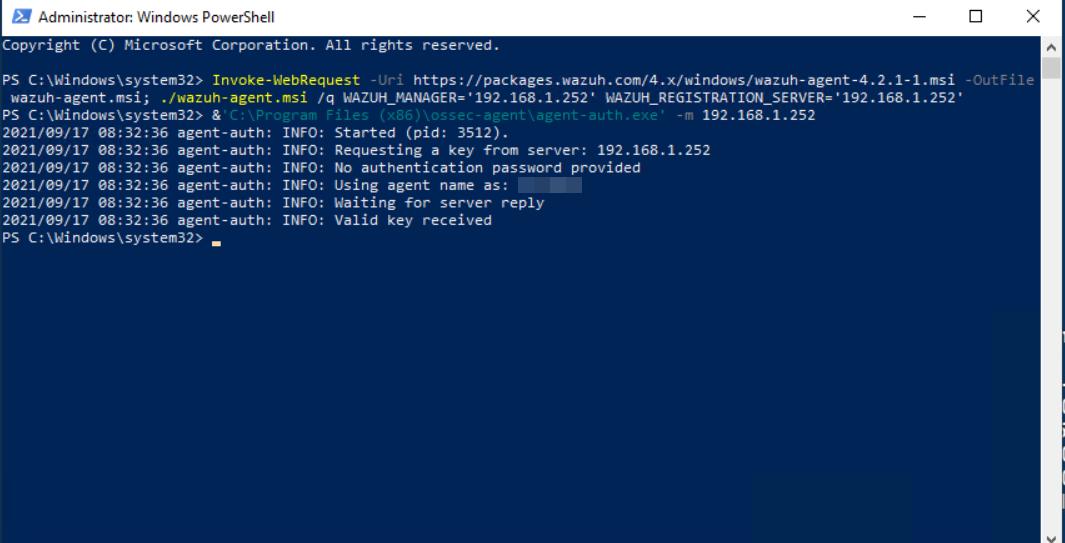
Run the following command run as administrator powershell on the computer

- and than
# &'C:\Program Files (x86)\ossec-agent\agent-auth.exe' -m 192.168.1.252
Agent communication is now ready. thank you for reading this article


 已为社区贡献557条内容

所有评论(0)