
记录clickhouse集成使用
·
- 添加jdbc依赖
<dependency> <groupId>com.clickhouse</groupId> <artifactId>clickhouse-jdbc</artifactId> <version>0.4.6</version> </dependency> - 将配置信息写到yml文件中
clickhouse: url: jdbc:clickhouse://172.16.60.230:9123/default username: root password: Dqyt@5105 database: work_test tableName: task_data driver-class-name: ru.yandex.clickhouse.ClickHouseDriver - controller层接口
写自己的业务逻辑,略过 - service层,获取到jdbc连接,执行sql查询数据
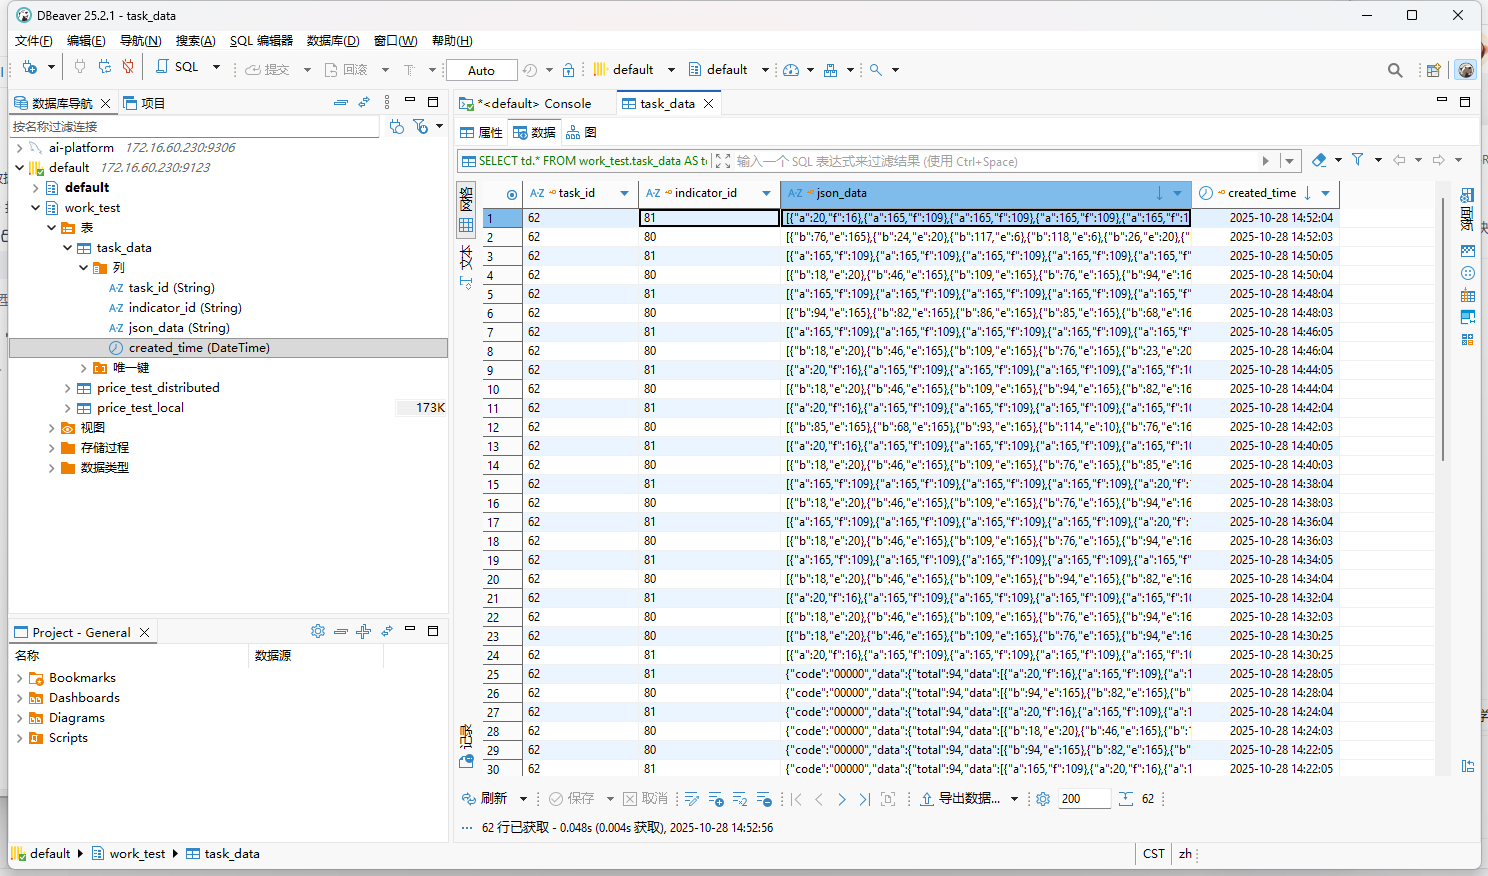
@Override public int insertJsonData(Long taskId, Long indicatorId, String jsonData) { try (Connection conn = DriverManager.getConnection( clickhouseUrl, clickhouseUsername, clickhousePassword)) { // 修改SQL为使用task_id和indicator_id两个字段 String insertSql = "INSERT INTO " + database + "." + tableName + " (task_id, indicator_id, json_data) VALUES (?, ?, ?)"; try (PreparedStatement insertPstmt = conn.prepareStatement(insertSql)) { insertPstmt.setLong(1, taskId); insertPstmt.setLong(2, indicatorId); insertPstmt.setString(3, jsonData); int affectedRows = insertPstmt.executeUpdate(); log.info("成功向表{}.{}插入JSON数据,任务ID: {}, 指标ID: {}, 影响行数: {} (注意:Log引擎允许重复数据,查询时请使用ORDER BY获取最新记录)", database, tableName, taskId, indicatorId, affectedRows); return affectedRows; } } catch (SQLException e) { log.error("向表{}.{}插入JSON数据失败,ID: {}", database, tableName, taskId, e); throw new RuntimeException("插入JSON数据失败: " + e.getMessage(), e); } } - 在dbeaver中查看刚插入的数据
更多推荐

 43
43 0
0- 0


 已为社区贡献1条内容

所有评论(0)