
Ubuntu 系统安装 docker
·
1. Ubuntu 系统安装 docker
可以考虑使用虚拟机安装 Ubuntu 系统,如果出现问题,可以重新安装虚拟机。
1. 下载安装包
下载:
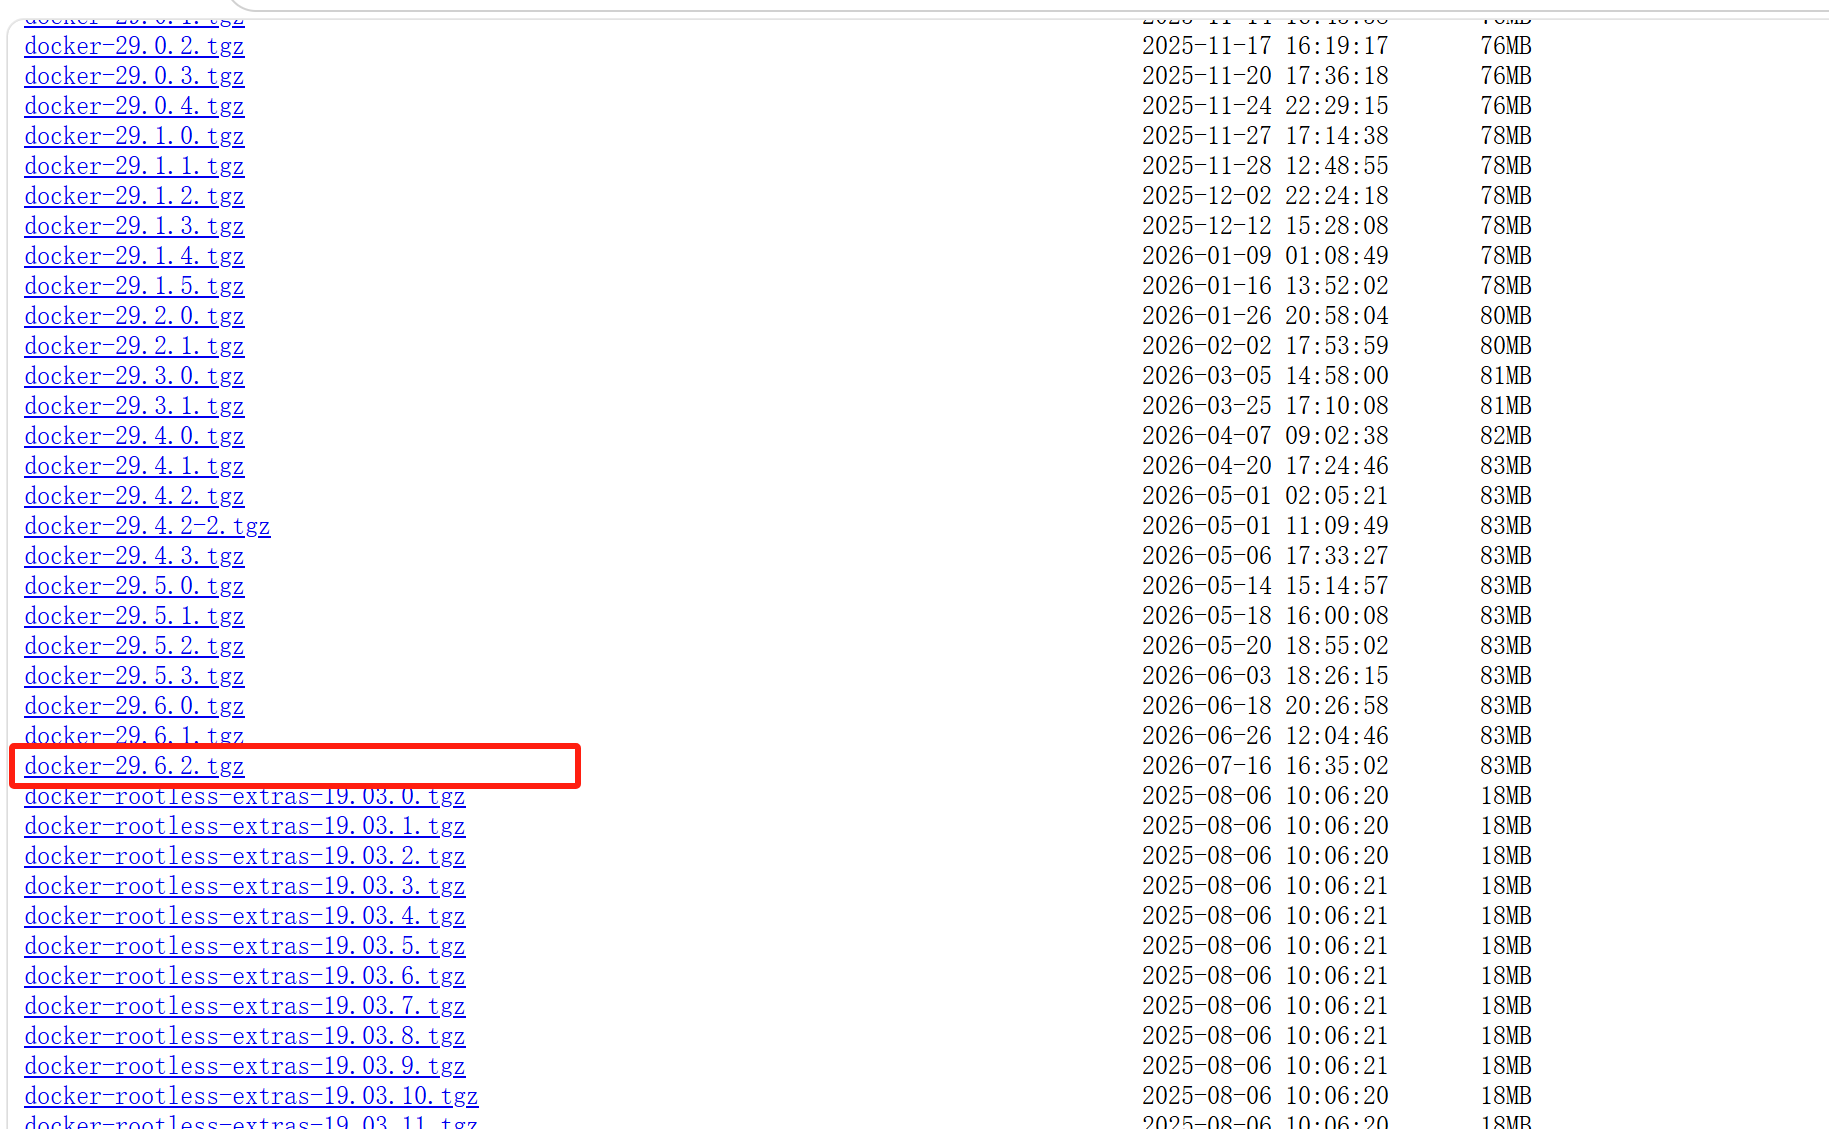
Docker 安装包的地址:https://download.docker.com/linux/static/stable/x86_64/
进入下载地址,下载需要的版本。
创建目录:
# 创建 docker 目录
mkdir /opt/docker

# 为 docker 目录开放读写权限
chmod 777 /opt/docker
将下载好的文件,放到创建好的目录下;
如果权限不足,可以使用 sudo su 指令切换到 root 权限;
2. 创建系统配置文件
创建文件:
# 创建系统配置文件
vim /opt/docker/docker.service
如果没有安装 vim,可以使用 apt-get install vim 先安装 vim;
写入文件内容:
[Unit]
Description=Docker Application Container Engine
Documentation=https://docs.docker.com
After=network-online.target firewalld.service
Wants=network-online.target

[Service]
Type=notify
# the default is not to use systemd for cgroups because the delegate issues still
# exists and systemd currently does not support the cgroup feature set required
# for containers run by docker
ExecStart=/usr/bin/dockerd
ExecReload=/bin/kill -s HUP $MAINPID
# Having non-zero Limit*s causes performance problems due to accounting overhead
# in the kernel. We recommend using cgroups to do container-local accounting.
LimitNOFILE=infinity
LimitNPROC=infinity
LimitCORE=infinity
# Uncomment TasksMax if your systemd version supports it.
# Only systemd 226 and above support this version.
#TasksMax=infinity
TimeoutStartSec=0
# set delegate yes so that systemd does not reset the cgroups of docker containers
Delegate=yes
# kill only the docker process, not all processes in the cgroup
KillMode=process
# restart the docker process if it exits prematurely
Restart=on-failure
StartLimitBurst=3
StartLimitInterval=60s

[Install]
WantedBy=multi-user.target
3. 创建安装脚本
创建文件:
# 创建安装脚本
vim /opt/docker/install.sh
写入内容:
#!/bin/sh
echo '解压tar包...'
tar -xvf $1
echo '将docker目录移到/usr/bin目录下...'
cp docker/* /usr/bin/
echo '将docker.service 移到/etc/systemd/system/ 目录...'
cp docker.service /etc/systemd/system/
echo '添加文件权限...'
chmod +x /etc/systemd/system/docker.service
echo '重新加载配置文件...'
systemctl daemon-reload
echo '启动docker...'
systemctl start docker
echo '设置开机自启...'
systemctl enable docker.service
echo 'docker安装成功...'
docker -v
4. 创建卸载脚本
创建文件:
# 创建卸载脚本
vim /opt/docker/uninstall.sh
写入内容:
#!/bin/sh
echo '删除docker.service...'
rm -f /etc/systemd/system/docker.service
echo '删除docker文件...'
rm -rf /usr/bin/docker*
echo '重新加载配置文件'
systemctl daemon-reload
echo '卸载成功...'
5. 安装
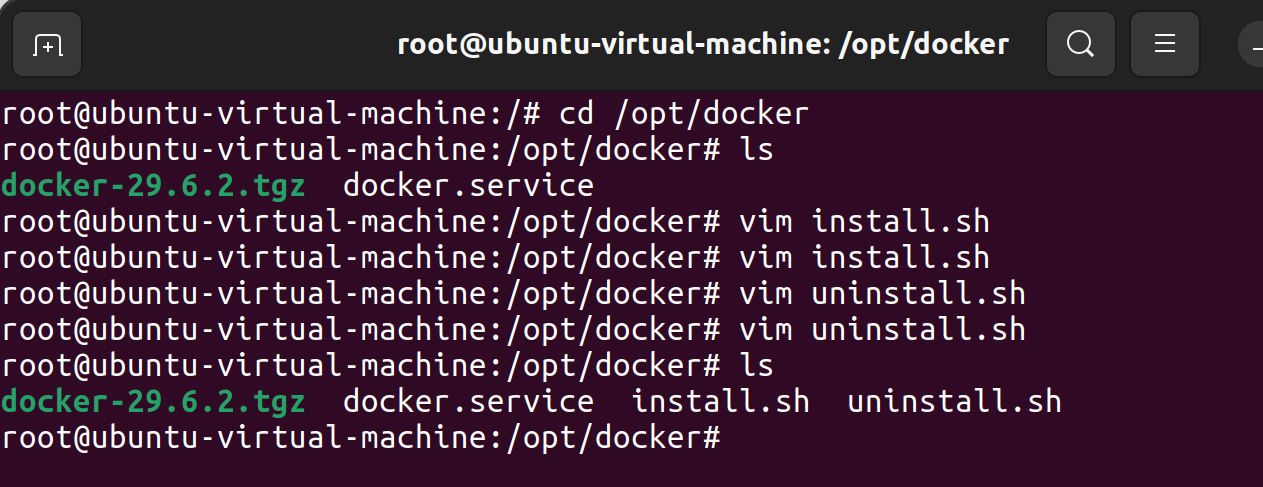
进入安装目录结构:
执行安装脚本:
# 执行安装脚本
sh install.sh docker-29.6.2.tgz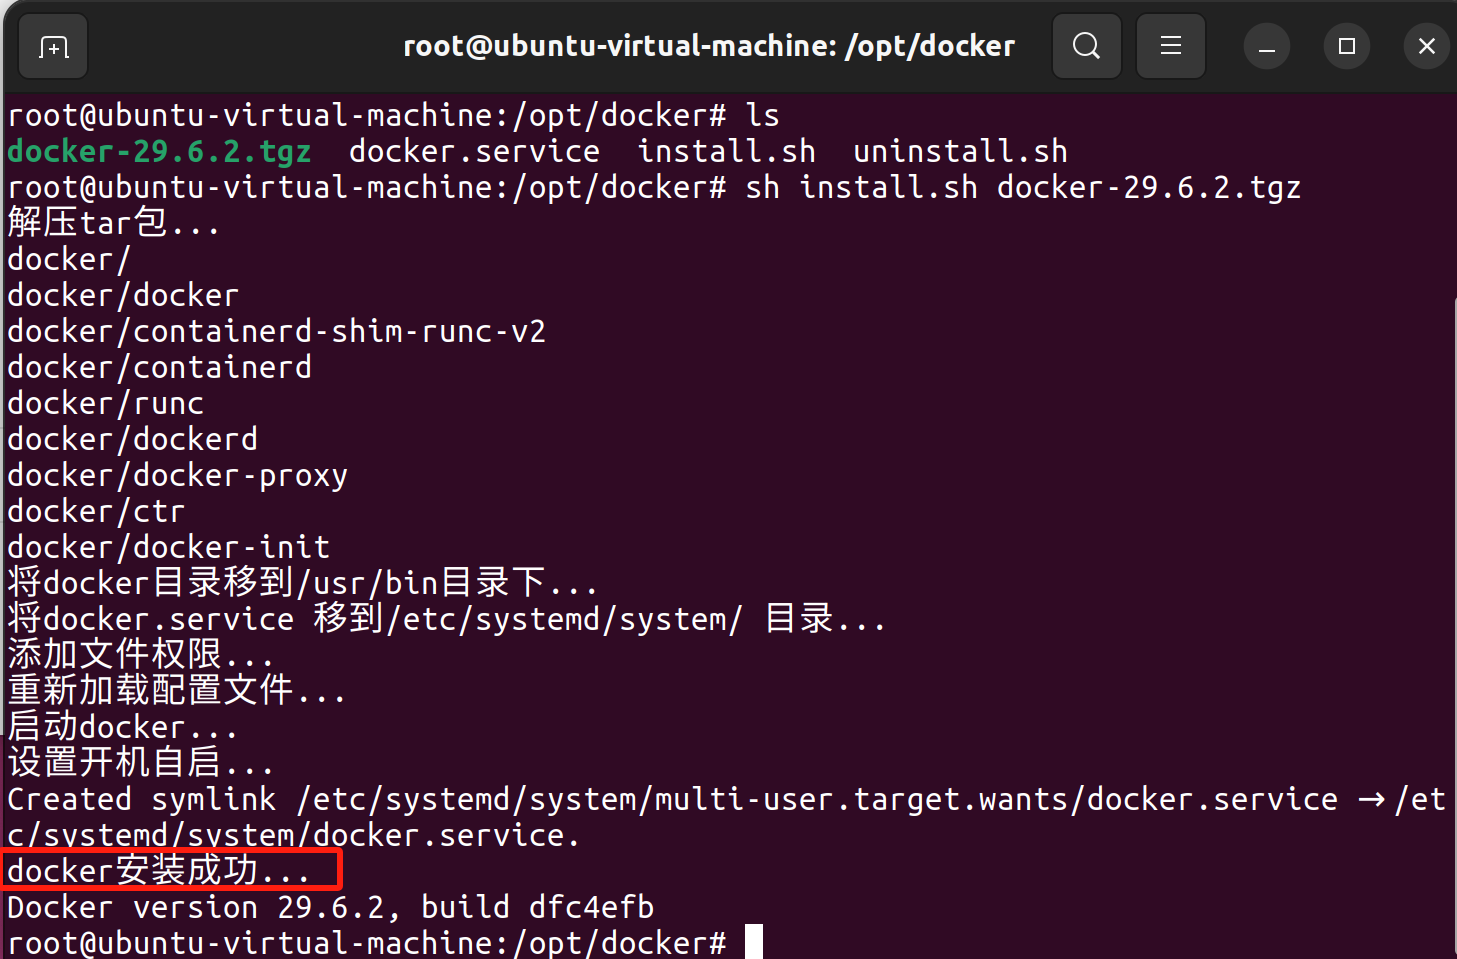
2. 配置国内镜像源
Docker 默认使用的是国外的镜像源,线下拉取镜像时经常会请求超时,可以配置国内的镜像源。
1. 配置国内的镜像源
编辑 daemon.json:
打开配置文件,进行编辑,如果配置目录不存在,可以先创建目录,如果文件不存在,会自动创建;
# 打开配置文件
vim /etc/docker/daemon.json
配置国内镜像源:
{
  "registry-mirrors": [
    "https://mirror.ccs.tencentyun.com",
    "https://docker.mirrors.ustc.edu.cn",
    "https://hub-mirror.c.163.com"
  ],
  "debug": true,
  "experimental": true
}
重启 docker,查看 docker 的状态:
# 重启 docker, 查看 docker 的状态
systemctl restart docker
# 查看 docker 的状态
systemctl status docker
3. Docker 常用命令介绍
docker 容器就是运行起来的 docker 镜像,下面介绍基础,镜像和容器命令。
1. Docker 基础命令
启动 docker:
# 启动
systemctl start docker
关闭 docker:
# 关闭
systemctl stop docker
重启 docker:
# 重启 docker
systemctl restart docker
设置 docker 随服务启动而启动:
# 设置 docker 随服务启动
systemctl enable docker
查看 docker 状态:
# 查看 docker 状态
systemctl status docker
查看 docker 版本号信息:
# 查看 docker 版本号信息
docker version
docker info
2. docker 镜像命令
查看镜像列表:
# 查看镜像列表
docker images
搜索镜像:
# 搜索镜像
docker search 镜像名
拉取镜像:
# 拉取镜像
docker pull 镜像名
# 指定镜像版本
docker pull 镜像名:tag
运行镜像:
# 运行镜像
docker run 镜像名
# 指定镜像版本
docker run 镜像名:tag
删除镜像:
# 删除镜像
docker rmi -f 镜像名/镜像ID
# 删除多个镜像
docker rmi -f 镜像名/镜像ID 镜像名/镜像ID 镜像名/镜像ID...
# 删除全部镜像
docker rmi -f $(docker images -aq)
# 强制删除
docker image rm 镜像名/ID
镜像的导出:
# 容器导出
docker commit 容器名 新镜像名
# 镜像导出
docker save 镜像名/ID -o 镜像保存的位置与名字(需要保存为 tar 包)
镜像的导入:
# 镜像的导入
docker load -i 镜像文件保存位置
3. docker 容器命令
查看容器列表:
# 查看容器列表
docker ps
# 查看运行的停止的所有容器的列表
docker ps -a
运行容器:
# 运行容器
docker run --name 容器名 镜像名
停止容器:
# 停止容器
docker stop 容器名/容器ID
删除容器:
# 删除容器
docker rm -f 容器名/容器ID
# 删除多个容器
docker rm -f 容器名/容器ID 容器名/容器ID 容器名/容器ID...
# 删除全部容器
docker rm -f $(docker ps -aq)更多推荐

 5
5 0
0- 0


 已为社区贡献3条内容

所有评论(0)