
PHP调用FFmpeg实现视频切片
注:使用的视频为mp4,转换成.m3u8播放列表和.ts切片文件
1、安装FFmpeg
我这边是通过Nux Dextop仓库来安装FFmpeg。
(1) 安装EPEL仓库
|
1 |
|
(2)下载并安装Nux Dextop仓库的RPM包
|
1 |
|
(3)更新YUM缓存
|
1 |
|
(4) 安装FFmpeg
|
1 |
|
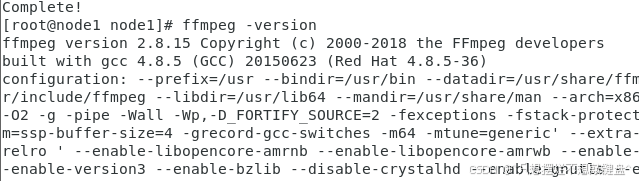
(5)验证安装
|
1 |
|
2、安装PHP
|
1 |
|
验证安装
|
1 |
|

3、php脚本
|
1 2 3 4 5 6 7 8 9 10 11 12 13 14 15 16 17 18 19 20 21 22 23 24 25 26 27 28 29 30 31 32 33 34 35 36 37 38 39 |
|
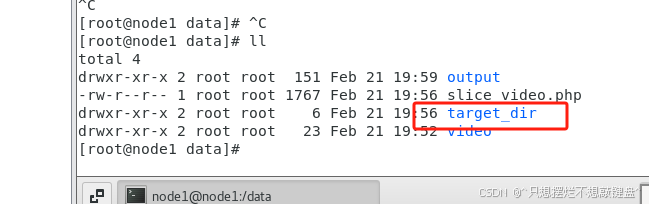
4、创建目录(/data)
视频目录:/data/video
php脚本目录:/data 脚本名称:slice_video.php
5、执行脚本
|
1 |
|
6、生成的切片文件夹
7、安装Nginx
(1)安装
|
1 |
|
(2)启动 Nginx
|
1 2 |
|
(3) 检查 Nginx 状态
|
1 |
|
(4)关闭防火墙
|
1 2 3 |
|
(5)nginx.conf文件配置
文件位置:/etc/nginx/nginx.conf
|
1 2 3 4 5 6 7 8 9 10 11 12 13 14 15 16 17 18 19 20 21 22 23 24 25 26 27 28 29 30 31 32 33 34 35 36 37 38 39 40 41 42 43 44 45 46 47 |
|
更多推荐


 9
9 0
0- 0


 已为社区贡献72条内容

所有评论(0)