

Zxing是Google研发的一款非常好用的开放源代码的二维码生成工具,目前源码托管在github上,源码地址:
https://github.com/zxing/zxing
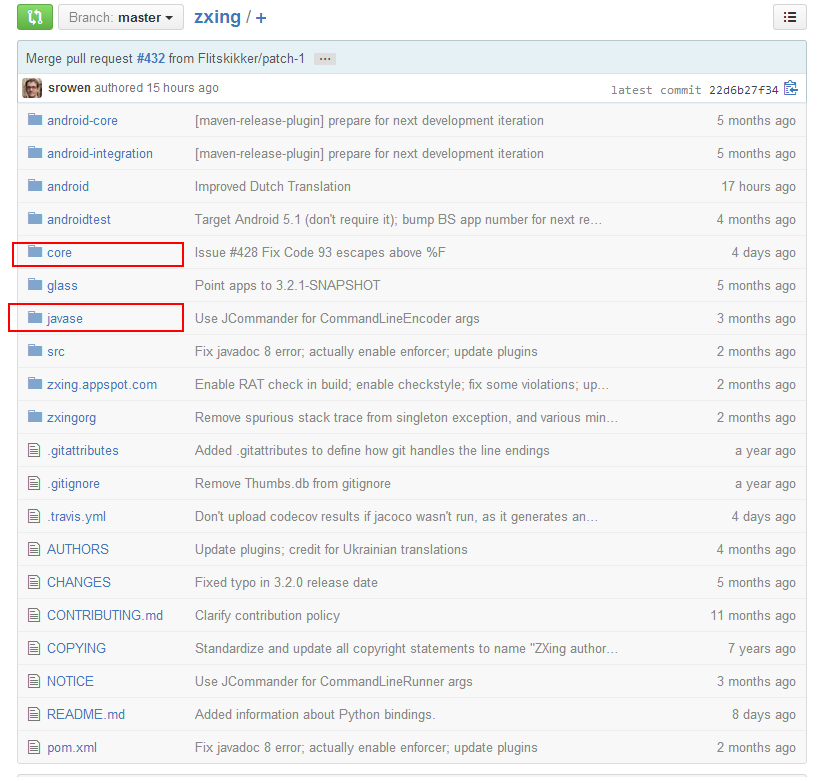
可以看到Zxing库有很多个模块,在Java语言中使用Zxing只需要关注core和javase两个模块,读者可以clone一份源码到本地,將core和javase两个工程打成jar包,添加到自己的工程中即可。
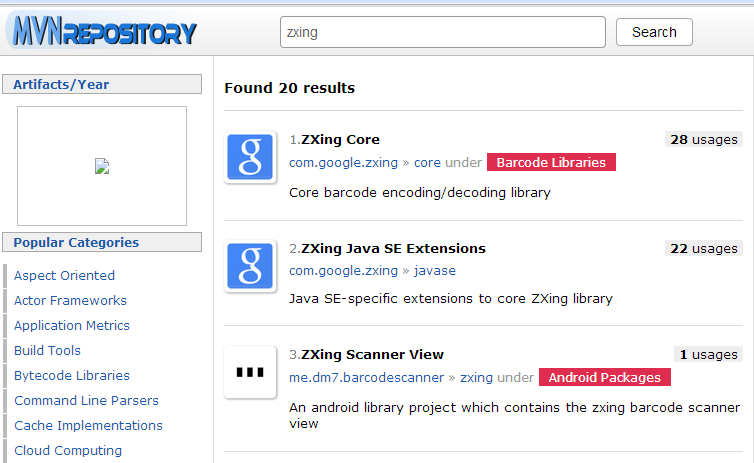
笔者看来,我们没有必要那样做,因为zxing的jar包我们可以从maven资源库中获取:
打开maven资源库http://www.mvnrepository.com/,搜索zxing:
前两条搜索结果就是我们需要的jar包,点进去下载即可,笔者在csdn上也上传了一份:
csdn下载地址:
http://download.csdn.net/detail/rongbo_j/8928013
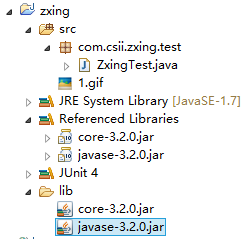
新建java工程,將core-3.2.0.jar和javase-3.2.0.jar添加到build path中:
下面我们来编写二维码生成与识别测试用例:
package com.csii.zxing.test;

import java.awt.image.BufferedImage;
import java.io.File;
import java.io.IOException;
import java.util.HashMap;
import java.util.Hashtable;
import java.util.Map;

import javax.imageio.ImageIO;

import org.junit.Test;
import com.google.zxing.BarcodeFormat;
import com.google.zxing.Binarizer;
import com.google.zxing.BinaryBitmap;
import com.google.zxing.DecodeHintType;
import com.google.zxing.EncodeHintType;
import com.google.zxing.LuminanceSource;
import com.google.zxing.MultiFormatReader;
import com.google.zxing.MultiFormatWriter;
import com.google.zxing.NotFoundException;
import com.google.zxing.Result;
import com.google.zxing.WriterException;
import com.google.zxing.client.j2se.BufferedImageLuminanceSource;
import com.google.zxing.client.j2se.MatrixToImageWriter;
import com.google.zxing.common.BitMatrix;
import com.google.zxing.common.HybridBinarizer;

public class ZxingTest {
    @SuppressWarnings("deprecation")
    @Test
    public void testEncoder()
    {
            //二维码内容
            String text = "http://blog.csdn.net/rongbo_j";
            int width = 200;   //二维码图片宽度
            int height = 200;   //高度
            String format = "gif";  //图片格式

            Hashtable<EncodeHintType, String> hints = new Hashtable<EncodeHintType, String>();
            hints.put(EncodeHintType.CHARACTER_SET, "utf-8");
            BitMatrix bitMatrix = null;
            try {
                //编码
                bitMatrix = new MultiFormatWriter().encode(text, BarcodeFormat.QR_CODE, width, height, hints);
            } catch (WriterException e1) {
                e1.printStackTrace();
            }
            File outputFile = new File("src/1.gif");
            try {
                //输出二维码图片
                MatrixToImageWriter.writeToFile(bitMatrix, format, outputFile);
            } catch (IOException e) {
                e.printStackTrace();
            }

    }
    @Test
    public void testDecoder() throws NotFoundException
    {
            //二维码图片路径
            String path = this.getClass().getClassLoader().getResource("1.gif").getPath();
            File imageFile = new File(path);
            BufferedImage image = null;
            try {
                image = ImageIO.read(imageFile);
                 LuminanceSource source = new BufferedImageLuminanceSource(image);
                 Binarizer binarizer = new HybridBinarizer(source);
                 BinaryBitmap binaryBitmap = new BinaryBitmap(binarizer);
                 Map<DecodeHintType, Object> hints = new HashMap<DecodeHintType, Object>();
                 hints.put(DecodeHintType.CHARACTER_SET, "UTF-8");
                 //解码获取二维码中信息
                 Result result = new MultiFormatReader().decode(binaryBitmap, hints);
                 System.out.println(result.getText());
            } catch (IOException e) {
                e.printStackTrace();
            }
    }
}
上面的代码使用到了Junit4,打开Outline视图,在testEncoder()方法上点击右键=>Debug As=>Junit Test,可以看到src目录下生成一张gif图片:

运行testDecoder()方法对该图片进行识别,控制台输出:
http://blog.csdn.net/rongbo_j


 已为社区贡献8602条内容

所有评论(0)