
聊一聊Skills
你不可能一次就把这个Skill写到非常完美,所以先创建一个核心功能,比如上边的例子,可以先去做一个创建PR的流程,后续操作发现,可能当前分支还有没有提交的内容,再补第二步,后续可能发现执行的时候没有在子分支是在main分支,这是不允许的,所以再加main分支检查 等等等等。OK,暂时介绍到这里,想深入了解的,可以去看下Cursor的Skills介绍,更为详细,下边我们介绍下怎么去做一个Skills
Agent Skills 是一个用于为 AI 智能体扩展专门能力的开放标准。Skills 将特定领域的知识和工作流封装起来,智能体可以调用这些 Skills 来执行特定任务。
什么是Skills?
Skills是一个可移植、支持版本控制的包,用于让 Agent 学会如何执行特定领域的任务。Skills可以包含脚本、模板和参考资料,Agent 可以使用其工具对这些内容进行操作。
我们可以了解另外两个概念,Agent和MCP。
Agent: 智能体,面向目标的执行者,只需要告诉他一个目标,它会自主规划流程,选择工具来完成。我们只需要关心实现目标达成,而不需要关注实现目标的方式和技术细节,
MCP:是 AI 用来调用外部能力的通讯器。就像是为AI Agent提供的能调用的API。
Skills:我们可以把一些重复性的工作打包出来,变成工具包,后续再去做这些重复性工作时,无需从头到尾执行一遍,这就是Skills。Skills 通过固定的规则和标准化的能力,来保证输出结果的稳定和一致。
什么场景适用
-
高频重复的操作:同一个指令你已经手动输入过很多次,一般三次以上就可以考虑生成一个skills了。
-
要求输出一致:需要跨越多次对话,始终保持相同的输出风格、格式或标准。
-
固定的工作流程:有一套明确的多步骤工作流程需要严格执行。
-
沉淀专业知识:想把团队的最佳实践,如代码规范、品牌指南、测试流程、数据分析方法等,固化下来,让 AI 也能掌握。
Skills 和其他功能怎么选?
其实AI IDE里还有一些其他功能,比如Prompt, Rules, Context
Prompt vs Skills
Prompt(提示词)是一次性的指令。如果你发现自己为了同一个目的,反复输入了三遍以上的 Prompt,那就应该考虑将它沉淀为一个 Skill 了。
Rules vs Skills
Rules(规则)是全局生效的,一旦设置,它会在整个对话过程中持续占用 AI 的“注意力”(上下文窗口)。
Context vs Skills
Context(上下文)通常指的是在 Workspace(工作空间)内共享的知识库或文档。AI 在对话开始时就会读取这些内容,并同样会占用上下文窗口。
相比之下,Skill 是结构化的、可执行的指令,只在被需要时主动触发。因此,Skill 更适合用来封装可复用的工作流程和行为指令,而 Context 更适合提供背景信息和知识参考。
OK,暂时介绍到这里,想深入了解的,可以去看下Cursor的Skills介绍,更为详细,下边我们介绍下怎么去做一个Skills。
我们TRAE拿来举例,Cursor和Kiro大差不差。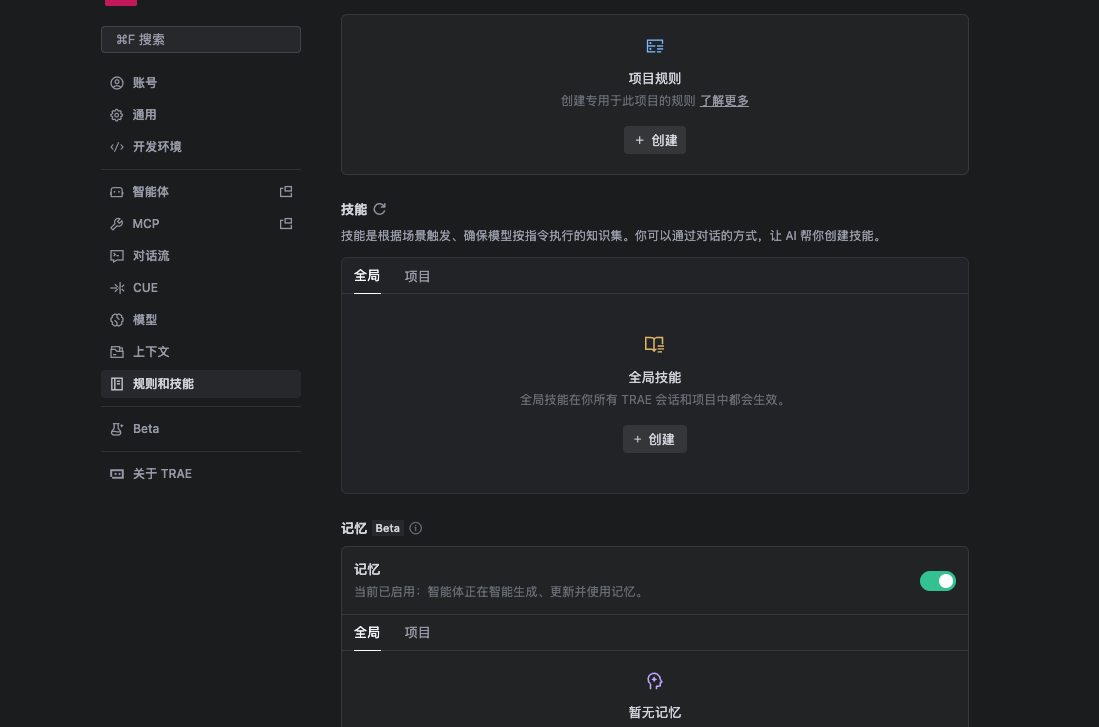
创建完成后(项目级的,如果是全局级的不会再项目目录下)会在项目.trae/skills/ 目录下有你生成的Skill,包含一个 SKILL.md文件
大致的一个结构为
---
name: my-skill
description: 简要描述此技能的功能及使用时机。
---# 我的技能
为 Agent 提供的详细指令。
## 使用时机
- 在以下情况使用此技能...
- 此技能适用于...## 指令
- 为 Agent 提供的分步指导
- 特定领域的约定
- 最佳实践和模式
- 如需向用户澄清需求,请使用提问工具
| 字段 | 必填 | 说明 |
|---|---|---|
name |
Yes | 技能标识符。仅限小写字母、数字和连字符。必须与父文件夹名称一致。 |
description |
Yes | 描述技能的作用及其使用场景。由代理用于判断相关性。 |
license |
No | 许可证名称或对随附许可证文件的引用。 |
compatibility |
No | 运行环境要求(系统软件包、网络访问等)。 |
metadata |
No | 用于额外元数据的任意键值映射。 |
disable-model-invocation |
No | 当为 true 时,该技能仅会在通过 /skill-name 显式调用时才会被使用。代理不会基于上下文自动调用它。 |
下面我们看一个成熟的Skill。
CI/CD:PR 创建
https://github.com/google-gemini/gemini-cli/tree/main/.gemini/skills/pr-creator
---
name: pr-creator
description:
Use this skill when asked to create a pull request (PR). It ensures all PRs
follow the repository's established templates and standards.
---# Pull Request Creator
This skill guides the creation of high-quality Pull Requests that adhere to the
repository's standards.## Workflow
Follow these steps to create a Pull Request:
1. **Branch Management**: **CRITICAL:** Ensure you are NOT working on the
`main` branch.
- Run `git branch --show-current`.
- If the current branch is `main`, you MUST create and switch to a new
descriptive branch:
```bash
git checkout -b <new-branch-name>
```2. **Commit Changes**: Verify that all intended changes are committed.
- Run `git status` to check for unstaged or uncommitted changes.
- If there are uncommitted changes, stage and commit them with a descriptive
message before proceeding. NEVER commit directly to `main`.
```bash
git add .
git commit -m "type(scope): description"
```3. **Locate Template**: Search for a pull request template in the repository.
- Check `.github/pull_request_template.md`
- Check `.github/PULL_REQUEST_TEMPLATE.md`
- If multiple templates exist (e.g., in `.github/PULL_REQUEST_TEMPLATE/`),
ask the user which one to use or select the most appropriate one based on
the context (e.g., `bug_fix.md` vs `feature.md`).4. **Read Template**: Read the content of the identified template file.
5. **Draft Description**: Create a PR description that strictly follows the
template's structure.
- **Headings**: Keep all headings from the template.
- **Checklists**: Review each item. Mark with `[x]` if completed. If an item
is not applicable, leave it unchecked or mark as `[ ]` (depending on the
template's instructions) or remove it if the template allows flexibility
(but prefer keeping it unchecked for transparency).
- **Content**: Fill in the sections with clear, concise summaries of your
changes.
- **Related Issues**: Link any issues fixed or related to this PR (e.g.,
"Fixes #123").6. **Preflight Check**: Before creating the PR, run the workspace preflight
script to ensure all build, lint, and test checks pass.
```bash
npm run preflight
```
If any checks fail, address the issues before proceeding to create the PR.7. **Push Branch**: Push the current branch to the remote repository.
**CRITICAL SAFETY RAIL:** Double-check your branch name before pushing.
NEVER push if the current branch is `main`.
```bash
# Verify current branch is NOT main
git branch --show-current
# Push non-interactively
git push -u origin HEAD
```8. **Create PR**: Use the `gh` CLI to create the PR. To avoid shell escaping
issues with multi-line Markdown, write the description to a temporary file
first.
```bash
# 1. Write the drafted description to a temporary file
# 2. Create the PR using the --body-file flag
gh pr create --title "type(scope): succinct description" --body-file <temp_file_path>
# 3. Remove the temporary file
rm <temp_file_path>
```
- **Title**: Ensure the title follows the
[Conventional Commits](https://www.conventionalcommits.org/) format if the
repository uses it (e.g., `feat(ui): add new button`,
`fix(core): resolve crash`).## Principles
- **Safety First**: NEVER push to `main`. This is your highest priority.
- **Compliance**: Never ignore the PR template. It exists for a reason.
- **Completeness**: Fill out all relevant sections.
- **Accuracy**: Don't check boxes for tasks you haven't done.
可以具体分析一下,主要内容是在Workflow内。
1.CRITICAL级别。 执行git branch --show-current来保证不是在main分支,如果在main分支需要切到其他分支。
2. 查找是否都提交了。
3. 4.选择合适的模版,阅读模版内容。
5. 根据提交生成一个PR的description
6.预检,如果有不通过的,需要处理完在提交pr
7.把分支推上去,再次检查不是main
8.创建PR.
其实归根下来就是将你要做的一些重复性的工作,通过描述性的内容,写入到flow内,方便后续可以直接调用这个skills来执行这些重复性工作。
如果想创建一个Skills的话,一定要注意一个黄金法则。「先跑起来,再慢慢优化」。你不可能一次就把这个Skill写到非常完美,所以先创建一个核心功能,比如上边的例子,可以先去做一个创建PR的流程,后续操作发现,可能当前分支还有没有提交的内容,再补第二步,后续可能发现执行的时候没有在子分支是在main分支,这是不允许的,所以再加main分支检查 等等等等。
先让它能用,再追求好用。
当然,也可以先从市场去找一些好用的skills。例如
https://github.com/google-gemini/gemini-cli/tree/main/.gemini/skills

小龙虾开发者社区是 CSDN 旗下专注 OpenClaw 生态的官方阵地,聚焦技能开发、插件实践与部署教程,为开发者提供可直接落地的方案、工具与交流平台,助力高效构建与落地 AI 应用
更多推荐
 2
2 0
0- 0


 已为社区贡献1条内容

所有评论(0)