
win10上部署开源CVAT标注工具
(4)Docker部署cvat。打开Docker之后,点击右上角设置,修改一下下载镜像的镜像源地址,防止下载过程中卡顿,或者异常;(6)在浏览器中输入http://localhost:8080来访问部署好的CVAT标注工具;(2)下载cvat源码,git cvat源码,或者github上下载到本机。按照提示写入用户、邮箱、密码完成注册后登录;(3)安装并配置docker中的环境。解决办法是在命令前
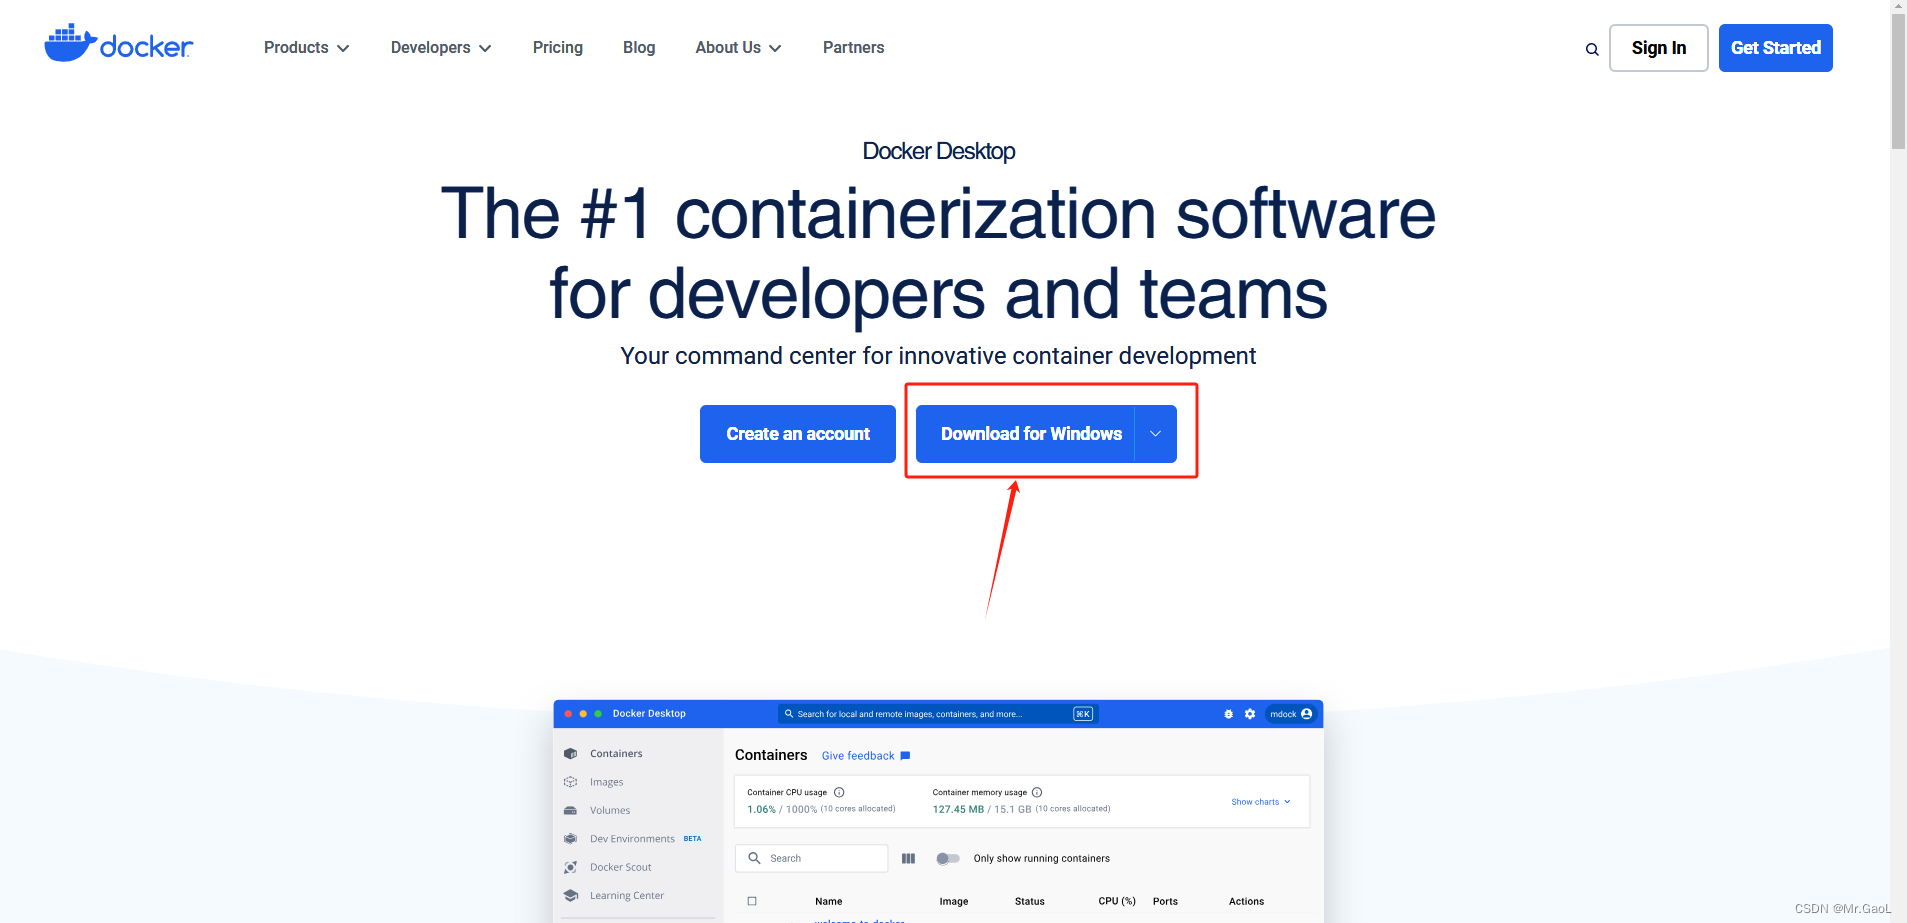
(1)下载docker,官网地址:Docker: Accelerated Container Application Development
(2)下载cvat源码,git cvat源码,或者github上下载到本机
https://github.com/opencv/cvat![]() https://githubfast.com/opencv/cvat或打开命令行或PowerShell,并使用git命令克隆CVAT的源代码库:
https://githubfast.com/opencv/cvat或打开命令行或PowerShell,并使用git命令克隆CVAT的源代码库:
       git clone https://github.com/opencv/cvat
       cd cvat
(3)安装并配置docker中的环境
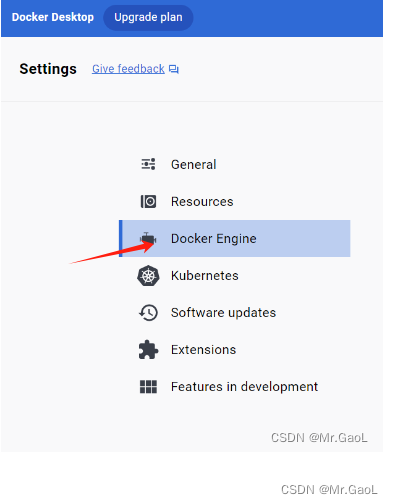
打开Docker之后,点击右上角设置,修改一下下载镜像的镜像源地址,防止下载过程中卡顿,或者异常;
{
  "builder": {
    "gc": {
      "defaultKeepStorage": "20GB",
      "enabled": true
    }
  },
  "experimental": false,
  "features": {
    "buildkit": false
  },
  "registry-mirrors": [
    "http://mirrors.ustc.edu.cn/"
  ]
}
我自己用的阿里的加速镜像地址
(4)Docker部署cvat。在命令行中进入CVAT源代码的根目录,然后执行以下命令来启动CVAT服务:
docker-compose up -d(5)cvat超级用户的注册。
docker exec -it cvat bash -ic 'python3 ~/manage.py createsuperuser'
按照提示写入用户、邮箱、密码完成注册后登录;
windows上执行Docker命令报错如有以下报错,可对应解决:
error: the input device is not a TTY. If you are using mintty, try prefixing the comma
解决办法是在命令前面加:winpty
winpty docker exec -it cvat_server bash -ic 'python3 ~/manage.py createsuperuser'(6)在浏览器中输入http://localhost:8080来访问部署好的CVAT标注工具;
如有问题,欢迎大家私信交流学习。

瓜分20万奖金 获得内推名额 丰厚实物奖励 易参与易上手
更多推荐

 11
11 0
0- 0


 已为社区贡献1条内容

所有评论(0)