

使用gitlab在服务器上搭建私服git仓库,并且上传项目
设置postfix开机自启,并启动,postfix支持gitlab发信功能。修改gitlab的配置:/etc/gitlab/gitlab.rb。将项目从暂存区提交到本地仓库:(这里必须配置用户名和邮箱地址)将项目从暂存区提交到本地仓库:(这里必须配置用户名和邮箱地址),修改root用户密码。下载给gitlab包。
·
官网:The DevSecOps Platform | GitLab
1.安装gitlab软件:
-
安装相关依赖:
yum install -y policycoreutils policycoreutils-python openssh-server open-clients postfix ca-certificates # ca-certificates: 不安装下载gitlab包报错--no-check-certificate -
设置postfix开机自启,并启动,postfix支持gitlab发信功能
systemctl start postfix && systemctl enable postfix -
下载给gitlab包
wget https://mirrors.tuna.tsinghua.edu.cn/gitlab-ce/yum/el7/gitlab-ce-12.4.2-ce.0.el7.x86_64.rpm -
安装rpm包:
rpm -ivh gitlab-ce-12.4.2-ce.0.el7.x86_64.rpm -
修改gitlab的配置:/etc/gitlab/gitlab.rb
# 修改gitlab访问地址和端口,默认为80,我们改为82
sed -i "s/^external_url.*/external_url 'http:\/\/192.168.66.201:82'/" /etc/gitlab/gitlab.rb
# 第一次修改,nginx监听端口 sed -i "s/^# nginx\['listen_port'\].*/nginx\['listen_port'\] = 82/" /etc/gitlab/gitlab.rb # 后面的修改,nginx监听端口 sed -i "s/^nginx['listen_port'].*/nginx['listen_port'] = 82/" /etc/gitlab/gitlab.rb# 重新加载配置 gitlab-ctl reconfigure -
重启gitlab服务:
gitlab-ctl restart -
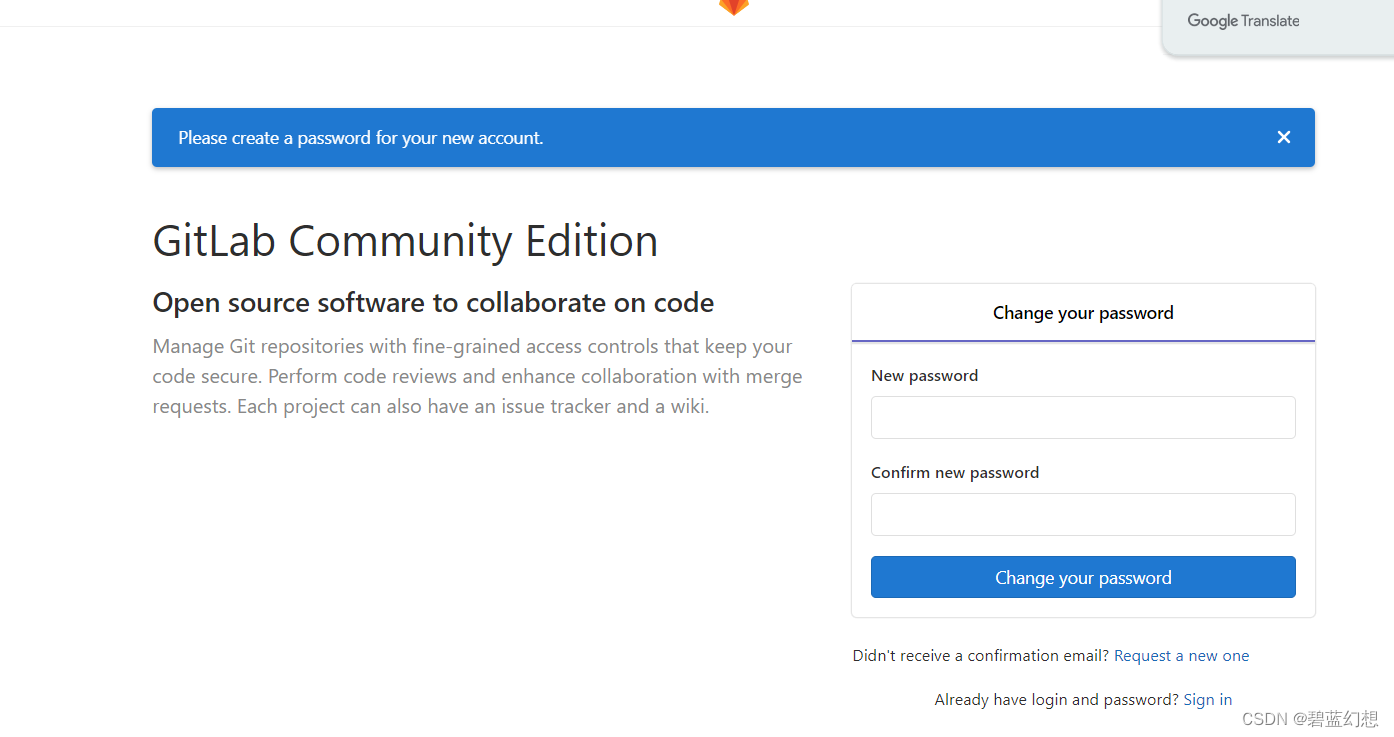
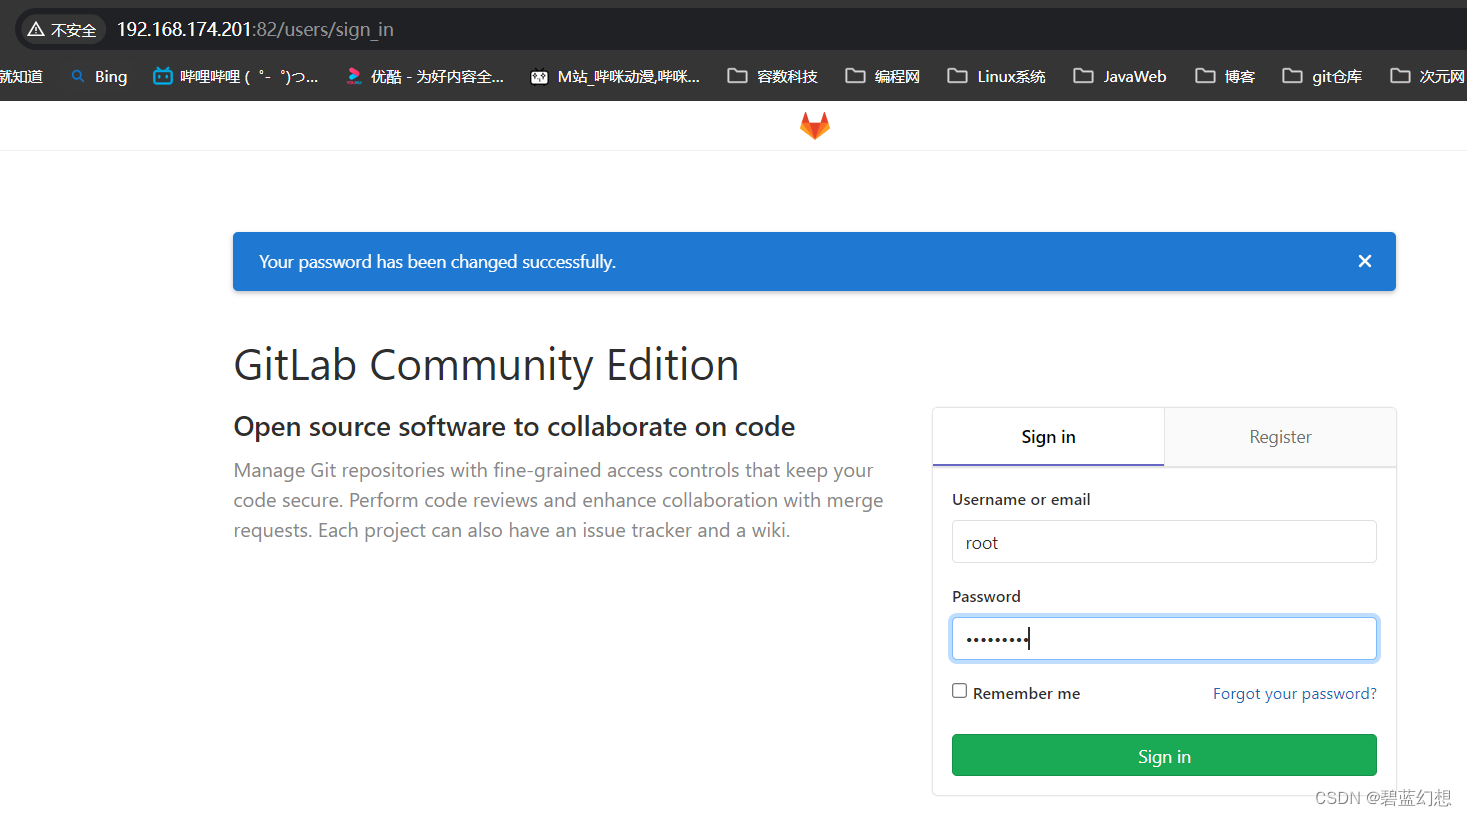
登陆页面:http://192.168.174.201:82,修改root用户密码
-
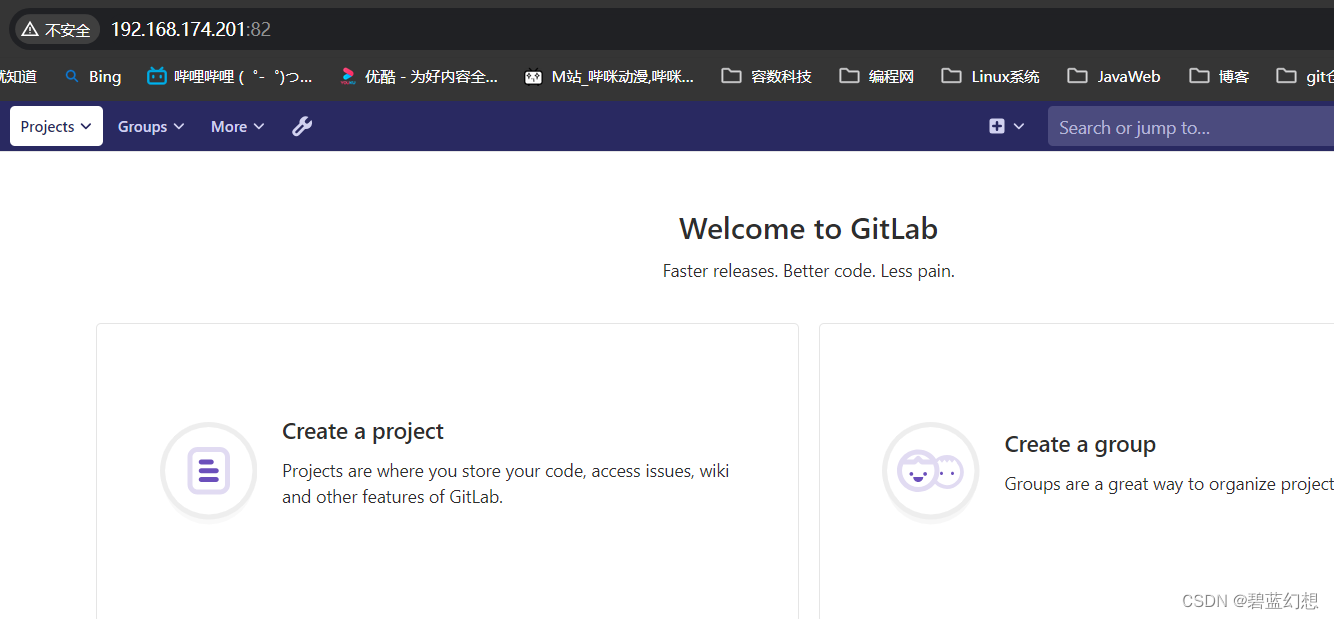
使用root用户登陆:
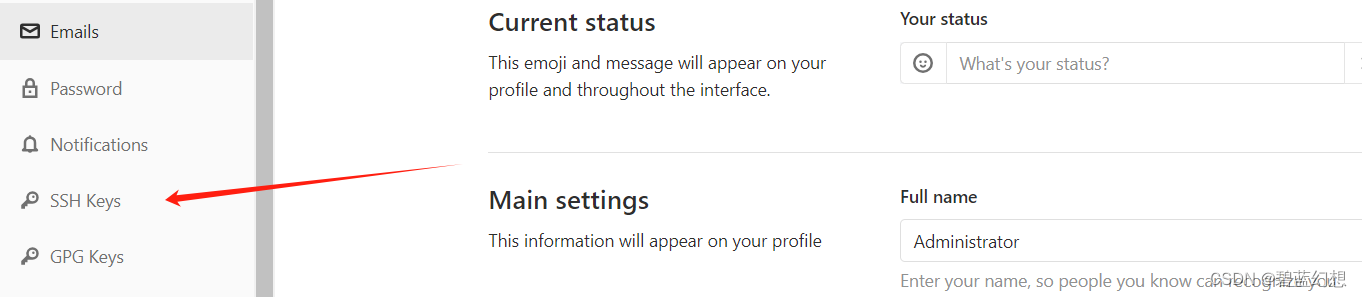
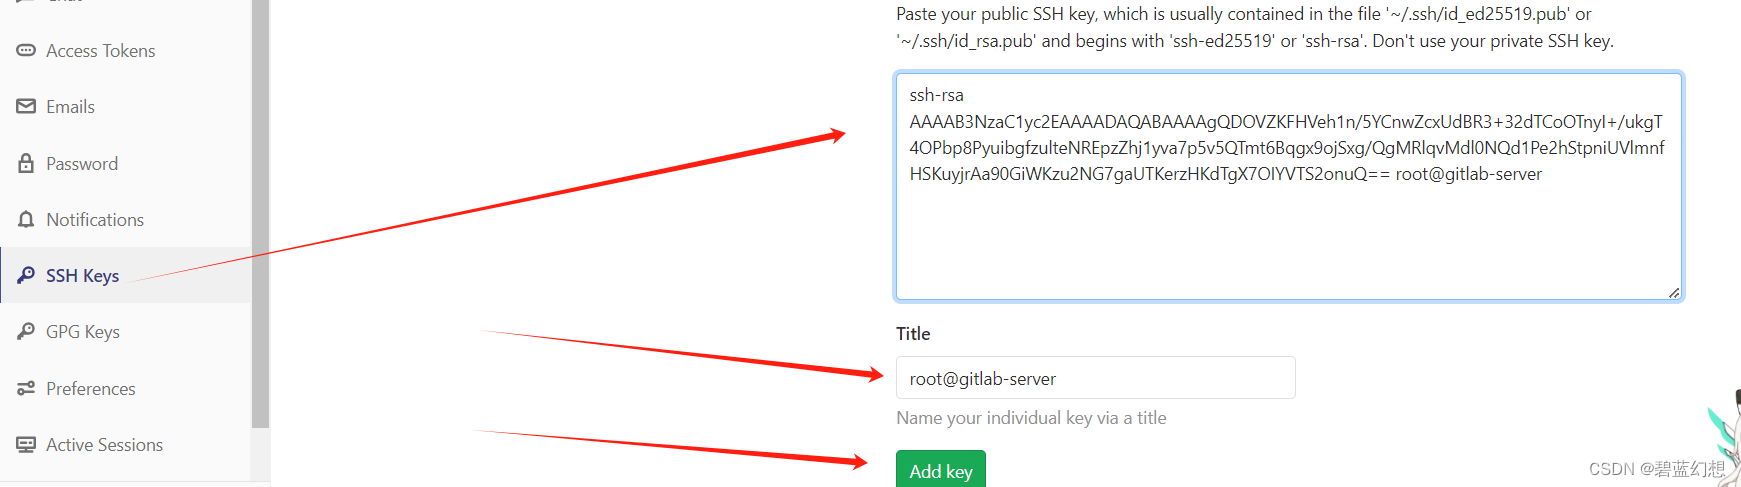
2.配置ssh公钥:
ssh-keygen -t rsa -b 1024 -C "用户名/邮箱"
# 如果不指定用户名和邮箱,将默认使用主机的用户名和主机名
# ssh-keygen - 生成、管理和转换认证密钥,t制定类型
# RSA
# window:C:/用户/user/.ssh/id_rsa.pub公钥文件,linux:~/.ssh/id_rsa.pub公钥文件
cat ~/.ssh/id_rsa.pub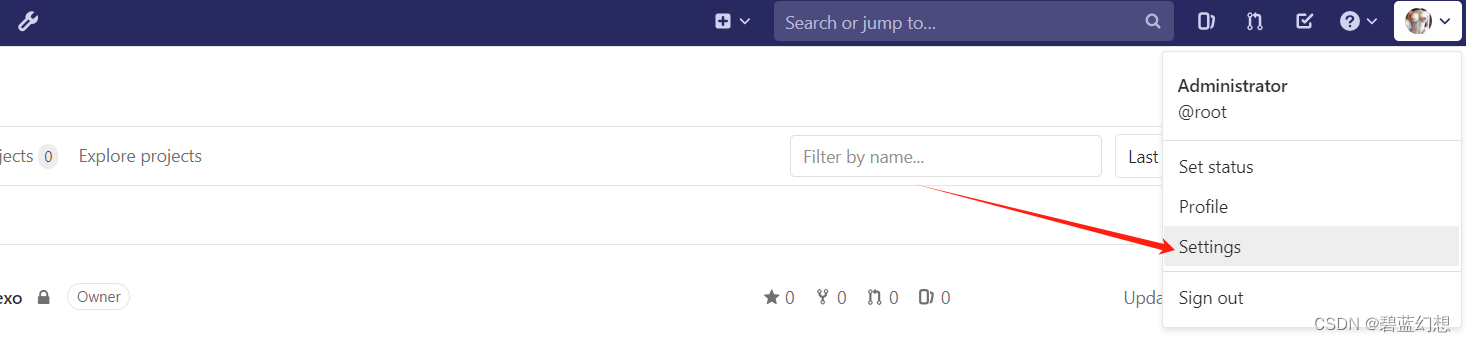
3.安装和配置git:
-
安装:
yum install -y git -
配置:
git config --global user.name "qv123"
git config --global user.email "qv1095322098@163.com"
# 查看 git config --global user.name git config --global user.email
4.上传项目:
1.方式一:创建本地项目推送
-
-
初始化项目。将项目添加到工作区,或者直接拉取空仓库:
cd ~/my_hexo && git init -
添加远程仓库路径:仓库地址是服务器IP
git remote add origin git@192.168.174.201:qv123_group/my_hexo.git # origin远端名称 # 查看命令帮助:git remote -help -
查看远程仓库得名称和地址:
git remote -v show -
将项目从工作区添加到暂存区:
git add . -
将项目从暂存区提交到本地仓库:(这里必须配置用户名和邮箱地址)
git commit -m "one commit" -
查看本地分支:
git branch -
拉取一下远程的空仓库:
# 最好拉取一下空仓库,不然可能导致推送错误
git pull -u origin master
# 报错 To git@192.168.174.201:qv123_group/my_hexo.git ! [rejected] master -> master (fetch first) error: failed to push some refs to 'git@192.168.174.201:qv123_group/my_hexo.git' hint: Updates were rejected because the remote contains work that you do hint: not have locally. This is usually caused by another repository pushing hint: to the same ref. You may want to first merge the remote changes (e.g., hint: 'git pull') before pushing again. hint: See the 'Note about fast-forwards' in 'git push --help' for details. [root@gitlab-server qv1234.github.io-master]# git pull --rebase origin fatal: 'origin' does not appear to be a git repository fatal: Could not read from remote repository. Please make sure you have the correct access rights and the repository exists. -
推送到远程仓库:
git push -u origin master
# master是分支
-
2.方式二:(推荐)
-
-
直接克隆空仓库:
git clone git@192.168.174.201:qv123_group/my_hexo.git cd my_hexo -
查看远程仓库得名称和地址:
[root@gitlab-server my_hexo]# git remote -v show origin git@192.168.174.201:qv123_group/my_hexo.git (fetch) origin git@192.168.174.201:qv123_group/my_hexo.git (push) -
将项目从工作区添加到暂存区:
git add . --all -
将项目从暂存区提交到本地仓库:(这里必须配置用户名和邮箱地址)
git commit -m "one commit" -
查看本地分支:
git branch -
推送到远程仓库:
git push -u origin master
# master是分支
-

瓜分20万奖金 获得内推名额 丰厚实物奖励 易参与易上手
更多推荐

 15
15 0
0- 0


 已为社区贡献1条内容

所有评论(0)