

搭建个人博客攻略
npm install hexo-deployer-git --save//部署插件,hexo d需要用到。repo: git@github.com:你的用户名/你的用户名.github.io.git。git config --global user.name “你的Github用户名”git config --global user.email “你的Github邮箱”ssh-keygen -t
文章目录
- 碎碎念
- 一、下载 g i t git git 和 N o d e . j s Node.js Node.js
- 二、安装 h e x o hexo hexo
- 1. 1. 1.在非 C C C 盘新建一个文件夹 b l o g blog blog,右键打开 g i t b a s h git bash gitbash
- 2. 2. 2.在 g i t git git 创建文件 hexo
- 3. 3. 3.hexo初始化
- 4. 4. 4.在 v s c o d e vscode vscode 打开文件 h e x o hexo hexo 的 _ c o n f i g config config
- 5. 5. 5.打开 _ c o n f i g config config,划到最下面,修改 r e p o repo repo
- 6. 6. 6.右键 h e x o hexo hexo 文件用 g i t git git 打开,输入
- 三、配置 g i t git git
碎碎念
从大一开始就一直想搭建自己的一个博客网站,但是直到现在才付诸行动,以此篇文章纪念一下。
一、下载 g i t git git 和 N o d e . j s Node.js Node.js
N
o
d
e
.
j
s
Node.js
Node.js 传送门
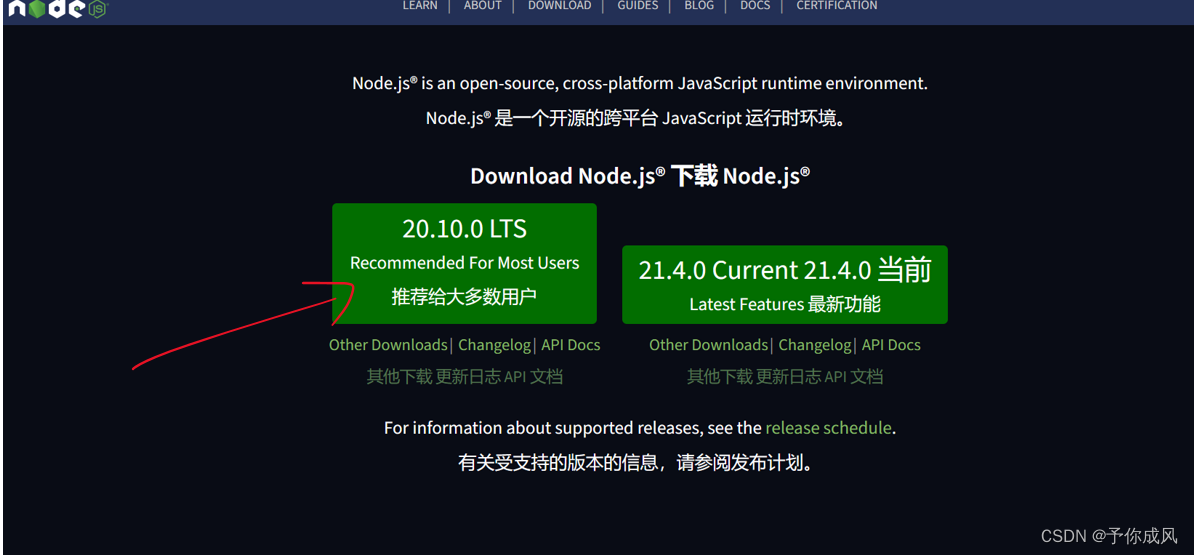
选这个即可
g
i
t
git
git 传送门
二、安装 h e x o hexo hexo
1. 1. 1.在非 C C C 盘新建一个文件夹 b l o g blog blog,右键打开 g i t b a s h git bash gitbash
输入
npm install hexo-cli -g
npm install hexo-deployer-git --save//部署插件,hexo d需要用到
2. 2. 2.在 g i t git git 创建文件 hexo
mkdir hexo
3. 3. 3.hexo初始化
hexo init
4. 4. 4.在 v s c o d e vscode vscode 打开文件 h e x o hexo hexo 的 _ c o n f i g config config
5. 5. 5.打开 _ c o n f i g config config,划到最下面,修改 r e p o repo repo
deploy:
type: ‘’
repo: git@github.com:你的用户名/你的用户名.github.io.git
branch: master
6. 6. 6.右键 h e x o hexo hexo 文件用 g i t git git 打开,输入
hexo s
本地加载完成
三、配置 g i t git git
1. 1. 1.在 g i t git git 新建库,注意格式
命名成
你的用户名.github.io
2. 2. 2.然后在 g i t git git 上输入
git config --global user.name “你的Github用户名”
git config --global user.email “你的Github邮箱”
3. 3. 3.生成密钥
ssh-keygen -t rsa -C “你的Github邮箱”
4. 4. 4.查看密钥
cat ~/.ssh/id_rsa.pub
5. 5. 5.复制粘贴到 g i t h u b github github 里的 S S H SSH SSH
6. 6. 6.建立连接
ssh -T git@github.com
出现
Hi xxx! You’ve successfully authenticated…
则成功链接
7. 7. 7.在hexo打开的 g i t git git 上输入
hexo clean
hexo g
hexo d
等待一会,博客建立

旨在为数千万中国开发者提供一个无缝且高效的云端环境,以支持学习、使用和贡献开源项目。
更多推荐


 49
49 0
0- 0


 已为社区贡献1条内容

所有评论(0)