

Mars3D集成到ruoyi管理系统
mars3d集成到ruoyi后台系统中出现cesium找不到的问题,经排查后,需要手动安装mars3d-cesium并配置vite.config.js
·
尽管Mars3d的官网上提供了详尽的文档和API参考手册,但是在集成至ruoyi后天管理系统中时,还是碰到了不少问题:
- npm安装方式,若只安装mars3d,会提示找不到mars3d-cesium
- 引用cesium相关库的时候,报404错误
这两个问题搞了近2个小时才解决,特此记录一下。
我的解决方式如下:
- npm同时安装mars3d和mars3d-cesium依赖,package.json部分如下:
"dependencies": {
    "@element-plus/icons-vue": "2.0.10",
    "@icon-park/svg": "^1.4.2",
    "@turf/turf": "^6.5.0",
    "@vueuse/core": "9.5.0",
    "axios": "0.27.2",
    "echarts": "5.4.0",
    "element-plus": "2.2.27",
    "file-saver": "2.0.5",
    "fuse.js": "6.6.2",
    "js-cookie": "3.0.1",
    "jsencrypt": "3.3.1",
    "mapv": "^2.0.62",
    "mars3d": "^3.5.2",
    "mars3d-cesium": "^1.103.2",
    "nprogress": "0.2.0",
    "ol": "^7.3.0",
    "pinia": "2.0.22",
    "splitpanes": "^3.1.5",
    "vite-plugin-mars3d": "^2.1.0",
    "vue": "3.2.45",
    "vue-count-to": "^1.0.13",
    "vue-cropper": "1.0.3",
    "vue-router": "4.1.4"
  }
2. 安装vite-plugin-mars3d 依赖,配置vite.config.js,代码片段如下
import { vitePluginMars3d } from 'vite-plugin-mars3d';export default defineConfig(({ mode, command }) => { const env = loadEnv(mode, process.cwd()) const { VITE_APP_ENV } = env return { plugins: [createVitePlugins(env, command === 'build'), vitePluginMars3d()] } })3. 配置完成之后,在.vue即可使用mars3d相关的库了
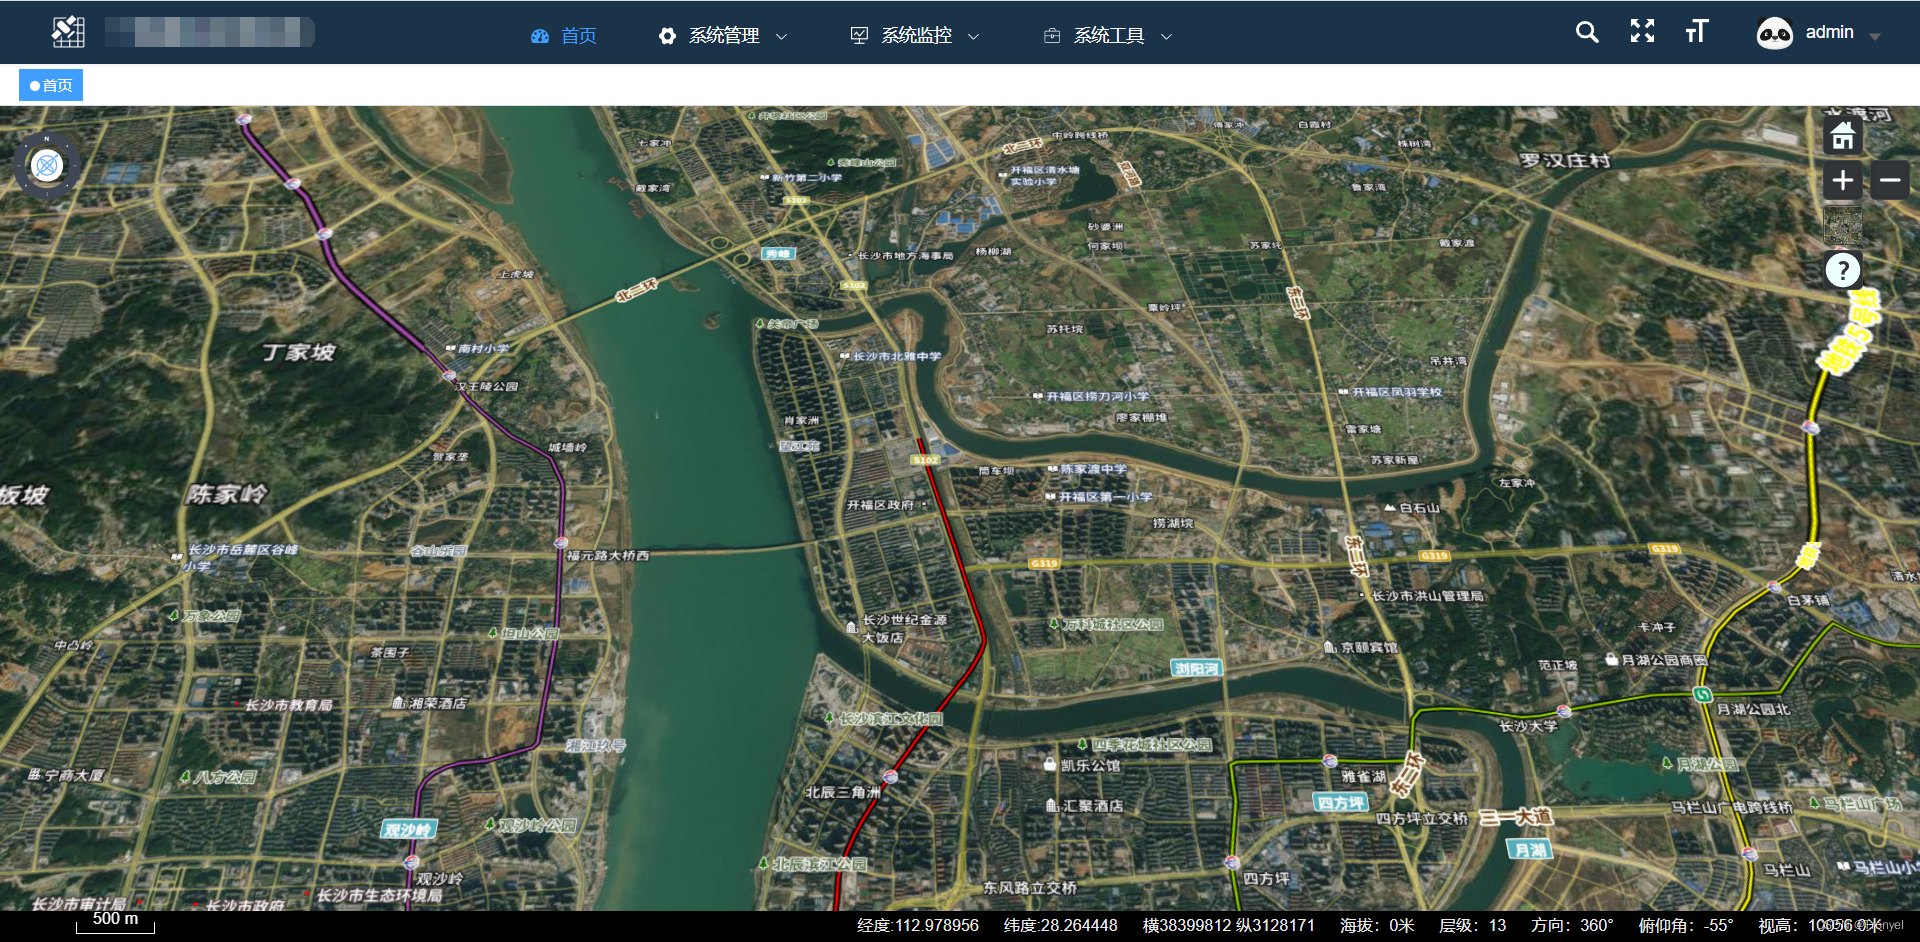
<template>
    <div id="index3DMap" class="mars3d-container" />
</template>
<script setup lang="ts">
import { computed, onUnmounted, onMounted, h, ref } from "vue"

//引入cesium基础库
import "mars3d-cesium/Build/Cesium/Widgets/widgets.css";
import * as Cesium from "mars3d-cesium";

//导入mars3d主库
import "mars3d/dist/mars3d.css";
import * as mars3d from "mars3d";

import { getQueryString } from "@/utils/mars-util"

// 用于存放地球组件实例
let map: mars3d.Map // 地图对象

const configUrl = `${process.env.BASE_URL}config/config.json`
onMounted(() => {
    // 获取配置
    mars3d.Util.fetchJson({ url: configUrl }).then(data => {
        initMars3d(data.map3d)
    })
})

// onload事件将在地图渲染后触发
const emit = defineEmits(["onload"])

const initMars3d = (option) => {
    map = new mars3d.Map("index3DMap", option)

    // 如果有xyz传参,进行定位
    const lat = getQueryString("lat")
    const lng = getQueryString("lng")
    if (lat && lng) {
        map.flyToPoint(new mars3d.LngLatPoint(lng, lat), { duration: 0 })
    }

    // 开场动画
    map.openFlyAnimation();

    // 针对不同终端的优化配置
    if (mars3d.Util.isPCBroswer()) {
        map.zoomFactor = 2.0 // 鼠标滚轮放大的步长参数

        // IE浏览器优化
        if (window.navigator.userAgent.toLowerCase().indexOf("msie") >= 0) {
            map.viewer.targetFrameRate = 20 // 限制帧率
            map.scene.requestRenderMode = false // 取消实时渲染
        }
    } else {
        map.zoomFactor = 5.0 // 鼠标滚轮放大的步长参数

        // 移动设备上禁掉以下几个选项,可以相对更加流畅
        map.scene.requestRenderMode = false // 取消实时渲染
        map.scene.fog.enabled = false
        map.scene.skyAtmosphere.show = false
        map.scene.globe.showGroundAtmosphere = false
    }

    // //二三维切换不用动画
    if (map.viewer.sceneModePicker) {
        map.viewer.sceneModePicker.viewModel.duration = 0.0
    }

    // webgl渲染失败后,刷新页面
    map.on(mars3d.EventType.renderError, async () => {
        // $alert("程序内存消耗过大,请重启浏览器")
        window.location.reload()
    })
}


</script>
<style lang="scss">
.mars3d-locationbar {
    background-color: black !important;
}

.mars3d-distance-legend {
    z-index: 992;
}
</style>
最后的效果如下图所示:

快速构建 Web 应用程序
更多推荐
 2
2 0
0- 0


 已为社区贡献1条内容

所有评论(0)