
单点登录服务Authelia(上篇)
Authelia 是一个开源的身份认证和授权服务器。

什么是 Authelia ?
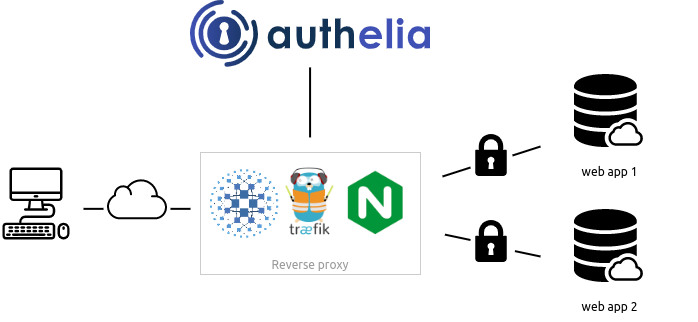
Authelia是一个开源身份验证和授权服务器,通过Web门户为您的应用程序提供双因素身份验证和单点登录(SSO)。它可以很好的与反向代理(如nginx、Traefik或HAProxy)进行集成,让他们知道是否应该允许或重定向请求到Authelia的门户进行身份验证。
简单来说就是 Authelia 可以给我们架设的各种应用增加认证功能,比如像 Speed Test 原本是没有任何验证功能的,打开就是测试页面,而通过设置,现在 Speed Test 需通过 Authelia 的认证后才能使用,这大大提高了应用的安全性。
下图是 Authelia 的简单架构图
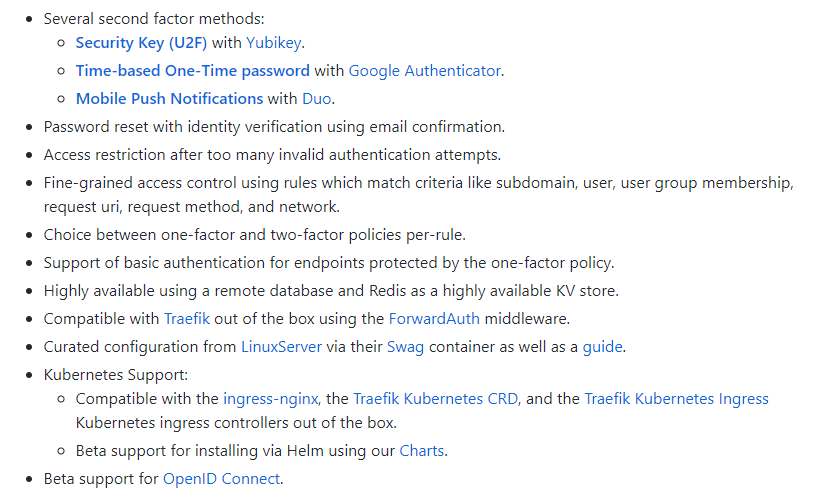
Authelia 的主要功能列表:
如果你和老苏一样,使用 Nginx Proxy Manager 做反向代理,并且希望向公开的服务或应用程序添加身份验证,那么 Authelia 可能会是一个很好的解决方案。您可以选择对您的应用程序使用单因素身份验证或双因素身份验证。
准备
群晖自带的反向代理,虽然简单、易用,但是自定义的功能太弱,建议改用 Nginx Proxy Manager 做反向代理,虽然都是基于 Nginx ,但是老苏觉得 NPM 在设置上方便得多,如果你还没安装,可以先看看 『 反向代理服务器nginx-proxy-manager 』
域名
| 域名 | 局域网地址 | 备注 |
|---|---|---|
https://auth.laosu.ml | http://192.168.0.199:9091 | Authelia 的访问地址 |
https://sp1.laosu.ml | http://192.168.0.199:8180 | speed test 的访问地址 |
https://nas.laosu.ml | http://192.168.0.199:5000 | 群晖管理界面 的访问地址 |
https://n8n.laosu.ml | http://192.168.0.199:5678 | n8n 的访问地址 |
https://ad.laosu.ml | http://192.168.0.197:8989 | Adminer 的访问地址 |
老苏准备了一堆的域名只是为了做各种验证而已,你要做的是将你的应用通过 Nginx Proxy Manager 做反代,并使之都能正常访问
安装
在群晖上以 Docker 方式安装。
在注册表中搜索 authelia ,选择第一个 authelia/authelia,版本选择 latest。

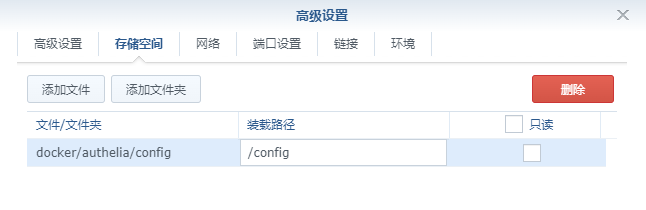
卷
在 docker 文件夹中,创建一个新文件夹,并将其命名为 authelia,然后在其中建一个子目录 config

| 文件夹 | 装载路径 | 说明 |
|---|---|---|
docker/authelia/config | /config | 存放设置 |
端口
端口不冲突就行,不确定的话可以用命令查一下
# 查看端口占用
netstat -tunlp | grep 端口号
| 本地端口 | 容器端口 |
|---|---|
9091 | 9091 |

环境
| 可变 | 值 |
|---|---|
PUID | 默认为 0,老苏改为了 1000 |
PGID | 默认为 0,老苏改为了 1000 |
TZ | 设为 Asia/Shanghai |

应用之后,容器并没有像往常一样正常运行,而是直接停止了

在日志中,能看到下面这样的信息
Configuration did not exist so a default one has been generated at /config/configuration.yml, you will need to configure this
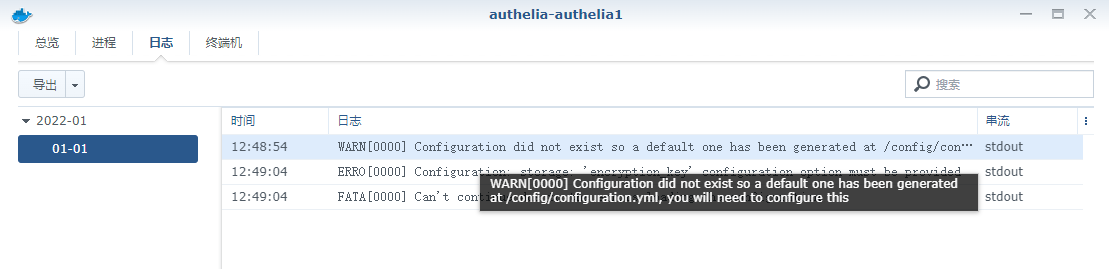
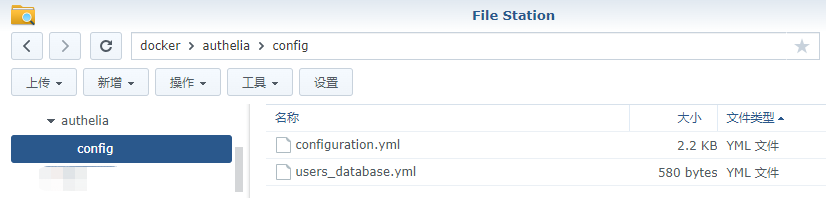
生成的 configuration.yml 位于 config 目录中
设置
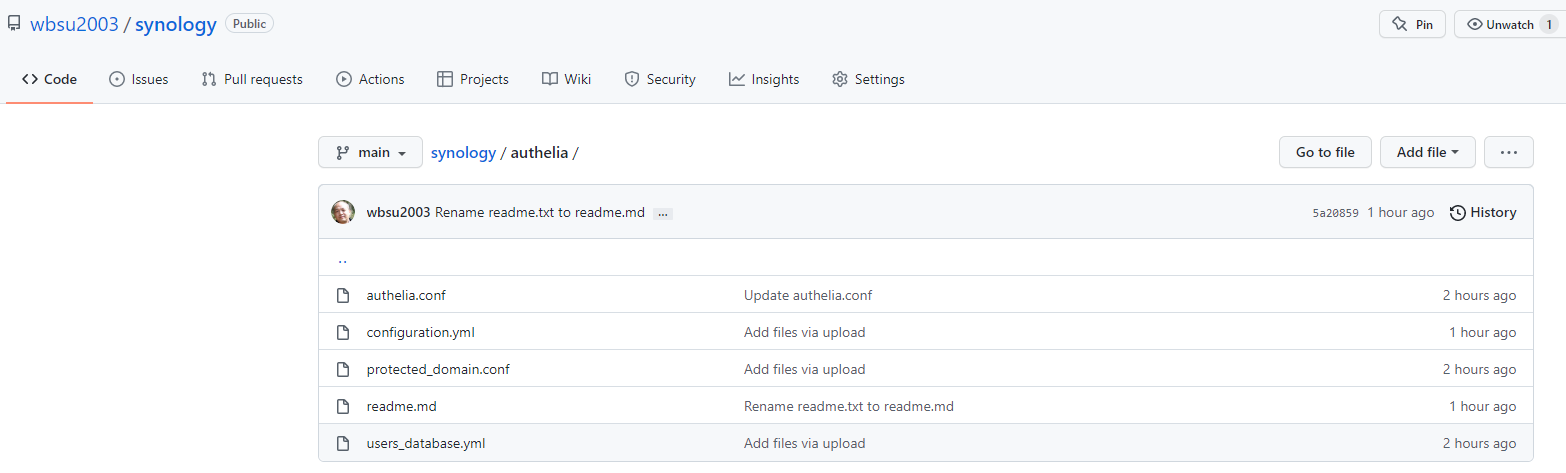
老苏的把用到的文档放在了 https://github.com/wbsu2003/synology/tree/main/authelia,这里只对需要修改处做简单的说明
因为文件中增加了中文注释,所以如果你是复制、粘贴,记得保存时编码用
UTF-8编码
configuration.yml
configuration.yml 需要进行配置,配置文件中有说明,更详细的可以看看官方的文档 https://www.authelia.com/docs/configuration/
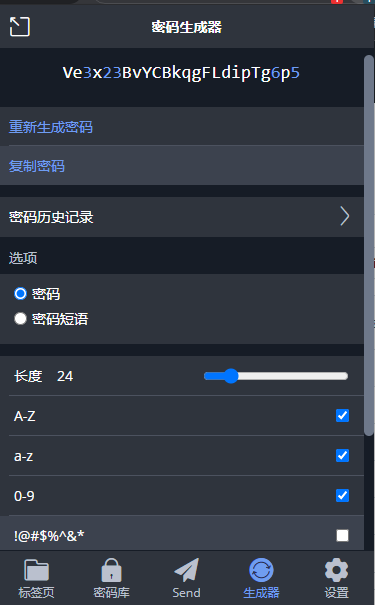
jwt_secret
jwt_secret: Ve3x23BvYCBkqgFLdipTg6p5
JSON Web Token (JWT) 是一个开放标准,用于客户端向服务器验证自己,jwt_secret 定义用于制作身份验证过程所利用的 JWT 令牌的密钥,老苏一般用 Bitwarden 的密码生成器来生成
default_redirection_url
default_redirection_url: https://auth.laosu.ml:444
这里设置的是当 Authelia 无法检测到用户前往的目标 URL 时用户被重定向的 URL,老苏决定将其指向 Authelia
https://auth.laosu.ml:444 是 Authelia 的域名,之所以后面带端口是因为老苏的域名没有备案,所以不能使用默认的 443 端口
totp
totp:
  issuer: laosu.ml #your authelia top-level domain,这里不要带端口
  period: 30
  skew: 1
这里需填写 Authelia 的顶级域名
access_control
access_control:
  default_policy: deny
  rules:
    ## bypass rule
    - domain: "auth.laosu.ml" #This should be your authentication URL,这里不要带端口
      policy: bypass
    - domain:
      - "ad.laosu.ml" #example domain to protect,这里不要带端口
      - "sp1.laosu.ml" #example domain to protect,这里不要带端口
      policy: one_factor
    - domain:
      - "nas.laosu.ml" #example subdomain to protect,这里不要带端口
      - "n8n.laosu.ml" #example subdomain to protect,这里不要带端口
      policy: two_factor
deny- 不允许访问;one_factor- 使用用户名和密码登录;two_factor- 使用用户名、密码和2FA登录;bypass- 无需登录,也就是直接通过;
这里只需要填写二级域名,不要带端口
session
session:
  name: authelia_session
  secret: unsecure_session_secret #any text or number you want to add here to create jwt Token
  expiration: 3600  # 1 hour
  inactivity: 300  # 5 minutes
  domain: laosu.ml  # Should match whatever your root protected domain is,这里不要带端口
domain 是分配 cookie 来保护的域。这必须与提供 Authelia 的域或域的根相同。
storage
storage:
  local:
    path: /config/db.sqlite3 #数据库,也可以使用 MySQL.
  encryption_key: tujXiHx2ety6HRErqquML35m #用于加密数据库的随机值,大于12位
前面的安装方式默认使用了 SQLite 数据库,这里指定了数据库文件的存储路径
encryption_key 是用于加密数据库中数据的加密密钥。
users_database.yml
因为 Authentication Backends(身份验证后端) 老苏选择了 file 而不是 ldap,所以还需要在 config 目录中新建 users_database.yml 文件,这个文件的样例可以在 https://github.com/authelia/authelia/tree/master/examples/compose/lite/authelia 找到
password 是加密后的字符串,有两种方式
- 第一种是通过命令
需要 SSH 客户端登录到群晖后,在命令行执行
# 将 <yourpassword> 替换成你的密码
docker run --rm authelia/authelia:latest authelia hash-password <yourpassword>
下图演示的是密码为 123456

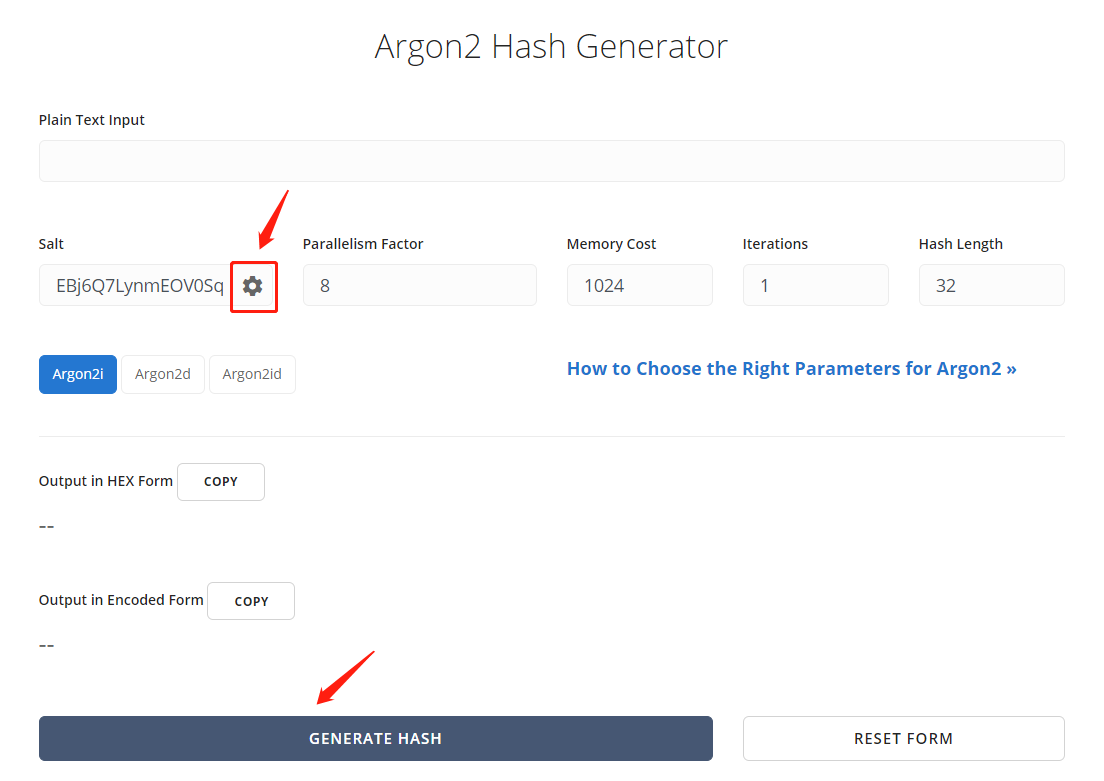
- 第二种方式通过第三方网站
加密的方式在 configuration.yml 中已经指定了
authentication_backend:
  disable_reset_password: false
  refresh_interval: 5m
  file:
    path: /config/users_database.yml #this is where your authorized users are stored
    password:
      algorithm: argon2id
      iterations: 1
      key_length: 32
      salt_length: 16
      memory: 1024
      parallelism: 8
所以只要按照上面设定即可
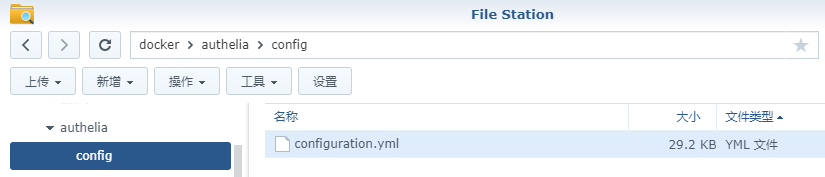
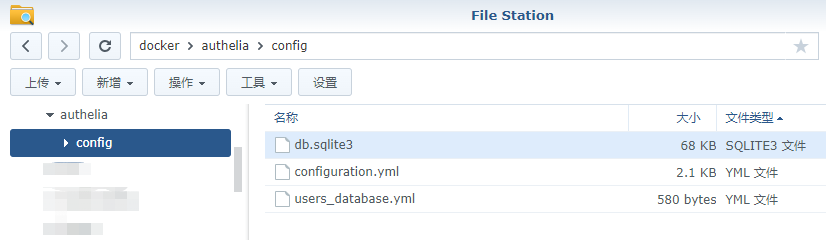
现在文件夹是这样的
完成这些工作后,可以再次启动容器,成功启动后,还会生成 db.sqlite3
运行
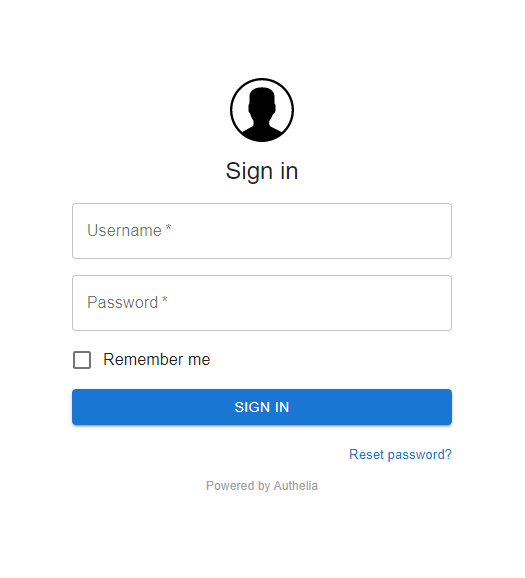
在浏览器中输入 http://群晖IP:9091 或者 https://auth.laosu.ml:444 就能看到主界面。
按照我们前面在
users_database.yml中的设置,账号为authelia,密码为123456
先不忙登录,先试试前面准备的域名是否都可以正常访问,一切正常的话就可以进入到下一步了
老苏因为没有备案,所以才用的是
https://域名:444,例如:https://auth.laosu.ml:444等
参考文档
authelia/authelia: The Single Sign-On Multi-Factor portal for web apps
地址:https://github.com/authelia/authelia
Home - Authelia
地址:https://www.authelia.com/docs/
Running authelia on a non standard HTTPs port. Base href is not valid. · Issue #2765 · authelia/authelia
地址:https://github.com/authelia/authelia/issues/2765
Authelia - SSO and 2FA portal
地址:https://www.blackvoid.club/authelia-sso-and-2fa-portal/
Self-Hosted SSO with Authelia and NGINX
地址:https://matwick.ca/authelia-nginx-sso/
Setup Authelia to work… | The Homelab Wiki
地址:https://thehomelab.wiki/books/dns-reverse-proxy/page/setup-authelia-to-work-with-nginx-proxy-manager
Authelia: Install Guide on Unraid + NGINX (Brief) - YouTube
地址:https://www.youtube.com/watch?app=desktop&v=fr-t7sGrYtI

旨在为数千万中国开发者提供一个无缝且高效的云端环境,以支持学习、使用和贡献开源项目。
更多推荐


 2
2 0
0- 0


 已为社区贡献68条内容

所有评论(0)