Fragment基础入门
Fragment基础入门静态碎片动态碎片第一章 静态碎片第01节 效果图说明说明:静态碎片,主要是依附于 Activity 当中, 由 Activity 的布局文件,将屏幕分割成为多个组成部分完成的。Activity 作为一个大的容器,里面包含着多个碎片组成第02节 布局资源1、activity_main.xml<?xml version="1.0" encoding="utf-8"?>
·
Fragment基础入门
- 静态碎片
- 动态碎片
第一章 静态碎片
第01节 效果图说明
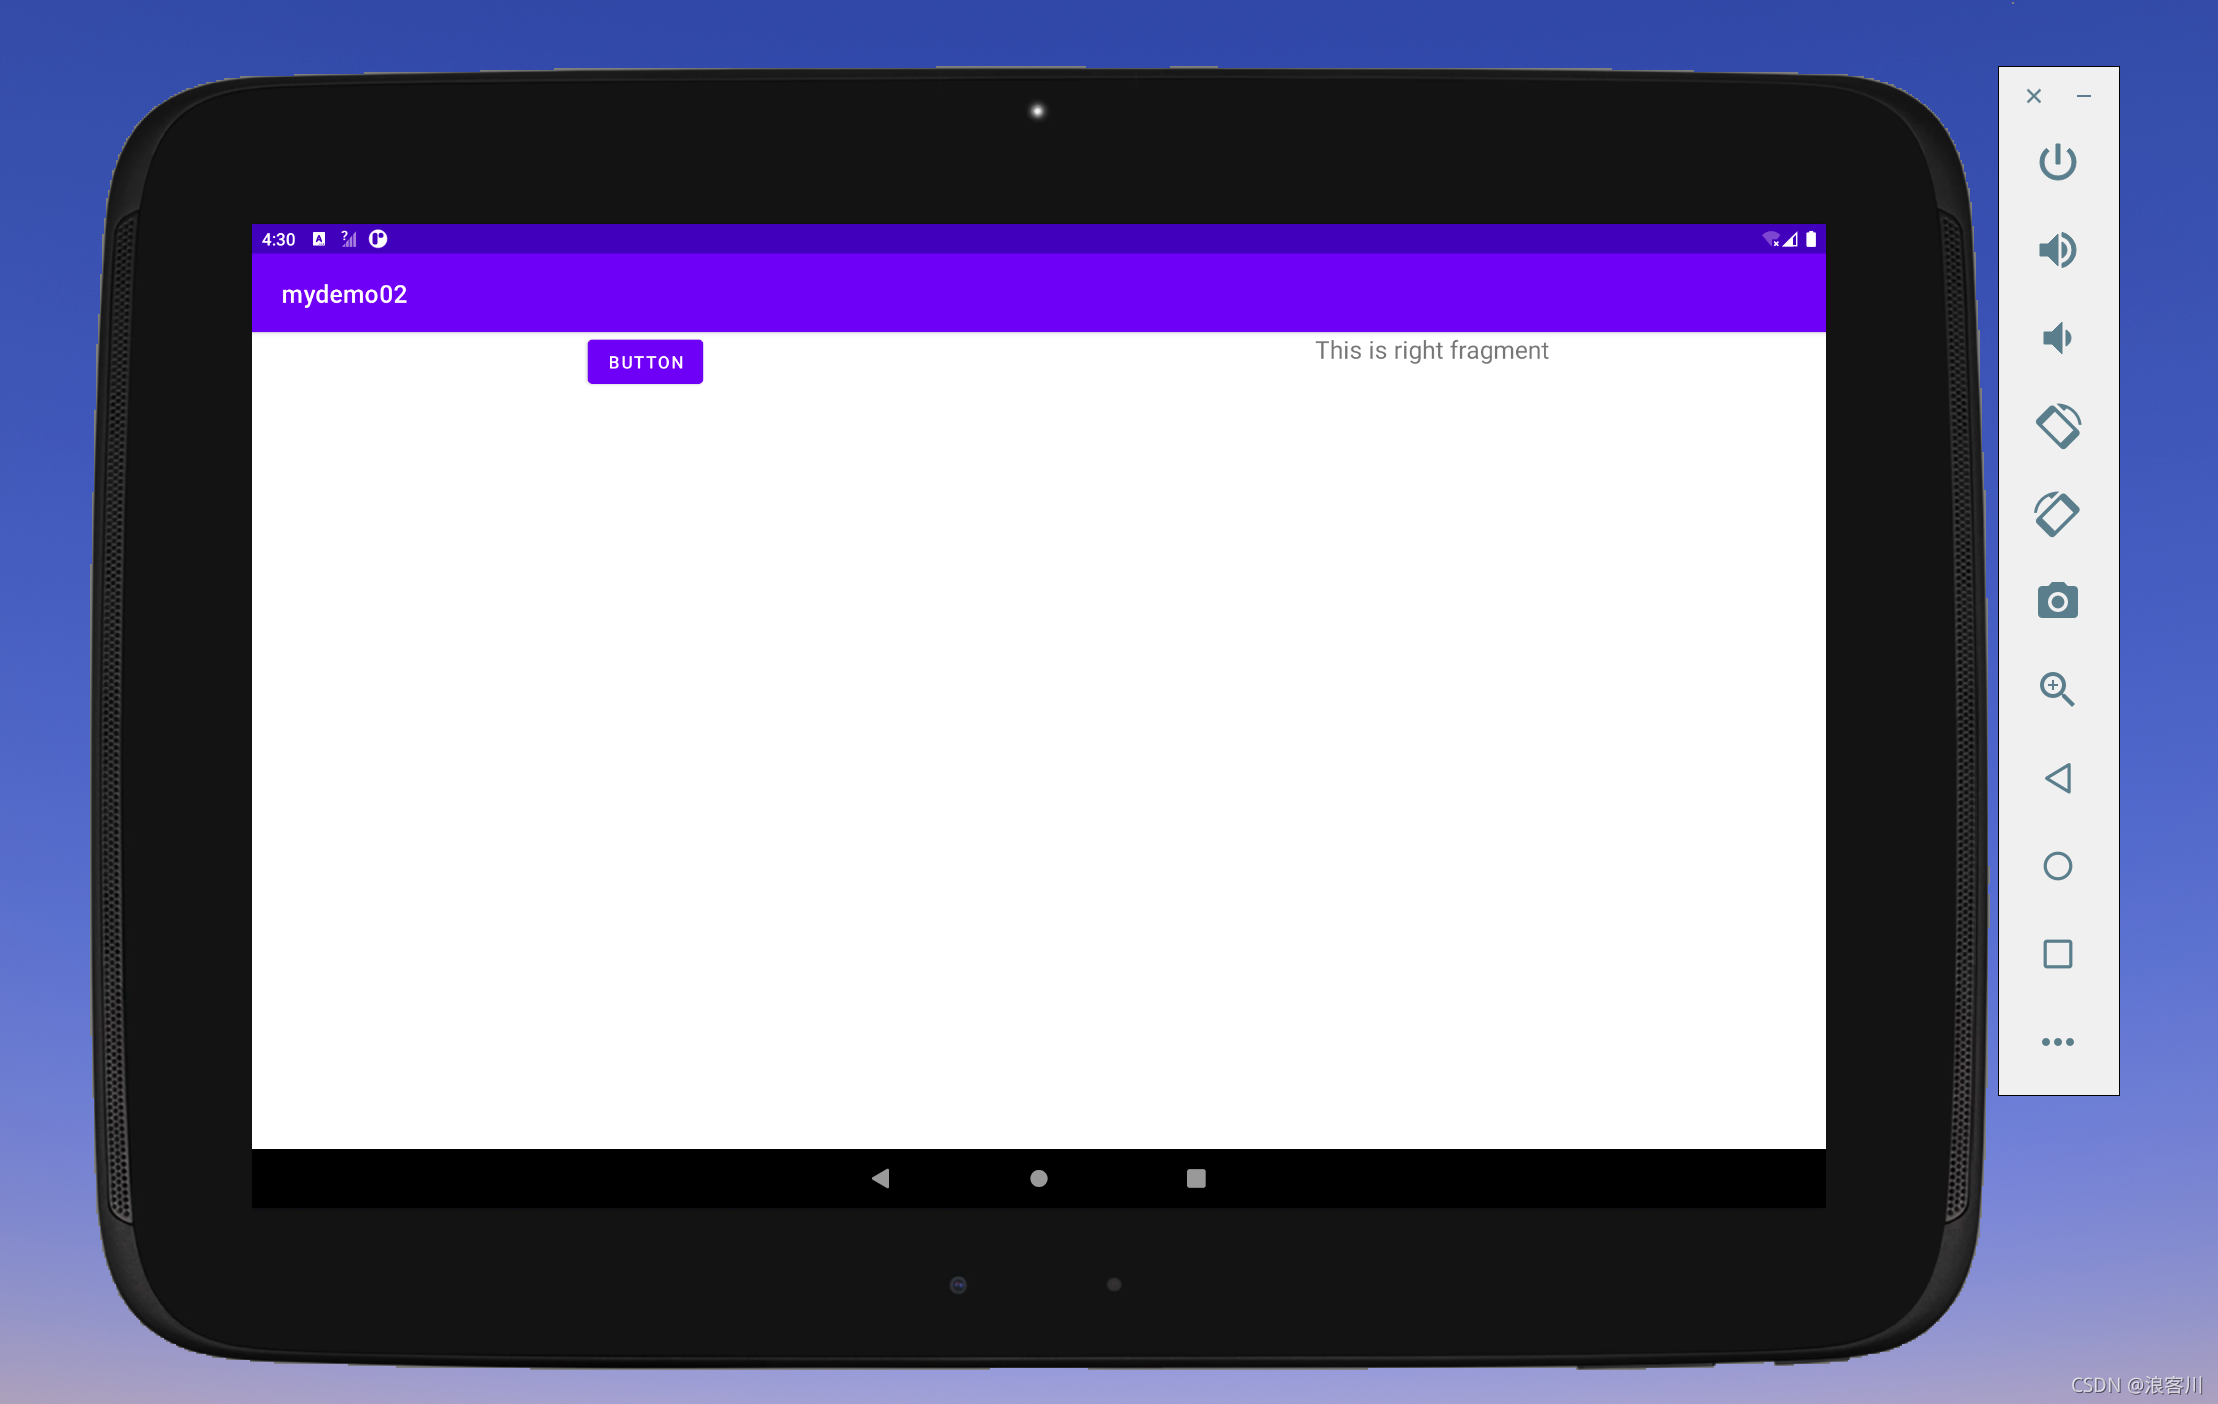
说明:
静态碎片,主要是依附于 Activity 当中, 由 Activity 的布局文件,将屏幕分割成为多个组成部分完成的。
Activity 作为一个大的容器,里面包含着多个碎片组成
第02节 布局资源
1、activity_main.xml
<?xml version="1.0" encoding="utf-8"?>
<LinearLayout xmlns:android="http://schemas.android.com/apk/res/android"
    android:layout_width="match_parent"
    android:layout_height="match_parent"
    android:orientation="horizontal">

    <fragment
        android:id="@+id/left_fragment"
        android:name="chc.svip.LeftFragment"
        android:layout_width="0dp"
        android:layout_height="match_parent"
        android:layout_weight="1"/>


    <fragment
        android:id="@+id/right_fragment"
        android:name="chc.svip.RightFragment"
        android:layout_width="0dp"
        android:layout_height="match_parent"
        android:layout_weight="1"/>

</LinearLayout>
2、left_fragment.xml
<?xml version="1.0" encoding="utf-8"?>
<LinearLayout xmlns:android="http://schemas.android.com/apk/res/android"
    android:layout_width="match_parent"
    android:layout_height="match_parent"
    android:orientation="vertical">

    <!--  设置一个按钮   -->
    <Button
        android:layout_width="wrap_content"
        android:layout_height="wrap_content"
        android:text="Button"
        android:layout_gravity="center"
        android:id="@+id/button_left_fragment"/>

</LinearLayout>
3、right_fragment.xml
<?xml version="1.0" encoding="utf-8"?>
<LinearLayout xmlns:android="http://schemas.android.com/apk/res/android"
    android:layout_width="match_parent"
    android:layout_height="match_parent"
    android:orientation="vertical">

    <TextView
        android:layout_width="wrap_content"
        android:layout_height="wrap_content"
        android:layout_gravity="center_horizontal"
        android:text="This is right fragment"
        android:textSize="20sp" />

</LinearLayout>
第03节 Java代码
1、左侧 LeftFragment
/***
 * 写一个类,继承 Fragment 类
 *
 * 需要注意的问题是 来自于 androidx.fragment.app.Fragment
 */
public class LeftFragment extends Fragment {

    /***
     * 下面采用的是布局转换器,将布局转换成为视图
     * @param inflater
     * @param container
     * @param savedInstanceState
     * @return
     */
    @Nullable
    @Override
    public View onCreateView(@NonNull LayoutInflater inflater, @Nullable ViewGroup container, @Nullable Bundle savedInstanceState) {
        View view = inflater.inflate(R.layout.left_fragment,container,false);
        return view;
    }
}
2、右侧 RightFragment
/***
 * 写一个类继承 Fragment
 *
 * 需要注意的是这里来自于  androidx.fragment.app.Fragment
 */
public class RightFragment extends Fragment {

    /***
     *  下面采用的是布局转换器,将布局转换成为视图
     * @param inflater
     * @param container
     * @param savedInstanceState
     * @return
     */
    @Nullable
    @Override
    public View onCreateView(@NonNull LayoutInflater inflater, @Nullable ViewGroup container, @Nullable Bundle savedInstanceState) {
        View view = inflater.inflate(R.layout.right_fragment,container,false);
        return view;
    }
}
3、MainActivity代码
import android.os.Bundle;
import androidx.appcompat.app.AppCompatActivity;

public class MainActivity extends AppCompatActivity {
    @Override
    protected void onCreate(Bundle savedInstanceState) {
        super.onCreate(savedInstanceState);
        setContentView(R.layout.activity_main);
    }
}
第二章 动态碎片
第01节 效果图说明
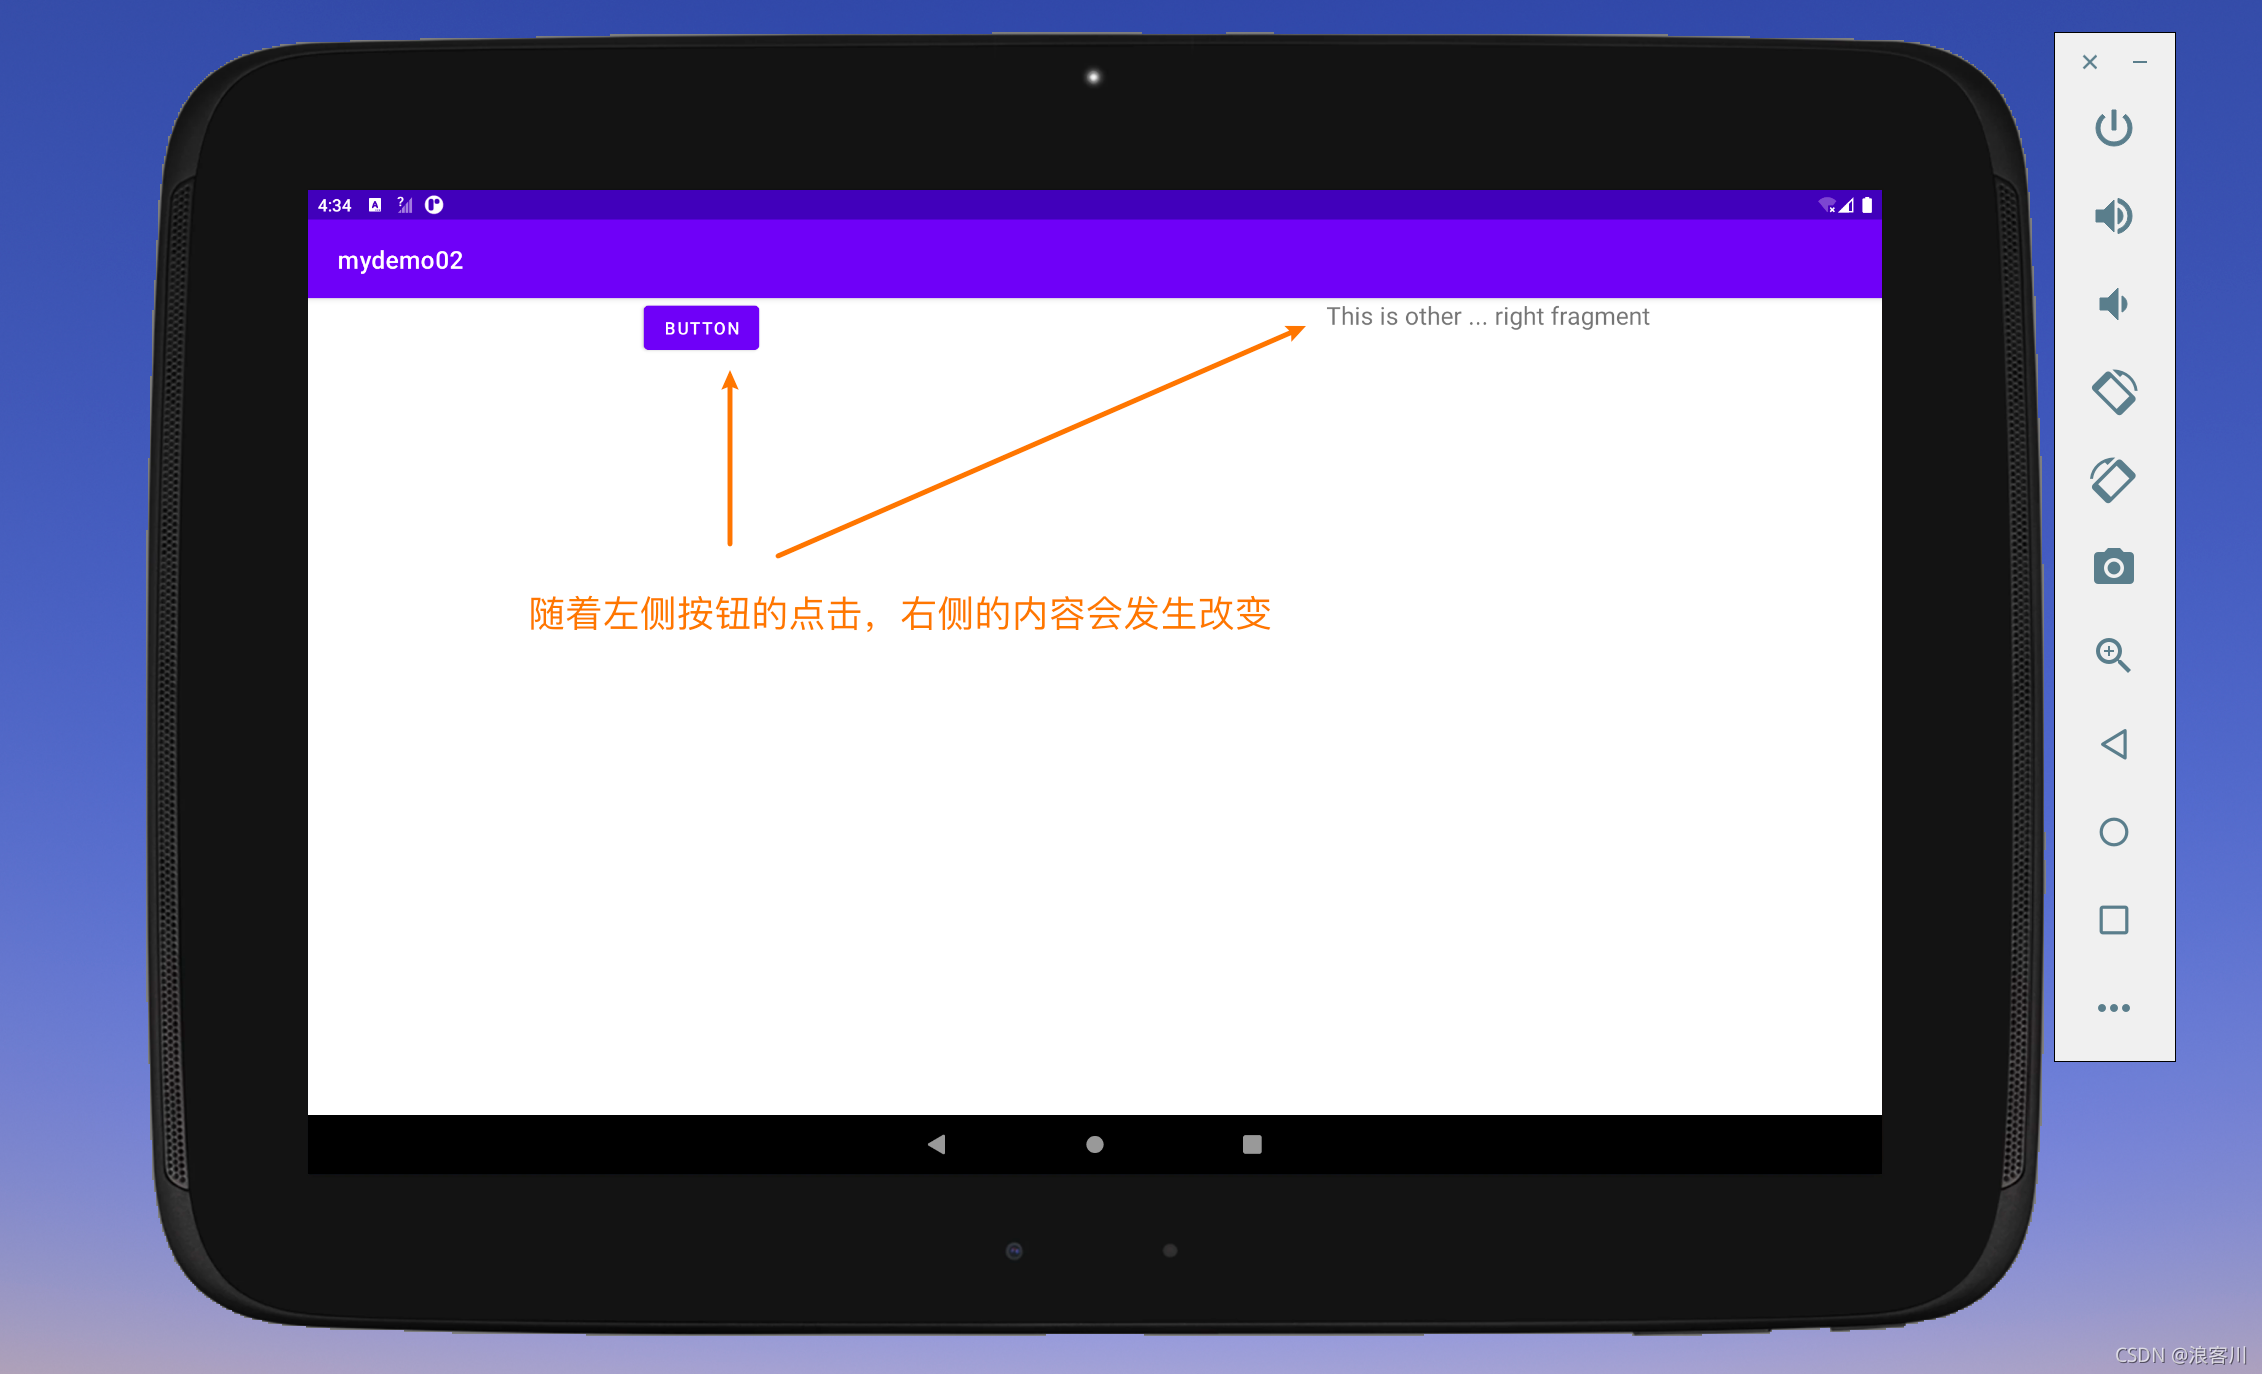
说明:
1、动态碎片的效果,随着 左侧碎片当中按钮的点击,右侧碎片会发送改变。
2、右侧碎片的改变: 一个新的右侧碎片,将会替换掉旧的右侧碎片。
第02节 布局资源
1、activity_main.xml
<?xml version="1.0" encoding="utf-8"?>
<LinearLayout xmlns:android="http://schemas.android.com/apk/res/android"
    android:layout_width="match_parent"
    android:layout_height="match_parent"
    android:orientation="horizontal">

    <fragment
        android:id="@+id/left_fragment"
        android:name="chc.svip.LeftFragment"
        android:layout_width="0dp"
        android:layout_height="match_parent"
        android:layout_weight="1"/>

    <FrameLayout
        android:id="@+id/right_layout"
        android:layout_width="0dp"
        android:layout_height="match_parent"
        android:layout_weight="1">
    </FrameLayout>

</LinearLayout>
2、left_fragment.xml
<?xml version="1.0" encoding="utf-8"?>
<LinearLayout xmlns:android="http://schemas.android.com/apk/res/android"
    android:layout_width="match_parent"
    android:layout_height="match_parent"
    android:orientation="vertical">

    <!--  设置一个按钮   -->
    <Button
        android:layout_width="wrap_content"
        android:layout_height="wrap_content"
        android:text="Button"
        android:layout_gravity="center"
        android:id="@+id/button_left_fragment"/>

</LinearLayout>
3、right_fragment.xml
<?xml version="1.0" encoding="utf-8"?>
<LinearLayout xmlns:android="http://schemas.android.com/apk/res/android"
    android:layout_width="match_parent"
    android:layout_height="match_parent"
    android:orientation="vertical">

    <TextView
        android:layout_width="wrap_content"
        android:layout_height="wrap_content"
        android:layout_gravity="center_horizontal"
        android:text="This is right fragment"
        android:textSize="20sp" />

</LinearLayout>
第03节 Java代码
1、左侧LeftFragment
/***
 * 写一个类,继承 Fragment 类
 *
 * 需要注意的问题是 来自于 androidx.fragment.app.Fragment
 */
public class LeftFragment extends Fragment {

    /***
     * 下面采用的是布局转换器,将布局转换成为视图
     * @param inflater
     * @param container
     * @param savedInstanceState
     * @return
     */
    @Nullable
    @Override
    public View onCreateView(@NonNull LayoutInflater inflater, @Nullable ViewGroup container, @Nullable Bundle savedInstanceState) {
        View view = inflater.inflate(R.layout.left_fragment,container,false);
        return view;
    }
}
2、右侧RightFragment
/***
 * 写一个类继承 Fragment
 *
 * 需要注意的是这里来自于  androidx.fragment.app.Fragment
 */
public class RightFragment extends Fragment {

    /***
     *  下面采用的是布局转换器,将布局转换成为视图
     * @param inflater
     * @param container
     * @param savedInstanceState
     * @return
     */
    @Nullable
    @Override
    public View onCreateView(@NonNull LayoutInflater inflater, @Nullable ViewGroup container, @Nullable Bundle savedInstanceState) {
        View view = inflater.inflate(R.layout.right_fragment,container,false);
        return view;
    }
}
3、MainActivity代码
public class MainActivity extends AppCompatActivity {


    private static final String TAG = "chc";

    @Override
    protected void onCreate(Bundle savedInstanceState) {
        super.onCreate(savedInstanceState);
        setContentView(R.layout.activity_main);

        replaceFragment(new RightFragment());

        Button btn = findViewById(R.id.button_left_fragment);
        btn.setOnClickListener(new View.OnClickListener() {
            @Override
            public void onClick(View v) {
                replaceFragment(new OtherRightFragment());
            }
        });
    }

    /**
     * 替换碎片的操作
     *
     * @param fragment
     */
    public void replaceFragment(Fragment fragment) {
        //获取到碎片管理者的对象
        FragmentManager manager = this.getSupportFragmentManager();
        //开启碎片事务
        FragmentTransaction transaction = manager.beginTransaction();
        //事务替换的操作
        transaction.replace(R.id.right_layout, fragment);
        //如果不添加下面的栈信息,按下 Back键,将会直接退出程序,可以添加栈信息
        transaction.addToBackStack(null);
        //提交事务
        transaction.commit();
    }
}
第04节 问题说明
记录一下当前的案例代码当中,会存在一个问题:
也就是 多次点击 添加替换碎片的过程当中,会出现碎片重复添加的情况。

为开发者提供学习成长、分享交流、生态实践、资源工具等服务,帮助开发者快速成长。
更多推荐


 0
0 0
0- 0


 已为社区贡献1条内容

所有评论(0)