uniapp开发微信小程序canvas动画入门
uniapp开发微信小程序canvas动画入门前言效果预览页面代码结论前言老版的微信小程序canvas接口由于是视图层和逻辑层双线程的关系,动画效果很卡,而且api都是为了标新立异,重新包装H5的,学习起来也要再花时间.2.9.0版之后终于与H5的接口同步了,并且性能也得到了极大的优化,简单的动画在移动端运行起来还是非常流畅的.大家在很多网页上都见过粒子飘来飘去的动画,有点物联网的感觉…下面使用u
前言
老版的微信小程序canvas接口由于是视图层和逻辑层双线程的关系,动画效果很卡,而且api都是为了标新立异,重新包装H5的,学习起来也要再花时间.
2.9.0版之后终于与H5的接口同步了,并且性能也得到了极大的优化,简单的动画在移动端运行起来还是非常流畅的.
大家在很多网页上都见过粒子飘来飘去的动画,有点物联网的感觉…
下面使用uniapp开发环境实现一个微信小程序端的粒子动画背景,app端不支持新版的接口,运行会报错.
效果预览
此截图是在开发者工具上录的,实际上没有那些灰色的块块
新版的canvas接口支持同层渲染,所以只需要将canvas层的z-index调到下面就行了.
真机预览下小球球是在其他元素下面的,不会影响主要元素.
页面代码
<template>
	<view>
		<view class="container">
			<view class="login-header">
				<!-- <img src="/static/login.png" alt=""> -->
				<view>XXXXX系统</view>
			</view>
			<view class="uni-form-item uni-column">
				<input class="uni-input" focus placeholder="用户名" v-model="user" @input="userChange" />
			</view>
			<view class="uni-form-item uni-column">
				<input class="uni-input" password type="text" placeholder="密码" v-model="pass" @input="passChange" />
			</view>
			<br>
			<button class="loginBtn" type="primary" @click="onLogin">登录</button>
		</view>
		<canvas type="2d" id="myCanvas"></canvas>
	</view>
</template>

<script>

	import Circle from './circle.js'

	export default {
		data() {
			return {
				user: 'xxxxxxx',
				pass: '123456'
			}
		},
		onReady: function (e) {
		    const query = uni.createSelectorQuery()
			query.select('#myCanvas')
			  .fields({ node: true, size: true })
			  .exec((res) => {
				const canvas = res[0].node
				const ctx = canvas.getContext('2d')
				const sysInfo = uni.getSystemInfoSync()
				const dpr = sysInfo.pixelRatio
				canvas.width = res[0].width * dpr
				canvas.height = res[0].height * dpr
				ctx.scale(dpr, dpr)

				let circles = []
				let width = sysInfo.windowWidth
				let height = sysInfo.windowHeight
				let num = 50

				for (let i = 0; i < num; i++) {
				    let circle = new Circle(Math.random() * width, Math.random() * height, width, height)
				    circles.push(circle)
				}
				function draw(num) {
					ctx.clearRect(0, 0, width, height)
					for (let i = 0; i < num; i++) {
						circles[i].drawCircle(ctx)
						for (let j = i + 1; j < num; j++) {
							circles[i].drawLine(ctx, circles[j])
						}
						circles[i].move()
					}
				}
				setInterval(()=> {
					draw(num)
				}, 33)
			 })
		},

		methods: {
			userChange: function(e) {
				this.user = e.detail.value
			},
			passChange: function(e) {
				this.pass = e.detail.value
			},
			onLogin: function(e) {

			}
	},
	}
</script>

<style lang="scss" scoped>
	#myCanvas {
		position: absolute;
		left: 0;
		top: 0;
		width: 100%;
		height: 100%;
		z-index: -1;
	}
	.container {
		padding: 15px;
		// font-size: 14px;
		// line-height: 24px;
	}
	input {
		padding: 15px 0;
		border-bottom: 1px solid #C0C0C0;
	}
	.loginBtn {
		background-color: $my-primary;
	}
	/* #ifdef MP-WEIXIN */
	.loginBtn {
		margin-top: 25px;
	}
	/* #endif */
	.login-header {
		text-align: center;
		font-size: 18px;
		margin-bottom: 10px;
		img {
			width: 100px;
			height: 41px;
		}
	}
</style>
下面是circle.js的代码
class Circle {
	constructor(x, y, width, height) {
		this.x = x
		this.y = y
		this.r = Math.random() * 10
		this._mx = Math.random()
		this._my = Math.random()
		this.width = width
		this.height = height
	}
	drawCircle(ctx) {
		ctx.beginPath()
		ctx.arc(this.x, this.y, this.r, 0, 2 * Math.PI)
		ctx.fillStyle = 'rgba(204, 204, 204, 0.3)'
		ctx.fill()
		ctx.closePath()
	}
	drawLine(ctx, _circle) {
		let dx = this.x - _circle.x
		let dy = this.y - _circle.y
		let d = Math.sqrt(dx * dx + dy * dy)
		if (d < 70) {
			ctx.beginPath()
			ctx.moveTo(this.x, this.y)
			ctx.lineTo(_circle.x, _circle.y)
			ctx.strokeStyle = 'rgba(204, 204, 204, 0.5)'
			ctx.stroke()
			ctx.closePath()
		}
	}
	move() {
		this._mx = (this.x < this.width && this.x > 0) ? this._mx : (-this._mx)
		this._my = (this.y < this.height && this.y > 0) ? this._my : (-this._my)
		this.x += this._mx
		this.y += this._my
	}
}

export default Circle
移动端没有鼠标,关于鼠标那部分的粒子球代码就去掉了.
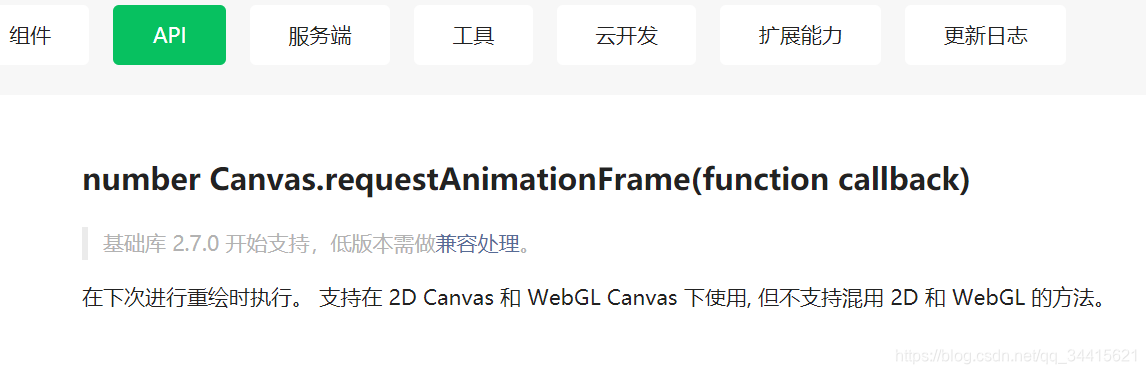
小程序官方文档里是有requestAnimationFrame这个接口的,但我试了一下,用上以后也不报错也不会动…
所以只能用setInterval了,33毫秒重绘一次,也就是一秒钟30帧,看起来已经很流畅了.
结论
这个粒子球跑来跑去加连线的动画有点物联网的感觉,有木有?
把代码放到自己的项目里跑一跑,修修改改试一试,小程序端的canvas开发也就入门了.
浏览器端的canvas库什么的就别指望了,在小程序里用起来很麻烦.老老实实用原生的接口,做个简单的功能还不算太难.
写canvas代码的精髓:就把它想象成一张一张的图画,然后把重绘代码放到定时器里.如下图:


为开发者提供学习成长、分享交流、生态实践、资源工具等服务,帮助开发者快速成长。
更多推荐


 6
6 0
0- 0


 已为社区贡献1条内容

所有评论(0)