HTML之样式定义、div布局、按钮布局
HTML CSS
样式定义:
标签样式通过style去定义,可以直接放到div开始标签中,也可以div中定义类名,将style放到head中,通过类去定义样式。如下布局中的示例。不及div的样式可以通过style设置以及在head中添加,其它标签如button的宽高也可以在style及head中添加。
注意:在标签中直接设置style和在head中添加style,在语法格式是存在差异,具体见下面示例。
备注:在head中定义styel样式:点后面跟上类名即可识别各种标签,并且每个样式值后面都要带上分号,包括最后一个样式值,直接在标签中定义style也如此。当然最后一个样式不带分号也不影响。
1、HTML中div上下左右布局,可使用style属性margin(外边距/边界),表示与上下左右div间的距离,单位:px。
margin          简写属性。在一个声明中设置所有外边距属性。顺序:“上-右-下-左”  属性值:长度值(单位px)、百分比、负值、auto
margin-bottom   设置元素的下外边距  属性值:长度值(单位px)、百分比、负值、auto
margin-left     设置元素的左外边距  属性值:长度值(单位px)、百分比、负值、auto
margin-right    设置元素的右外边距  属性值:长度值(单位px)、百分比、负值、auto
margin-top      设置元素的上外边距  属性值:长度值(单位px)、百分比、负值、auto
1.1、style属性直接放到div开始标签中

<div class="logo" style="width:250px;height:130px;margin-top: 20px;margin-left: 20px;">
</div>
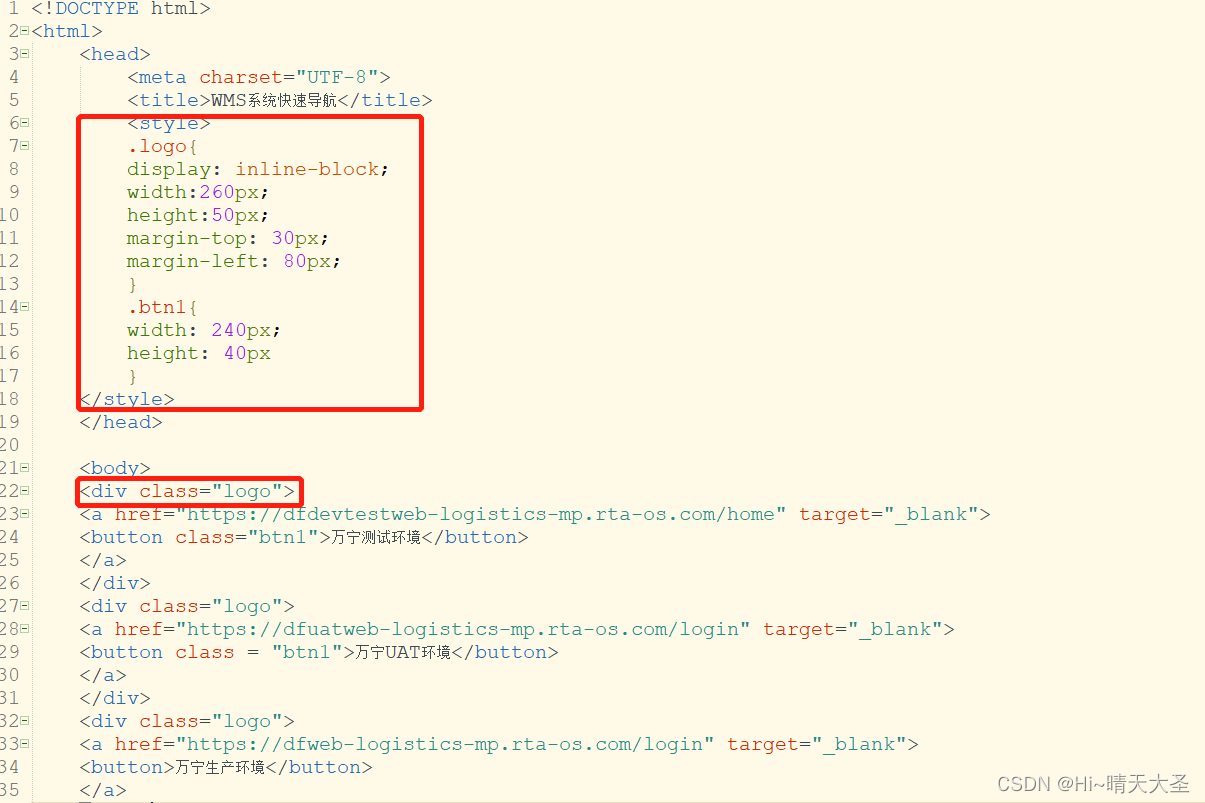
1.2、div中定义类名,将style放到head中,通过类去定义样式
class="logo"的div横向布局
2、div纵向排列实现设计
注意:一般情况,默认的div是写一个换一行,即div默认纵向排列。备注:其它标签默认横向排列,如<button>、<a>
3、div横向排列设计
3.1、在body的div中,加上class属性
<div class="div-a" id='2' style="background-color:rgb(0, 255, 0);width:300px;height:240px;text-align:center;margin-top: 10px;margin-left: 20px;"></div>
<div class="div-a" id='2' style="background-color:rgb(0, 255, 0);width:300px;height:240px;text-align:center;margin-top: 10px;margin-left: 20px;"></div>
3.2、在head中定义div样式style,如:
<style>
	.div-a{display: inline-block;}
	.div-b{display: inline-block;}
</style>
即可实现div横向排列
4、定义文本内边距
在html中,padding的意思为“填充;内边距”,是一个简写属性,可以定义元素内容与元素边框之间的空间,即上下左右的内边距。
使用padding方法:
padding-top         上内边距
padding-right       右内边距
padding-bottom   下内边距
padding-left          左内边距

5、设置文本对齐方式
5.1、左右对齐方式:style中使用text-align: 格式:text-align:属性值
- left 把文本排列到左边。默认值。
- right 把文本排列到右边。
- center 把文本排列到中间。

5.2、上下对齐方式: line-height
后面的属性值设置和父级的盒状标签高度相同,这样就可以做到文字垂直方向上居中了
<div class="div-a" id='2' style="background-color:rgb(0, 255, 0);width:200px;height:50px;text-align:center;line-height:50px;margin-top: 10px;margin-left: 20px;">
			<a href="http://testscf.dmall.com">测试环境</a>
		</div>
6、按钮布局
设置按钮间的距离:可以在标签中设置margin属性,即:style=“margin:5px 0 5px 0;”(顺序:上、右、下、左,亦可简写为style=“margin: 5px 0;”),作用是在当前标签外部的上下各留出5px的空白。
<div class="logo">
	<a href="https://dfuatweb-logistics-mp.rta-os.com/login" target="_blank">
 	<button class = "btn1" style="margin: 5px 0 5px 0;">按钮1</button>
 	<a href="https://dfuatweb-logistics-mp.rta-os.com/login" target="_blank">
 	<button class = "btn1" style="margin: 15px 0 5px 0;">按钮2</button>
	</a>
	</div>
7、html怎样让div居中(div中所有元素都居中对齐)
7.1、通过加<center>内容</center>标签让div居中;
“HTML Center 元素 (<center>) 是个块级元素,可以包含段落,以及其它块级和内联元素。这个元素的整个内容水平居中 (通常是)。”
<html>

<head>

<meta http-equiv="Content-Type" content="text/html; charset=gb2312" />

<title>center居中</title>

</head>


<body>

<center>

<div>我要居中啦</div>

</center>

</body>

</html>
7.2、在div中加入“margin:0 auto属性;”自动调节居中。
<html>

<head>

<meta http-equiv="Content-Type" content="text/html; charset=gb2312" />

<title>margin居中</title>

<style type="text/css">

.d1{

border:1px solid red;

width:200px;

height:200px;

text-align:center;

line-height:40px;

margin:0 auto;

}

</style>

</head>

<body>

<div class="d1">

我是div,我居中啦...

</div>

</body>

</html>
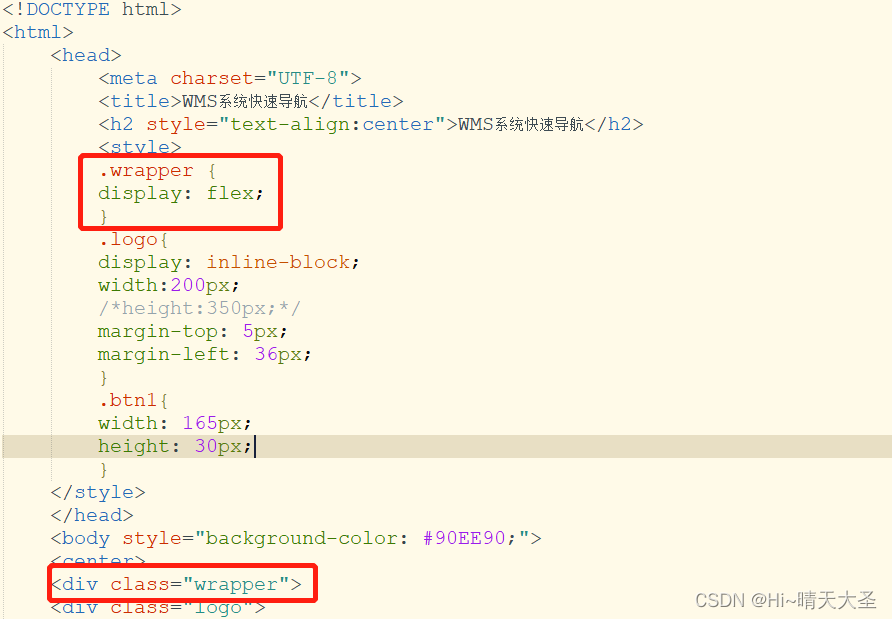
8、弹性布局:display: flex 非常好用也非常适用,界面的布局也很合理,看起来很清晰
9、图片对齐方式设置:使用align标签使图片左对齐或右对齐
<img src="D:\games\Wesnoth\editor.ico" align="left">
<img src="D:\games\Wesnoth\editor.ico" align="right">
另 align属性有很多,也即对齐方式有很多种,不同对齐方式会影响页面效果
<!doctype html>
<html lang="en">
<head>
    <meta charset="UTF-8">
    <title>图片与文字的相对位置</title>
    <style>
        img{
            width: 160px;
            height: 126px;
            margin: 10px;
        }
    </style>
</head>
<body>
<h3>图片与文字的相对位置</h3>
<!--    absmiddle       图片中间与同一行最大元素中间对齐;
        absbottom       图片下边缘与同一行最大元素下边缘对齐;
        baseline        图片下边缘与第一行文本下边缘对齐;
        bottom          图像下边缘与第一行文本下边缘对齐;
        left            图像沿网页左边缘对齐,文字在图像向右边换行;
        middle          图像中间与第一行文本的下边缘对齐;
        notset          未设定对齐方式;
        right           图像沿网页的右边缘对齐,文字在图像左边换行;
        texttop         图片上边缘与同一行最高文本上边缘对齐;
        top             图片上边缘与同一行最高元素上边缘对齐。-->
    <!--图片中间与同一行最大元素中间对齐-->
    <img src="../image/ab1.jpg" align="absmiddle"/>
    <!--图片下边缘与同一行最大元素下边缘对齐-->
    <img src="../image/ab2.jpg" align="absbottom"/>
    <!--图片下边缘与第一行文本下边缘对齐-->
    <img src="../image/ab3.jpg" align="baseline"/>
    <!--图像下边缘与第一行文本下边缘对齐-->
    <img src="../image/ab4.jpg" align="bottom"/>
    <!--图像沿网页左边缘对齐,文字在图像向右边换行-->
    <img src="../image/ab5.jpg" align="left"/>
    <!--图像中间与第一行文本的下边缘对齐-->
    <img src="../image/ab6.jpg" align="middle"/>
    <!--未设定对齐方式-->
    <img src="../image/ab7.jpg" align="notset"/>
    <!--图像沿网页的右边缘对齐,文字在图像左边换行-->
    <img src="../image/ab8.jpg" align="right"/>
    <!--图片上边缘与同一行最高文本上边缘对齐-->
    <img src="../image/ab9.jpg" align="texttop"/>
    <!--图片上边缘与同一行最高元素上边缘对齐-->
    <img src="../image/ab10.jpg" align="top"/>
</body>
</html>
其它小技巧:设置图片大小,如:style="max-width:50px;max-height:50px"
10、HTML页面自适应
页面如果要做出自适应,控件宽高不要使用固定值,可以使用百分比,如:
		<style>
		.container {
		position: relative;
		}
		.wrapper {
		display: flex;
		}
		.logo{
		display: inline-block;
		width:16%;
		margin-top: 5px;
		margin-left: 15px;
		}
		.btn1{
 		width: 90%;
 		height: 5%;
		}

为开发者提供学习成长、分享交流、生态实践、资源工具等服务,帮助开发者快速成长。
更多推荐


 7
7 0
0- 0


 已为社区贡献13条内容

所有评论(0)