android vivo、华为、小米、魅族、oppo厂家推送集成
前言最近给公司项目集成推送,开始集成了极光推送,但是集成厂商后台推送是要花钱的。老板心疼钱,没法子只能一个厂家一个厂家的对接推送了。废话不多先从小米开始吧。一、小米推送创建应用,打开小米开放平台点击右上角进入登录页面。进入登陆界面后,输入帐号、密码并点击登陆后进入小米开放平台。点击移动开发服务中的消息推送按钮进入推送后台。点击“创建手机/平板应用”按钮进入创建新应用界面。...
前言
最近给公司项目集成推送,开始集成了极光推送,但是集成厂商后台推送是要花钱的。老板心疼钱,没法子只能一个厂家一个厂家的对接推送了。废话不多先从小米开始吧。
一、小米推送
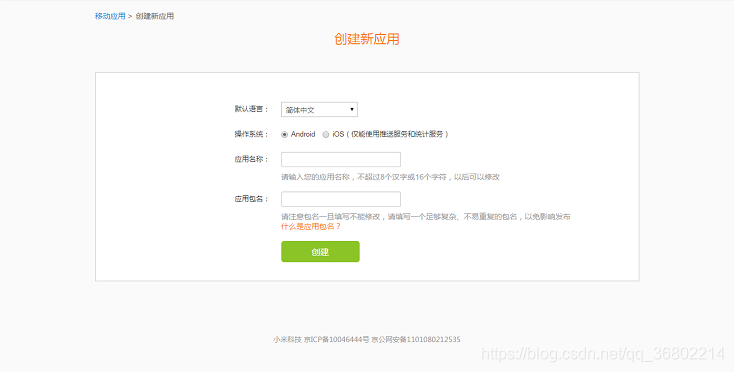
创建应用,打开小米开放平台点击右上角进入登录页面。进入登陆界面后,输入帐号、密码并点击登陆后进入小米开放平台。

点击移动开发服务中的消息推送按钮进入推送后台。
点击“创建手机/平板应用”按钮进入创建新应用界面。
接下来就是下载小米的sdk有一个MiPush_SDK_Client_... .jar,吧jar包放在libs下 下载地址
配置AndroidManifest.xml文件
1、推送服务需要的权限列表:
<uses-permission android:name="android.permission.WRITE_EXTERNAL_STORAGE" />
<uses-permission android:name="android.permission.INTERNET" />
<uses-permission android:name="android.permission.ACCESS_NETWORK_STATE" />
<uses-permission android:name="android.permission.ACCESS_WIFI_STATE" />
<uses-permission android:name="android.permission.READ_PHONE_STATE" />
<uses-permission android:name="android.permission.GET_TASKS" />
<uses-permission android:name="android.permission.VIBRATE"/>
<permission android:name="com.xiaomi.mipushdemo.permission.MIPUSH_RECEIVE"
android:protectionLevel="signature" /> <!--这里com.xiaomi.mipushdemo改成app的包名-->
<uses-permission android:name="com.xiaomi.mipushdemo.permission.MIPUSH_RECEIVE" /><!--这里com.xiaomi.mipushdemo改成app的包名-->2、推送服务需要配置的service和receiver:
<service android:enabled="true" android:process=":pushservice" android:name="com.xiaomi.push.service.XMPushService"/>

<service android:name="com.xiaomi.push.service.XMJobService" android:enabled="true" android:exported="false" android:permission="android.permission.BIND_JOB_SERVICE" android:process=":pushservice" /> <!--注:此service必须在3.0.1版本以后(包括3.0.1版本)加入-->

<service android:enabled="true" android:exported="true" android:name="com.xiaomi.mipush.sdk.PushMessageHandler" />

<service android:enabled="true" android:name="com.xiaomi.mipush.sdk.MessageHandleService" /> <!--注:此service必须在2.2.5版本以后(包括2.2.5版本)加入--> <receiver android:exported="true" android:name="com.xiaomi.push.service.receivers.NetworkStatusReceiver" >

<intent-filter>

<action android:name="android.net.conn.CONNECTIVITY_CHANGE" />

<category android:name="android.intent.category.DEFAULT" />

</intent-filter>

</receiver>

<receiver android:exported="false" android:process=":pushservice" android:name="com.xiaomi.push.service.receivers.PingReceiver" >

<intent-filter>

<action android:name="com.xiaomi.push.PING_TIMER" />

</intent-filter>

</receiver>
3、 自定义一个BroadcastReceiver类
public class DemoMessageReceiver extends PushMessageReceiver {
    private String mRegId;
    private long mResultCode = -1;
    private String mReason;
    private String mCommand;
    private String mMessage;
    private String mTopic;
    private String mAlias;
    private String mUserAccount;
    private String mStartTime;
    private String mEndTime;
    @Override
    public void onReceivePassThroughMessage(Context context, MiPushMessage message) {
        mMessage = message.getContent();
        if(!TextUtils.isEmpty(message.getTopic())) {
            mTopic=message.getTopic();
        } else if(!TextUtils.isEmpty(message.getAlias())) {
            mAlias=message.getAlias();
        } else if(!TextUtils.isEmpty(message.getUserAccount())) {
            mUserAccount=message.getUserAccount();
        }
    }
    @Override
    public void onNotificationMessageClicked(Context context, MiPushMessage message) {
        mMessage = message.getContent();
        if(!TextUtils.isEmpty(message.getTopic())) {
            mTopic=message.getTopic();
        } else if(!TextUtils.isEmpty(message.getAlias())) {
            mAlias=message.getAlias();
        } else if(!TextUtils.isEmpty(message.getUserAccount())) {
            mUserAccount=message.getUserAccount();
        }
    }
    @Override
    public void onNotificationMessageArrived(Context context, MiPushMessage message) {
        mMessage = message.getContent();
        if(!TextUtils.isEmpty(message.getTopic())) {
            mTopic=message.getTopic();
        } else if(!TextUtils.isEmpty(message.getAlias())) {
            mAlias=message.getAlias();
        } else if(!TextUtils.isEmpty(message.getUserAccount())) {
            mUserAccount=message.getUserAccount();
        }
    }
    @Override
    public void onCommandResult(Context context, MiPushCommandMessage message) {
        String command = message.getCommand();
        List<String> arguments = message.getCommandArguments();
        String cmdArg1 = ((arguments != null && arguments.size() > 0) ? arguments.get(0) : null);
        String cmdArg2 = ((arguments != null && arguments.size() > 1) ? arguments.get(1) : null);
        if (MiPushClient.COMMAND_REGISTER.equals(command)) {
            if (message.getResultCode() == ErrorCode.SUCCESS) {
                mRegId = cmdArg1;
            }
        } else if (MiPushClient.COMMAND_SET_ALIAS.equals(command)) {
            if (message.getResultCode() == ErrorCode.SUCCESS) {
                mAlias = cmdArg1;
            }
        } else if (MiPushClient.COMMAND_UNSET_ALIAS.equals(command)) {
            if (message.getResultCode() == ErrorCode.SUCCESS) {
                mAlias = cmdArg1;
            }
        } else if (MiPushClient.COMMAND_SUBSCRIBE_TOPIC.equals(command)) {
            if (message.getResultCode() == ErrorCode.SUCCESS) {
                mTopic = cmdArg1;
            }
        } else if (MiPushClient.COMMAND_UNSUBSCRIBE_TOPIC.equals(command)) {
            if (message.getResultCode() == ErrorCode.SUCCESS) {
                mTopic = cmdArg1;
            }
        } else if (MiPushClient.COMMAND_SET_ACCEPT_TIME.equals(command)) {
            if (message.getResultCode() == ErrorCode.SUCCESS) {
                mStartTime = cmdArg1;
                mEndTime = cmdArg2;
            }
        }
    }
    @Override
    public void onReceiveRegisterResult(Context context, MiPushCommandMessage message) {
        String command = message.getCommand();
        List<String> arguments = message.getCommandArguments();
        String cmdArg1 = ((arguments != null && arguments.size() > 0) ? arguments.get(0) : null);
        String cmdArg2 = ((arguments != null && arguments.size() > 1) ? arguments.get(1) : null);
        if (MiPushClient.COMMAND_REGISTER.equals(command)) {
            if (message.getResultCode() == ErrorCode.SUCCESS) {
                mRegId = cmdArg1;
            }
        }
    }
}
将自定义的BroadcastReceiver注册到AndroidManifest.xml文件中
<receiver
  android:exported="true"
  android:name="com.xiaomi.mipushdemo.DemoMessageReceiver">
          <!--这里com.xiaomi.mipushdemo.DemoMessageRreceiver改成app中定义的完整类名-->
  <intent-filter>
    <action android:name="com.xiaomi.mipush.RECEIVE_MESSAGE" />
  </intent-filter>
    <intent-filter>
    <action android:name="com.xiaomi.mipush.MESSAGE_ARRIVED" />
  </intent-filter>
  <intent-filter>
    <action android:name="com.xiaomi.mipush.ERROR" />
  </intent-filter>
</receiver>
正式代码开始
在 Application 中的 onCreate 方法初始化
//APP_ID   APP_KEY   是开始创建小米应用获取过来的值
MiPushClient.registerPush(this, APP_ID, APP_KEY);
目前为止小米推送算是集成完毕了。我的项目中和用到了UserAccount,个人觉得它比别名更加适合我们公司的项目,就没有用别名。
后台根据 "该用户的唯一识别" 这个字段来推送
//小米设置UserAccount
MiPushClient.setUserAccount(this,"该用户的唯一识别",null);


//用户退出登录时要删除UserAccount
MiPushClient.unsetUserAccount(this,"该用户的唯一识别",null);
在接厂商推送的时候,都应该有接入跳转指定activity,我也简单介绍一下这个吧
//我指定跳转的是登录页
<activity
      android:name=".ui.acticity.login.LoginActivity">
      //intent-filter  是必须加的   小米文档可能没写  其他厂家推送又是有用到的
      //hwpush_detail   piccscheme   可以自己心情来修改
      <intent-filter>
           <action android:name="android.intent.action.VIEW" />

           <category android:name="android.intent.category.DEFAULT" />

            <data
                 android:host="包名"
                 android:path="/hwpush_detail"
                 android:scheme="piccscheme" />
      </intent-filter>
</activity>
在LoginActivity中onCreate加入
Intent intent = getIntent();
//uriString   这个值给后台  后台根据它来跳转
//该uriString就Constants.EXTRA_PARAM_INTENT_URI对应的值
//intent:#Intent;component. ... .LoginActivity;end 这个是我返回来的值
//在页面接收值的话   我是叫后台吧数据 直接写在intent:后  #前
//intent:url=123#Intent;........
//url  就是后台给传的值  123
String uriString = intent.toUri(Intent.URI_INTENT_SCHEME);
String url = uriString.substring(uriString.indexOf("url=") + 4,uriString.lastIndexOf("#"));
二、华为推送
华为推送挺坑的,我也是文档加博客才弄清楚的废话不多,开始了
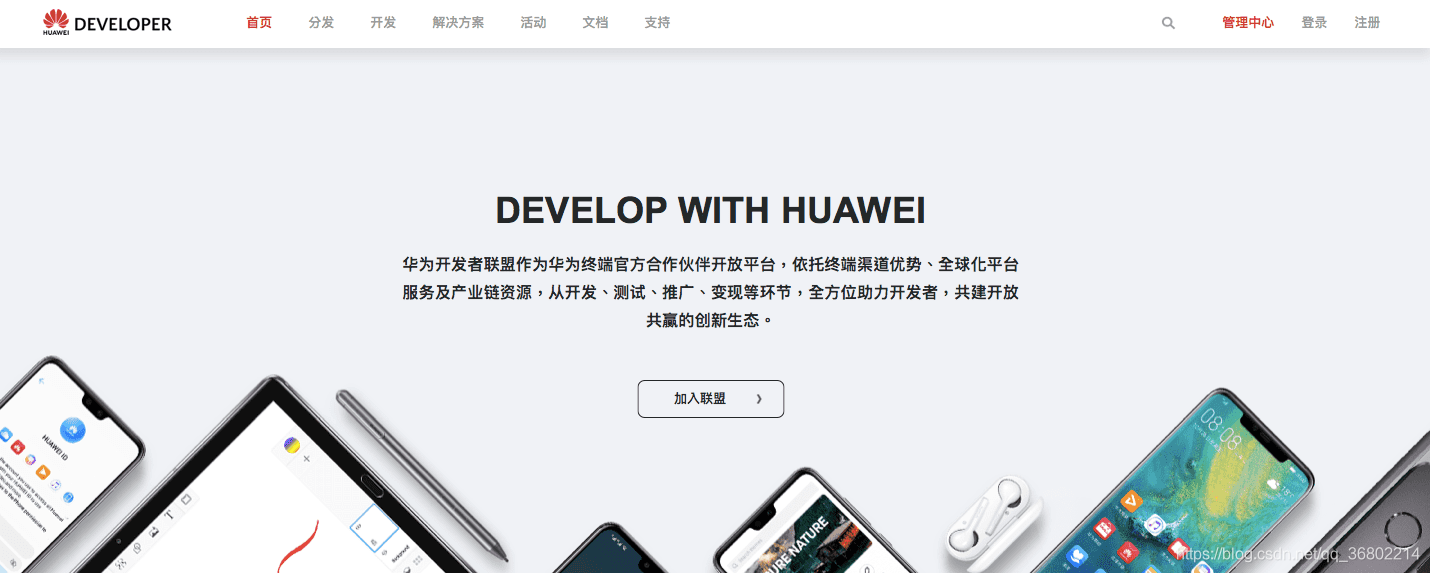
创建应用
登录【华为开发者联盟】https://developer.huawei.com/consumer/cn/

申请PUSH服务


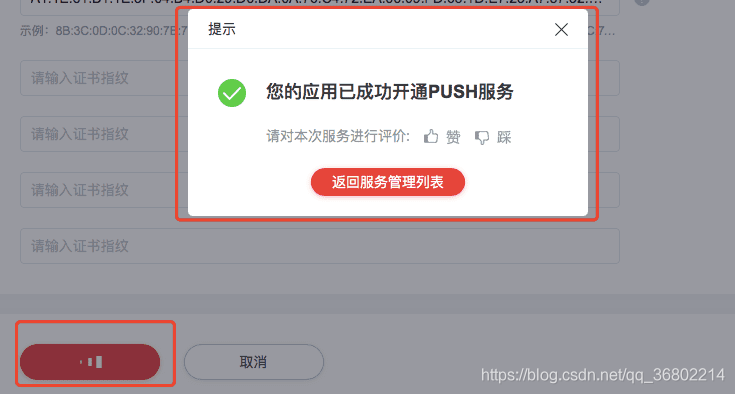
注册完成以后
1、在项目根目录下打开build.gradle
allprojects {
            repositories {
                jcenter()
                maven {url 'http://developer.huawei.com/repo/'}
            }
        }
下项目app下的build.gradle写入
  //华为Push通道
    implementation 'com.huawei.android.hms:push:2.6.3.306'
    implementation 'org.jsoup:jsoup:1.12.1'
2、下载SDK
https://obs.cn-north-2.myhwclouds.com/hms-ds-wf/sdk/HMSAgent_2.6.3.306.zip
减压文件 双击 GetHMSAgent_cn.bat文件 根据弹窗口提示 输入自己应用到的内容
完成后生成一个copysrc文件夹,AppManifestConfig.xml配置文件就根据 copysrc文件夹下的AppManifestConfig.xml来配置
然后把java文件中的hms直接复制到自己项目中,修改一下包名就好了
3、初始化Agent 后台根据token来进行单个用户推送
/**
 * 初始化HMS Agent
 */

public class MyApplication extends Application {
    @Override
    public void onCreate() {
        super.onCreate();
        HMSAgent.init(this);
    }

    /**
     * SDK连接HMS
     */

    HMSAgent.connect(this, new ConnectHandler() {
        @Override
        public void onConnect(int rst) {
            showLog("HMS connect end:" + rst);
        }
    });
    /**
     * 获取token
     */

    private void getToken() {
        showLog("get token: begin");
        HMSAgent.Push.getToken(new GetTokenHandler() {
            @Override
            public void onResult(int rtnCode, TokenResult tokenResult) {
                showLog("get token: end" + rtnCode);
            }
        });
    }
}
4、然后就是跳转指定界面了
//我指定跳转的是登录页
<activity
      android:name=".ui.acticity.login.LoginActivity">
      //intent-filter  是必须加的   小米文档可能没写  其他厂家推送又是有用到的
      //hwpush_detail   piccscheme   可以自己心情来修改
      <intent-filter>
           <action android:name="android.intent.action.VIEW" />

           <category android:name="android.intent.category.DEFAULT" />

            <data
                 android:host="包名"
                 android:path="/hwpush_detail"
                 android:scheme="piccscheme" />
      </intent-filter>
</activity>
在LoginActivity中onCreate加入
Intent intent = getIntent();
//uriString   这个值给后台  后台根据它来跳转
//该uriString就Constants.EXTRA_PARAM_INTENT_URI对应的值
//intent:#Intent;....LoginActivity;end 这个是我返回来的值
//在页面接收值的话   我是叫后台吧数据 直接写在intent:后  #前
//intent:url=123#Intent;........
//url  就是后台给传的值  123
intent.addFlags(Intent.FLAG_ACTIVITY_NEW_TASK);
String intentUri = intent.toUri(Intent.URI_INTENT_SCHEME);
String url = uriString.substring(uriString.indexOf("url=") + 4,uriString.lastIndexOf("#"));
三、vivo推送
创建应用
登录【vivo开发平台】https://vpush.vivo.com.cn
注册完成以后
首先先下载sdk
1.导入推送jar包
将解压后的libs文件夹中vivo_pushsdk-VERSION.jar(vivo_pushsdk-VERSION.jar为集成的jar包名字,VERSION为版本名称)拷贝到您的工程的libs文件夹中
2.配置AndroidManifest文件
在当前工程的AndroidManifest.xml文件中,添加权限和声明信息,详见
<!-- 推送权限-->
<uses-permission android:name="android.permission.INTERNET" />

<service
    android:name="com.vivo.push.sdk.service.CommandClientService"
    android:exported="true" />
<activity
    android:name="com.vivo.push.sdk.LinkProxyClientActivity"
    android:exported="false"
    android:screenOrientation="portrait"
    android:theme="@android:style/Theme.Translucent.NoTitleBar" /> <!-- push应用定义消息receiver声明 -->
 <!-- api_key   app_id 换成自己申请的-->
<meta-data
    android:name="com.vivo.push.api_key"
    android:value="api_key" />
<meta-data
    android:name="com.vivo.push.app_id"
    android:value="app_id" />
2、自定义回调类
在当前工程中新建一个类 PushMessageReceiverImpl并实现OpenClientPushMessageReceiver中的onNotificationMessageClicked方法。
在当前工程的AndroidManifest.xml文件中,添加自定义Receiver信息如下:
   <receiver android:name="***.***.PushMessageReceiverImpl">
            <intent-filter>
                <!-- 接收push消息 -->
                <action android:name="com.vivo.pushclient.action.RECEIVE" />
            </intent-filter>
        </receiver>
3、初始化sdk 绑定别名后台根据别名来推送
public class MyApplication extends Application {
    @Override
    public void onCreate() {
        super.onCreate();
        //初始化vivo推送sdk
        PushClient.getInstance(this).initialize();
        PushClient.getInstance(this).turnOnPush(new IPushActionListener() {
        @Override
        public void onStateChanged(int i) {
            Log.e(TAG, "PushClient:" + i);
            }
        });
    }
}
//绑定别名 phone是自定义的字符串
PushClient.getInstance(this).bindAlias(phone, new IPushActionListener() {
@Override
public void onStateChanged(int i) {
Log.e(App.TAG, "bindAlias:" + i);
}
});
//退出登录解绑别名 phone是自定义的字符串
PushClient.getInstance(this).unBindAlias(phone, new IPushActionListener() {
@Override
public void onStateChanged(int i) {
Log.e(App.TAG, "unBindAlias:" + i);
}
}); 4、然后就是跳转指定界面了 和华为差不多 可以参照华为
打开应用页面示例

填写intent uri,获取方式如下:

Intent intent = new Intent(this, CustomActivity.class);

intent.setData(Uri.parse("vpushscheme://com.vivo.pushtest/detail?key=value"));

intent.addFlags(Intent.FLAG_ACTIVITY_NEW_TASK);

String intentUrl = intent.toUri(Intent.URI_INTENT_SCHEME);

客户端Activity在AndroidManifest中配置为:

打开应用页面示例

	<activity android:name=".CustomActivity">
		<intent-filter>
			<action android:name="android.intent.action.View"/>
			<data
				android:scheme="vpushscheme"
				android:host="com.vivo.pushtest"
				android:path="/detail"
			/>
		</intent-filter>
	</activity>
四、魅族推送
创建应用
登录魅族Flyme开放平台:http://open.flyme.cn
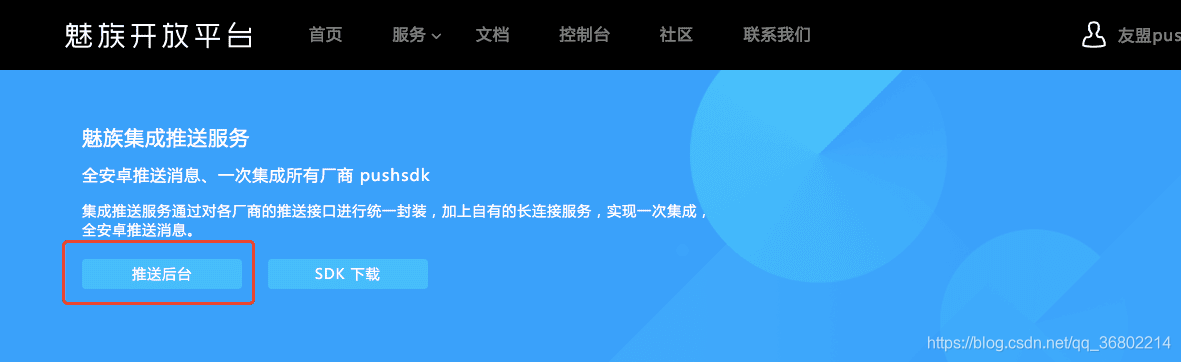
点击新建应用。

填写应用信息,【创建应用】
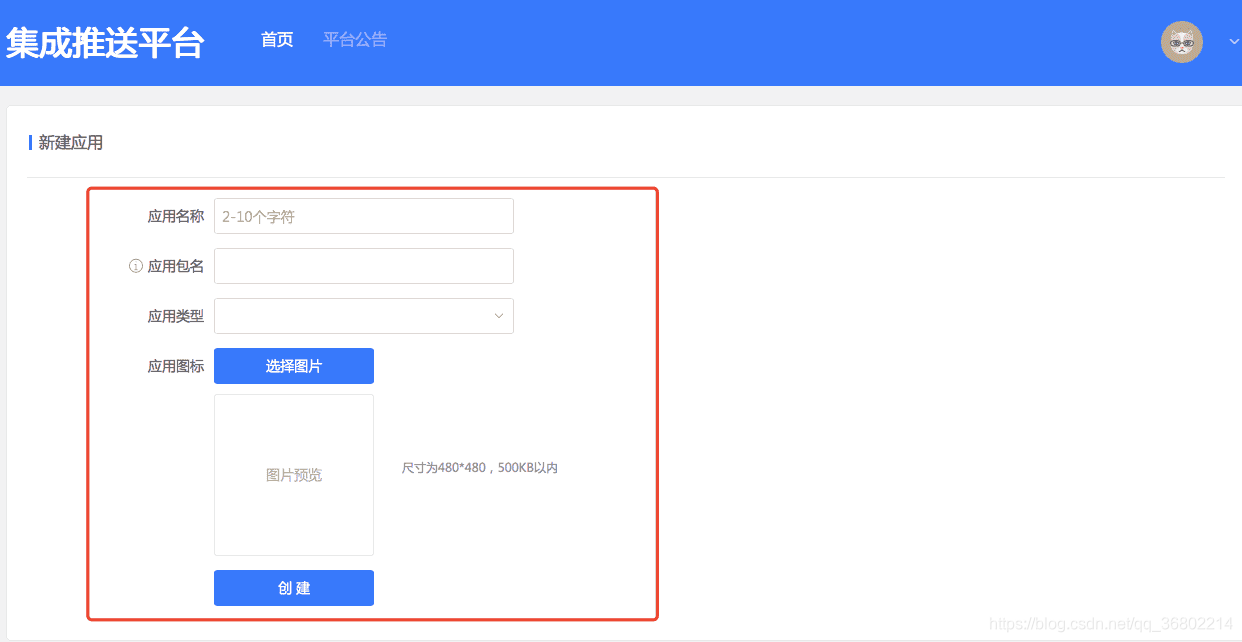
创建完成后点击【打开应用】

在应用的【配置管理】中,获取魅族push的App ID和App Secret。
1、配置依赖
我们已经将PushSDK发布到jcenter,您只需要在工程gradle文件中进行如下依赖配置:
dependencies{
      compile'com.meizu.flyme.internet:push-internal:3.8.4'
}注意:如果由于各种原因不能使用jcenter依赖,可以直接下载AAR包进行手动集成:点击下载。
2.配置AndroidManifest文件
在当前工程的AndroidManifest.xml文件中,添加权限和声明信息,详见
<!-- 推送权限-->
<!--兼容Flyme5以下版本,魅族内部接入PushSDK必填,不然无法收到消息-->
<uses-permissionandroid:name="com.meizu.flyme.push.permission.RECEIVE"/>
<permissionandroid:name="【替换您的包名】.push.permission.MESSAGE"android:protectionLevel="signature"/>
<uses-permissionandroid:name="【替换您的包名】.push.permission.MESSAGE"/>
<!--兼容Flyme3配置权限-->
<uses-permissionandroid:name="com.meizu.c2dm.permission.RECEIVE"/>
<permissionandroid:name="【替换您的包名】.permission.C2D_MESSAGE"android:protectionLevel="signature"/>
<uses-permissionandroid:name="【替换您的包名】.permission.C2D_MESSAGE"/>
2、自定义回调类
在当前工程的AndroidManifest.xml文件中,添加自定义Receiver信息如下:
<!-- push应用定义消息receiver声明 -->
<receiver android:name="***.***.MyPushMsgReceiver">
    <intent-filter>
        <!-- 接收push消息 -->
        <action android:name="com.meizu.flyme.push.intent.MESSAGE" />
        <!-- 接收register消息 -->
        <action android:name="com.meizu.flyme.push.intent.REGISTER.FEEDBACK" />
        <!-- 接收unregister消息 -->
        <action android:name="com.meizu.flyme.push.intent.UNREGISTER.FEEDBACK" />
        <!-- 兼容低版本Flyme3推送服务配置 -->
        <action android:name="com.meizu.c2dm.intent.REGISTRATION" />
        <action android:name="com.meizu.c2dm.intent.RECEIVE" />
        <category android:name="${applicationId}" />
    </intent-filter>
</receiver>
public class MyPushMsgReceiver extends MzPushMessageReceiver {
public static String push = "";
@Override
public void onRegister(Context context, String s) {
// 调用旧版的订阅PushManager.register(context) 方法后,
// 会在此回调订阅状态(已废弃)
}
@Override
public void onUnRegister(Context context, boolean b) {
// 调用旧版的反订阅PushManager.unRegister(context) 方法后,
// 会在此回调反订阅状态(已废弃
}
@Override
public void onPushStatus(Context context, PushSwitchStatus pushSwitchStatus) {
}
@Override
public void onRegisterStatus(Context context, RegisterStatus registerStatus) {
// 调用新版的订阅PushManager.register(context,appId,appKey) 方法后,
// 会在此回调订阅状态
push = registerStatus.getPushId();
}
@Override
public void onUnRegisterStatus(Context context, UnRegisterStatus unRegisterStatus) {
// 调用新版的反订阅PushManager.unRegister(context,appId,appKey) 方法后,
// 会在此回调订阅状态
}
@Override
public void onSubTagsStatus(Context context, SubTagsStatus subTagsStatus) {
}
@Override
public void onSubAliasStatus(Context context, SubAliasStatus subAliasStatus) {
}
}3、初始化sdk 绑定别名后台根据别名来推送
public class MyApplication extends Application {
    @Override
    public void onCreate() {
        super.onCreate();
        //初始化推送sdk
       PushManager.register(this,MEIZUAPP_ID,MEIZUAPP_KEY);
    }
}
//绑定别名 phone是自定义的字符串 MyPushMsgReceiver.push 订阅成功的返回值
//MEIZUAPP_ID MEIZUAPP_KEY 自己申请的
PushManager.subScribeAlias(this,App.MEIZUAPP_ID,App.MEIZUAPP_KEY
, MyPushMsgReceiver.push,phone);
//退出登录解绑别名 phone是自定义的字符串
PushManager.unSubScribeAlias(this,App.MEIZUAPP_ID,App.MEIZUAPP_KEY
, MyPushMsgReceiver.push,phone);4、然后就是跳转指定界面了
魅族跳转界面和其他优点区别、直接给后台的是你的actvity全路径
返回值接收是
//前台解析的格式
String task_id = getIntent().getStringExtra("task_id");
//后台返回的格式
该参数的格式如:{"task_id":"123456"}
五、oppo推送
和前面差不多,但是需要上线,就偷个懒
登录OPPO推送平台https://open.oppomobile.com/service/openservice#id=1点击【开发服务】-【立即使用】

为开发者提供学习成长、分享交流、生态实践、资源工具等服务,帮助开发者快速成长。
更多推荐


 0
0 0
0- 0


 已为社区贡献1条内容

所有评论(0)